Make your own crochet rainbow bandana
The crochet community is in a heated argument right now. Many people are involved in this. The reason for the argument is whether freehanding an crochet project from a paid pattern should be allowed or not.
Now, let me tell you, I am not interested in the issue. Why? Because those designers crying foul are the first to freehand the Prada crochet bag without permission from Prada. So if it is from a big brand, it is okay to freehand the design, but if it is their simple crochet pattern they whine about how unfair it is?
Such hypocrisy makes me want to vomit. In response to what is happening to the crochet community, I aim to share the patterns of the projects I am making.
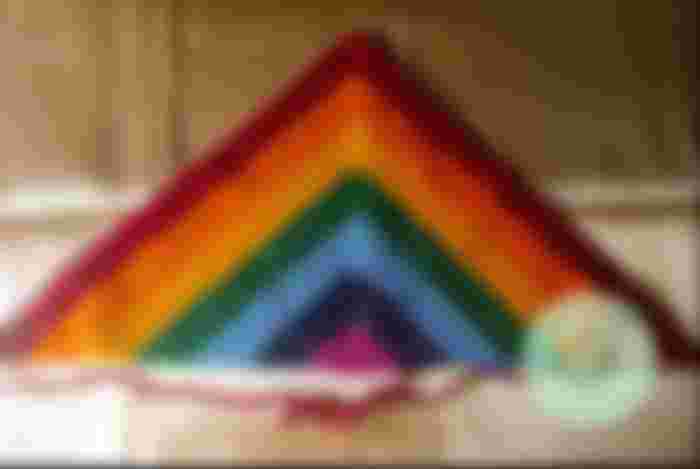
For today, I would be sharing how to make your own crochet rainbow bandana. I made this one in celebration of the Pride month.
This is one of my best selling items on my Shopee store. And I can see why!

Just look at how pretty it is.
If you are interested in that, you may order from me if you do not know how to crochet:
https://shopee.ph/product/368244096/19409366472?smtt=0.368263673-1658117337.9
If you want to challenge yourself then you can follow the pattern that I will be sharing here.
Skill Level
This pattern requires Intermediate skill level. You need to be familiar with magic ring, and color changes. The stitches you need to know are chains, single crochet stitch, and double crochet stitch.
This is how to do these basic stitches:
Chains- Yarn over, and pull through. You now have your first chain.
Single crochet- insert hook to the 1st chain from the hook, yarn over and pull through two loops. You now have your first single crochet single.
Double crochet- yarn over, insert hook to the 3rd chain from the hook, yarn over, pull through 2 loops, pull through the remaining two loops. That is your first double crochet stitch.
Materials
These are the materials I used to make my crochet rainbow bandana. But you may substitute a different type of yarn and hook size depending on your preferences.
3-ply Monaco mercerized cotton yarn (red, orange, yellow, green, blue, indigo, and violet)
3/0 crochet hook
Darning needle
A pair of scissors
You may also just use different colors if you do not want a rainbow bandana. You are free to modify this pattern as you see fit.
Pattern
This pattern is easy to follow as long as you know the stitches I mentioned in the Skill Level part of this article.
Using violet yarn:
Make a magic ring. Chain 3, this will count as your first double crochet stitch. Make 2 more double crochet, chain 3, and make another 3 double crochet. Pull the ring tight.
Chain 3, make 2 double crochet stitch in the same stitch. Chain 1, make 3 double crochet stitch into the chain space, chain 3, and put another 3 double crochet in the chain space. Chain 1, and make 3 double crochet into the last double crochet in row 1.
Chain 3, insert 2 double crochet in the first stitch. Chain 1, make 3 double crochet in the first chain space. Make 3 double crochet, chain 3, make another 3 double crochet on the CH3 space. Chain 1, make 3 double crochet.
Using indigo yarn:
I will now be using the abbreviated terms. (Chain- CH, Double crochet- DC)
(CH3, 2DC), CH1, 3DC, CH1 (3DC, CH3, 3DC), CH1, 3DC, CH1, 3DC
(CH3, 2DC), CH1, 3DC, CH1, 3DC, CH1, (3DC, CH3, 3DC), CH1, 3DC, CH1, 3DC, CH1, 3DC
(CH3, 2DC), CH1, 3DC, CH1, 3DC, CH1, 3DC, CH1, (3DC, CH3, 3DC), CH1, 3DC, CH1, 3DC, CH1, 3DC, CH1, 3DC.
Using remaining yarns:
You might be starting to notice a pattern. You always do 3DC, then CH1 on a CH1 space. On a CH3 space (or the peak of our triangle), you do (3DC, CH3, 3DC).
You would need to do 3 rows of the same color before switching to the next one. At the end of the pattern you would have made 21 rows.
Using red yarn:
Once you finish the 3 rows of red color, we need to make the strip of yarn that will be used to keep the bandana in place.
To do this you have to:
Make 100 chains.
Crochet single crochet stitch until the last stitch. Slip stitch and fasten off.
Do this in the other side.
Bonus
You may add a white border to the rainbow bandana if you like. To do this, you just have to put single crochet around the bandana. The ties of the bandana will also be white, just follow the instructions above on how to make it.

This is the reversed rainbow bandana I made with white border.
Closing words
Let me know if you have used this pattern. I want to see what it looked like!
You can play around with this pattern depending on the design you want.
Thank you for reading this article!
If you want to read some more articles of mine, I have monthly summaries here:
December 2021 Articles Summary
November 2021 Articles Summary


really wished I could knit, the way you explained it sounded so easy but I know, it has some tough work to do too