DIY two-toned headset covers
Crochet headset covers is my new interest as of now. I have been receiving orders of it from time to time which makes me grateful.
Today, I want to share about this simple yet pretty pattern for making your own crochet headset covers. I have already made similar articles about this topic, you can check the links after the article for more information.
The difference in today's pattern is that I used a different type of yarn which means I had to adjust the pattern for the same measurements. The measurements I am using for these patterns are 5.5cm-6cm diameter and 1.5cm depth. These measurements are suitable for many brands of headsets especially in the call center industry. So without further ado, let us start.
Materials
Of course, we have to discuss the materials first before we start any project. Ensuring that you used the same materials as me means that you will not have to worry about adjusting the pattern. However if you have different materias than me then you will know that you need to adjust accordingly.
2/0 (2.00mm) crochet hook
This is the crochet hook tht I used since the yarn is thin. I suggest using a branded hook like Tulip Sorbet/ Tulip Gold but if it is out if your budget, a normal hook will do.
2 colors of mercerized cotton yarn (Cannon/Monaco: 3ply)
This is a yarn that I used for creating bookmarks as well as earrings. They are also erfect for this pattern because they keep their shape unlike other yarns. Out of the two brands, I used to prefer Cannon since their yarns are shinier but now I think I am leaning more into Monaco since they are easier to work with. Both are good though so you can definitely use either of them.
Tape measure
You will need this to ensure that the covers you will be making is in the right size.
Darning needle
Darning needle will be used to sew the ends of the excess yarns so that the project will not unravel.
Scissors
Scissors will be used to cut away excess yarns after sewing it into the project.
Pattern
This pattern uses US crochet terms. It includes magic ring, chain, double crochet, increase, decrease, and slip stitch. Chain 3 in the pattern will not count as a double crochet stitch.
Create a magic ring, chain 3 (will not count as a double crochet), and put 12 double crochet in the ring. Tighten the ring and slip stitch to the first stitch.
Chain 3, increase for this round. Increase means put 2 double crochet in each stitch. You must have 24 stitches at the end. Slip stitch to the first stitch.
Chain 3, (double crochet, increase)* repeat 12 times. This means that in the first stitch, you will put one double crochet stitch, then in the second you will put 2 double crochet stitch. The pattern repeats for the remaining stitches. At the end of this round, there should be 36 stitches. Slip stitch to fhe first stitch.
change to another color
Chain 3, follow the pattern (double crochet, increase, double crochet) *12. This means that at the first stitch, you will have one double crochet, two double crochet on the next stitch, and one double crochet next. Repeat this pattern until the end of the round, you should have 48 stitches in total. Slip stitch to the first stitch.
Chain 3, insert a double crochet in every stitches. You should have 48 stitches at the end of this round. Slip stitch to the first stitch.
Chain 3, follow the pattern (double crochet, decrease, double crochet). This means that in the first stitch you will have one double crochet. You will decrease in the next stitch. You can do this by either skipping a stitch or doing the invisible decrease. I used the invisible decrease for cleaner apearance. And then at the 4th stitch, you should put one double crochet. At the end of this round you will have 36 stitches.
Slip stitch to the first round and fasten off.
Sew on the excess yarn ends, and cut the yarns outside the project.
Congratulations! You have successfully made your own crochet headset covers.
Final output
Here are some of the two-toned headset covers I made using this pattern.
These are orders and they are actually the first two-toned headset covers I made. I made a bit of adjustment to the pattern since then.
These are just some color combinations that I wanted to try. I really liked how they turned out. I can't wait to photoshoot them soon.
These are another trial color combination. Well, not exactly trial since I know black and pink wil go well together. I just mean that no one krdered this, I just made it because I wanted to.
Other patterns
If you are interested in other patterns of crochet headset covers then you might wanna check these articles out:
https://read.cash/@ZehraSky/make-your-own-crochet-headset-covers-3d5fc234
https://read.cash/@ZehraSky/i-made-4-pairs-of-crochet-headset-covers-744e1b8d
Thank you for reading this article!
If you want to read some more articles of mine, I have monthly summaries here:
December 2021 Articles Summary
November 2021 Articles Summary

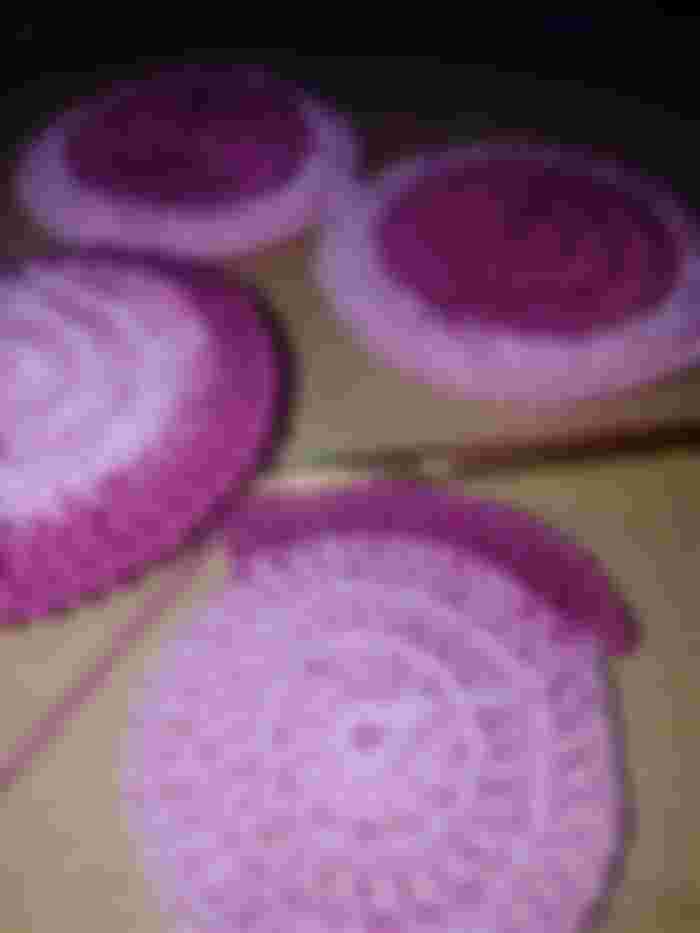

Uyy ..apaka creative namarn niyan..Maganda din yung mga color combinations..libre cover na ..hehe