A Wanda-ful Project
This article was supposed to be published last night but I only got to writing the title then I was falling asleep already. Bless you, quetiapine for myaking me sleepy every night.
Anyway, I woke up earlier than I want to since the kittens need to eat. When that was done, I decided to get to writing this article.
As I shared in a noise.cash post and in my article yesterday, I was making an amigurumi for a best friend. I shared this picture:
I even asked the readers to guess which character I am making. Sadly, no one participated in my little game.
But the show must go on regardless.
Today, you probably know already which character I finished making yesterday. Especially if you are a fan of super heroes films.
Background
This character is someone I first encountered when me and my aprtner watched the Dr. Strange in the Multiverse of Madness. I am not quite sure if that is really the title and since it was not the whole point of the article, I am not searching for it and just winging this.
I will not share any plot here since there might be some of you who wants to watch that but has yet to find the time to do so.
Anyway, I am not really fond of watching movies. I only watch movies when someone invited me to.
Like in high school through college, it was one of my best friends who introduced me to good films.
And now, it is mostly my partner who introduce me to new movies during our virtual movie dates.
He introduced me to Dr. Strange, I think he was preparing me for the upcoming (back then) sequel of Dr. Strange's journey.
Enough of the back story. I met the character, and one of my best friends liked her. So when she saw the spiderman keychain I made, she said she would buy a Wanda or Dr. Strange one.
Making a Wanda Doll
I chose to make Wanda since I really want to play with making hairs for dolls. I will try to make a boy doll next time but for now I want to make long hairs.
Joining the legs
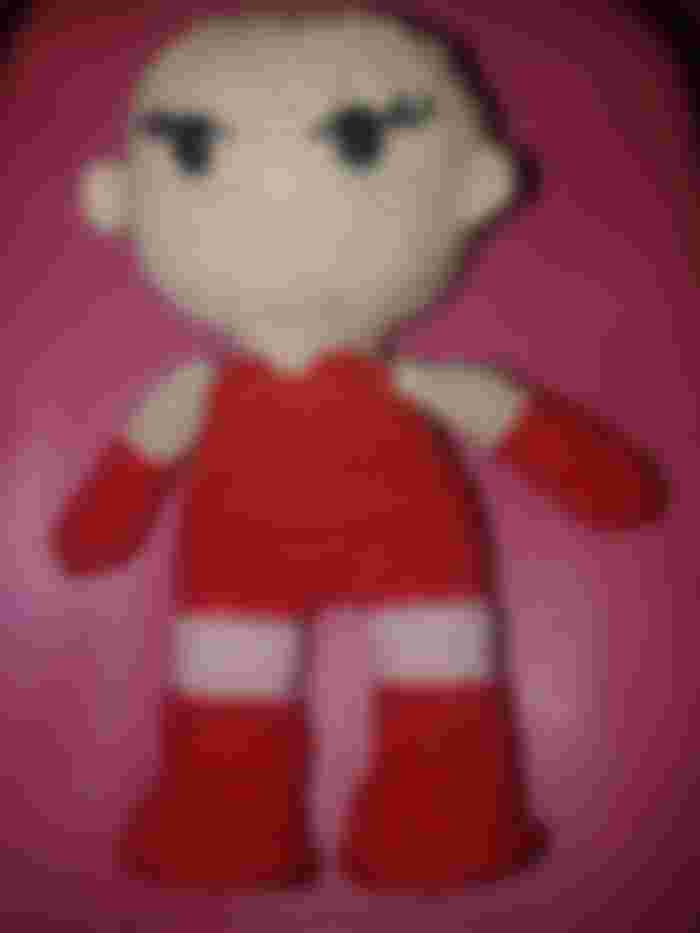
The first thing I did was make the limbs. I already shared what they look like when they are not yet joined.
In this picture, I joined the legs. I also included pink rows to match the outfit of Wanda.
Sewing the arms
Here I joined the arms with the rest of the body. My hands were shaky and aching at this point.
That is the struggle with using thin yarns such as this when making amigurumi, the tension needs to be tight so you really need to hole the yarn well. Unlike for bigger amigurumis with softer yarns, that process is mostly enjoyable compared to using thin and stiff yarns.
Sewing the top
Here you can see how I crocheted those cute top. It took me awhile since it was a bit difficult to insert my hooks on those tight stitches but I still managed to do so in the end.
Starting the head
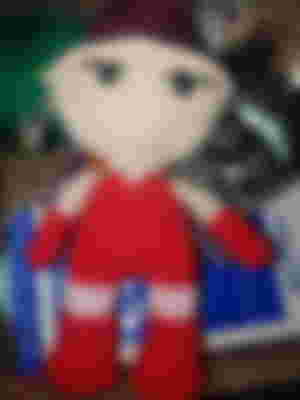
This is the progress picture I made for my bestfriend. This is the first time I embroidered such nose on amigurumi since this is my first human like amigurumi. I really don't count Spiderman human like because of the eyes, and he needed no nose in the amigurumi.
Circle head plus ears
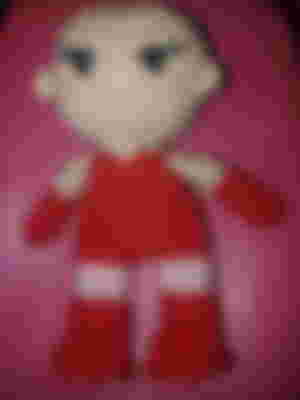
In this part, I finished off the head. And I also added some tiny ears. This is also my first time doing an ears and attaching it to amigurumi. I am glad that it looks okay.
Making the hair
Here comes my most awaited moment which is making the hair.
You know, when I see amigurumi dolls being posted in a crochet group, I always had a feeling of wanting to do that as well but I was hesitant. The reason was I did not trust myself to make a cute amigurumi so I always just end up putting it off.
But I still managed to make this crochet hair.
Pinning the hair

Here you can see what the hair looks like when it is pinned to the base body of the Wanda doll I am making. I feel so excited with how it looks because I think I did a pretty good job.
I also sewed the hair on while it is pinned so that I can ensure that it is in the right place as I was sewing it. You know, I struggled at first how to sew it but then I developed a sense of how to do it so I was able to sew it firmly.
Making the head gear

This one caused me a bit of worry since I was not sure how to do it at first but I still ended up doing it in an okay way.
I pinned it on the head and sew it on.
Progress report
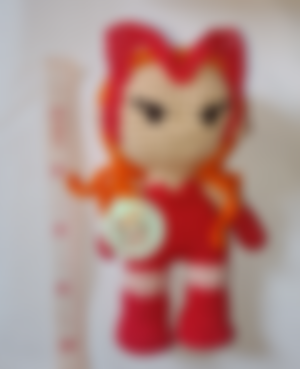
I sent this once again to the buyer who is my best friend. It is so she can see how big the amigurumi is as of the moment and how much it will cost.
I am selling amigurumis like these for P100/inch. I actually ought to add more since this amigurumi has a lot of detauls but I agreed on P500 price since she is my best friend.
There is only one thing left and then this doll will be finished.
Making her cape
I was caught in a dilemma here since my red yarn was running out. I almost used a black yarn for bordering this cape but I checked her pictures again and it was a pure red cape so I did not want to include a black. In the end it still works out as you can see in the final product.
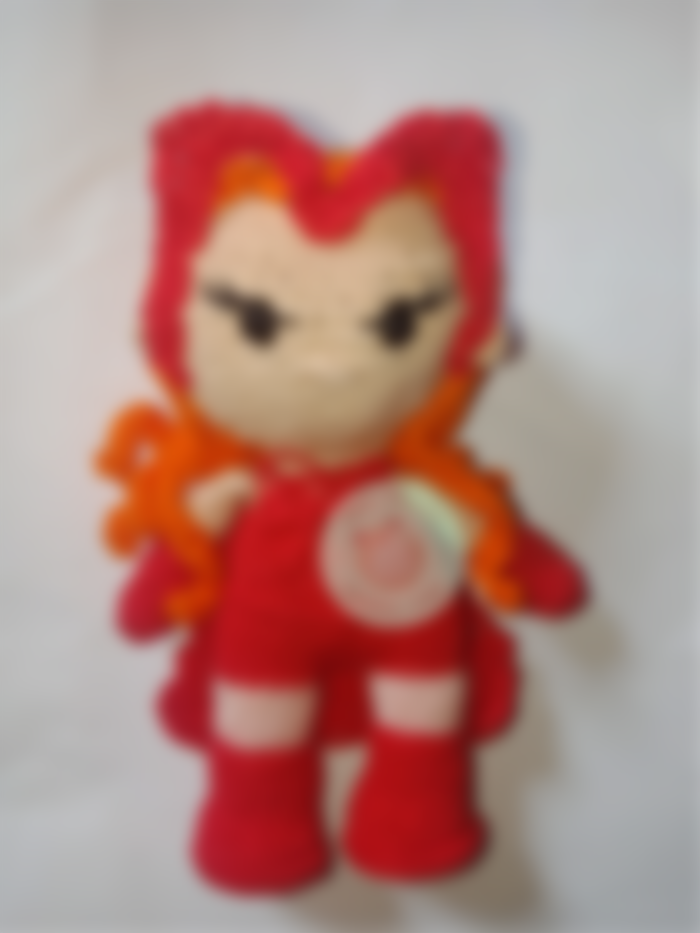
Final product front
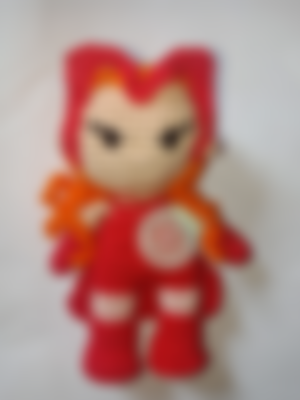
This is what my Wanda doll looks like in front. I like how her ears are peeking out of the head gear.
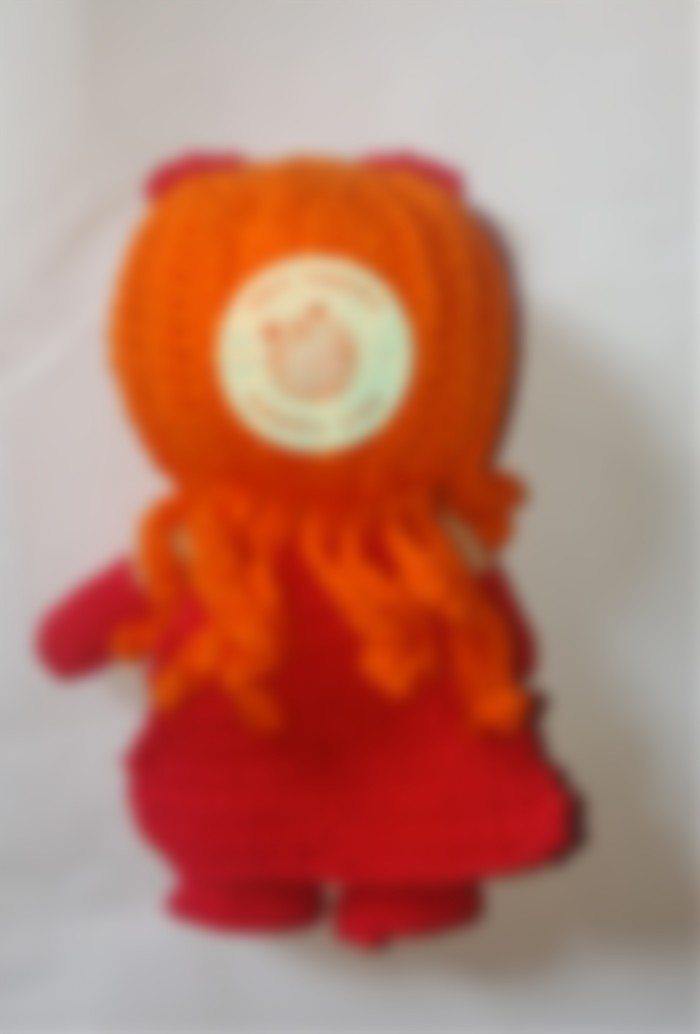
Final product back
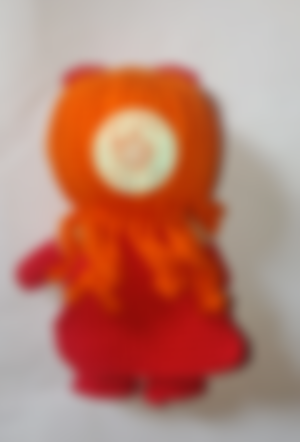
Here is our Wanda doll's back side. I really like how the cape completes her look. And those curls on her hair is cute for me.
Closing words
I hope you enjoy the behind the scenes of me making a Wanda amigurumi doll. I am working on another amigurumi order. Please look forward to that as well.
If you want a custom amigurumi, I will try my best to accomodate you. You just have to send a message on either of these links:
https://www.facebook.com/zehrasky.yarns
https://shopee.ph/zehrasky.yarns
Thank you for reading this article!
If you want to read some more articles of mine, I have monthly summaries here:
December 2021 Articles Summary
November 2021 Articles Summary





It's a nice project you're doing crochet and her cute sis