Three ways to make your own crochet scrunchies (Part 3)
In the first two articles, we have already learned how to crochet a thin scrunchie and a regular sized scrunchie. If you missed those articles, you can find the link at the end of this article. Be sure to read those as well so you will know more patterns for making scrunchies.
Before we go ahead with our last pattern, I want to share that I really enjoyed making this type of content. I actually hve a bit more crochet topics to write about. They are just simple patterns since I do not like to mke my life more difficult.
So if you enjoy reading about this hobby of mine, feel free to read my following articles as well.
The pattern for this ruffled scrunchie that I would like to share is the one that gave me the most sales since I started my crochet business. I have received about 35+ orders for the products that this scrunchies pattern will produce. So if you are looking to start your own scrunchies business as well, feel free to use this pattern of mine. Crediting my pattern back to me is appreciated but it is also okay if you will not credit me. As long as you do not claim the pattern as your own. This statement applies to all the freehand crochet patterns that I have posted here.
Materials
The materials used in this project are the same as the ones we used for the two patterns last time. The only difference is that this will require more yarn.
Love Knots Acrylic Yarn
6/0 (3.50mm) crochet hook
Hair ties
Darning needle
Scissors
Pattern
This pattern includes slip knot, slip stitch, single crochet stitch, and double crochet stitch. If you are unfamiliar with any of these crochet US terms then do search how to do the stitches first before trying out this pattern.
Create a slip knot. Insert the hair tie from the other end of the hook to the one with the slip knot.
Stitch single crochet all over the hair tie. Make sure that you will not put too litte that the hair tie can be seen but not too much that the hair tie will not lie mostly flat. Slip stitch to the first stitch.
Chain 3, this will count as the first double crochet stitch. Create another double crochet stitch on the same stitch.
Put 2 double crochet stitches in the remaining stitches. Slip stitch to the first stitch.
Chain 3, this will count as a double crochet stitch. Insert 2 more double crochet stitches in the same stitch.
Put 3 double crochet stitches in the remaining stitches. Slip stitch to the first stitch.
(Optional: This is part of the pattern that I use for the scrunchies I sold before but I did not do this step in this specific ruffled scrunchie. )
Switch to a different color of yarn. Chain 2, this will not count as the first half-double crochet stitch. Insert half-double crochet stitch in all the stitches. Slip stitch t the first stitch.
Fasten off. Sew the excess yarns and cut off the ends.
Final products + side by side comparisons
In this picture you will be able to see the scrunchies we made. The ones on the left are the thin scrunchies, the ones in the middles are two-toned regular scrunchies, while the one at the
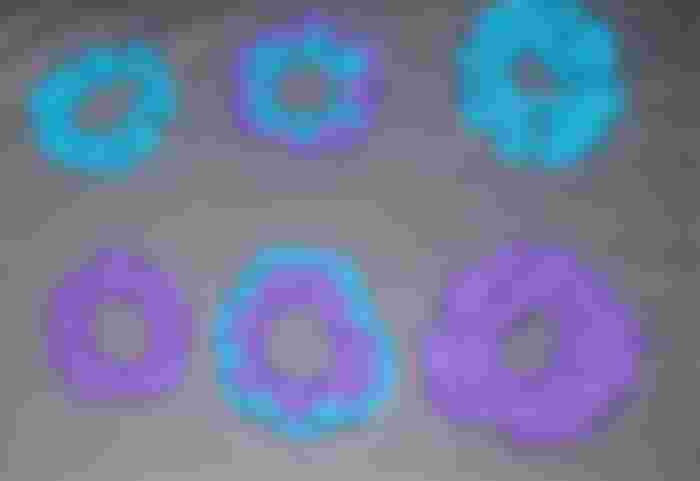

As you can see the most obvious difference are the sizes. But if you look closely, you can see that the waves of the scrunchies are different as well.
I could not find the pictures I have of the scrunchies I have sold. But I did managed to find the pictures that one of my customer sent me.

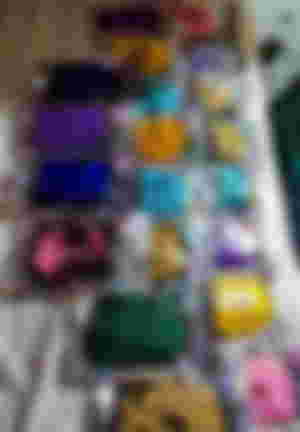
She let me choose the colors randomly and it is a good thing since I only had limited colors of yarns.
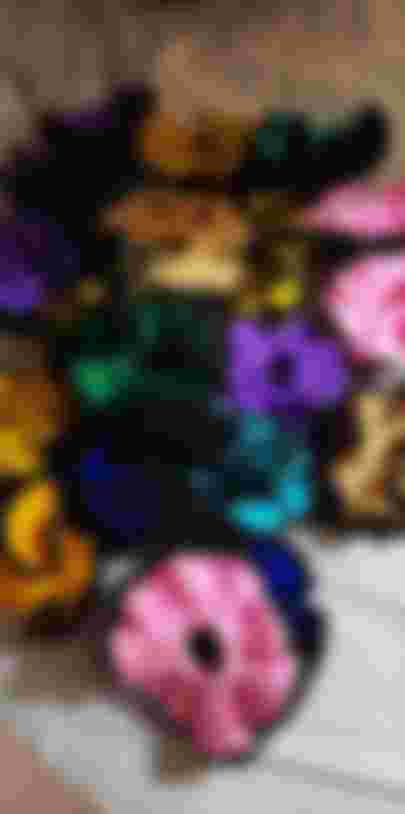
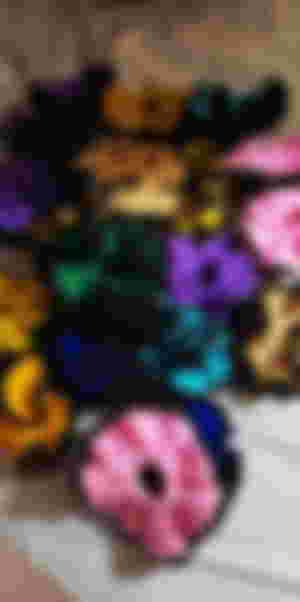
Here you can see the crochet scrunchies together. I remember when I saw these pictures, I felt happy. And I felt happier when I learned that they liked it.
The customer ordered it for Christmas gifts last year which is why the order is big.
Closing words
Crochet is easily one of the things that made me happy and calm. So when other people appreciate my creations, I feel happy.
If you enjoy this article, you might be interested in the first part where I shared how to create a thin scrunchie and a regular scrunchie.
Three ways to make your own crochet scrunchies (Part 1)
Three ways to make your own crochet scrunchies (Part 2)
Thank you for reading this article!
If you want to read some more articles of mine, I have monthly summaries here:
December 2021 Articles Summary
November 2021 Articles Summary
Galing.. Blog ka sa hive dun sa may crochet na community 😁