Adulting 101: Make your own finance tracker (Part 2)
In the last part of this articles series, I shared a copy of my finance tracker which you can use as a basis for making your own tracker. Today's article will be divided into two major parts.
How my finance tracker works
Tricks that will help in editing my free format
Of course, we can not proceed further without a quick disclaimer. I am not a financial advisor, this article is not meant to be taken as a professional advice. All information written here are based on my personal experiences, own research, and own understanding. DYOR is highly suggested after reading this article.
Now, let us start with Make your own finance tracker's part 2.
How my finance tracker works
Below are screenshots of what the sample finance tracker looks like.


As you can see, I have frozen a few rows so that it is always visible. These rows include the monthly summary of how much I have left on my wallets.
Current balance- the sum of all the monthly finances.
Initial balance- the amount I have in my wallets when the year started
Months- monthly summary of the money. These rows and colums have formulas so that it automatically updates whenever I input something on my transactions. I also grouped the months together so I can hide them when they are not needed. I usually keep them hidden since I can always see my current balance.

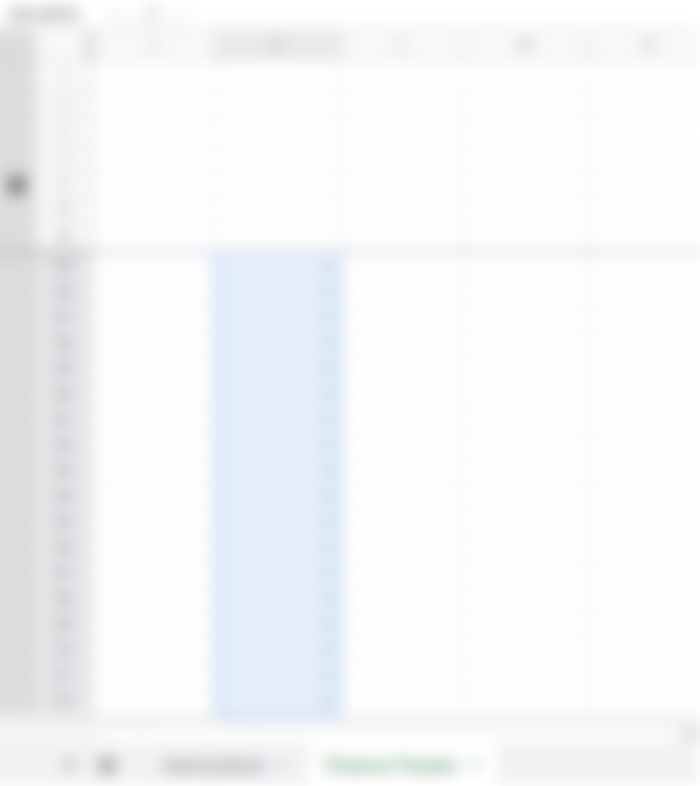
Here you can see what the finance tracker looks like when the months are hidden. As you can see, below the frozen rows, I have included my transactions divided per month.
Transactions- is a dropdown option where I can choose what type of data I am putting on the spreadsheet. My dropdown options include: income, expense, transfer, savings, and investment. Each option will also automatically change the fill color so that I can clearly see if I am earning and saving more than I am spending.
Details- here I put the reason for every transaction I made so that I know where my money goes. I am not trusting my memory to just remember where an income comes from or what expenses I made.
Wallets- every input I made on the wallets column will automatically reflects on the frozen rows. When I put a positive number, it will automatically turn green. It will turn red if I input a negative number. I am using the financial format for these numbers as I prefer how they look over the other formats.
Tricks that will help in editing my free format
Now that I have given you an idea about the mechanisms of my finance tracker, let us discuss some tricks that I think will help you in either creating your own tracker or editing the free format from my last article.
=sum(F21:F24) or any row/column numbers

This a basic formula that I am sure many already knows. However, I am still including it for the benefit of those who may not be aware of it. Trust me, there was a time when I am using my calculator even though I am inputting data on Excel. That was when I was around 12 years old, but still it is possible that someone might have never encountered this before.
Basically, you just have to adjust the row number and column letter for each wallet and month when you are editing this file for your own tracker. You can see the F21:F24 is highlighted with orange. You just have to include everything that you want to include per wallet and month, and you will be fine.
Ctrl+Shift+down


What this command do is to basically select the full column without scrolling endlessly just to reach the bottom. This is helpful when you want to apply some data validation and conditional formatting to a column.
Creating dropdown option
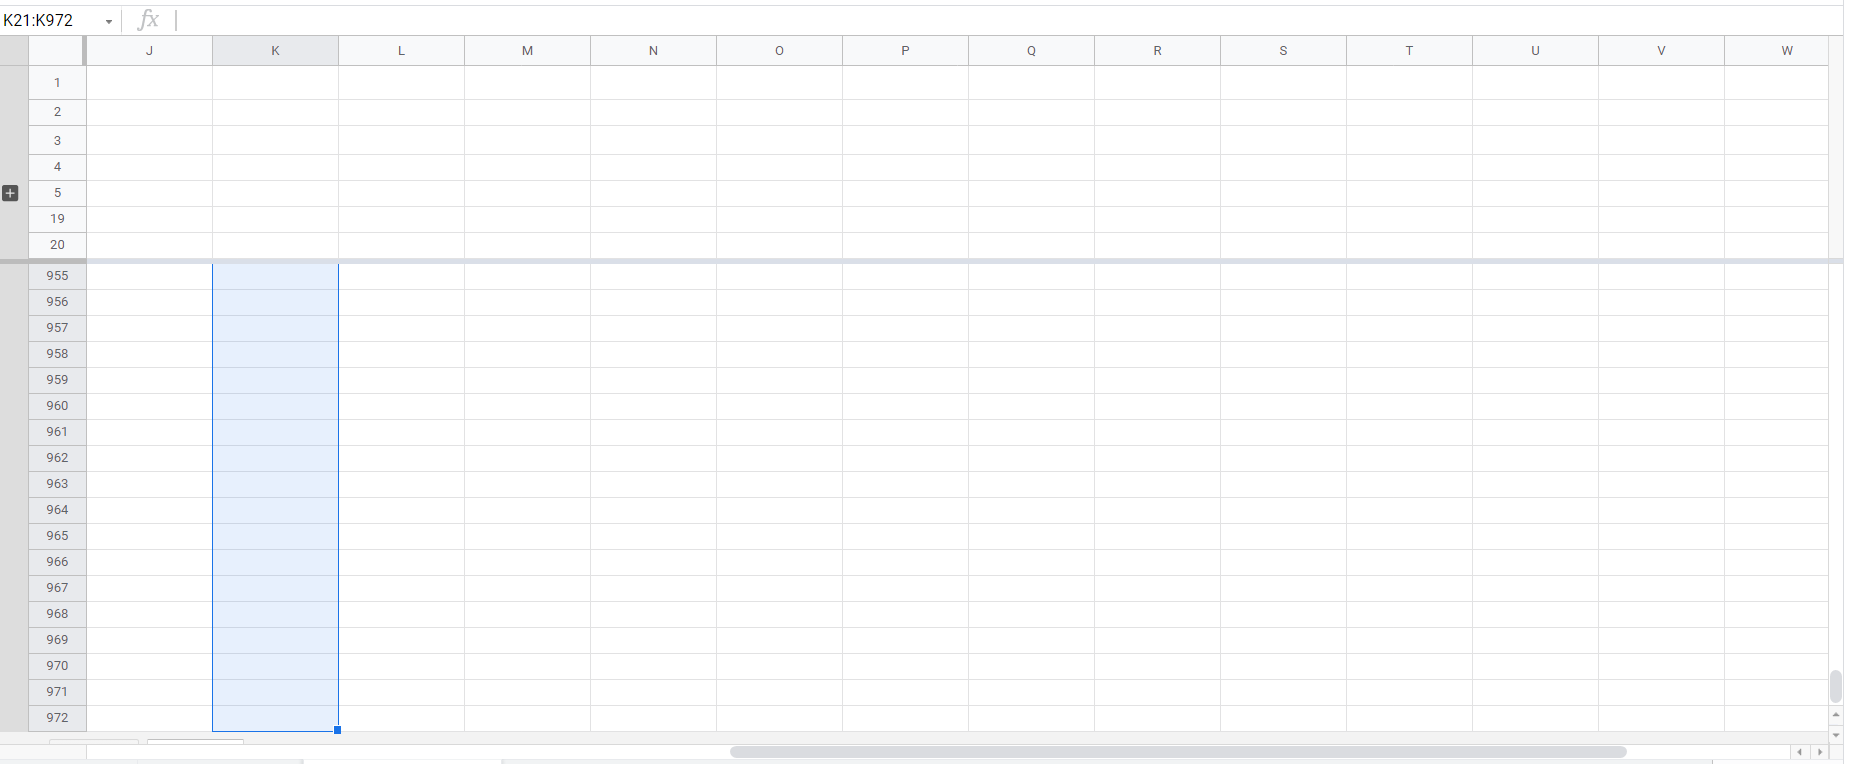
This is a clean part on the finance sheet. So, you just have to do what I have written above: ctrl+shift+down. Then the column where you want to apply the dropdown will be selected.
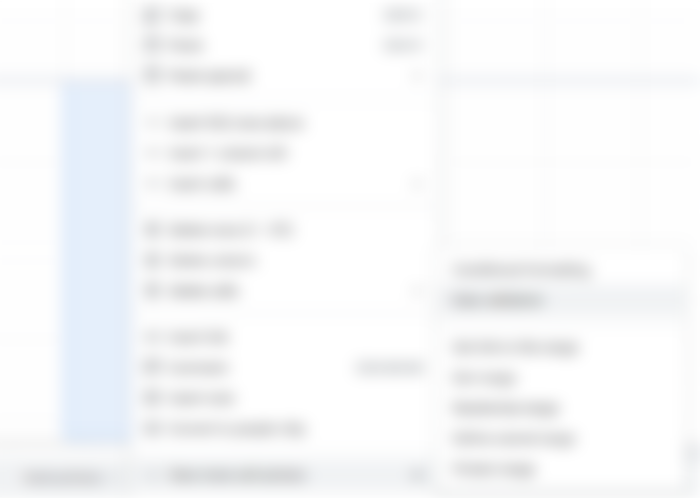

After that, right-click to show the option. Click on view more cell actions then data validation. Once you have done that, a pop-up will appear.


On the data validation option, you will be able to see what kind of criteria you can use. For inputting some words, I chose list of items.


After that you can input the options that you want to choose from. In this example, I wrote: income, expense, etc.
Adding conditional formatting
Now that you have a dropdown option, you might want each option to be automatically associated with a color. This is easy to do so just continue reading to know how.

Select the column using ctrl+shift+down.
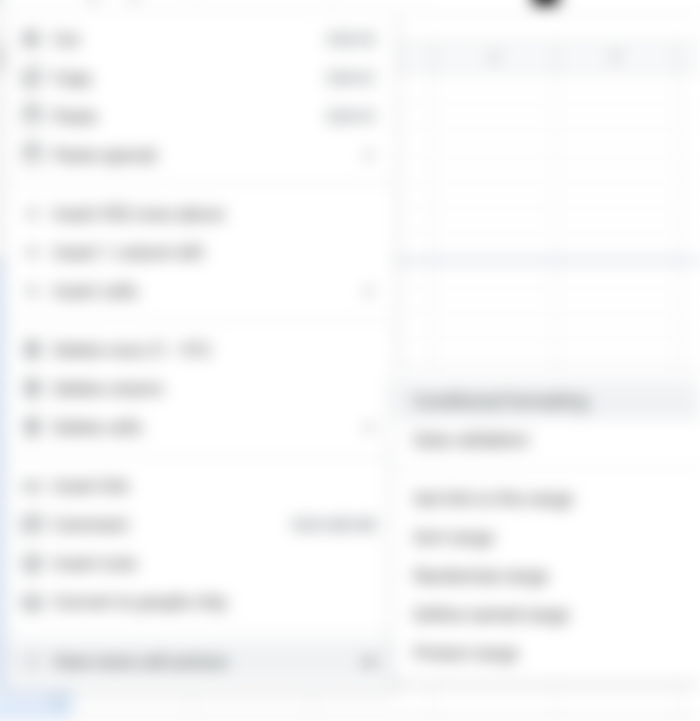

Right-click then choose view more cell actions. After that click on conditional formatting. The conditional format rules will appear on the right side of the spreadsheet.


Here you can choose what conditions you want to apply. For this example, I chose the if text contains "income" then the format must be with green fill.


You can add another rule by clicking +add another rule on the conditional formatting rules.
This can also be used for automatically changing the color of a number depending on whether it is positive or negative. If that is what you want to do then you must select greater than or less than in the part format cells if...
Greater than 0 will refer to the positive values which is you income. While Less than 0 will be for negative value which means your expenses. You can just explore it more if you want. You can choose different formatting style too if you do not want to worry about what shades to pick for colors.
Result:
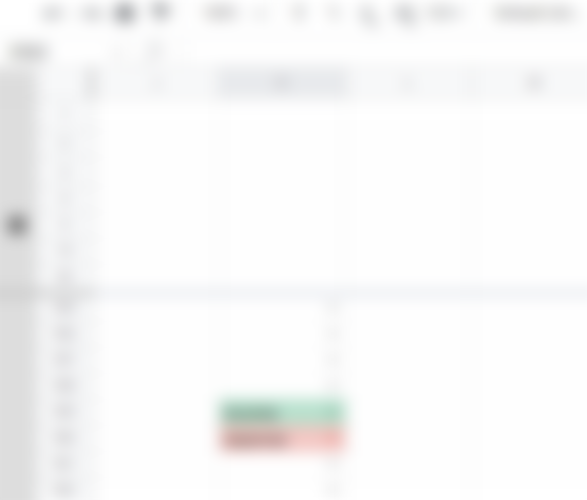

This is the result of what adding a data validation and conditional formatting does. As you can see, choosing the option income will automatically change the fill to green while it will turn red when you choose expense.
Closing words
I hope that you are able to learn something from this article. There are much more complex operations that you can do with spreadsheets. Some are operations that I used for other parts of my financial sheet such as my BCH tracker where it automatically takes into account which wallet I added or subtracted from. But that is a topic for another article. If I end up writing one about it.
Honestly, this article requires a lot of effort since I am not really fond of taking screenshots and then cropping them. But it was still fun to do.
*It is suppsoed to be Manju's day for publishing but she asked me to cover this day for her.*
This is a part of the Adulting 101 series that I am writing. You can read the earlier articles of this series here:
Thank you for reading this article!
If you want to read some more articles of mine, I have monthly summaries here:
December 2021 Articles Summary
November 2021 Articles Summary
I'll try to make mine, so that I won't spend to much from buying products