 @daring-celt
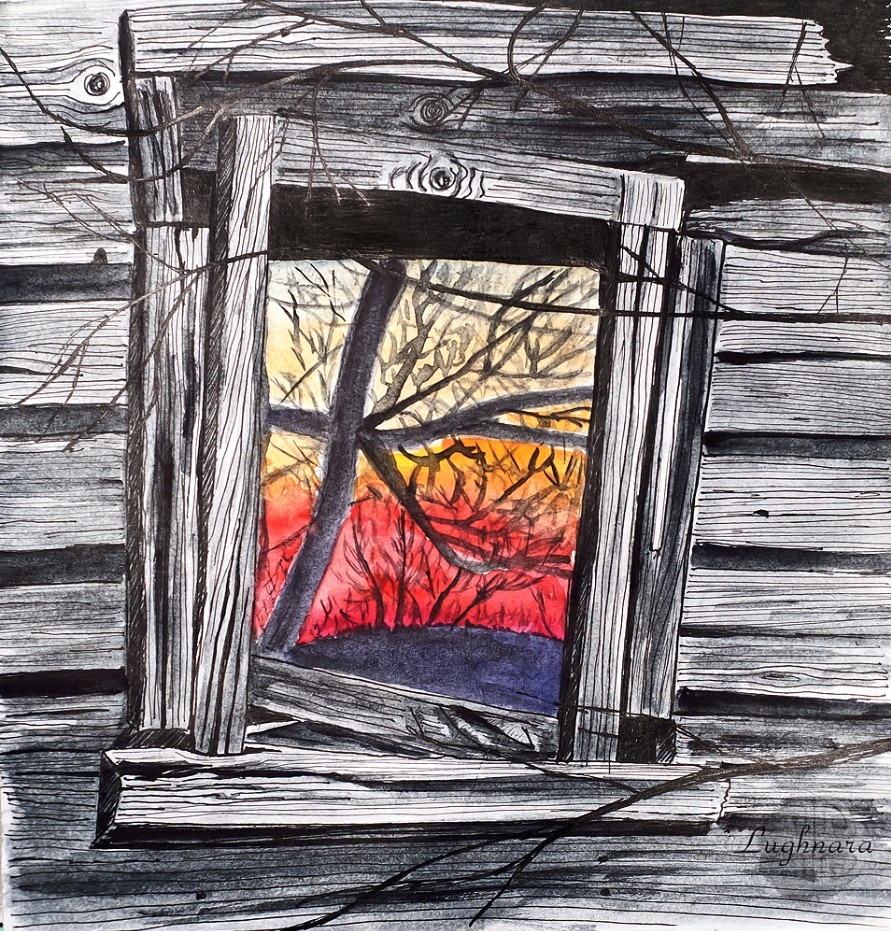
Sunset in the window of an old house (drawing with pen-brushes) - https://read.cash/@daring-celt/sunset-in-the-window-of-an-old-house-drawing-with-pen-brushes-6687548f #art #drawing #readcash
Joined 4 September 2021 · 209 posts
Digital painter, photigrapher, retoucher from Russia..
120 KT
0 KT · $15.45 received · 0 KT · $33.36 given
@daring-celt
Sunset in the window of an old house (drawing with pen-brushes) - https://read.cash/@daring-celt/sunset-in-the-window-of-an-old-house-drawing-with-pen-brushes-6687548f #art #drawing #readcash
@daring-celt
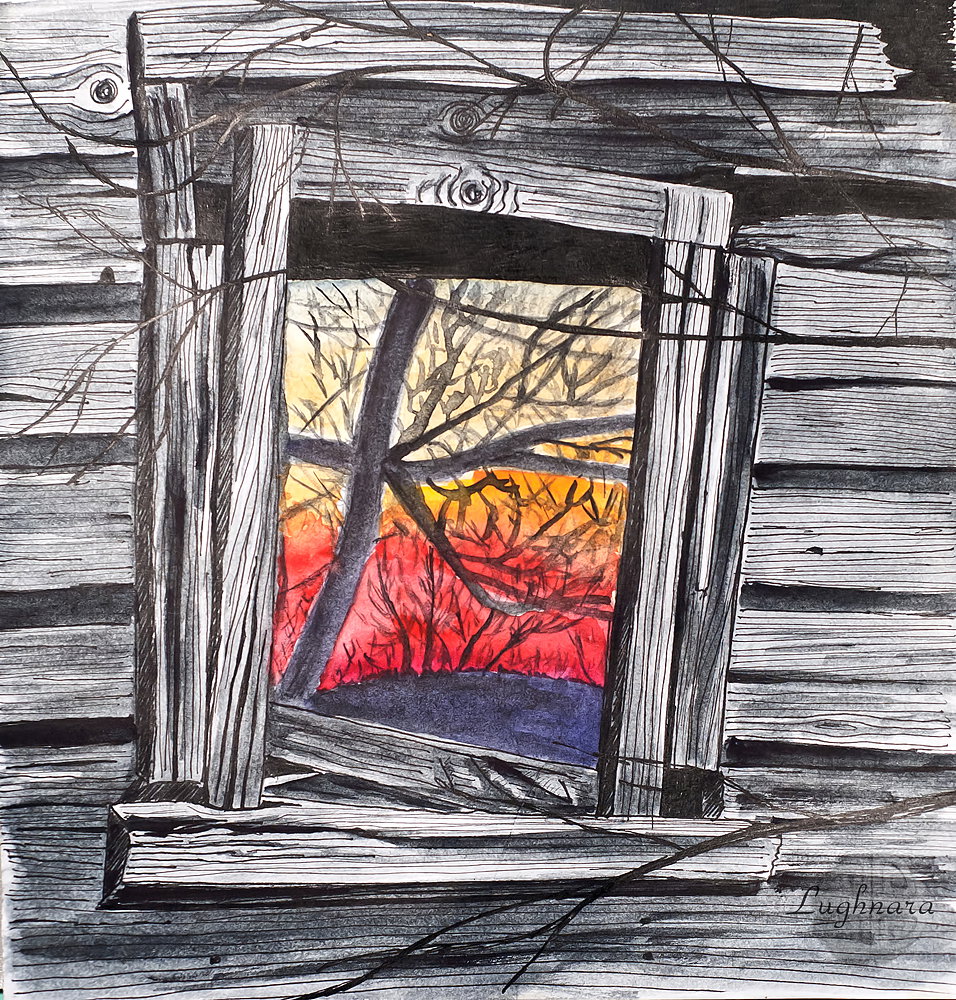
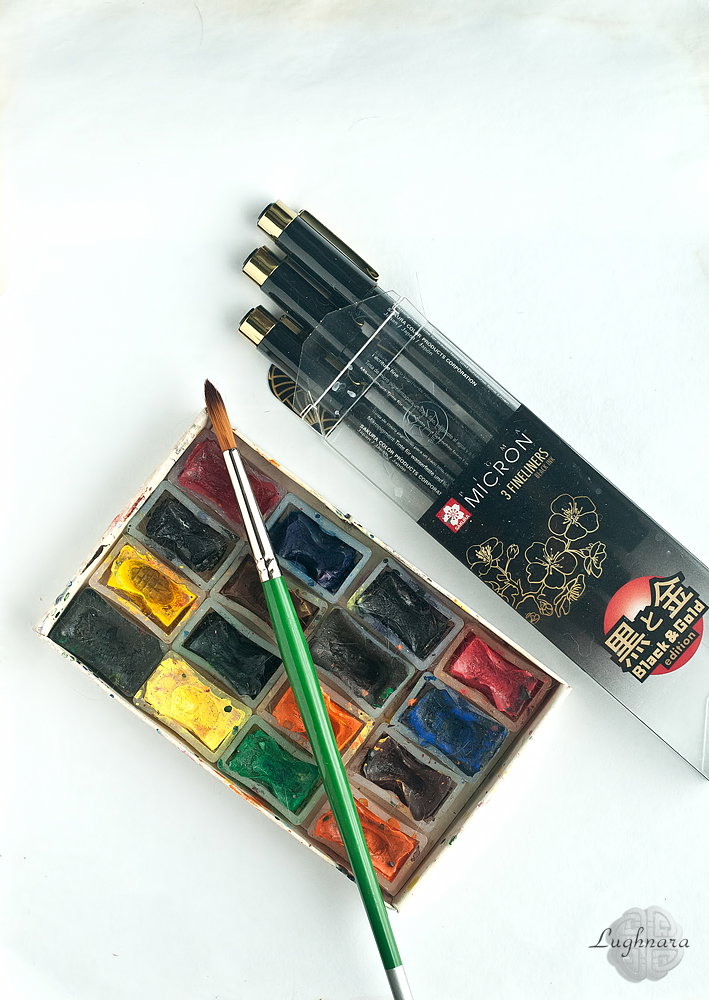
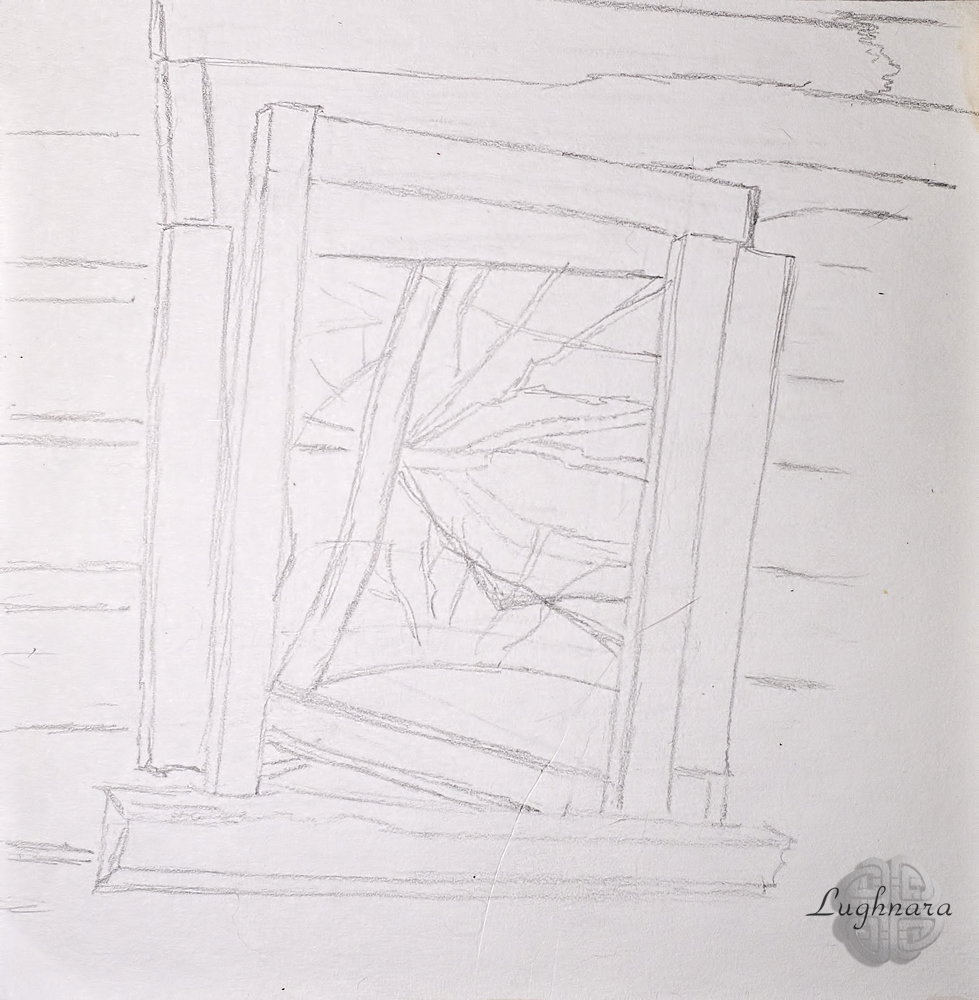
Sunset in the window of an old house (drawing with pen-brushes) Hi friends! Sometime I want to rest from digital drawings and draw a pictures with usual pen or pencils. I especially like to depict old wooden buildings. Today I drew another one graphic picture. I found on Pinterest very interesting shot - a reflection of sunset in the window of old house. I liked the combination of dark dark planks and bright reflections in the window. https://www.pinterest.ru/pin/85216617941144832/ This time I took a set of capillary pens from Sakura. They are all the same color, black, but with different rod thicknesses, which will be great for monochrome graphic works and texture of old wood. I also needed a set of watercolors and synthetic brush Sketch I started my work with drawing a sunset's reflection. I needed a yellow, ocher, red scarlet and carmine colors. Then I saw that I had incorrectly marked the border of sunset and land and corrected it with a thicker carmine color below. And I mixed black and purple colors to reflect the trees. Since the watercolor gets lighter as it dries, I had to apply two or three coats on the darkest parts. So, now it's time for a wooden ambiance! I take a medium rod 0.35 mm and draw a base outlines and individual wood fibers Then I chose a pen with 0.25 mm rod and draw thin wood fiber lines And finally, with a pen with a 0.45 mm rod, I paint the darkest areas of the house - deep shadows, cracks in the boards, holes outside the window. But now I again take the watercolor set, dilute the black paint with water and start painting over the wooden fragments. First, I make a very light tone Then, with the second layer, I begin to darken individual areas where there are more shadows Finally, using a 0.45 mm rod pen, I draw tree branches that are reflected in the window. And this is the final stage of my work Thanks a lot for your attention to my drawings (and generous donations of my sponsors)) ) Have a nice and creative day! Regards
+8 more
@daring-celt
Dragon Callia, another artwork from my dragon series - https://read.cash/@daring-celt/digital-art-2019-dragon-callia-87b0d90b #art #drawing #digital #readcash
 @daring-celt
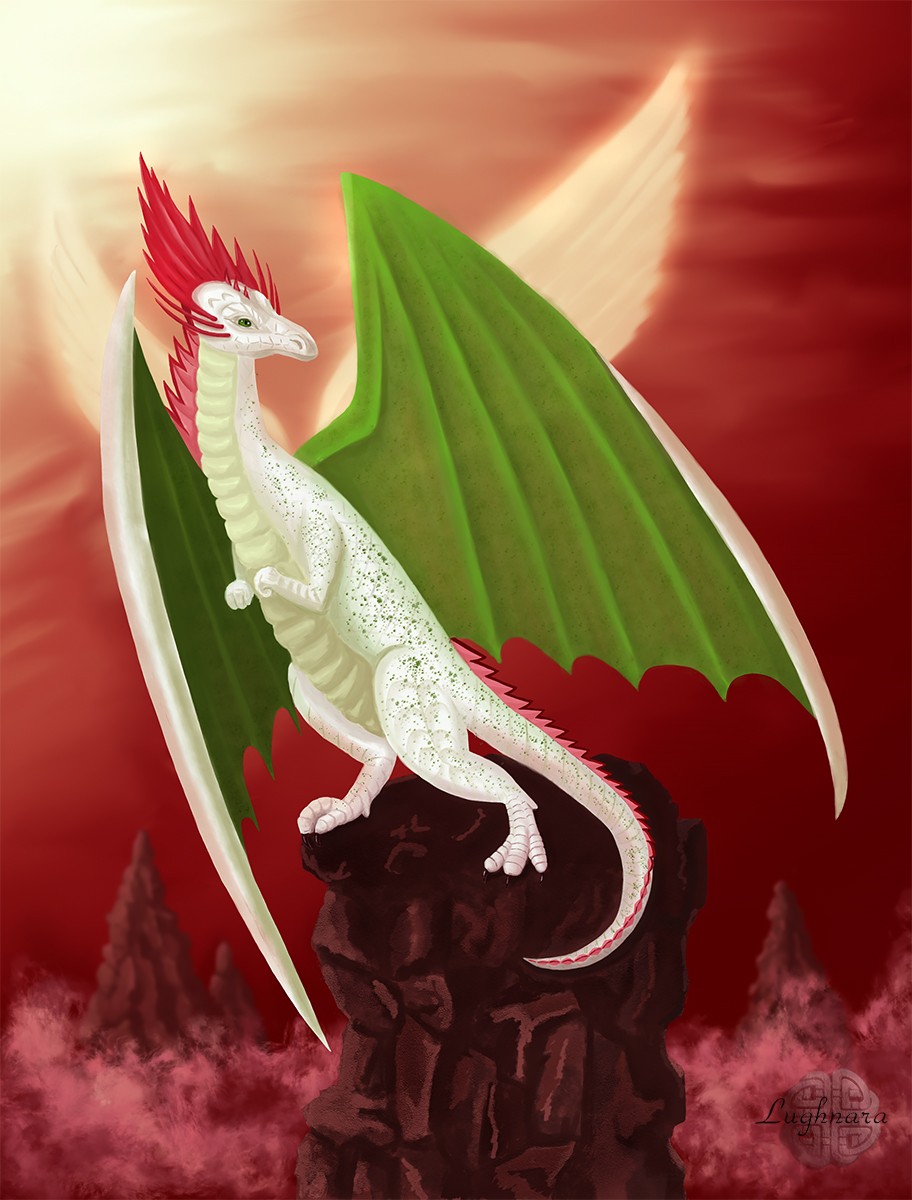
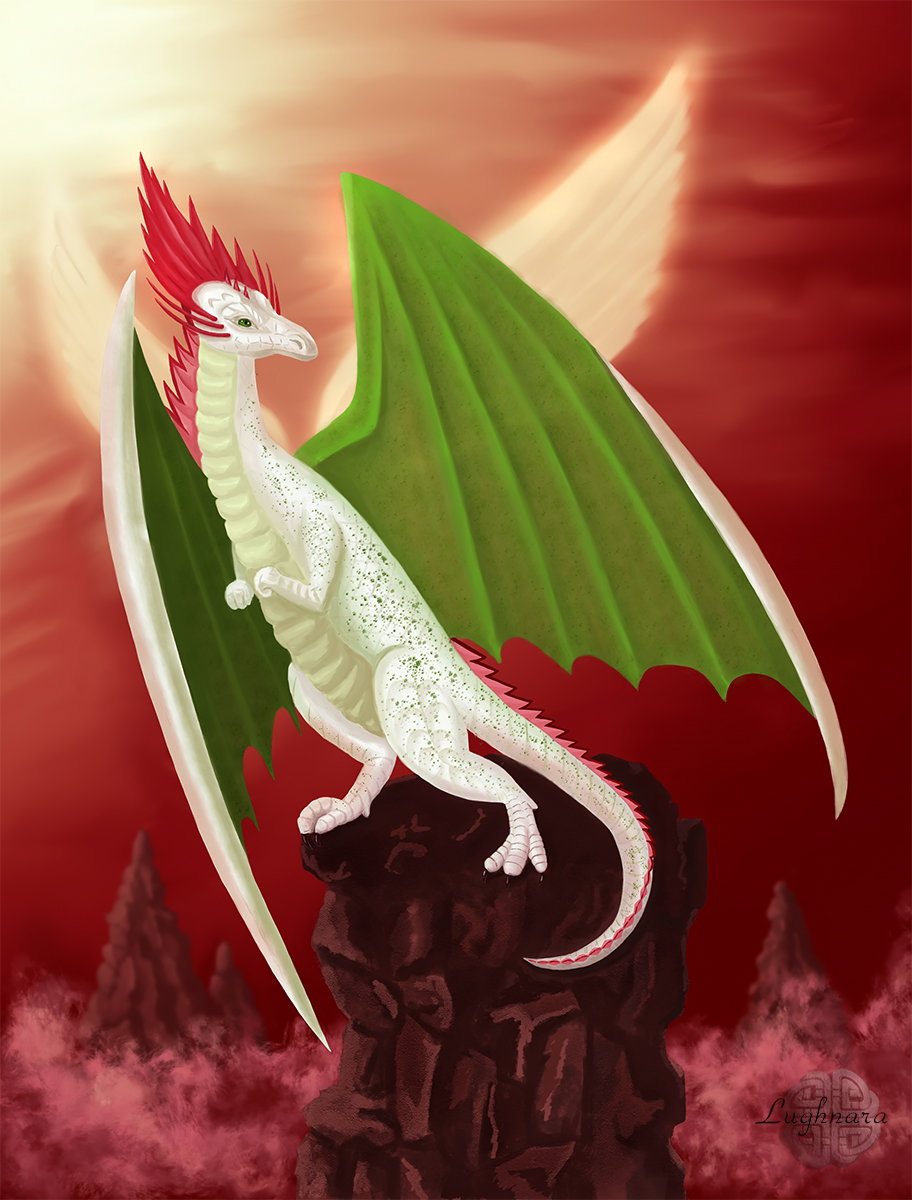
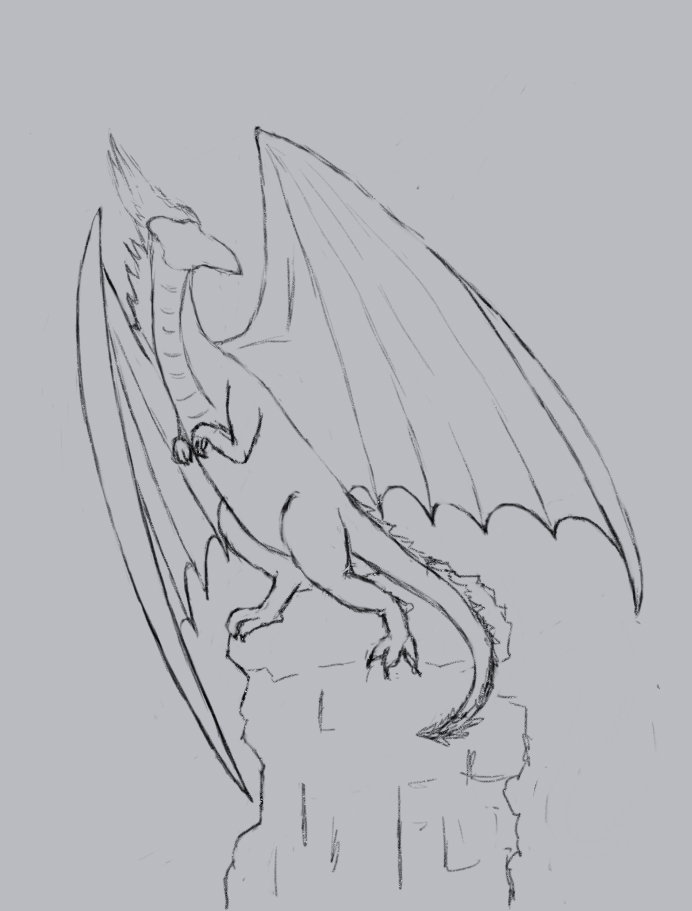
Digital Art_2019_Dragon Callia Hi friends! I've a new sponsor - Ellen.he Dragon lover, which I am very happy about https://read.cash/@Ellen.he And today i'll show... right, another one Dragon! One day I, together with several WLS-users, wrote a joint fairy tale about the Dragon named Callia. I tried to see how a main character look like. And I wanted to draw her. I saw her in my thoughts just about... Sketch. I wanted to draw a dynamic dragon figure that is going to fly from top of rock. I draw in Sketchbook Pro. For this picture I make a my own brush set to draw comfortably. I started working against my usual method of choosing a color palette for the character. For work, I took a contrasting color scheme to create an expressive story of art. And I wanted the Dragon to stand out from the background, but at the same time blend harmoniously into it. Yes, I'll have a red background I changed the shade of the wings to a warmer green and started working on the environment. Changed the gradient for the background to a more saturated one to highlight the character (*opening a file in Photoshop and returned in Sketchbook Pro for continue drawing*) Working with details I make a background more interesting by smearing the light area Add a texture & transparency on wings membranes on new layer Claws Then I return in **Photoshop** & make a skin texture more interesting (with **Layer Style** option) And yes... On fairy-tale Callia has a two pair wings! Color correction one more (add a contrast) And it's ready art! It's another my Dragon from dragon's drawing series Thanks a lot for your attention and donation! Regards

+11 more
@daring-celt
Moon TV, third drawing of Little Town series - https://read.cash/@daring-celt/digital-art-2019-moon-tv-6fec7ce9 #art #drawing #digital #readcash
 @daring-celt
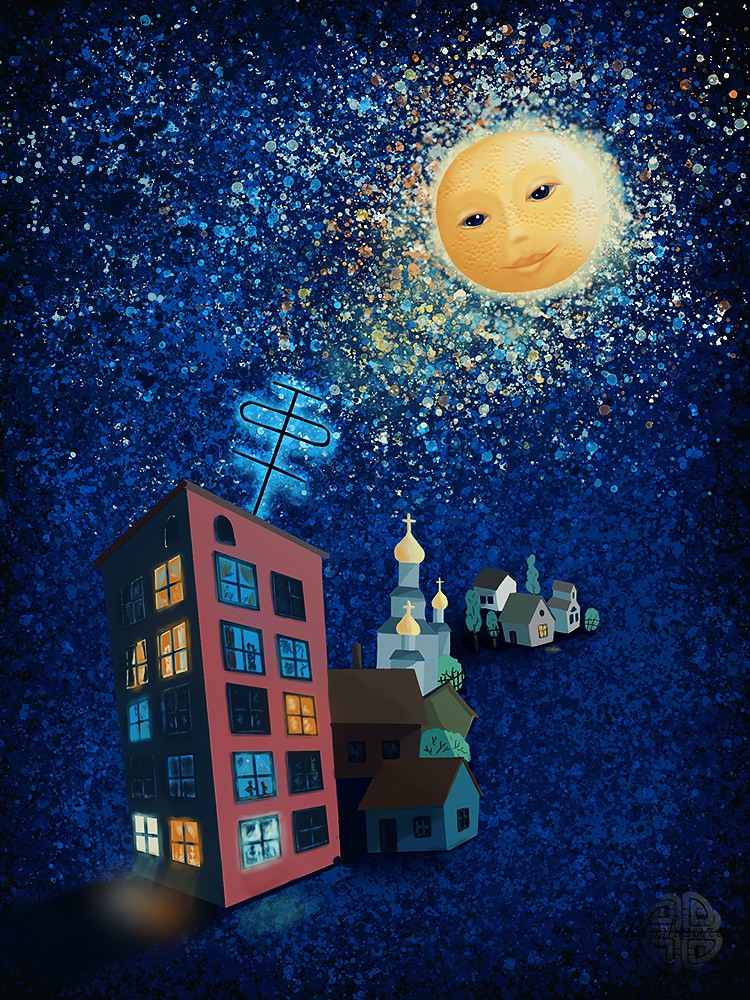
Digital Art_2019. Moon TV Hi friends! It's my third drawing from Little Town series (previous picture you can see hier ). *And* *hier* https://read.cash/@daring-celt/digital-art-2019-christmas-angel-411d9a02l https://read.cash/@daring-celt/digital-art-2019-guard-of-the-little-town-df0a6a73 One of the Hive users suggested an idea... He liked the antenna on a high-rise building))) Sketch in Photoshop I decided to depict the city in a different perspective, where the high-rise rear with an antenna will be placed in the foreground. Choosing a color palette Some steps Wonderful scatter background Houses Moon I used layer styles to create voluminous freckles I add trees and drop shadows from houses Now I wanted to make the shine from the Moon in the same color scatters. Immediately I draw a windows and the doors in little houses and illuminated windows in a high-rise building with silhouettes of residents Some color correction - made the highlights colder, like real moonlight It remains to make the spots of light falling from the windows to the ground At the final stage, I darkened the background, made it more nighttime, and blurred the light from the windows. Yes, now I like the picture! I wonder what is being broadcast on Moon TV channels now?))) I don't know... but are you know? Regards


+7 more
@daring-celt
Guard of the little Town, drawing tutorial - https://read.cash/@daring-celt/digital-art-2019-guard-of-the-little-town-df0a6a73 #art #drawing #digital #readcash
 @daring-celt
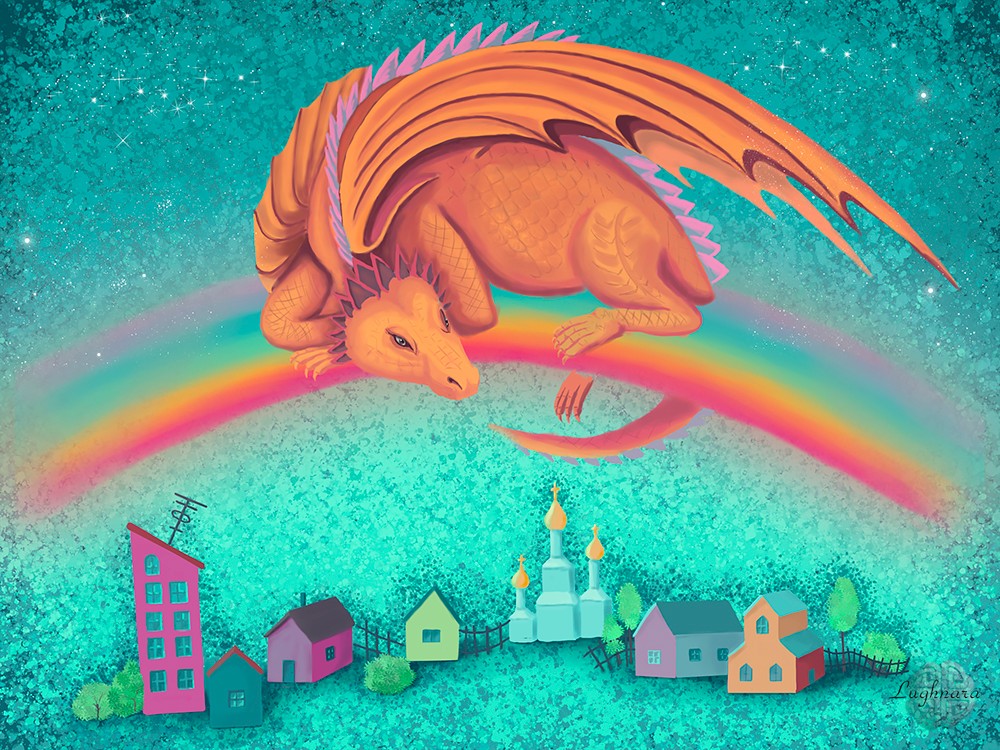
Digital art_2019. Guard of the little Town Hi friends! It's my art idea to dragon contest on Whaleshares https://whaleshares.io/contest/@kristyglas/dragon-contest-3-rainbow Yes, this was a first Dragon from my series of painted Dragons. I want to continue a story of my other drawing so I choose the same of drawing style & brushes in Photoshop. https://read.cash/@daring-celt/digital-art-2019-christmas-angel-411d9a02l Sketch According to the terms of the assignment, it was necessary to draw a rainbow dragon. So I picked up a joyful colorful palette as a rainbow Background with scatter brushes by Kyle T. Webster (*default set in Photoshop CC 2018*) I like this nice effect! Drawing the town and sketch a colors of rainbow Main character I needed to achieve such an effect so that the dragon would not get lost in the background of bright colors of the rainbow Detailed drawing - smoothing colors, defining the outlines of houses Gradually detailing the environment of the city - fences, greenery, shadows and highlights on the windows. With the same scatter brushes I create a dark background behind the houses. Detalized a character Some color correction and sharpen It's ready art! I hope you'll like this magic story about Little Town)) Thanks a lot for your attention and donation from my sponsors! Have a nice and creative day! Regards
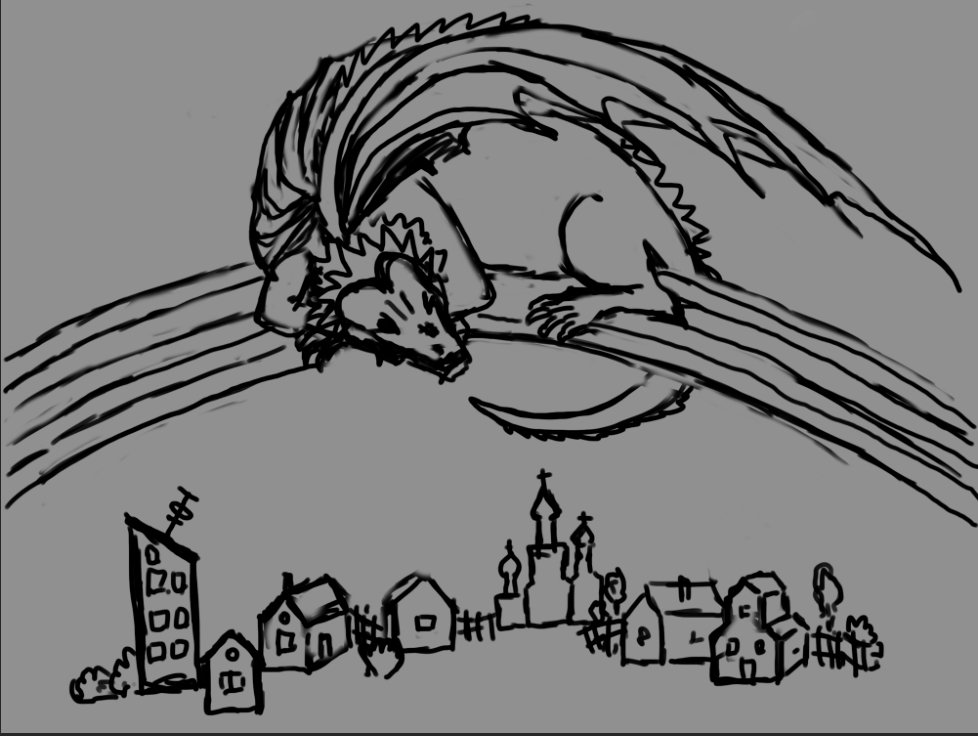
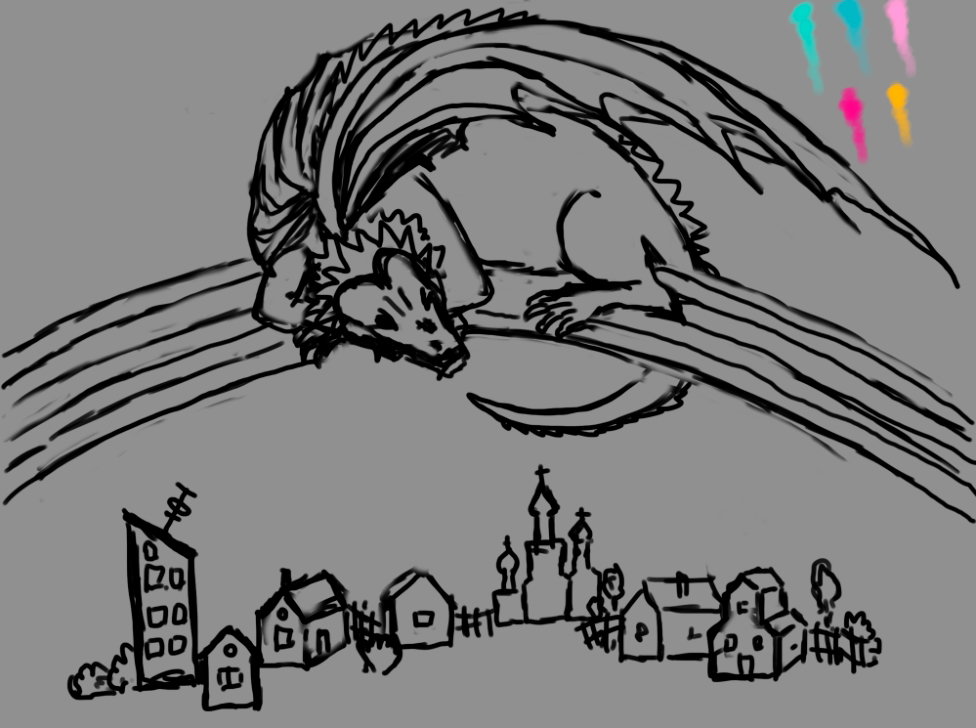
+6 more
@daring-celt
Christmas Angel, drawing tutorial - https://read.cash/@daring-celt/digital-art-2019-christmas-angel-411d9a02 #art #drawing #digital #readcash #Christmas
 @daring-celt
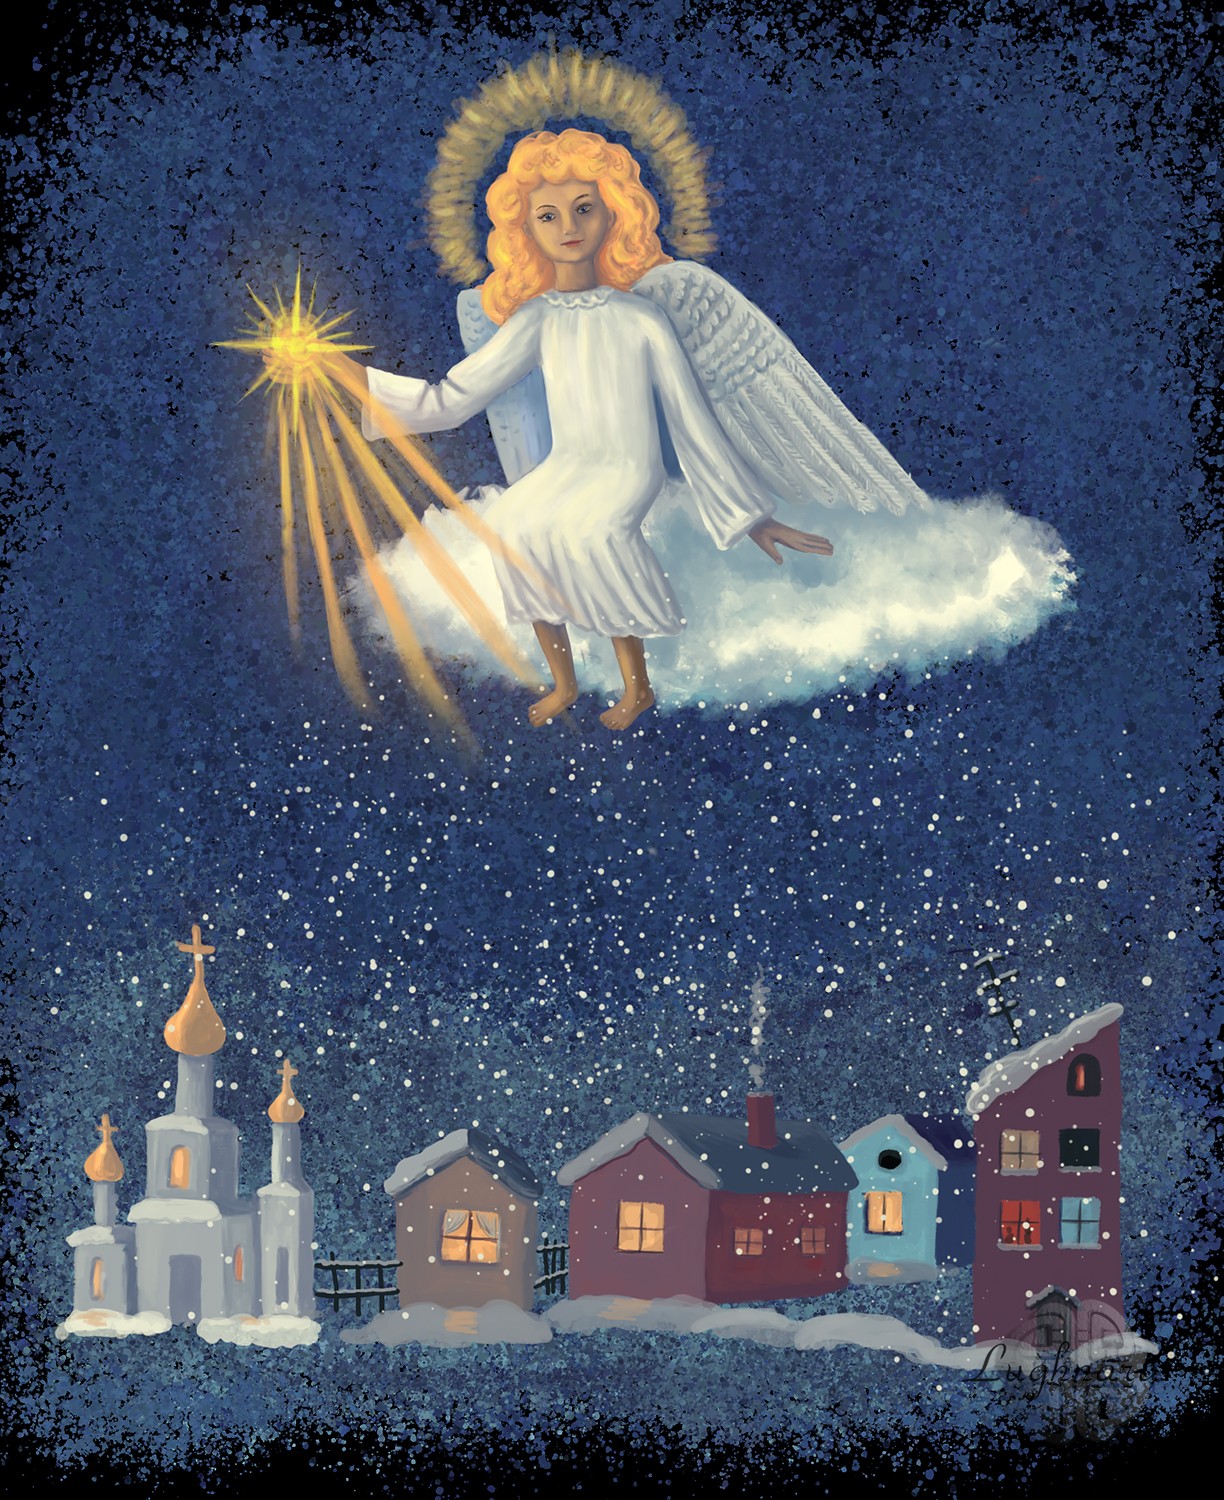
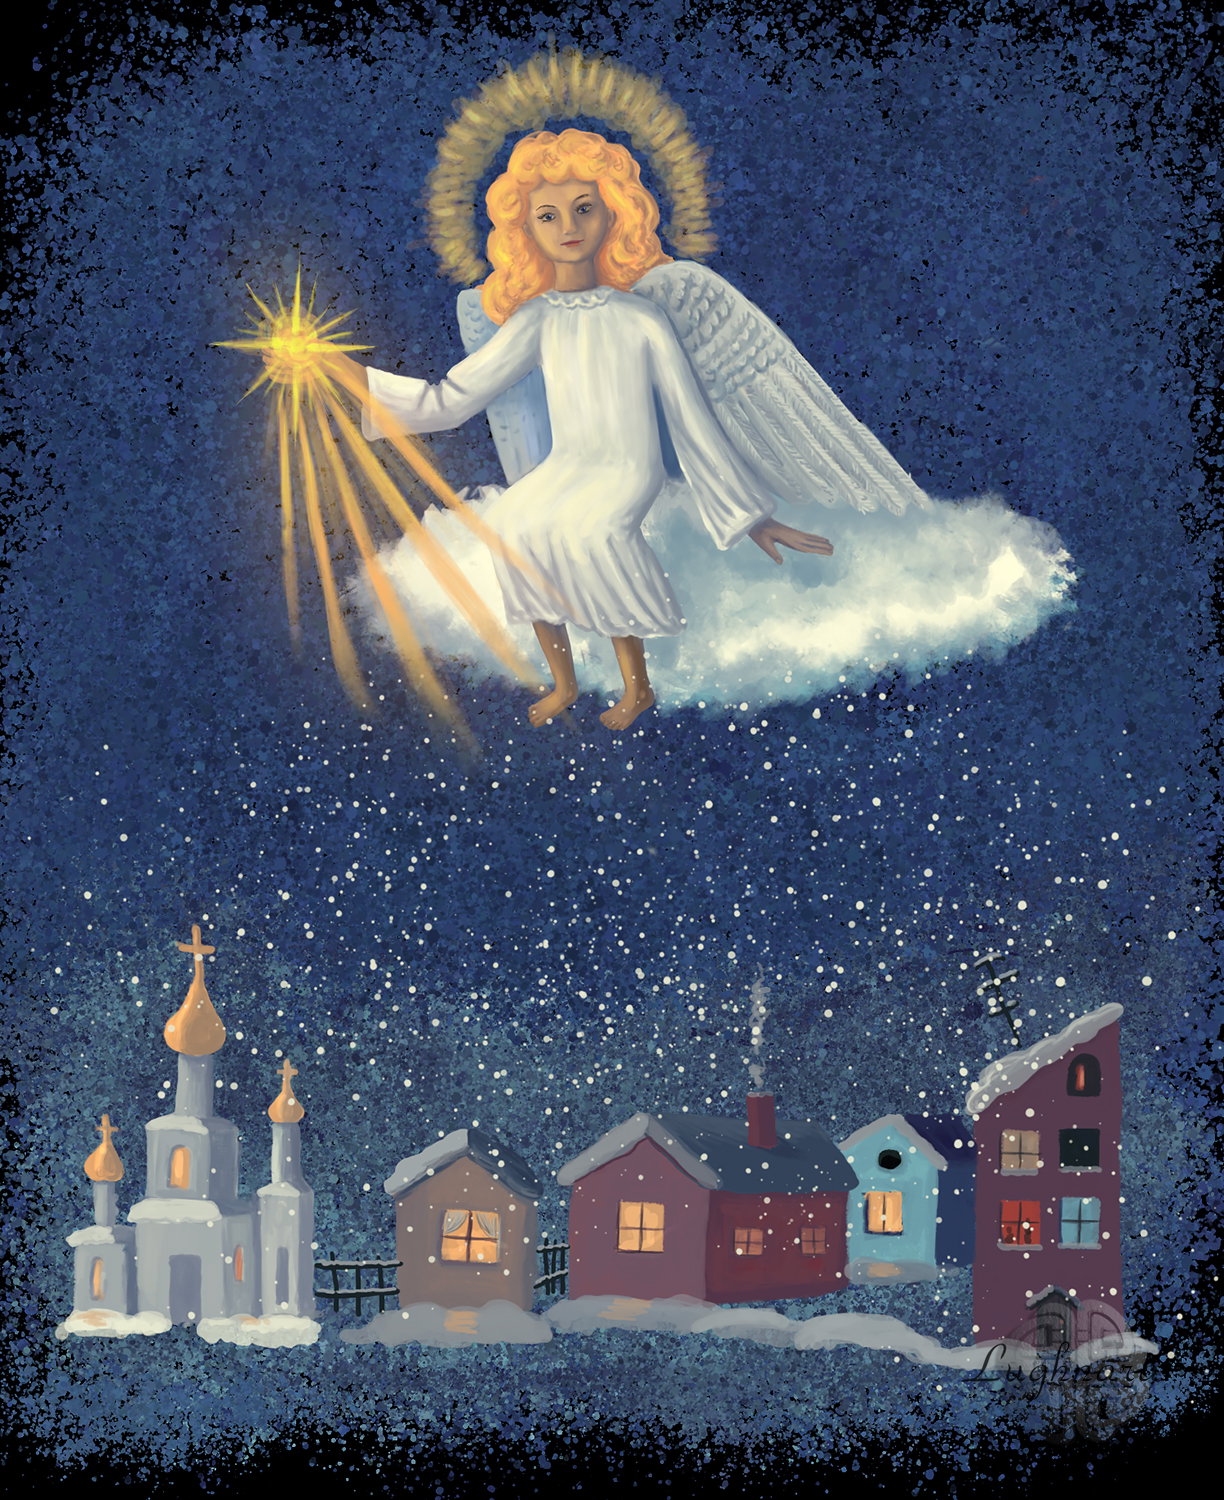
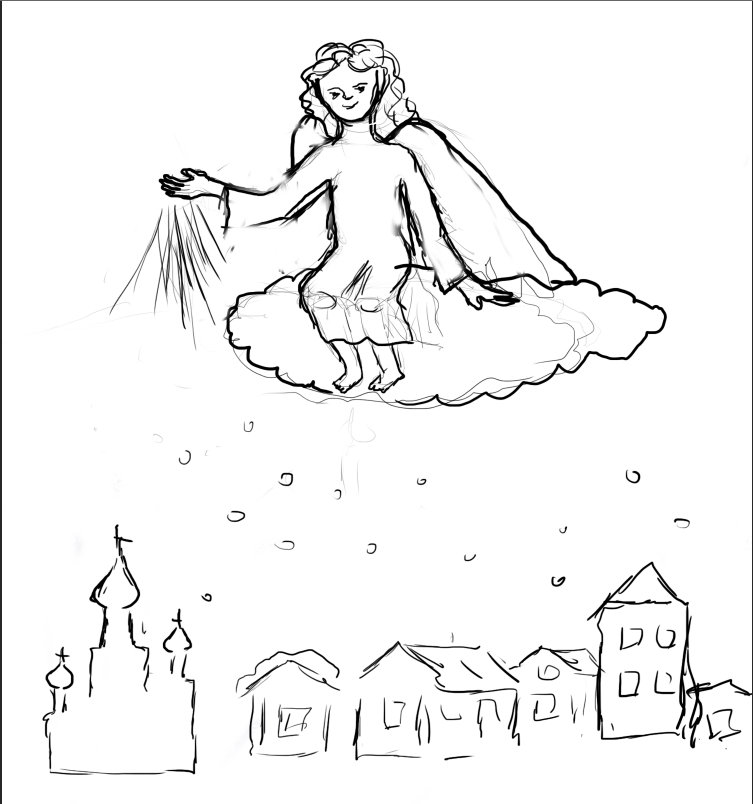
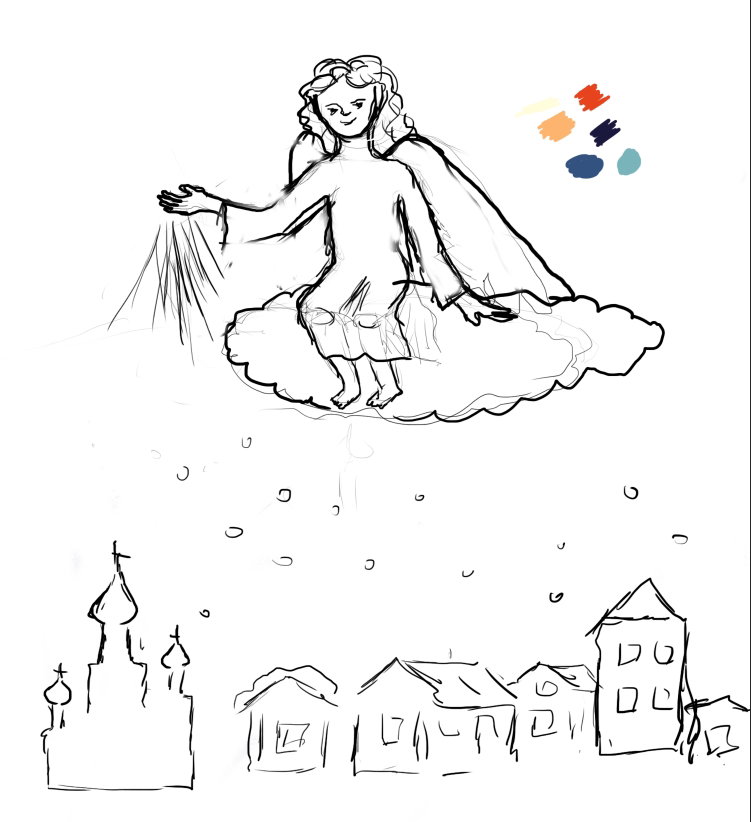
Digital Art_2019. Christmas Angel Hi friends! There are many articles in blogs about the coming Christmas, about the holiday mood. I will add mood too!)) I made this drawing for the competition dedicated to Christmas. Well, I just love angels))) I imagined such a scene that an Angel on a cloud flies over a sleeping snow-covered winter city and holds in his hand the Star of Bethlehem, illuminating the darkness Sketch in Photoshop Color palette Background I discovered in the new version of **Photoshop** (*I then installed the CC 2018 version*) amazing scatter brushes from designer **Kyle T Webster** I tried to draw with them ... and I got such a magical background. Then I find a colors for my main character and the town, try to stick to the original palette I am working on the image of the Angel - outline the initial highlights on the face, the shape of the hair, the folds of the tunic, silhouette of wings behind the back I turn on the lights in the houses I revive the city - I add fences near houses, snow-covered trees, and snowdrifts jn the earth and on the roofs I draw the image of an Angel I want to give him a cute, truly angelic face It remains to make him a golden glow over his head and give him a star in his hand And some snowflakes falling from the sky A quiet warm winter evening, when Angels fly over the world and give the magic of Christmas! I wish everyone to keep the festive mood until Christmas! Regards
+7 more
@daring-celt
"El Condor pasa" - digital illustration for famous song - https://read.cash/@daring-celt/digital-art-2020-el-condor-pasa-f5b94a20 #art #drawing #digital #readcash
 @daring-celt
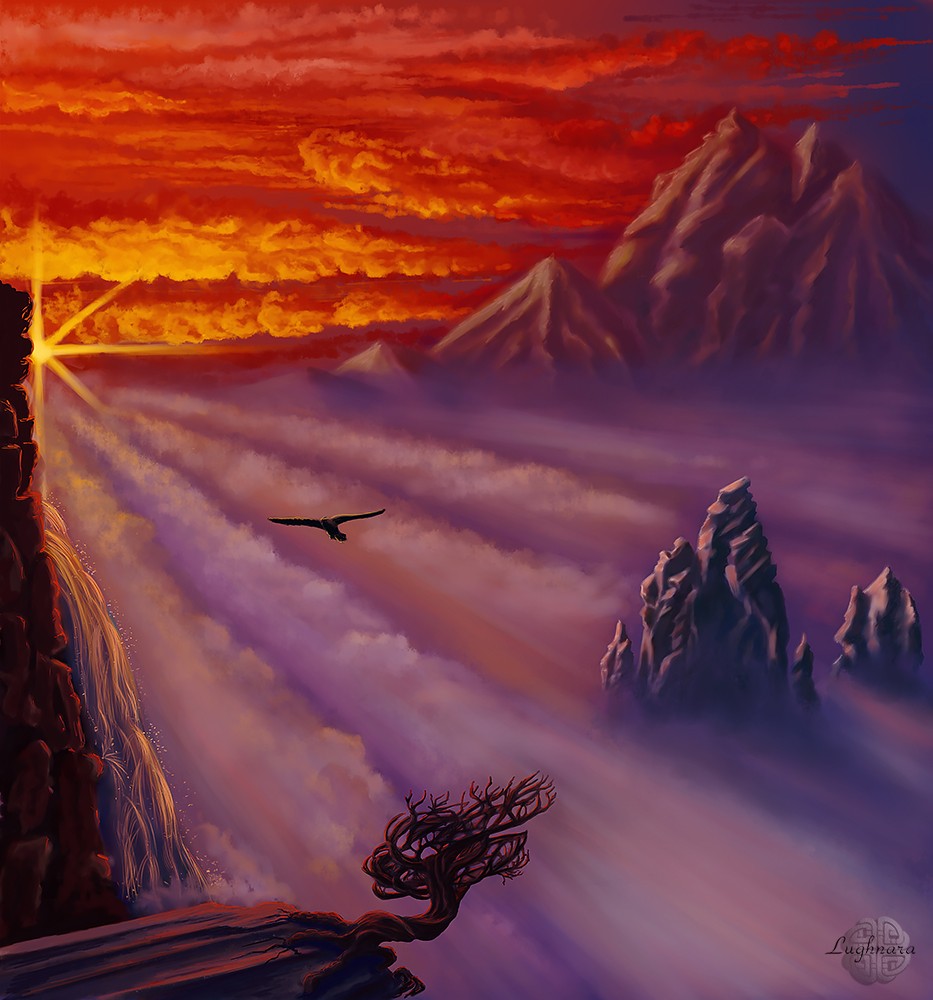
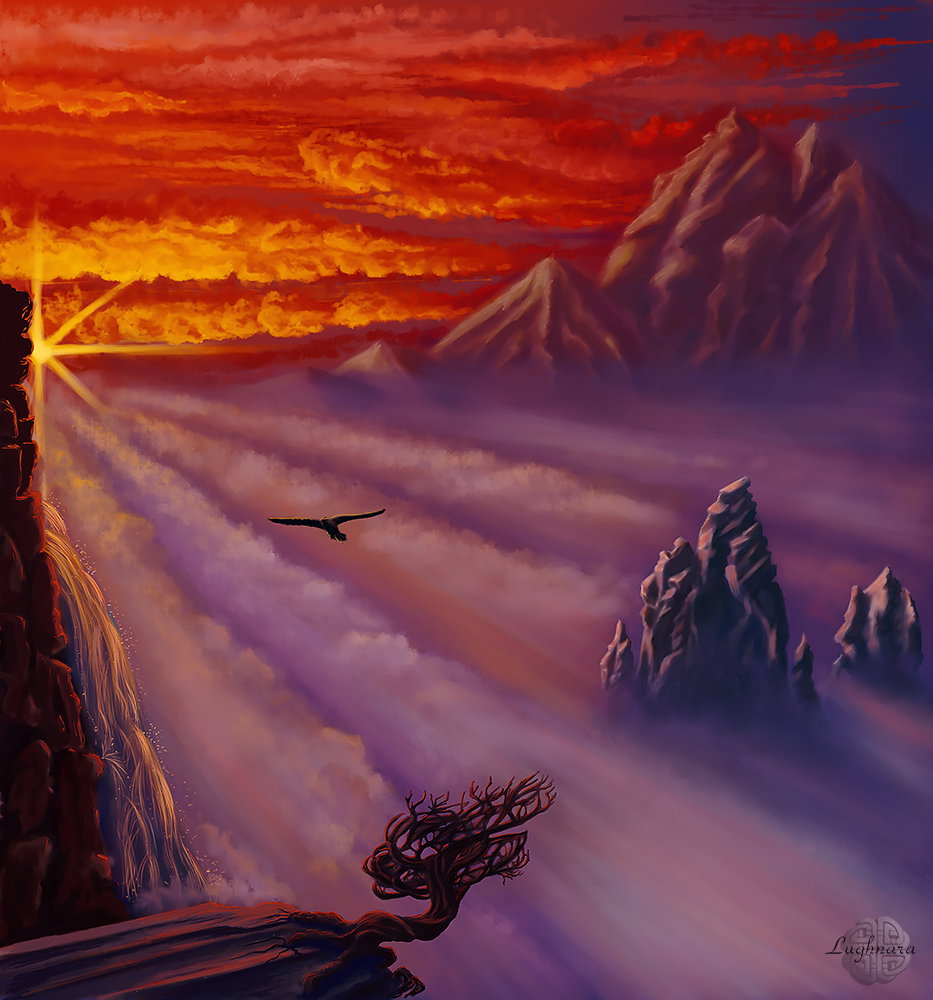
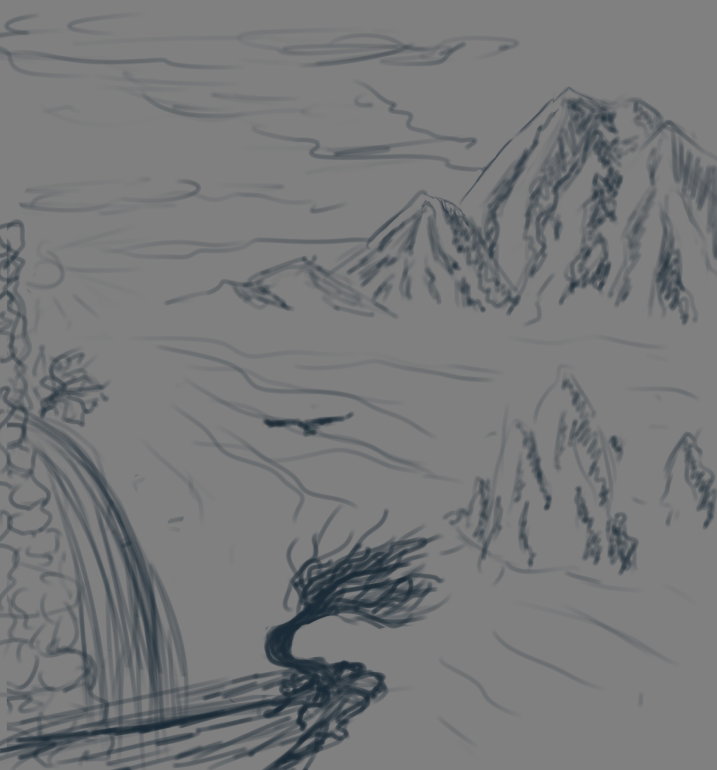
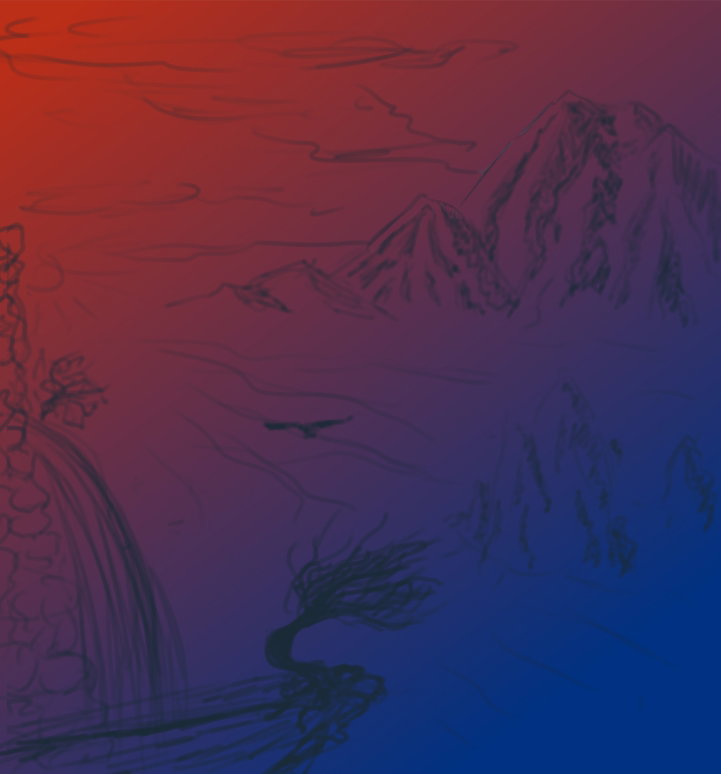
Digital art_2020. El Condor pasa Hi friends! This painting has a special story. It dedicated by the song **"El Condor pasa"**. I love the music of Simon and Garfunkel, and this is my second attempt to illustrate one of their songs. How I drew first illustration, I told hier https://read.cash/@daring-celt/sound-of-silence-illustration-to-song-9fbf4b2a Sketch (drawing in **Paint Tool SAI**) This is an author's composition, created by my imagination only. I imagined a beautiful mountain landscape with a condor flying over a fog-covered valley right into the sunset Steps For this painting I chose base colorful color palette like a sunset (with **Gradient** tool) Then I drew a sky with evening clouds I use two my own **Clouds** brushes for it with different options So, I sketch a sun location With cold bright colors I drew a protruding cliff top in the middle ground. I draw the distant mountains with less detail and choose colors close to the colors of the sunset. Yes, I drew it with my base drawing brushes - soft **Oil Brist 2** and hard **Ink Pen** (*Different versions of SAI have different settings for brushes, I give those that I set myself*) Then I start drawing the bird and the foreground. According to my idea, on the left you can see a fragment of a rock with a waterfall and a typical mountain tree with a curved trunk. At the same time, I determine the location where the flying condor will be located. I work especially carefully with the lower left corner, this is the foreground, it should be as clear and detailed as possible (*using the same* ***Old brist 2*** *and* ***Ink Pen***) Drawing a mountain fog. I wanted to draw it as a beautiful pale color stripes (with **Oil Brist 2**) Drawing a stripes of fog with separate swirls (*use one of* ***Clouds brush***) Details Waterfall and flying bird Bright splashes of water and glare from the sun to create volume Dry tree on a foreground Now I use soft Eraser and erase a part of fog strips around a middle rocks. Drawing is almost ready... Last step is finally color correction and some sharping in **Photoshop**. Yes, it's ready now! Thanks for your attention! I hope fans of the famous musical duo will appreciate my artwork ;) Regards Many thanks to my sponsors @Belozoriana and @Arte-macarre for her support to all my drawings!
+13 more
@daring-celt
"Sound of Silence" (illustration to song with pastel) - https://read.cash/@daring-celt/sound-of-silence-illustration-to-song-9fbf4b2a #art #drawing #digital #readcash
 @daring-celt
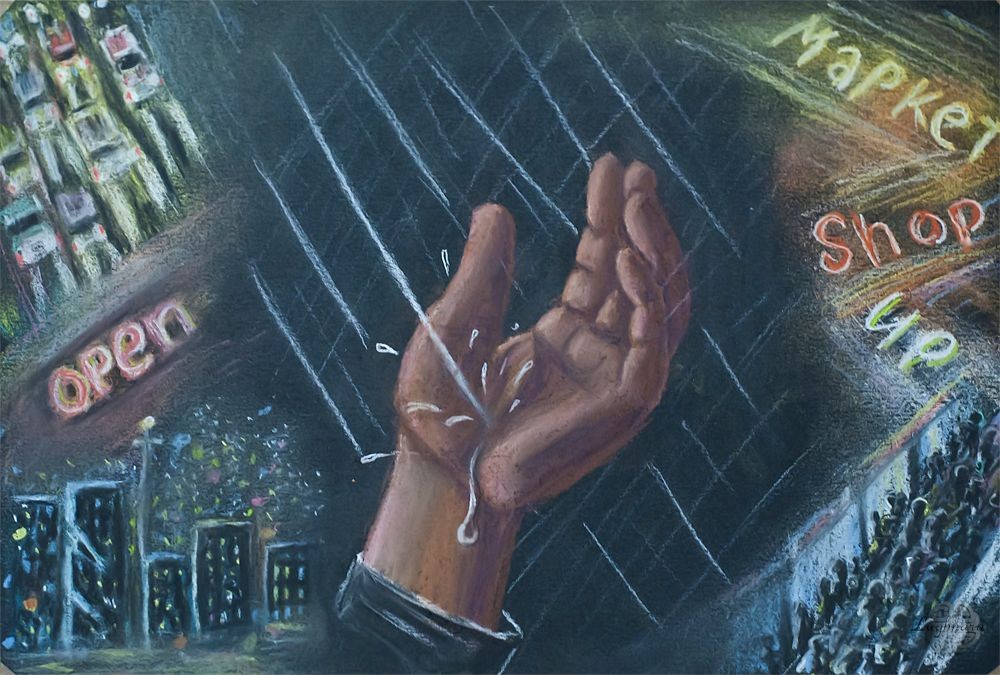
"Sound of Silence" (illustration to song) Hi friends! One time I drew an illustration dedicated to one of my lover song. It was art contest on Golos https://golos.io/vp-painting/@vp-painting/start-5-etapa-khudozhestvennogo-konkursa-risuem-vmeste *Can you in the epicenter of a huge metropolis — amidst a insane cacophony of voices, a noise of cars, a ringing of mobile phones, a blinding cannonade of flashing neon display cases — hear the sound ... of a lonely drop of rain crashing on handbreadth?* For my work I chose a set of pastel pencils, some colors of dry pastel and black pastel paper. For starting I made some sketches fit my project. And choose the best version. I filled a pastels crumbs of the brightest and most saturated colors along the edges and corners of the sheet. Then I smeared these colored crumbs in a certain direction: according to my plan, different fragments of the megalopolis will be shown there. In the empty center I cast a contours of a hand, substituted with drops of rain. Then I made a preliminary paint of hand on the lighting and shadows. Then I paint a fragments of a city - a stream of cars on a highway, a luminous neon signs, a lights of skyscrapers, a crowd of people filling a sidewalk of street, which is lit by large windows. I depict all this purely symbolically, without a detailed drawing - this is just a background for a main object - a main thing that a silhouettes were recognizable. In some places I used an eraser to emphasize the contrasting boundaries of objects. And finally, I puted cross-strokes around a hand, symbolizing a streams of rain. I made one of them especially bright. Distant strokes I lightly smeared. And I drew a splashes, scattered from a impact of drop on a handbreadth and a drop itself, which flows down a wrist. I also drew an edge of a sleeve so that it's clear that this is still a living person, but not some kind of mystical hand growing from a vacuum)))) Brighter emphasize a glare on a hand and on a most illuminated objects of a city fragments. And that's what I got in the end! Many thanks for visiting my blog and attention to my tutorials! Have a nice and creative day! Regards


+4 more
@daring-celt
Waiting the Holiday - Christmas picture and tutorial https://read.cash/@daring-celt/digital-art-2019-waiting-the-holiday-60580498 #art #digital #drawing #readcash
 @daring-celt
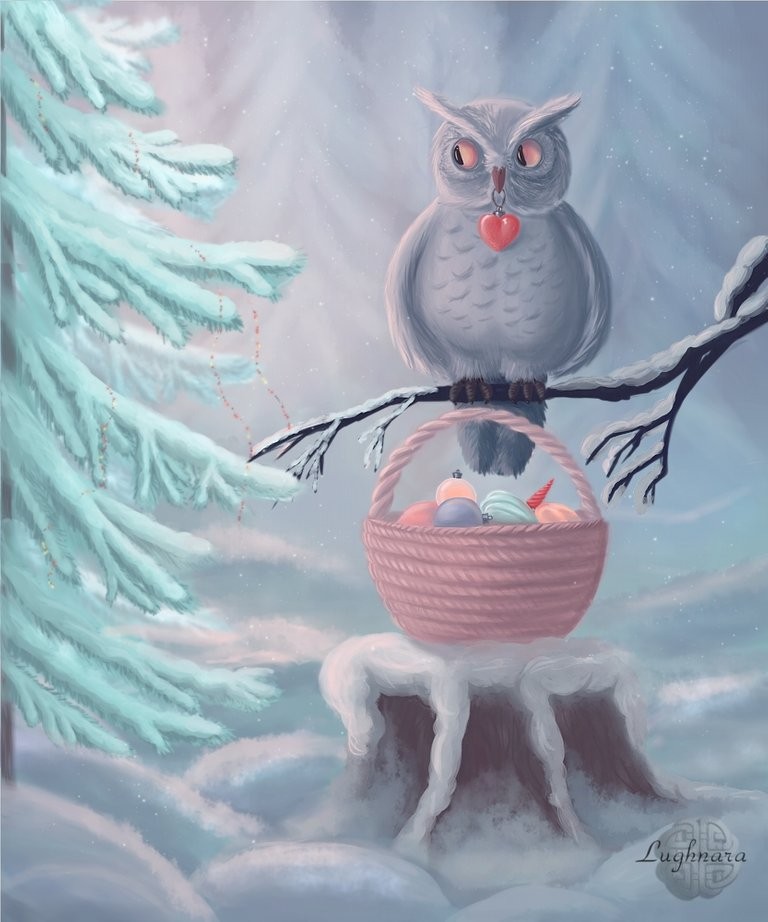
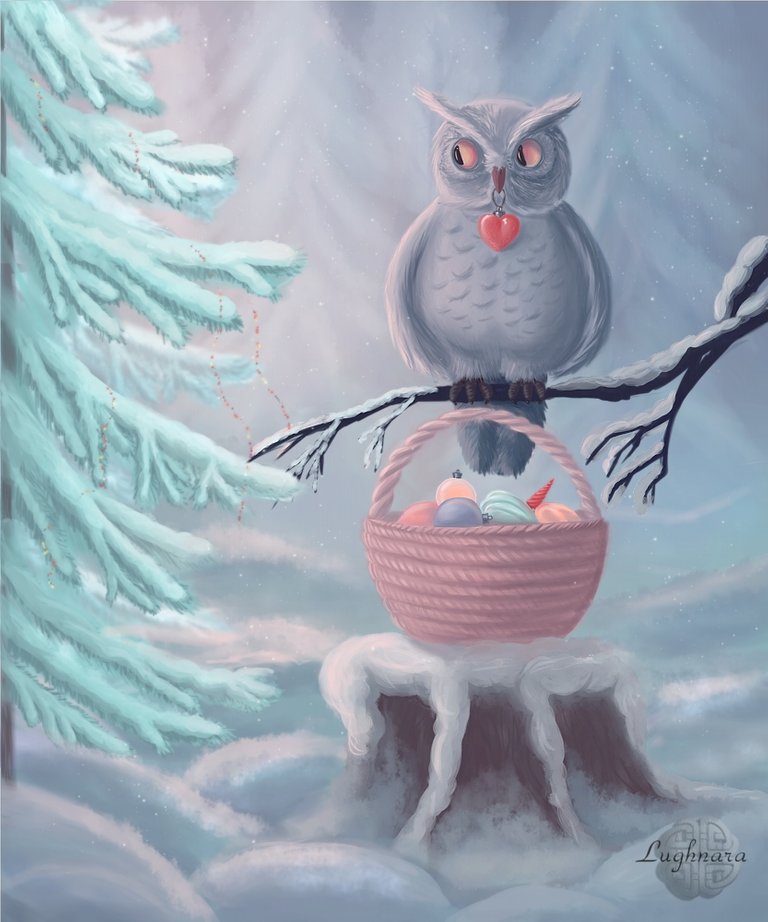
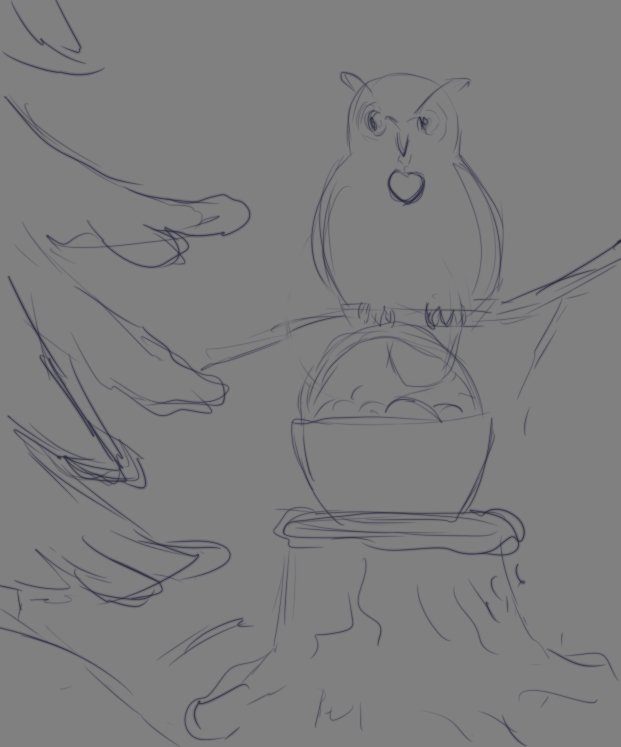
Digital art_2019. Waiting the Holiday Hi friends! It's my idea to one Christmas art contest The Owl has whole basket with Christmas glass balls, she want to decorate a Christmas tree, but thinking how to start. It's an original art, drawing without references. I used for create this picture two graphic programs - **Paint Tool SAI 2** and **Paintstorm Studio**. Sketch in **Paint Tool SAI 2** I chose such a color palette so that the whole picture was in cold winter colors with individual rich accents. As usual, I start by painting the background. the sky will be different in color from the snow - more green due to reflexes from the spruce used **Old Rough** brush Then I chose my base work brush **Oil Brist 2** and made a strokes of the characters and environment We work with details. So that a basket with Christmas decorations doesn't distract attention from the Owl, I draw a bright red heart in the owl's beak At the same stage, I determine the direction of lighting and the falling shadows. Adding a far trees on background Details I use a hard brush **Ink Pen** here and there when drawing the Owl I also decided to add fluffy snowdrifts below, highlighted by the winter sun. On finally step I opened my art in **Paintstorm Studio** to adding some fine Christmas decor on a tree and snowflakes on background. And some color correction and sharpening. It's all ready! I hope you'll like this joyful winter picture with Christmas mood! Have a nice and creative day for all! Regards

+10 more
@daring-celt
White Protea, one of the symbols of South Africa Digital drawing and tutorial - https://read.cash/@daring-celt/digital-art-2019-white-protea-c32ec15d #art @drawing #digital #readcash
 @daring-celt
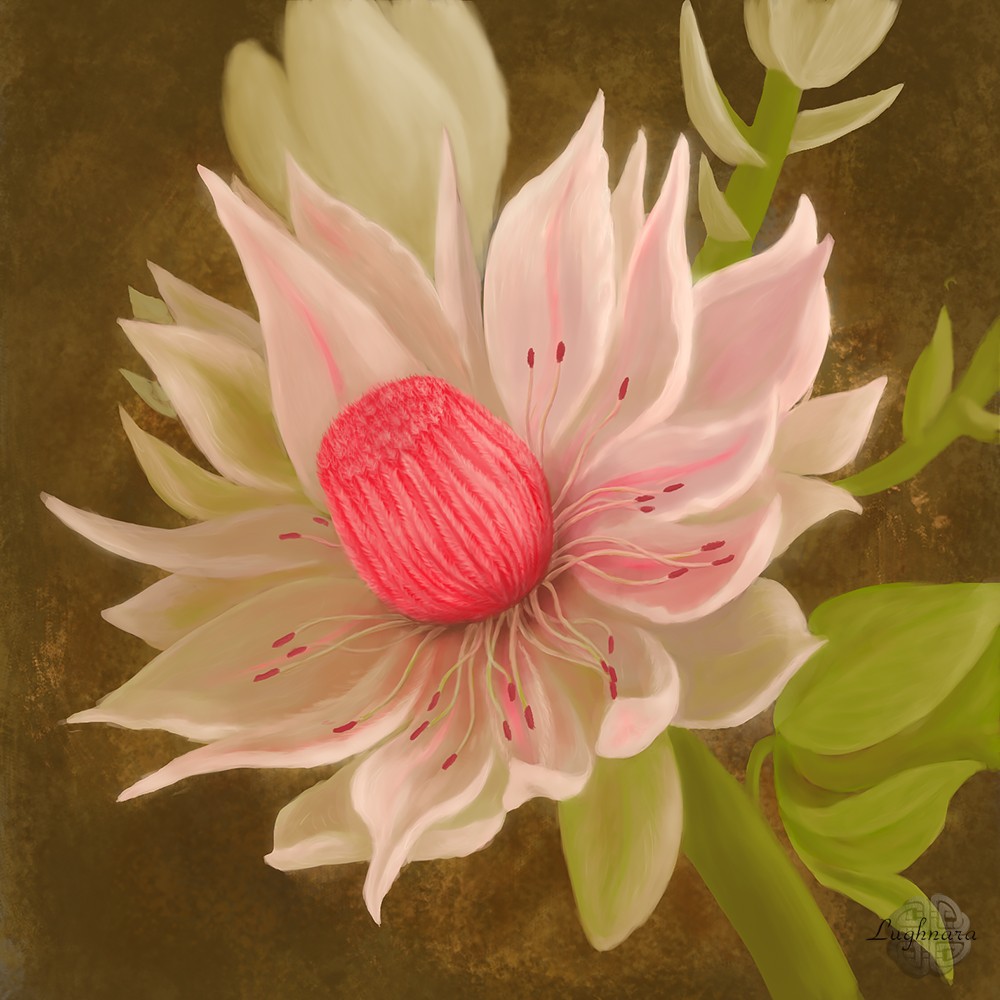
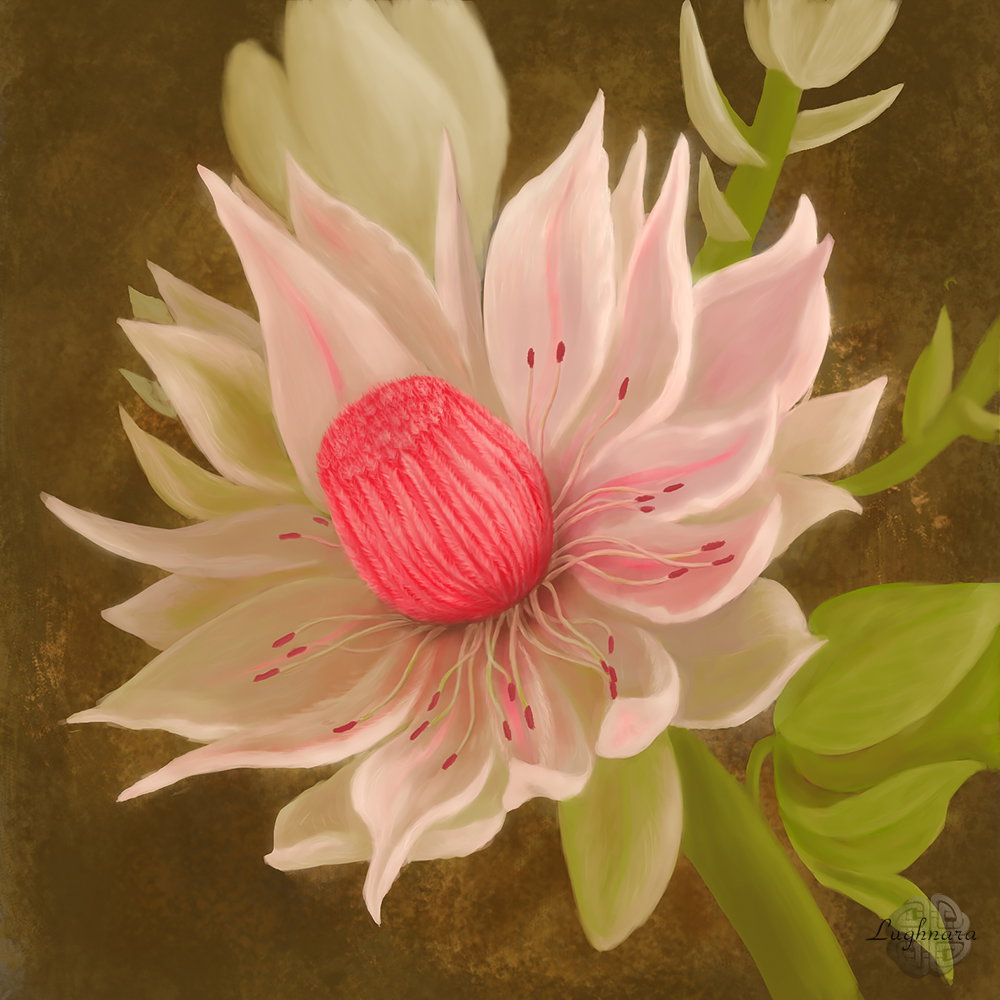
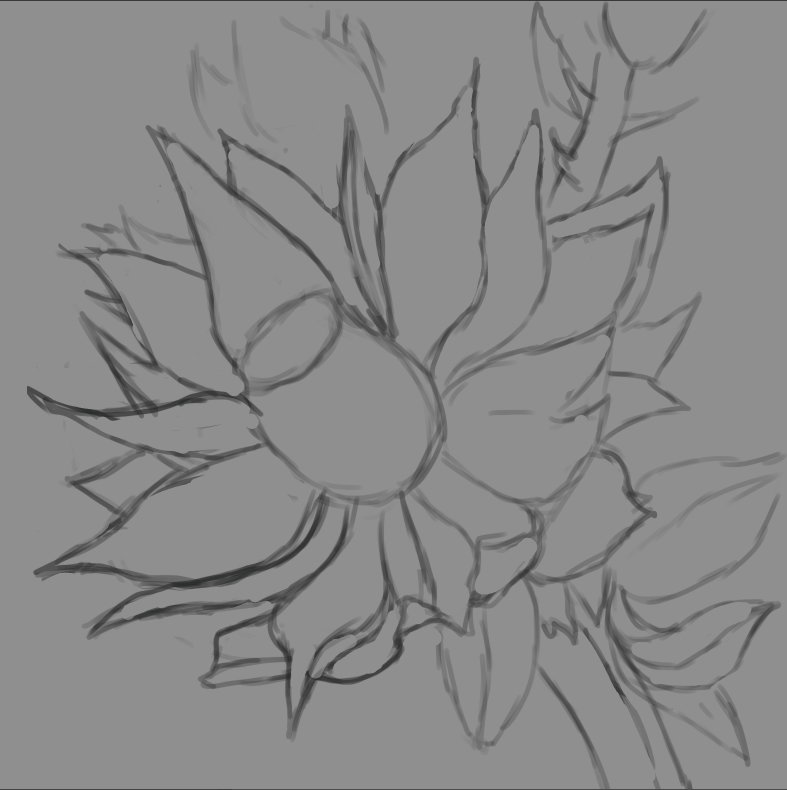
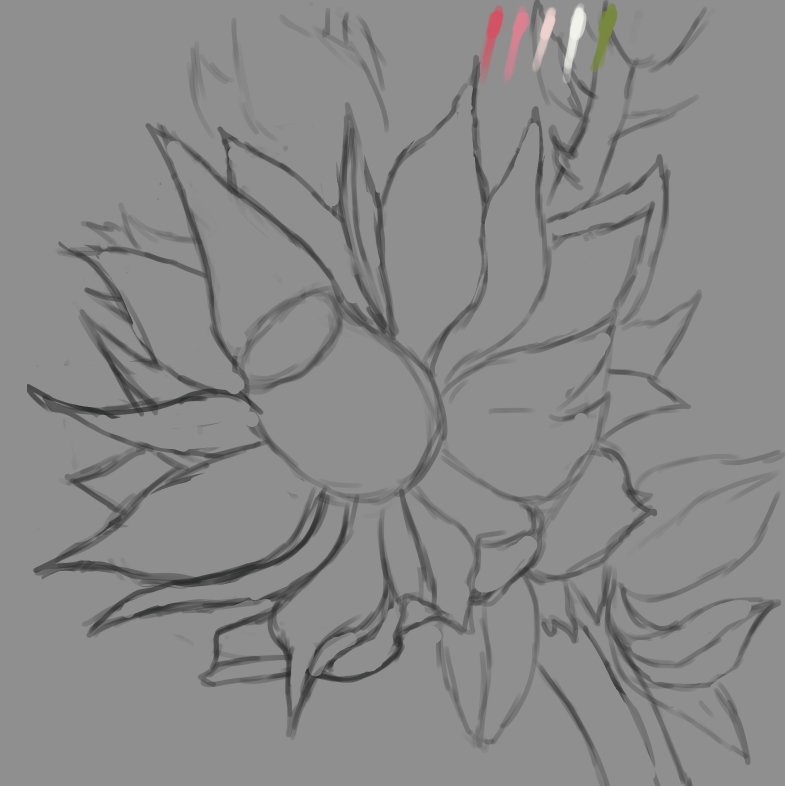
Digital Art_2019. White Protea Hi friends! Yesterday I decided to draw the flower called **protea** (to one art contest). Protea is a delightful flower, one of the symbols of South Africa, also called the African rose. There are very many kinds of these flowers and they are many different colors. I chose to image white protea. To my great regret I live in the Northern hemisphere of Earth, therefore I can't to see this flower in live nature. But it's great to that there is internet & Photograpies in Google. So beautiful nature creature I choose for the reference. https://scontent-sea1-1.cdninstagram.com/vp/8ea365caad65e7dccb349f4e83ab816b/5D93A7D7/t51.2885-15/sh0.08/e35/s750x750/57216890_646064789498990_5576747437541885728_n.jpg?_nc_ht=scontent-sea1-1.cdninstagram.com&ig_cache_key=MjAzNDEwNzg1MzU2NTY0NTE4Mg%3D%3D.2 Sketch in **Photoshop CC 2018** Color palette I create several layers - for the background, for the flower itself and for additional details. I choose a textured brush and paint over the background with a mixture of red and green colors. Then, on a separate layer, I make an approximate spread in the colors of the protea petals. Immediately I decide on the light source to give the flower volume (roughly on the top right). I work mainly with two brushes - in the shape of a triangle (for final detail) and a regular hard one, in which, if you need to vary the opacity of a stroke, I turn on the Pressure for **Opacity** function. When all the details of the picture are written, I turn off the layer with the sketch (I don't delete it yet, because I might still have to check it out) and continue working on the flower. Periodically, I refine individual details with a triangular brush. At this step, it seemed to me that the picture was too pale, and I made it more contrast and saturated with the help of an auxiliary adjustment layer **Curves** I continue to work on individual details - I make the bud in the background more blurred, as if it is out of focus, and on the contrary, I make the leaves clearer - I prescribe the fibers and refine the light and shade. I detail the core, which consists of tightly collected fleecy petals, and along the way I apply a translucent texture to the petals with a brush for details in the form of separate longitudinal strokes. I want to achieve the effect that the fragments of the protea petals that hit the light resemble rice paper. Next, I pick shades of color from the original palette to paint the stamens. Again on a separate layer. I pick a color slightly darker than the tips of the stamens and, increasing the size of the main brush and lowering **Flow** value to **30%**, on a separate layer, under the layer with the stamens, paint shadows. Since the shadow layer is above the flower layer, I erase the part of the shadow that fell on the lower part of the core with an eraser. Then I noticed that a base of the core slightly replaced in relation to the direction of the stem. I select part of the stem and correct the imprecision using **Lasso Tool (Free selection)**, the function **Free Transform** and the built **Liquify** filter Then I wanted to add more glow to the edges of the individual petals. I do this by choosing the lightest color from the palette, on a separate layer with a brush for detailing. Then I slightly blur this layer with a **Gaussian Blur** filter and change the layer's blending mode to **Lighten Dodge (Add)** with lowered opacity. Finally, I made a duplicate of the background layer, changed the blending mode of the double to **Multiply** to make the white petals stand out more against the dark background. I did the same with the shadow take under the stamens. I erased the excess with an eraser. And the final color correction using a separate **Color lookup** adjustment layer (*this function appeared in the CC 2014 version*) Preparing images for web publishing - merge all layers, reduce the size to **1000** pixels, sharpen with **Smart Sharpen** filter, insert my logo and save the image in .jpg format This is what the finished drawing looks like! I hope you enjoyed my new lesson and had a wonderful and useful evening! Many thanks for your attention! Regards
+17 more
@daring-celt
Moon & Dragon. Talking in the sky - digital drawing and tutorial on Read.cash https://read.cash/@daring-celt/digital-art-2019-moon-dragon-talking-in-the-sky-08f4f864 #art #drawing #digital #readcash
 @daring-celt
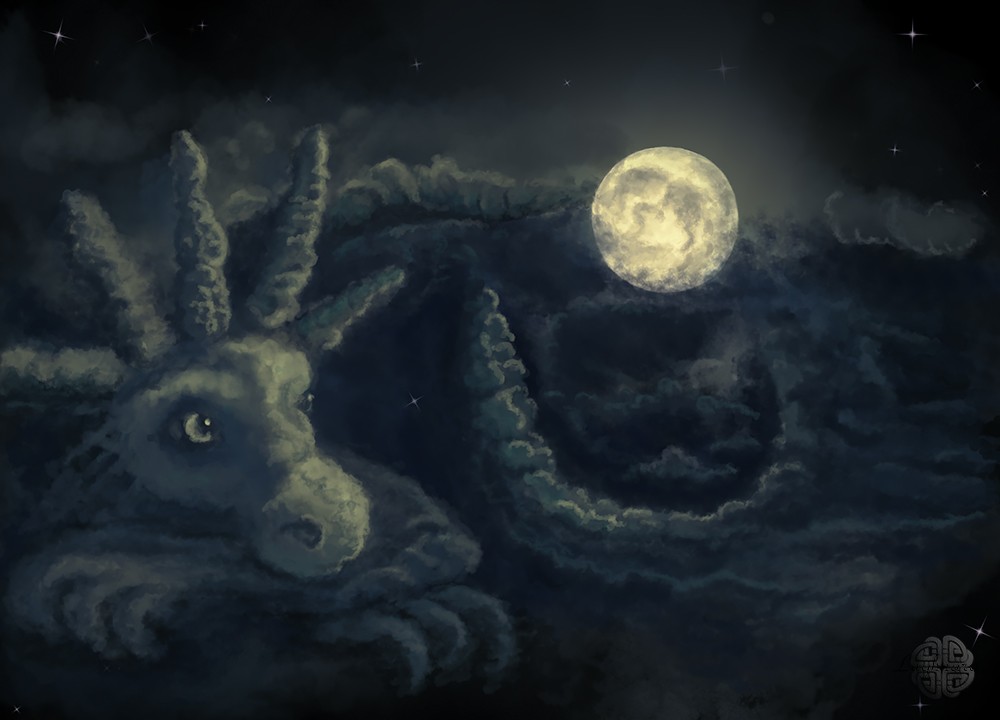
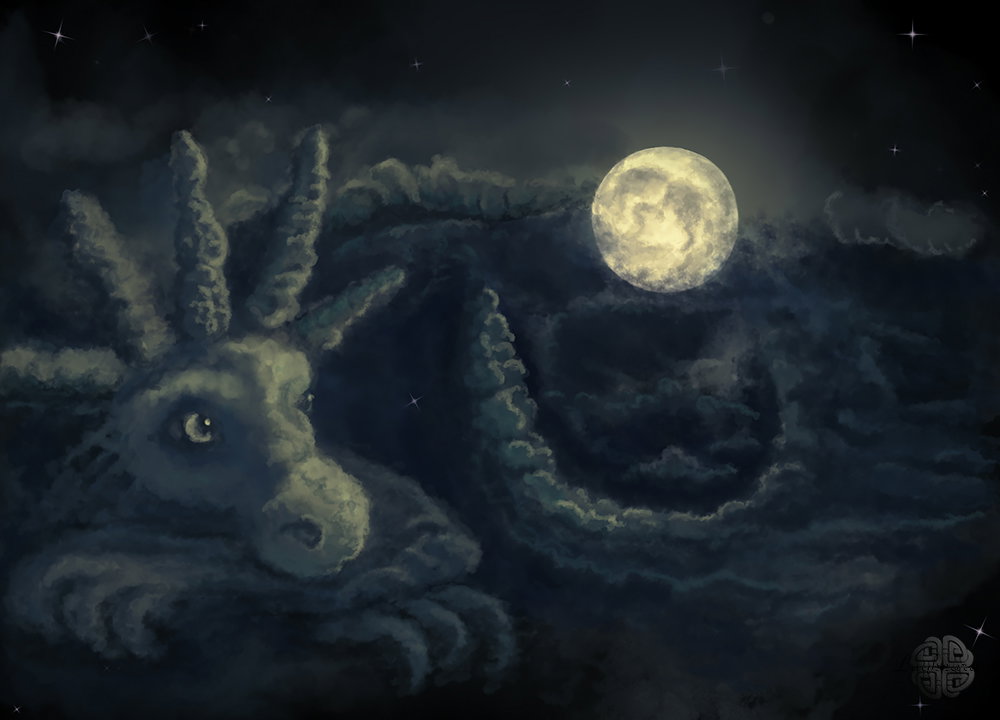
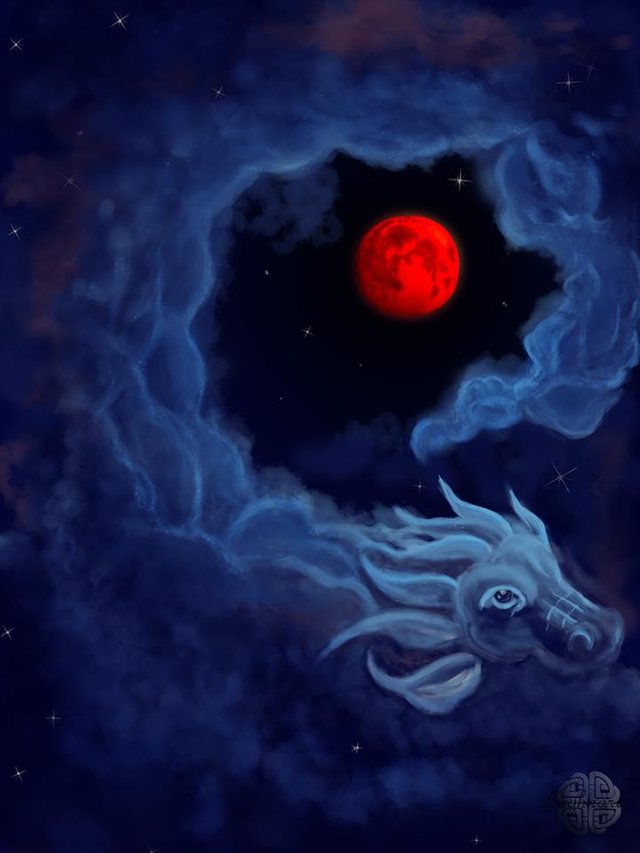
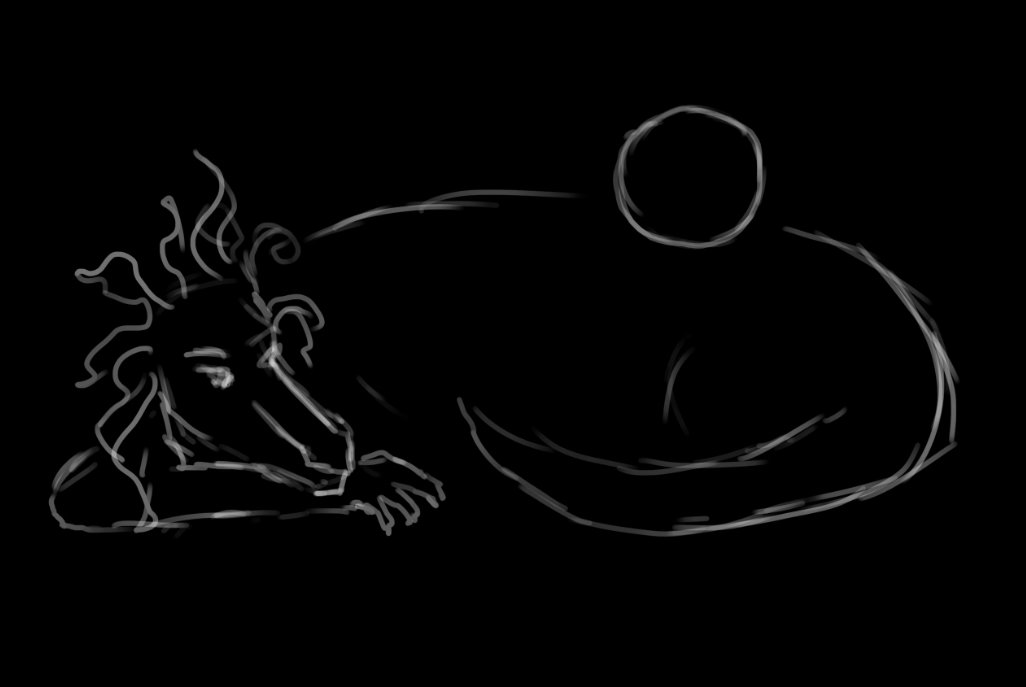
Digital art_2019. Moon & Dragon. Talking in the sky Hi friends! Since readers of my blog also like dragons, there will be dragons!)) It's another one my Dragon from Dragons drawing series. I drew it to one art contest dedicated by Dragons. **"Moon Dragon"** was that theme. I like a scene with moon in a clouds formed a dragon's silhouette. Once I drew this cloud's dragon, but he wasn't very successful I think. So, I imagined new story with the dame characters. Sketch in **Photoshop CC 2018** Base colors I wanted to take a cold color scheme, reminiscent of moonlight at night Then... I've some sets of Photoshop brushes which I made myself. I drew a shape of clouds with one of my brush sets Highlight of Moon and recognizable planet's surface on it Forming a clouds of dragon's body & clouds on background Somewhere I make a shadows deeper to highlight a silhouette of the Dragon, somewhere brighter than the glare on a clouds And starry night, of cause! Finally color correction for expression view I hope you'll love my new creature how I love it! ;) Нave a nice and creative day and thanks to all my sponsors! I appreciate your support and attention to my drawing tutorials! Regards
+5 more
@daring-celt
Winter Mountain Dragon, digital art and step-by-step tutorial - https://read.cash/@daring-celt/digital-art-2019-mountain-dragon-eead980f #art #drawing #digital #readcash
 @daring-celt
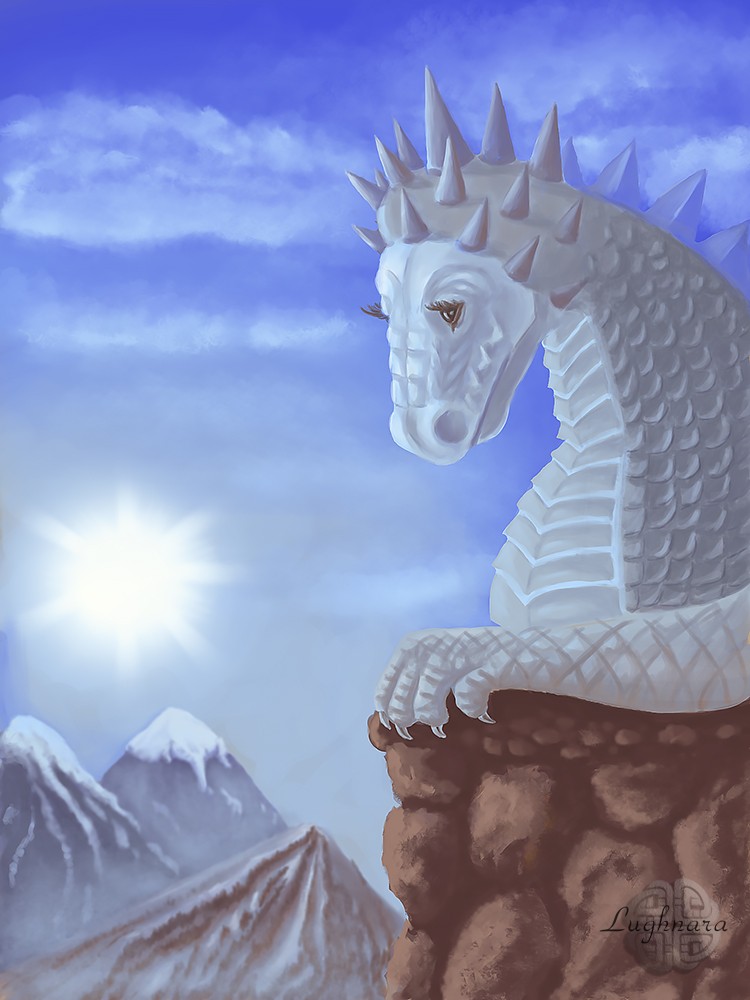
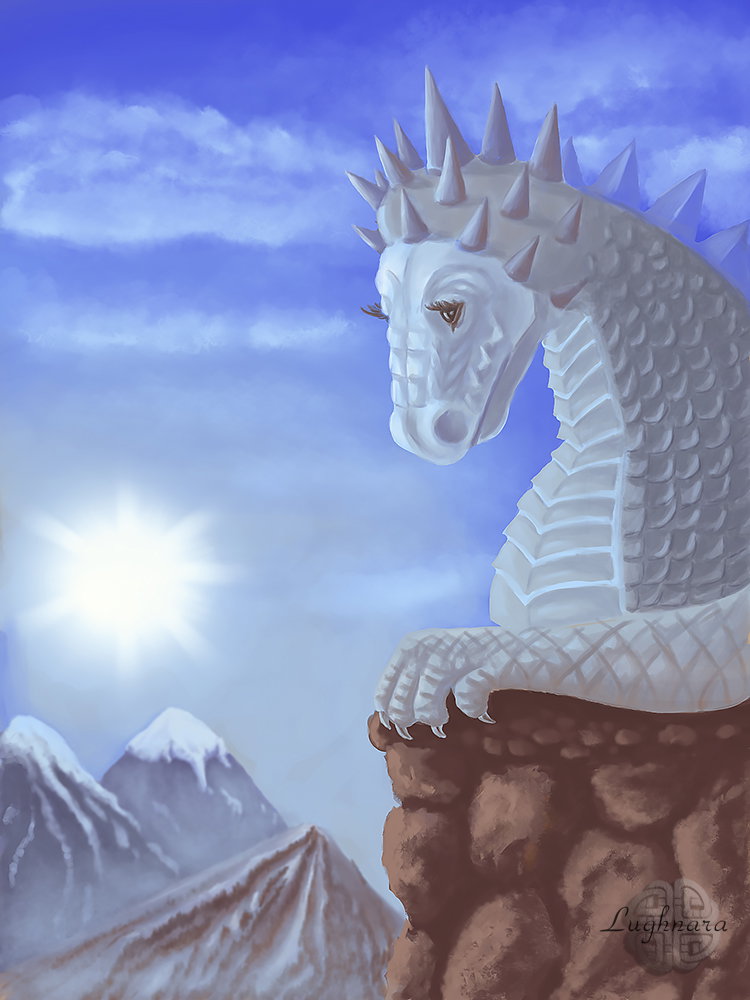
Digital art_2019. Mountain Dragon Hi friends! Who was hot in the desert, let's move to the northern country!))) https://read.cash/@daring-celt/oriental-house-with-pots-drawing-with-pen-brushes-31ba4216 You know I like to drawing a different mystical creatures. It's very fascinatingly to create unique owner worlds on a paper or with digital pen Usually, if I draw to art contest I make some sketches and then choose one of them as best. This dragon was one of sketches to Winter theme contest Sketch in **Photoshop CC 2018** I imagined a big dragon sitting on top of the highest rock even above the sun, and many snow-capped mountains around... Color palette. I wanted to draw in concrete color gamma, in cold shades, an example. Base colors of background. I use an usual hard brush with reduce opacity and flow Choose a base colors of dragon & rock on foreground. They must stand out against the cold landscape. Switch off the visibility of the sketch layer and determine the direction of lighting - from the Sun above far mountains Work with details - light, shadows, clouds, mountain textures I've a set of my own made brushes with texture which I use them in this artwork Winter mountain sun and chains of forests on a mountain slopes On this step I decide I don't like very poor color palette and add a adjustment layer **Color Lockup** And sketch a scales and thorns of the dragon Detailing the dragon Completely fantasy character, I don't even know if there are such)))) This is how everything looks in the big picture. Finally I add some dramatic shades with **Curve layer.** And more mist on back mountains to highlight foreground. It's what I got! I hope you like Dragons too)) Have a nice and creative day! Regards **Many thanks to my sponsors @Belozoriana and @Arte-macarre for her support to all my drawings!**
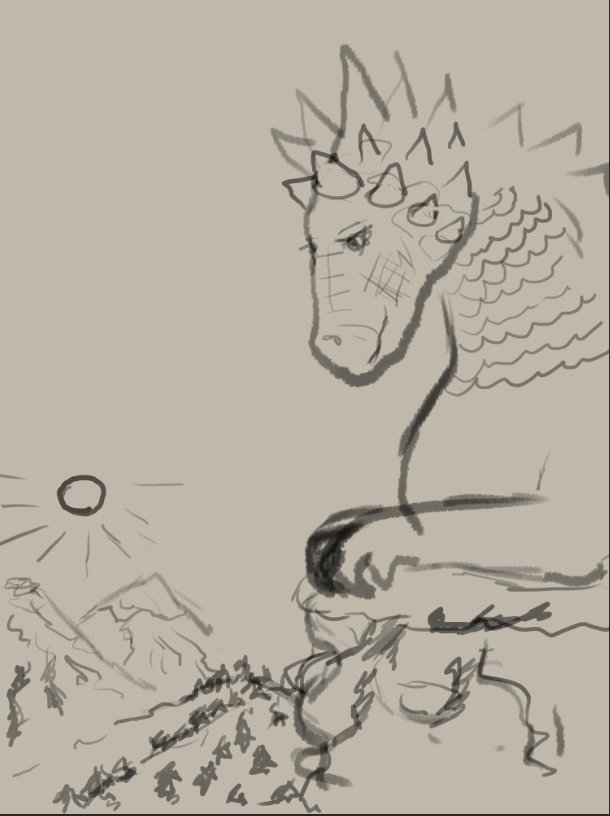
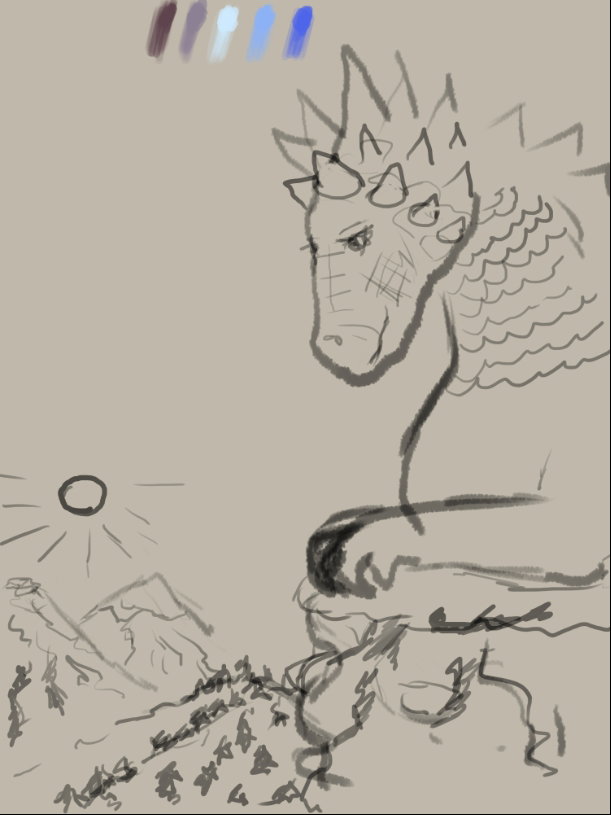
+8 more
@daring-celt
Oriental house with pots (drawing with pen-brushes) - https://read.cash/@daring-celt/oriental-house-with-pots-drawing-with-pen-brushes-31ba4216 #art #drawing #tutorial #drawingtutorial #readcash
 @daring-celt
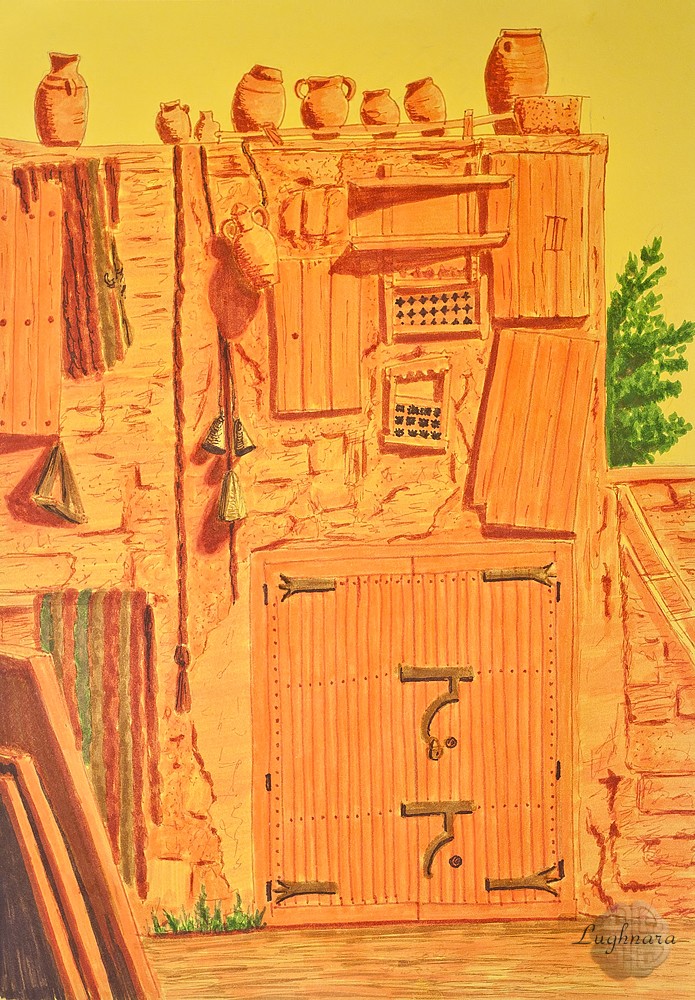
Oriental house with pots (drawing with pen-brushes) Hi friends! Recently I purchased new art material - a set of capillary pens. For a long time I had one subject in my head - a fragment of an eastern structure, a textured wall, a minimum of flowers. Yes, I was inspired by the photoI saw on Pinterest But I had no idea how to draw it And now, taking these pens in my hands and looking at the colors, I realized that this is what I need! These pens are double-sided - at one end it is a brush, at the other a regular capillary pen https://www.pinterest.ru/pin/AU4KIH7sRwWmFf2whNBec6qGfOE6zBbSkPQbPbSkYmvxvX-wqsEaKdg/ For work, I chose bright yellow paper - it is associated with hot desert oriental countries Sketch with pencil I draw base outlines with brown pen and paint some main objects with pink brush. I also outline initial shadows on objects. Then I will paint them in a different, darker color, since there is direct sunlight and the shadows are very harsh. In this step I draw deep drop shadows with brown brush I paint the texture of the walls and small details with the same brown pen, but with a different side, where a thin rod. Along the way, I add other items where there are free places. I add greenery - a fragment of a tree behind the wall. Well, I will add some grass by the door so that there is a roll of color So I added some items in khaki color (with a brush) and a door locks I draw the same color. It's time to put the accents in the darkest color. I do this very carefully in the darkest places, I emphasize the deepest shadows, where strong sunlight doesn't fall - ornaments in a wooden decor of the wall, iron details of the doors, left corner where the stack of wooden pieces... Finally, I paint the entire wall of the house with a pink brush. In some places I refine the texture of the walls with a brown brush. A piece of ground in front of the wall I paint with a mix of khaki and pink. Yes, I think these pens are great for this kind of graphics! I like it! I'll be very glade if you'll like my new tutorial too)) Have a nice and creative day! Regards Many thanks to my sponsors for their generous donation!


+5 more
@daring-celt
My new drawing tutorial on Read.cash How can draw a beautiful nature phenomenon with pastel pencils - https://read.cash/@daring-celt/aurora-borealis-pastel-pencils-96ef91f0 #art #drawing #tutorial #readcash
 @daring-celt
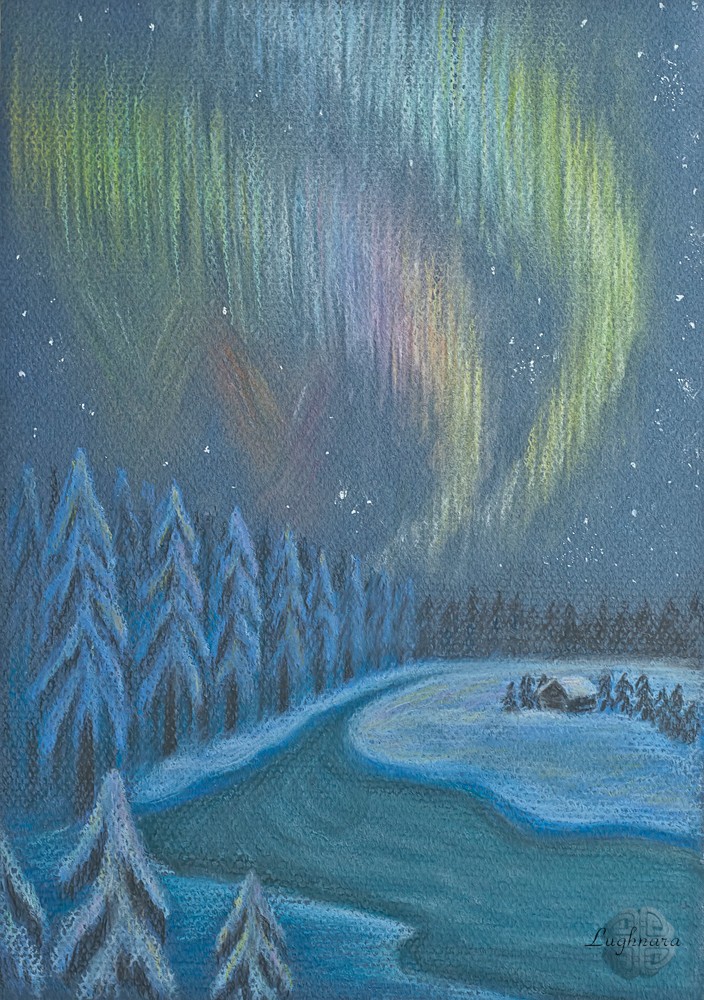
Aurora borealis (pastel pencils) Hi friends! It's already winter here, so I remembered this drawing. It was another creative contest on Golos. The organizers asked a difficult topic - **Magic** https://golos.id/ru--risuemvmeste/@gerdananeis/risuem-vmeste-etap-4-volshebstvo-severnoe-siyanie?invite=gerdananeis And I got the idea to draw the magic created by nature itself. One of its wonderful phenomena is the Northern lights. Scientists have given this celestial phenomenon a beautiful Latin name - **"Aurora borealis"**. I saw him only once, when I lived in the northern regions and the impressions were enough for a lifetime. I decided that this would be the most suitable drawing for the contest Materials I used - dry pastel **"Koh-i-noor"**, pastel pencils **"CreataColor"** and dark blue paper for pastels **"Mi-Teintes"** Sketch After going through one and a half dozen options, I found the most acceptable subject - a winter forest, a river, a small half-abandoned hut on the other side and a lot of sky. I decide on the initial colors of the earth, the forest and the direction of the lighting effects in the sky. I smear color flashes with my fingers in a vertical direction - I make a distant glow, and also paint snow on the front trees growing along the left coast. More ... It seemed to me that **"CreataColor"** pencils give too rich strokes, and to refine the landscape I took **"Faber-Castell"** set - they have a calmer color scheme. I work with cold tones on the frozen river, the right coast, draw a hut, trees and snowdrifts around it. I add more contrast to the chiaroscuro on the trees of the left bank and add bright colored and white highlights to the stripes of aurora. I outline the ice on the river with a darker outline in the darkest places - under the riversides. The forest in the background is darker than in the foreground, and the snow cover is the opposite. Therefore, I paint the snow on the tops of the trees in the foreground with the lightest blue shade. I add colored highlights to the lightest part of the right bank and to the upper branches of the trees. The next artistic technique I spied on from my good friend, an artist from Samara, Ekaterina Sheshina, in her video tutorial - I poured a crumb of white pastel on the darkest parts of the sky and rolled it over a blank sheet of paper with a pencil. https://www.youtube.com/watch?v=dZI7_Sx8X_4 The result is stars and constellations. I painted on individual stars with a white pencil to make them look larger and brighter. And finally, I smeared the strokes on the ice, in the background, in some places intensified the glow of the stripes (made them sharper with the eraser) and glare on the snow and branches. It's ready my artwork Shot in natural light for more natural colors Thank you all for your attention! And remember: magic is not in fairy tales - it is everywhere, around us, you just need to be able to see it ... Regards Gera


+7 more
@daring-celt
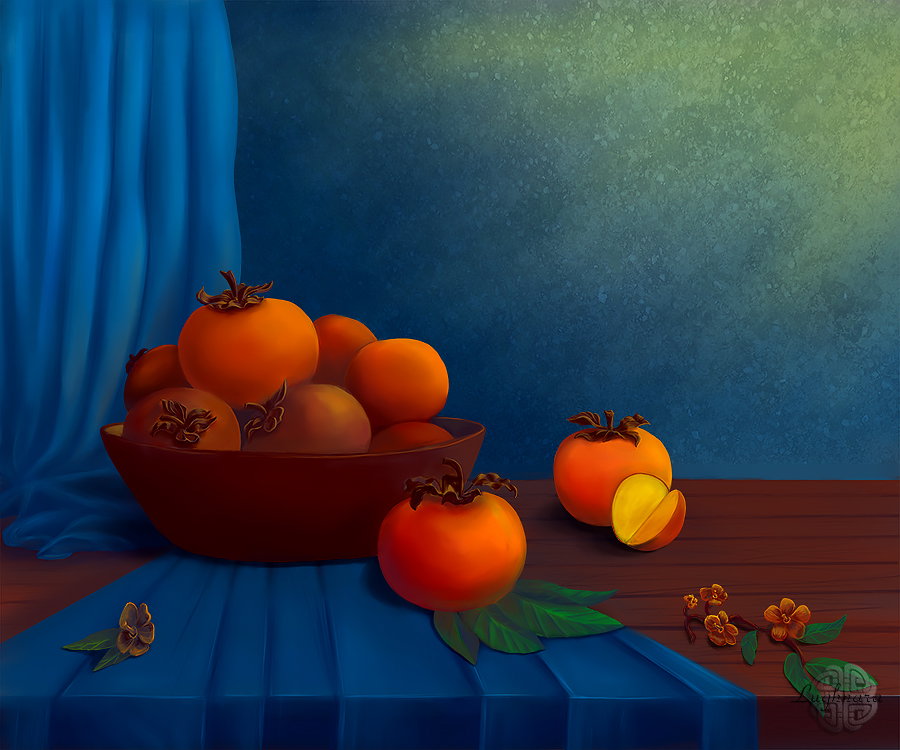
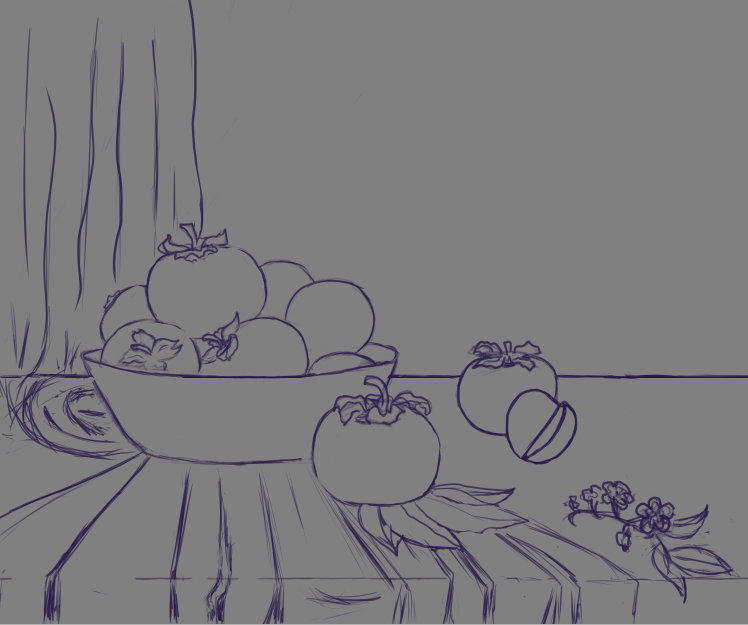
Digital art_2019. Still life with persimmons. Hi friends! Today I tell and show you how I draw another still life already digital - with beautiful fruits and drapery. I chose to draw a persimmons one more - it's very saturated and colorful fruit. After reviewing several photos with persimmon, I came up with an interesting composition, where the central object is a bowl of fruit. After some sketches I chose this. Color palette was this (drawing in **Paint Tool SAI 2**) I start my work by identifying base colors. Yes, I use the same favorite brushes **Oil Brist 2**, **Old Rough** and **Inks Pen** There are options for them **Old Rough** (for drawing big areas) **Oil Brist 2** (base drawing and blending different colors) **Ink Pen** (hard brash for detalization) It is very important at the initial steps to determine a direction of the lighting, so that later you don't get confused in the shadows. Then I drew a folds of drapery according to the direction of illumination. In my opinion, this is not a very thin, dense enough fabric, which lies in beautiful folds. In my opinion, this is not a very thin, dense enough fabric, which lies in beautiful Detalizate a leaves and added a flowers of persimmons. I pay attention to the colored reflexes from the fabric falling on the fruit and apply them At the same stage, I sketch out persimmon flowers Then I went to make a texture wall behind a table. I chose a suitable texture from free distribution stocks, put it in my work and set the blending mode to **Soft light**. I also paint the wood texture with a brush **Ink Pen** Some details of art Shadows and highlights on the fruit that accentuate the volume of the shape Drawing drop shadows and details of flowers Refine individual falling shadows Some color correction and sharping finally Thanks for your attention to my tutorials! I hope you like colorful fruits too (not just for food, he-he!) Have a nice and creative day! Regards

+11 more
@daring-celt
Autumn still life (physalis & persimmon) - my new drawing tutorial on Read.cash https://read.cash/@daring-celt/autumn-still-life-physalis-persimmon-294fc194 #art #drawing #tutorial #Readcash
 @daring-celt
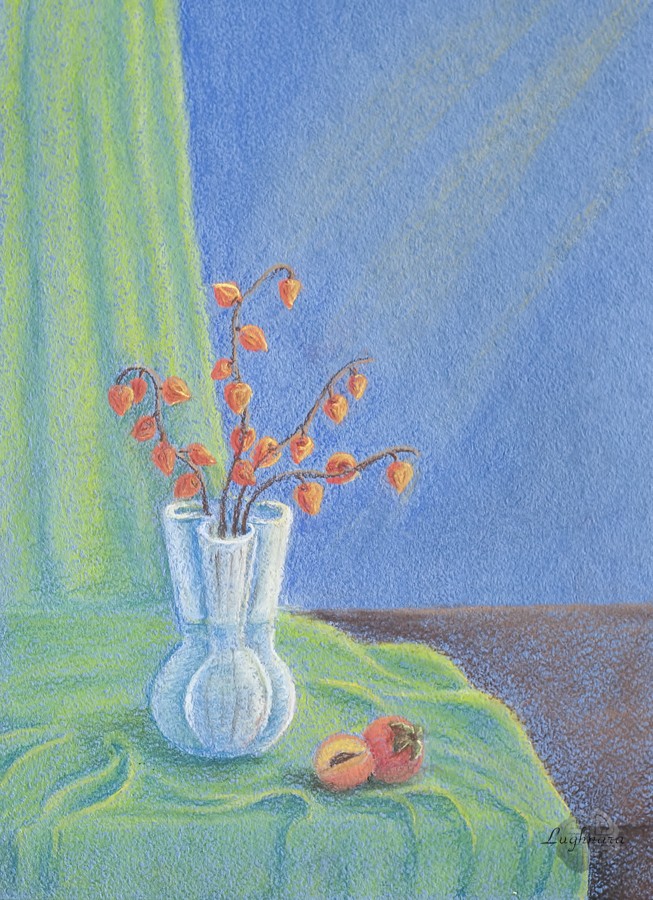
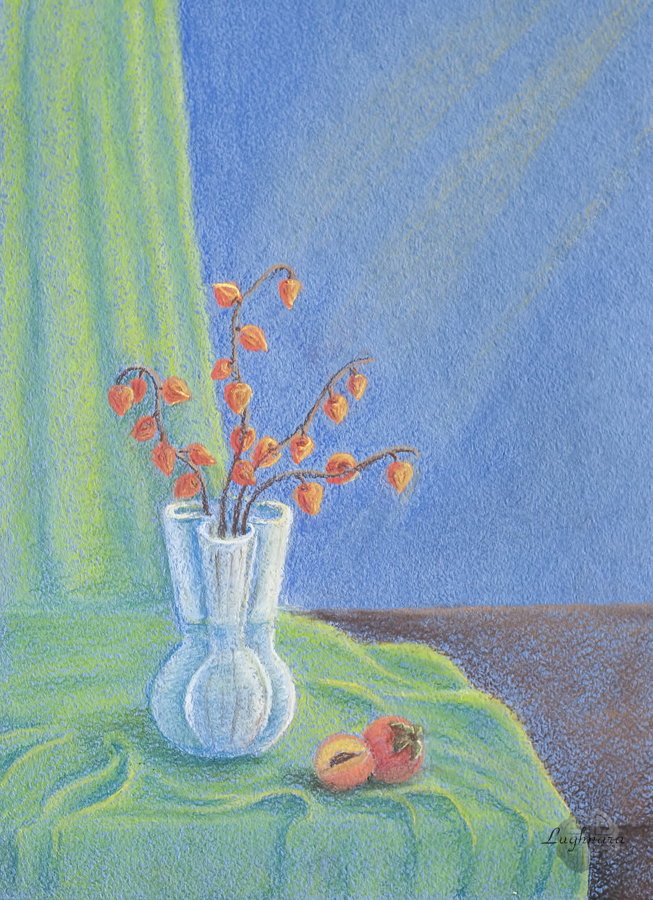
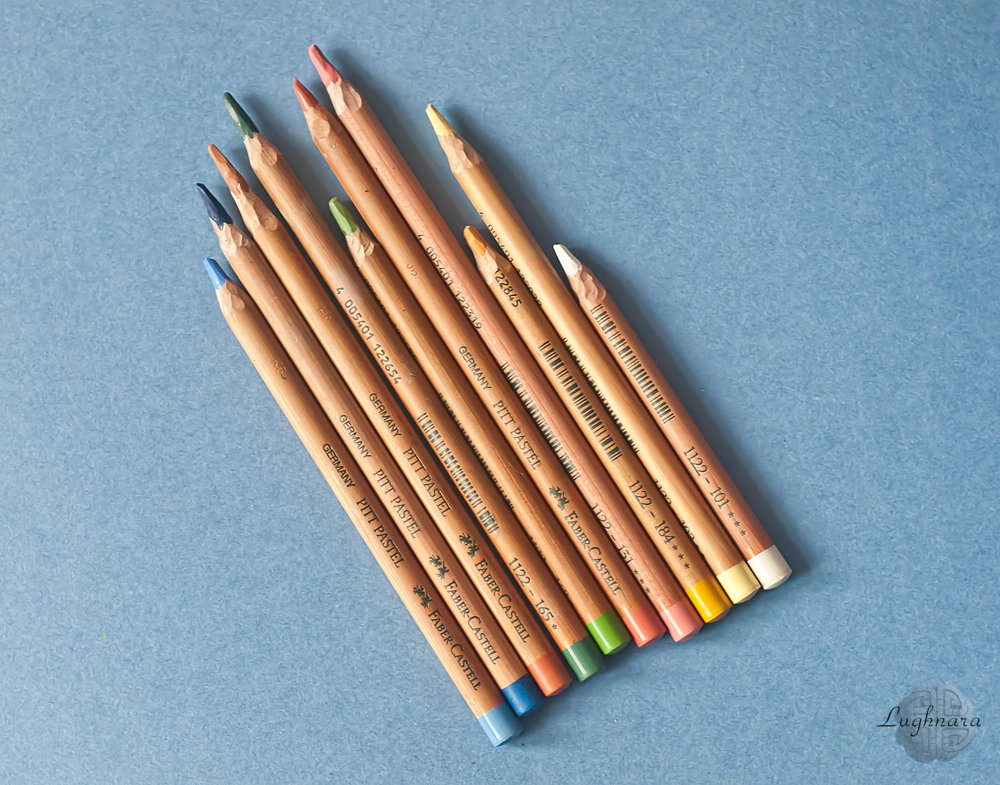
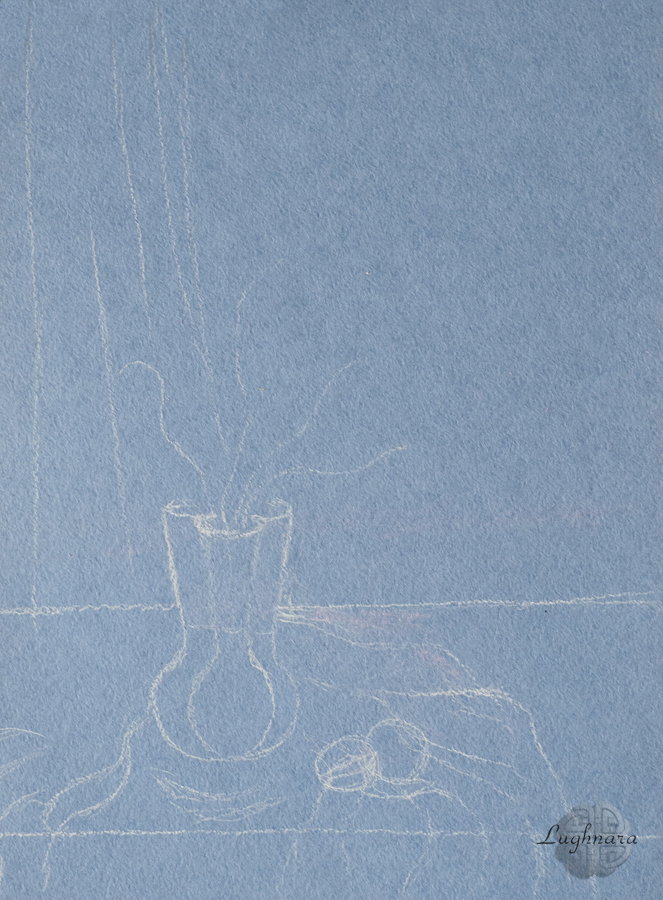
Autumn still life (physalis & persimmon) Hi friends! This artwork I drew to Whaleshare art contest some years ago. https://whaleshares.io/@daring-celt/we-talent-contest-round-5-autumn-still-life-physalis-and-persimmon At first, I make a sketch on pastel tone paper (yes, I decided to draw with my lovest pastel pencils set). The composition is my, I only watched some other photos with physalis to paint it right. I wanted to paint a classic still life - with drapery, three planes and several objects. I chose for image one of very beautiful autumn plants - physalis & really autumn fruits - persimmon. I chose main color spectrum of my picture - they'll be green (courtain) & red/orange shades (flowers & fruits). I also placed the direction of lighting on picture as a sun rays & painted they. Then I painted a shades on brunches by two color of brown. I painted light & shadow areas on a drapery (some shades of green) & two persimmons (red, orange, yellow, brown color of pencils). Then I started to hang a physalis's flowers (which like a orange lanterns) on the branches & painted a brightness highlight on the glass vase. Finally, I painted a flowers, made a drop shadows under vase & fruits, painted a table (brown) & made a stronger shadows on a blue wall behind physalis to madea flowers more saturation. And smear a strokes on a drapery's cloth & rays of sunlight. That's what I getting! Thanks for your attention and donation! Have a nice positive day! Regards
+3 more
@daring-celt
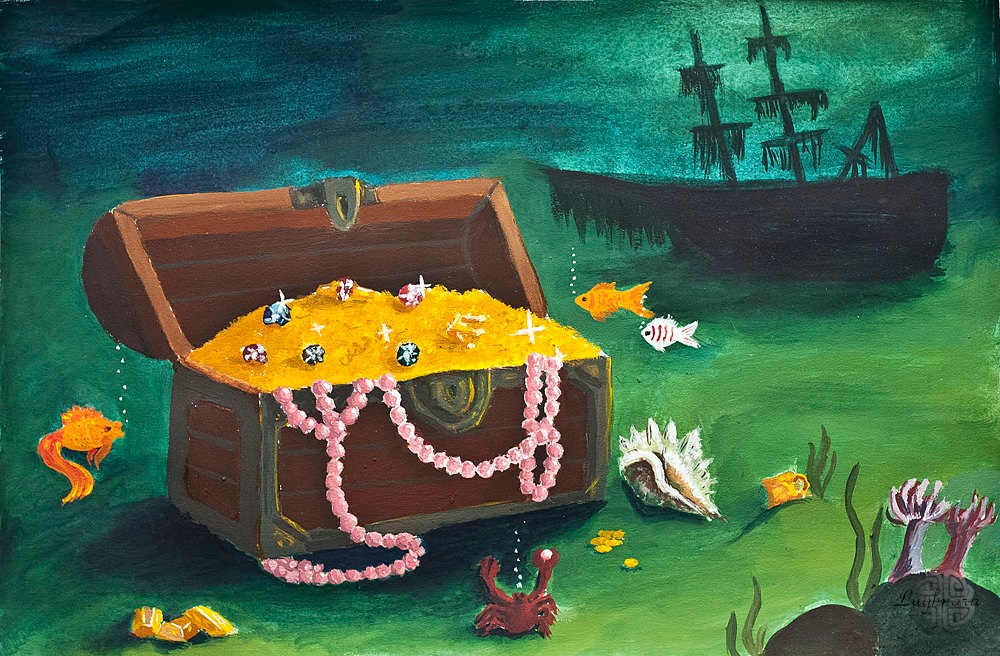
Shipwreck treasures (tempera painting) - https://read.cash/@daring-celt/shipwreck-treasures-tempera-painting-1b138645 #art #drawing #tutorial #Readcash