A few months ago, I had done a crochet amigurumi as a gift for my partner. This is one thing that I love about learning arts and crafts, I can just make random things for the people I care about without crying too much about the expenses.
I had planned on sharing this one after I gave this to him. I did not want to ruin the surprise of what the final product looked like so I stopped myself from being too excited in sharing it with everyone here.
Anyway, since I managed to give this to my partner already, I decided that it is a good time to share my experience making this very cute amigurumi.
Story time
When I was starting crochet, I have seen a lot of cute projects. I was hesitant to try them because I was afraid to mess them up. But as I learned to be confortable with learning crochet, I made sure to expose myself to the projects I wanted to try as a beginner.
This amigurumi pusheen is one of thise projects. I did not want to make it for myself because it just ends up being stored in a box. I wanted to give to someone who will appreciate it.
I got the pattern for free here, in case anyone wanted to try it as well.
Materials
The materials I used are kinda different from the materials listed in the article. I just made use of what I have on hand so it is not an exact replica.
Acrylic Yarns (Purple and Gold)
3/0 Tulip hook
Fiber Fill
Stitch markers
Safety eyes (I don't know the exact size, sorry)
Darning needles (for sewing the excess yarns)
My experience
I am not going to go over all the steps since it is written in the blog that I shared about already. What I will share are my experience in following the pattern and if I will recommend this as a project for beginners.
First off, I can say that I always loved making amigurumis because the mostly use single crochet stitches and slip stitches. Those are the most basic crochet stitches so beginners are already familiar with them.
I also liked how flexible this pattern could be on the color combinations. You can make different colored cats and they will all look cute and lovely.
Crochet advice of the day:
If you want to make a bigger or smaller amigurumi thab the one written in the pattern, just change the hook size and yarn weight. Follow the exact same pattern, instead of using the recommended hook size and yarns, and then adding or removing rounds or stitches.
This is my favorite hack in making amigurumis since I really do not like calculating just how many rounds to remove or add. I mean I already do computations all day with academics, I do not want to mix a fun hobby with something that stresses me out sometimes. Hopefully, this little advice can help someone out there. Feel free to ask some clarifications if you find anything confusing in the article.
Documenting the progress
Of course, my favorite part of making a project is seeing it slowly assemble itself. Well, technically I am the one doing the assembling but you get the idea.
This one here is the start of the pusheen's body. It is probably halfway through when I decided to take a picture. This is not a hard thing to do. I think what makes it intimidating sometimes is because you need to keep track of the round you are in as well as where your stitches start.
I remember when I was a beginner, I tried to do an amigurumi ball without using a stitch marker and the ball ended up looking so wonky. That was the day I learned just why crocheter ALWAYS count their stitches. So for beginners out there, that is another advice. ALWAYS count your stitches. It will save you time and heartbreak from needing to frog your work because you made a wrong count somewhere.
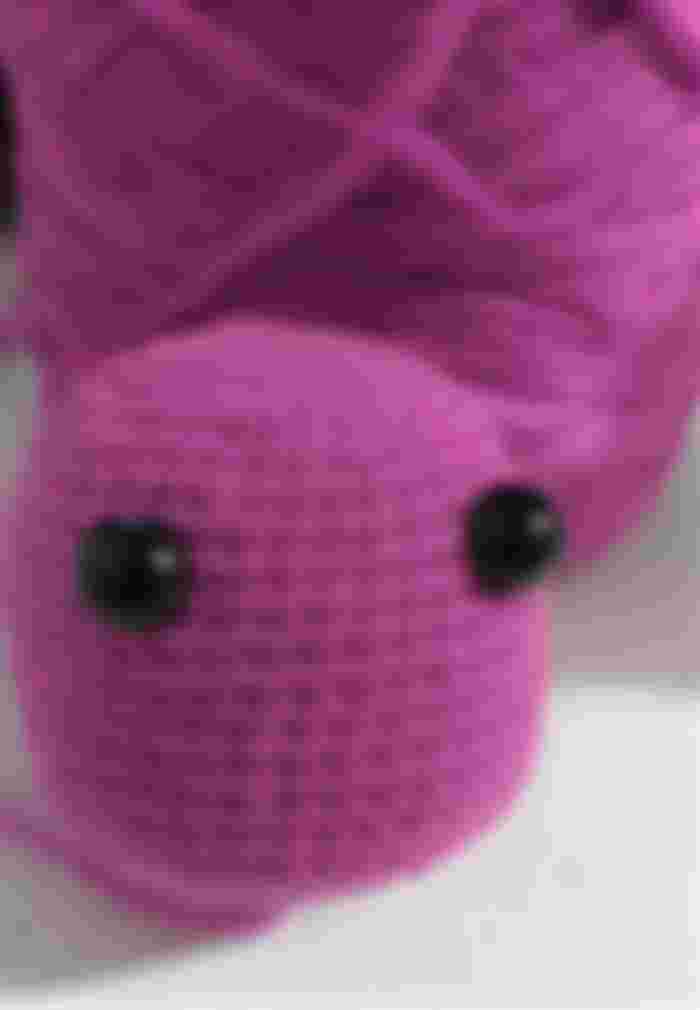
I finished the body and then added the eyes. It kinda looked creepy right now. But my partner said it looked cute when I sent the progress oic with him.
This is the part where I started to make the details. They are tiring to make since I love making smaller amigurumis so it is hard to see the stitches. Wait till you see people using threads to crochet dolls. They are people thatI admire because using thread to crochet definitely needs a lot of patience and determination.
I assembled most of the parts here. I just needed to sew the tail on as well as add some more details. I apologize for the messy background, I am a messy person when I am working on a project since I want everything to be within my reach.
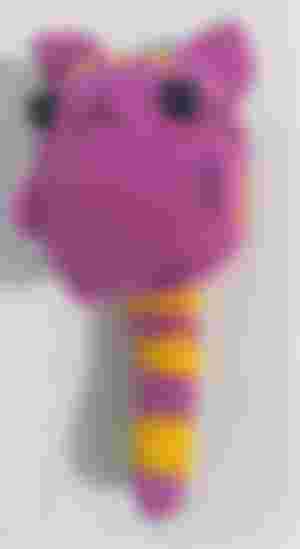
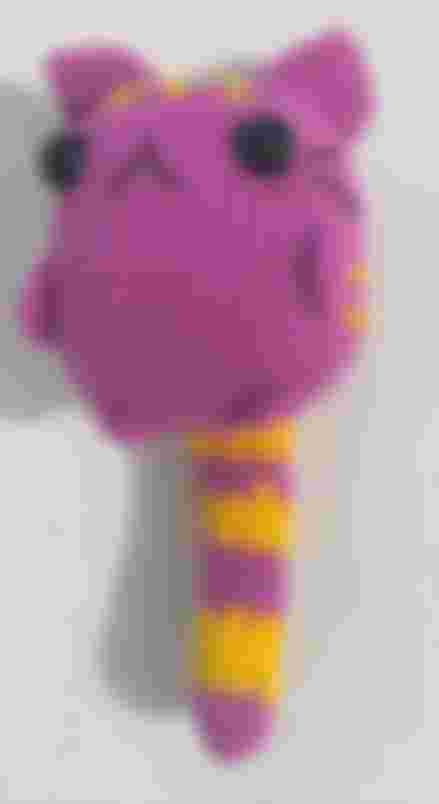
And this is the final product. I forgot just how big this project is. From what I remember, it fits on my palm perfectly.
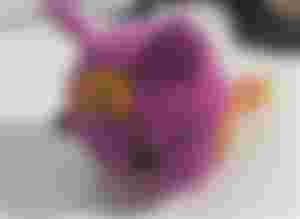
This is a top view version just because I wanted to show the cat's hair.
Closing words
I kinda miss the days where I create a lot of crochet projects in a week. My schedule is so hectic that I barely have time to hold my crochet hook. Still, I am trying to crochet for even 10 minutes a day. I do this because it calms me so much.
I feel happy to be able to publish this article that I wanted to share for a long time now. Hopefully you guys enjoy reading another one article of one of my crochet projects.
Thank you for reading this article!
If you want to read some more articles of mine, I have monthly summaries here:
September 2021 Articles Summary
To show my appreciation for the support that I have been receiving, please accept a small gift I prepared for the first reader.
Wow. What a cute crochet cat. I love the color because it makes the cat cuter. Also, I love how you explain and share your experience in making the amigurumi. Thank you for the tips/hack too!