How to Use read.cash, Its Features And Tools For Better Experience - Part 1
This can be considered a beginners guide to enjoying a smoother and easier use of read.cash while utilizing its tools. The platform is growing and new users are signing up daily, thus, why I felt the need to make this series for their consumption. Who knows, maybe old users too may learn a thing or two. I remember being a new user of the platform and all the many 'do and undo' it took me before I could familiarize myself with the platform and its 'tools'. Asides the fact that I had ask @Kushyzee a lot of questions, I also read a lot of the articles posted by @Read.Cash from over a year ago, and they were all very helpful, you can click on the profile and check out some of the articles, I am sure you'll find one or two helpful. Without further delay, let me proceed.
DISCLAIMER: This is my personal opinion, and meant only for education purpose. I stand corrected in case it is misleading
NOTIFICATION MENU

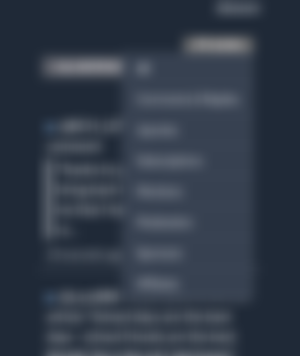
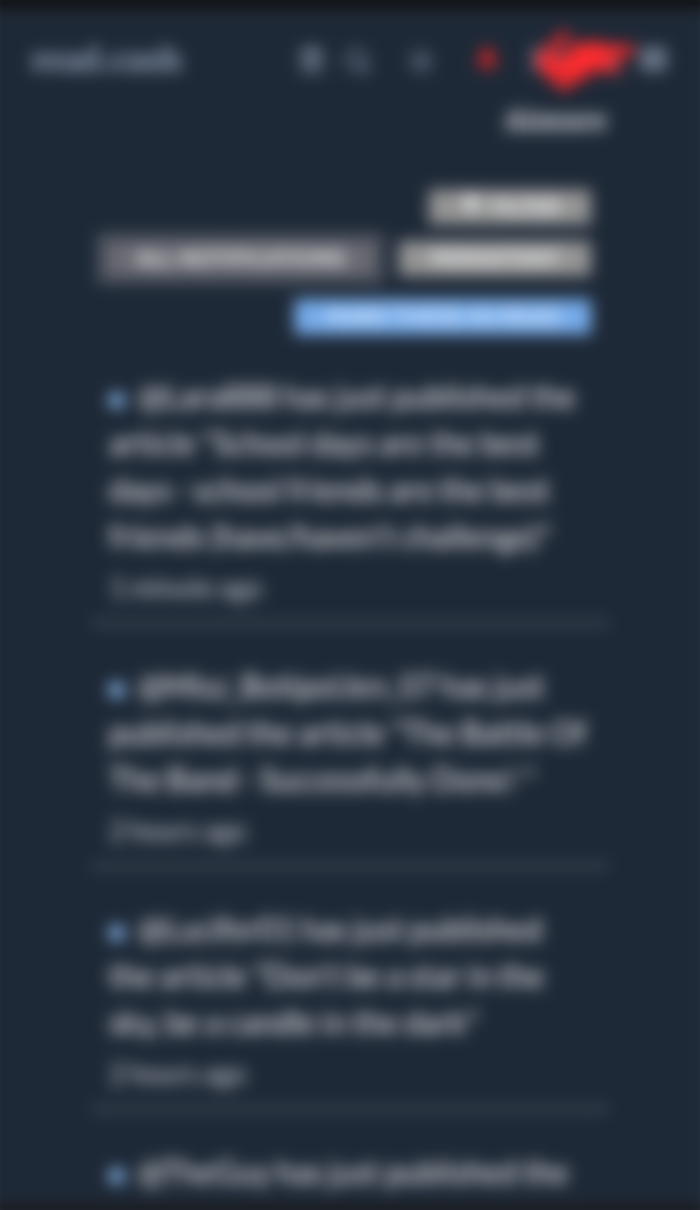
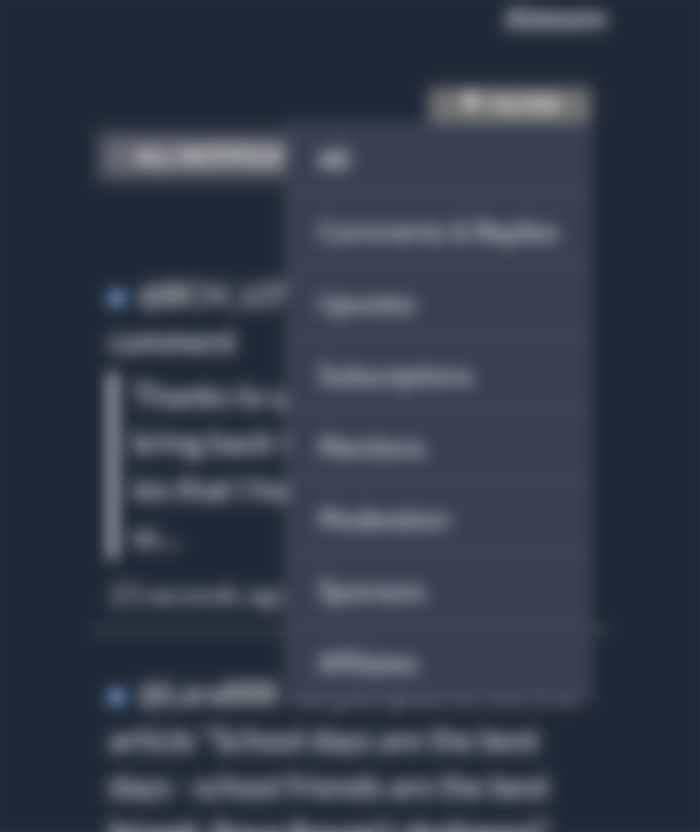
I had started with this because this is unarguably one of the most important menu on this platform and most clicked icon. Notifications appear on this menu from newest to oldest and that red bell always wants to be decoloured. Surely you can choose to click your notifications one after the other as they appear, of choose to filter them. The screenshot below shows how you can filter them to make it easier for you or faster, depending on what you're looking for exactly.
WRITING
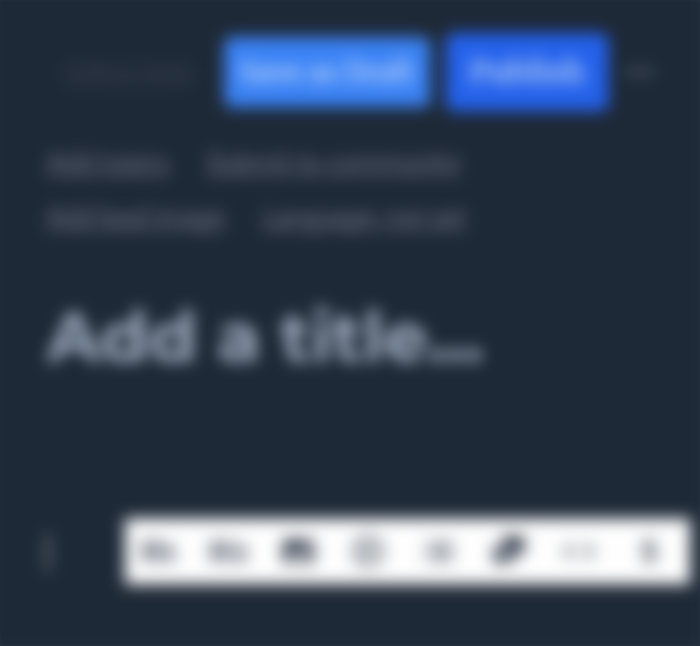
Another important part of this platform is the writing part which every user should use if they pretty much want to be considered 'users' of read.cash. Personally, I like the tools in the writing page, as it really helps me bring in a lot and create whatever I want to write how I want to write it. in this page, You have the Save as Draft tool which helps you save your article on your account whether it has been completed or not, and you can always come back to it anytime you feel like. Also, the Publish button to post your complete article when it is ready we have the topics which helps make it easier to see your articles particular for those interested in a particular topic. This is also helpful when making entries for writing challenge usually organised from time to time. The Submit to community option helps you post your articles to communities which you have joined, pending approval from the admin(s) or moderator(s). Language is usually auto-detected, and the Lead Image must be added before any article can be published.


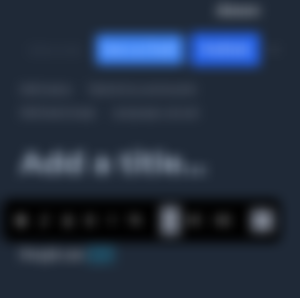
Surely we also know the importance of a title, for what is an article without a title? From the picture above, before you start typing, a tool bar comes up with eight writing tools.
H1 - First Heading;
H2 - Sub-heading;
The third is to add images as it has the 'gallery' icon;
The fourth is to add a video link from YouTube, etcetera;
The fifth is the bullet list, used to itemize;
The sixth is blockquote usually to quote words or conversations;
The seventh is code block and can be used to make notes in your article;
While the last tool helps you add your sponsors block in any part of your article. Although, it is usually automatically added at the end of the article.
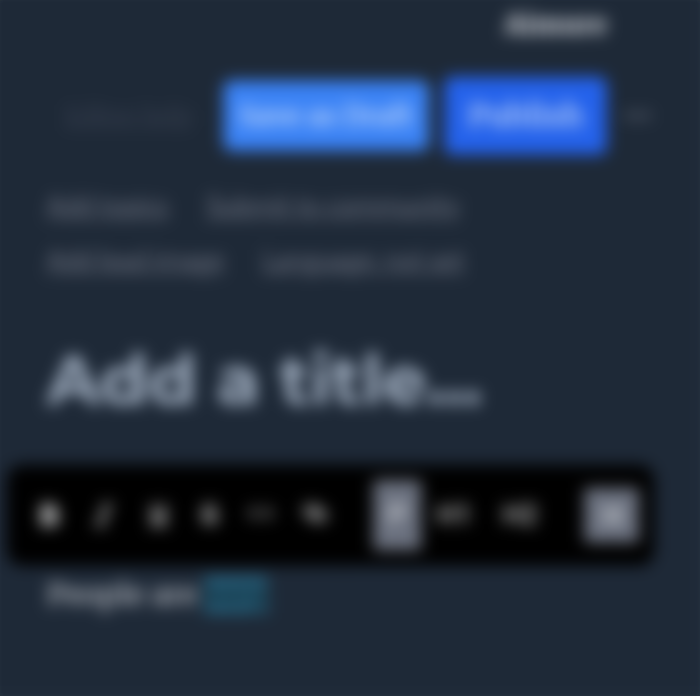
The screenshot below has a slightly different tool bar from the one above, and this is only gotten when you have already started typing, and mark word(s).
the first icon on the toolbar is to make the word(s) you've marked bold, while the second is to italicize it. The third is to underline the marked words, while the fourth is to strike through. The fifth is to make an inline code. the sixth is to embed a link in the marked words. The others are similar to what I have mentioned in the above photo.
To be continued...
Thank You For Reading 🖤🖤

22 hours ago I published my first article and as of this moment I edited it and put the $ sign. Thank you so much for this. ❤️