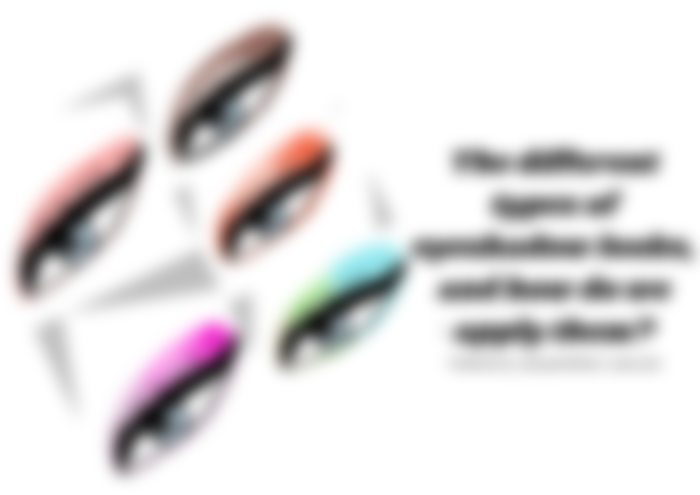
The different types of eyeshadow looks, and how do we apply them?
Hello everyone! Welcome back to my blog! It's been how many days since I last published a blog here, and I know that some of you know what the reason is why I can't publish every day. I already described it in my previous blogs; if you want to read a gossip about my life, you can check out the links to my previous blogs down below at the end of this blog.
Anyway, for today's blog, guys, I want to practice writing about make-up tutorials. You know how much I love makeup because, if you are a longtime reader, you know how much I always share my hobbies when I write about myself, especially my hobbies. Am I right? And I also included on my very old blog that I wished I could be able to write makeup tutorials in the future, but since, you know, we are struggling in a bloody market, I can't be able to buy some makeup products to use for my blog tutorial because the ones I have here are expired and I can't use them anymore.
So at the beginning of our makeup tutorial, we will talk about

The different types of eyeshadow looks and how we will apply them.
I know that some of you already know about these since we can't stop ourselves from watching some social media influencers, especially the pro makeup artists and vloggers on YouTube, but I still wanted to write about it because what if there are some new ladies who want to learn how to apply eyeshadow on their eyes, and I wanted to help by writing what I can share or teach them.
Without further ado and let's get started!
Thank you Sponsors! God bless ! <3
The first one that I will going to teach you is about the
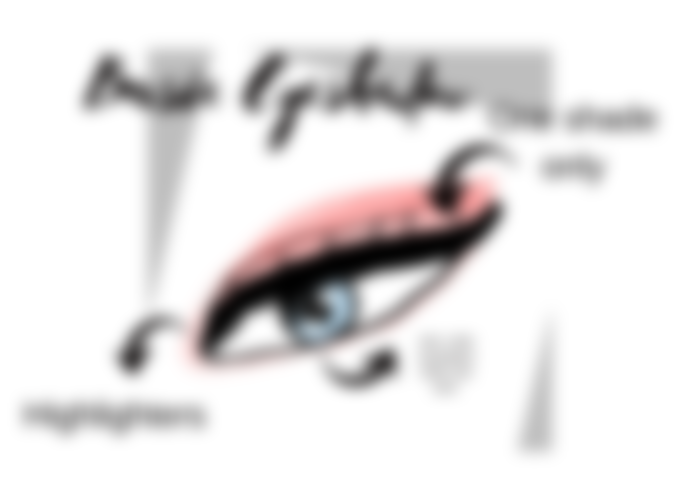
Basic Eyeshadow

This is what I called "basic" eyeshadow because this is the easiest look for beginners because we will not apply a lot of different eyeshadows and we will just use one color shade of eyeshadow.
I remember when I was still a beginner in makeup, I just used one eyeshadow to practice how to apply it. We didn't have much of video tutorials on social media back then, and I'm just watching my older sister to see how she does her makeup.
Anyway, in this basic step, you will choose one color of eyeshadow. Then apply it to your eyelid in one stroke, on just one line, and back and forth.
Optional: Add a little eyeshadow under your eyes and highlight the inner core of your eyes.
Then if you are get used to this already, you can now jump in the second part which is
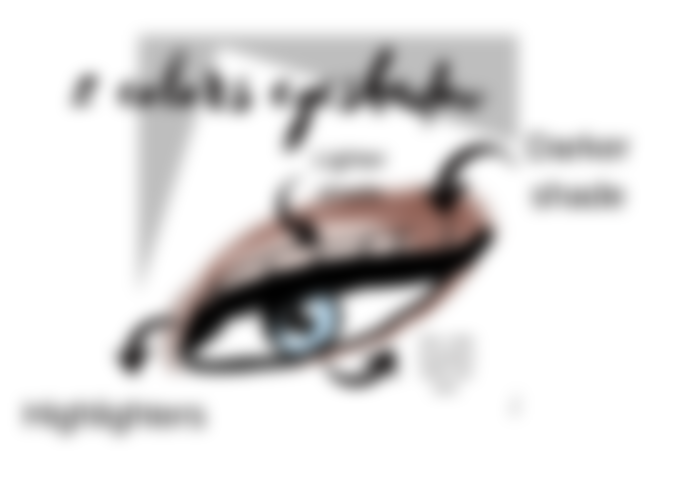
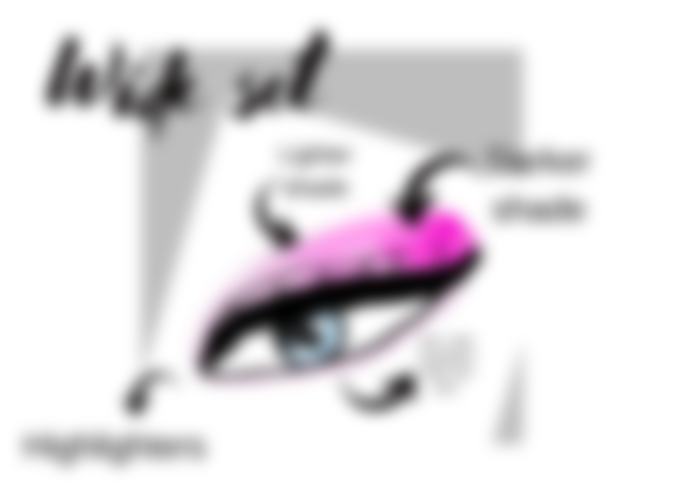
The 2 colors of eyeshadow

On this part, we will use two eyeshadows, which means you will pick a darker shade and another that is much lighter.
As you can see in the image above, the first thing that you will do is apply the darker shade by following the line that I drew. Take note that you will start on the larger part, which is on the left side of your eyes.
Optional: Add a little eyeshadow under your eyes and highlight the inner core of your eyes.
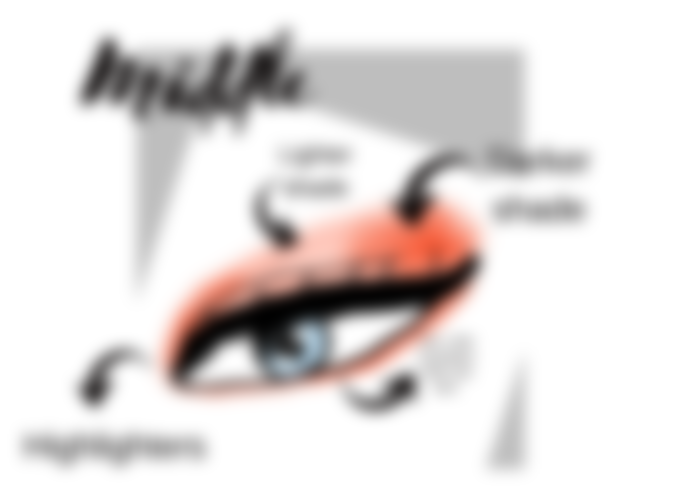
Middle

I called this one "middle" because the lighter shade of color is in the middle. Meanwhile, the darker shade is on the left and right of your eyelids.
On this part, there was a similarity between the two colors, but this time, we will add a darker shade on the right side.
Wide set

The wideset is similar to a two-color combination. However, we will not apply dark eyeshadow over the lighter shade of eyeshadow, just like the two colors above. It was called a "wide set" because the lighter color is wide on its set.
If you will apply your eyeshadow in this way, you need to put the darker shade first before the lighter shade.
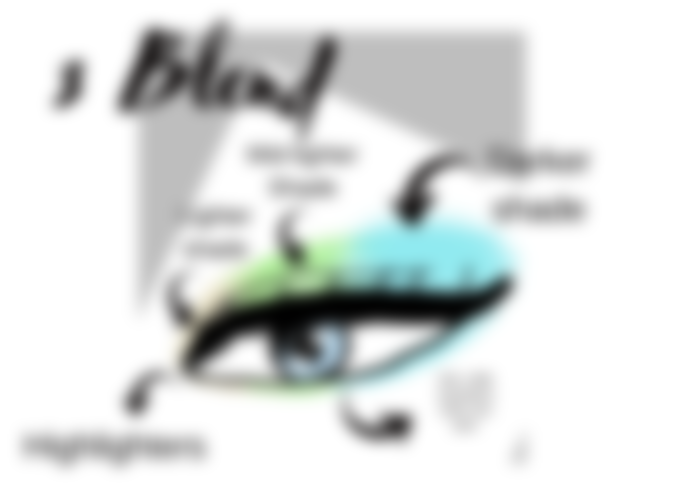
The Blending of Three Eyeshadows

This is my favorite eyeshadow look! I really like blending three colors of eyeshadow, especially if I use the lighter color shades like yellow, orange, and red.
Anyway, for this kind of eyeshadow look, you will pick three colors. It's either:
A) lighter color shade combinations; or
B) lighter to darker shade combinations
Put the lighter shade on the right side; second is the medium lighter shade; and last is the darker shade of eyeshadow color.
Conclusion...
And after you master all of these different kinds of eyeshadow looks, I think you are getting used to them already, and you will be able to blend the 4-5 color combinations of eyeshadows depending on the design that you do.
Aside from highlighters, you can also add the glitter shimmers on the middle of your eyelid as a design; that is your choice, and it's up to you if you will add them. As for me, I am content with the high-lighters already because the Korean look is not my type.
Phew! I am so happy to share with you what I know about applying eyeshadow. And I hope that in the next few days—or whenever—I can be able to share another make-up tutorial.
So this is all for today! I hope you enjoyed reading this short blog about a makeup tutorial. Thanks for reading!
My Previous Articles:
After I recieved that text message...
Finally, I bought accessories for my Xiaomi Pad 5
I spent my $324 to buy this thing
Meet these 2 Applications that can be used for editing photos for your blogs
Ako na mahilig manood ng tutorials & make-up vlogs pero 'di naman garod mai-apply sa sarili. Kapag lumalabas kasi ako, okay na 'yung face powder & lip gloss ihhh. 🙈