My hands were full these past few days, which limits me to publish an article on Read. Aside from that, the internet connection at home is slow to none. It's very unstable, especially in the daytime. I am not sure if I can publish 15 articles for this month with my current situation. I'll be here in my hometown until the 28th, so I guess my July goals are at risk. But I'll try...I'll try as much as I can.
Anyway, I have decided to share on Read how I format my blog on Hive since some of my online friends here asked me for some Hive stuff. One of the many things that I told them is about the formatting technique. It is not compulsory, but to attract more audiences and curators, it is needed.
Unlike Read, Hive is not easy to navigate. It's a little bit complex since you have to familiarize terminologies like Resource Credits, Hive Power, Staked token, Liquid token, and a lot more.
In writing blogs on Hive, it uses Markdown, a simple and easy-to-use markup language. There are tons of Markdown cheatsheets on the internet, but some of them do not apply to Hive.
Here is the Markdown I use when writing a blog:
HEADERS
Adding headers to your blog provides emphasis on the topic. This way, the reader will have a hint as to what the next section/topic is all about.
The title is Header 1. Then the next headlines, I will use the succeeding header numbers. I rarely use Header 2 and 3 since they are quite big for me.
<h1> Header 1 </h2>
<h2> Header 2 </h2>
<h3> Header 3 </h3>
<h4> Header 4 </h4>
<h5> Header 5 </h5>
<h6> Header 6 </h6>

# Header 1
## Header 2
### Header 3
#### Header 4
##### Header 5
###### Header 6
In placing the headers, I like to place them at the center.
### <center> HEADLINE </center> If there is a need to put a sub-headline, I use a line break and subscript.
### <center> HEADLINE <br> <sub> Sub-Headline </sub> </center>line break
<br>subscript
<sub> </sub>
TEXT/BODY
The default format in Hive for the normal text (body of the blog) is at the left. As for me, I like justifying the text like how a paragraph should be written on the paper.
Before anything else, I will set first that my blog should be justified. Hence, I will type this in the first and last parts.
Justify
<div class="text-justify">TEXT</div>Pull Left
<div class=pull-left>This text is on the left</div>Pull Right
<div class=pull-right>This text is on the right</div>Center
<center>This text is in the middle</center>
<div class="text-justify">This is an example only for you to see that this sentence is justified because of the markdown code that I used before filling out the body of my blog. </div>
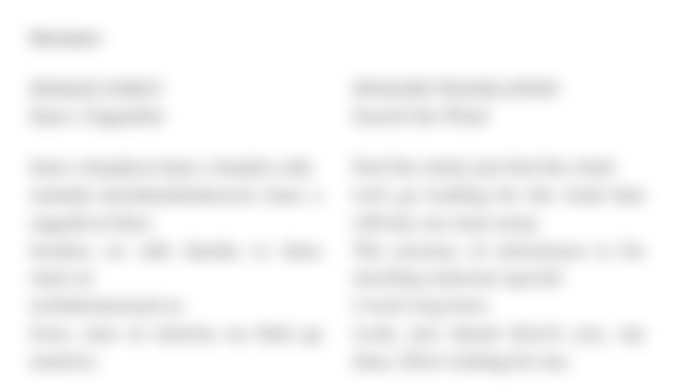
Preview:

<div class=pull-left>
ROMAJI LYRICS
Kaze o Sagashite

kaze o kanjiyou kaze o kanjiru nda
namida kawakashitekureru kaze o sagashi ni ikou
bouken no tabi dareka to deau tame ni
tachidomaranai sa
hora, mae ni taisetsu na kimi ga matteru
</div>


<div class=pull-right>
ENGLISH TRANSLATION
Search the Wind

Feel the wind, just feel the wind
Let's go looking for the wind that will dry our tears away
The journey of adventures is for meeting someone special
I won't stop here
Look, just ahead there's you, my dear, who's waiting for me.
</div>Preview:

PHOTOS
Photos are essentials in blogs, but be mindful of the arrangement of the photos that your blog will not look like a blog with photo dumps. The default alignment of Hive Markdown for photos is on the left side. To avoid editing your photos in layout, use the pull left and pull right.
Pull Left
<div class=pull-left> Image link </div>Pull Right
<div class=pull-right> Image link </div>
Note:
When using pull left and right, use the generated image link only. Erase the following:
![Image-Filename.png]and the open and close parenthesis.
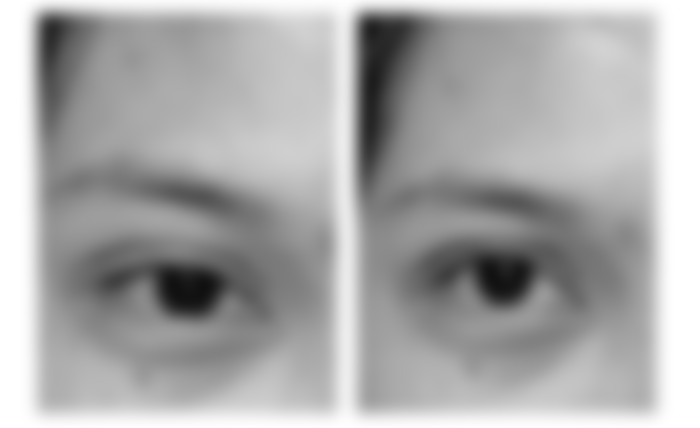
<div class=pull-left>https://files.peakd.com/file/peakd-hive/kneelyrac/23vi673xJ77GZhgvGYFWnx2sHRNfnz4SgUeMfdtytCHFcLNwBJTuRe85D1hfqBcJbGuA1.jpg</div>

<div class=pull-right>https://files.peakd.com/file/peakd-hive/kneelyrac/23vi5tVQJ6zpWmd3tdGHB5LRL59u33zaQ3nKjqgwxGZRvdThB9iYTa7AVspB9XURTXoDa.jpg </div>
Preview:

CAPTION
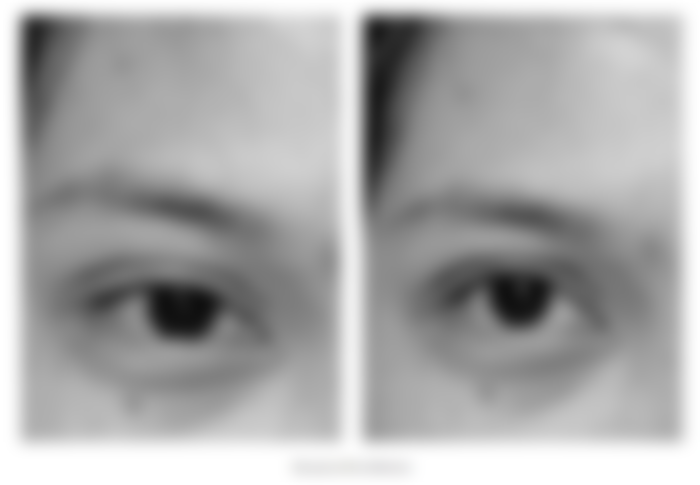
I sometimes include a photo caption. It doesn't need to be a paragraph long. When adding a caption, make sure to include it at the center.
Also, I use the subscript for the caption. This is to separate the caption from the normal text.
<div class=pull-left>https://files.peakd.com/file/peakd-hive/kneelyrac/23vi673xJ77GZhgvGYFWnx2sHRNfnz4SgUeMfdtytCHFcLNwBJTuRe85D1hfqBcJbGuA1.jpg</div>

<div class=pull-right>https://files.peakd.com/file/peakd-hive/kneelyrac/23vi5tVQJ6zpWmd3tdGHB5LRL59u33zaQ3nKjqgwxGZRvdThB9iYTa7AVspB9XURTXoDa.jpg </div>

<center> <sub>  My eye as the reference  </sub> </center>
Preview:

If I want to add a caption per image, I include it in the pull left and right.
Pull Left
<div class=pull-left> Image link <sub> Caption </sub> </div>Pull Right
<div class=pull-right> Image link <sub> Caption </sub> </div>
<div class=pull-left>https://images.hive.blog/DQmZup4BUW3e1KxfLnsJMdSLBU4pEg8dKBGQAHGVFTxv5bh/20200222_180116_394.jpg <center><sub> Twilight at SM Seaside, Cebu City  </sub> </center></div>

<div class=pull-right>https://images.hive.blog/DQmaTyu51yQZN2pt4JMRHpyVoNZQmRQpuyJErFooXWpEhxN/20210213_191633_899-01.jpeg<center><sub> Valentine's Day </sub> </center></div>
Preview:

FONT STYLE
Highlighting a text or a line is necessary for emphasis. I use bold, italic, or a combination of both. You can opt to use any of these three:
<b> Bold </b>
<i> Italic </i>
<b><i> Bold Italic </i></b>

**Bold**
*Italic*
**_Bold Italic_**

__Bold__
_Italic_
__*Bold Italic*__
***Bold Italic***
5) Links
If you want to promote your website and other social media, make a clickable word or image for the viewers to check.
Other Hivers use About the Author as their footer. But instead of having an About the Author section, I like to put my username and social media account as a footer.
<center>

[**`K N E E L Y R A C`**](https://peakd.com/@kneelyrac/posts)
<sub> • [Instagram](https://www.instagram.com/lingaleeng/) • [Twitter](https://twitter.com/kneelyracimp) • [Goodreads](https://www.goodreads.com/user/show/23935722-caryl) • </sub>
</center>Preview:

Final Thoughts
The above-mentioned formatting techniques and guidelines are my preference whenever I write blogs. You can copy them if you want to, or make this article as a basis on how you format your blogs. The markdowns listed are not complete since I only listed those I always use.
You can search Markdown Tutorial, or head on to this cheatsheet: Markdown Cheatsheet.
When writing and not sure about your English, seek a little help from these two sites: Grammarly and Scribens.
If you are using images from the internet, it is best to use the following sites with free images: Pixabay and Unsplash. Even if it is free, remember to give proper credit.
For Photo Editor, you can download and install Snapseed and Lightroom. You can also use Canva, especially for your cover photo.
I hope this article will help the newbies on Hive with no blogging experience. If you are still confused, let me know in the comment section.
Previous articles:

Connect with me: Noise • Steemit • Hive • Blurt • Goodreads • Twitter • Instagram



ibobookmark ko to sis for future reference hehe. Thank you for sharing this for Hive users. :)