Headband decorated with crochet fabric
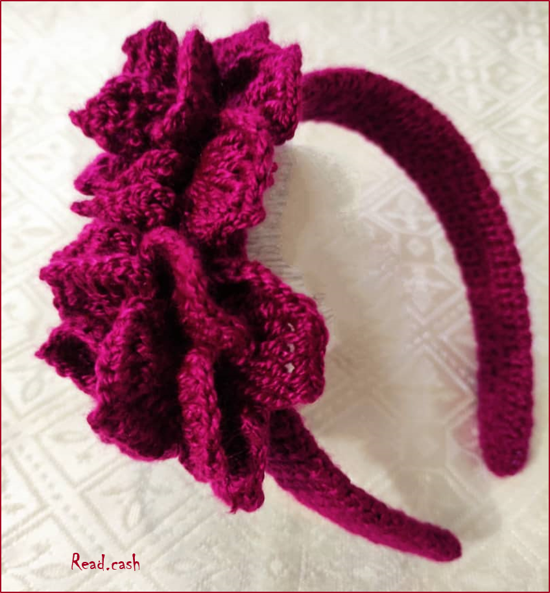
Hello my dear creative friends of Read.cash, I hope your week has been completely successful. For me it has been on and off, good things and not so good things, but still what I do is pick my head up and carry on.

When something like this happens to me, I try to stay calm, let the good things prevail and while the rest takes its course and is forgotten I take my needles and occupy the mind.
Taking the needles is a good strategy, between threads and needles I knit what I like, what I need, I knit what comes from my soul. Nowadays it is easier to make beautiful things, social networks make it easier. On the internet there are countless pages that allow you to get patterns, get ideas and knit wonderful things.
When I do this I don't only do it for my personal use, I also do it for anyone who needs a knitted piece. In my case I get a lot of orders for knitted dresses, shoes, hats. All in different prices from 5$ to 10$. And dresses between 20$ and 25$.
It all depends on what people want, the amount of yarn and time spent to make the piece. Some customers give me the freedom to knit to my taste, there are others who tell me what colors and patterns they like.

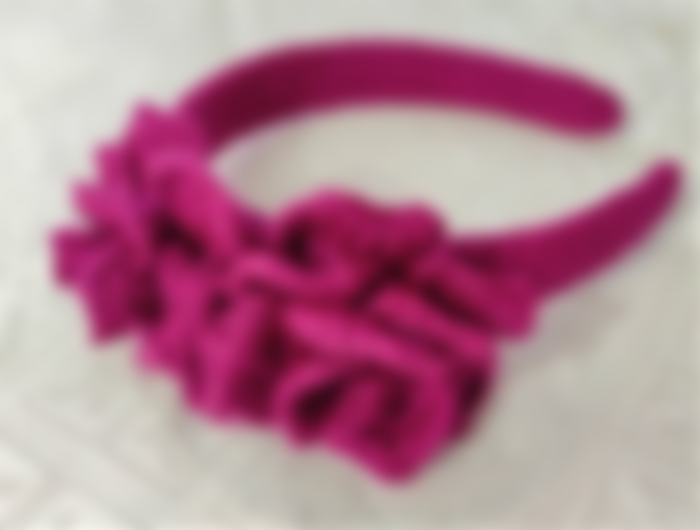
Today I want to show you something simple, where we only use 2 or 3 basic stitches. This is a crochet headband for a girl, lined with crochet and decorated with a wonderful flower.
The materials we are going to use are basic, so you can do it with this simple step by step, or if you feel like it you can get more tutorials and videos on the internet.
Crochet thread
knitting needle number 2,5 millimeters
scissors
wool needle
headband
marker

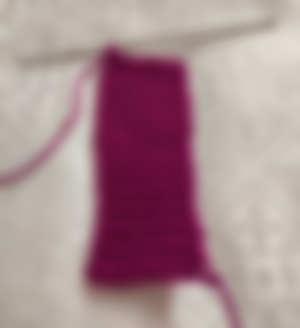
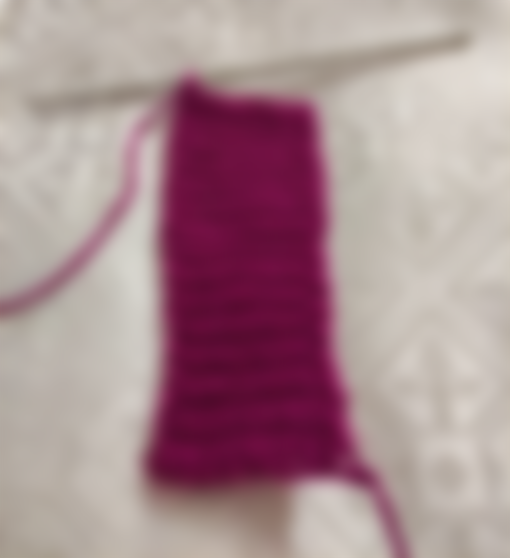
The first thing we are going to do is to knit 10 chains, plus one chain that is equivalent to our first single crochet, we take yarn and knit in the third chain to make our second single crochet, from there we are going to knit 10 rows of single crochet stitches.
In row 11 we knit the single crochet to the middle and there we make an increase of single crochet stitches. In total we will knit 11 single crochet loops. We knit 10 rows of 11 single crochet stitches each.
The idea is to increase the stitches to make the shape of the headband. In the 22nd row we knit again an increase of single crochet just in the middle, that means that our row will end with 12 single crochet stitches. We continue knitting 50 rows of 12 single crochet stitches. From this point on we are going to make decreases, that is to say that we knit single crochet and right in the middle we make a decrease, and we finish the row with single crochet, we repeat 9 rows of 11 single crochet stitches. Now we are getting to the other end, then we make a decrease right in the middle of the row and continue with single crochet to finish, we repeat 9 more rows without decrease or anything else and that's it.
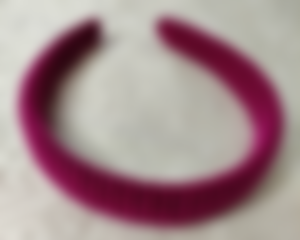
It all depends on how wide or long your headband is, in my case I only need these measurements, you can change these measurements.
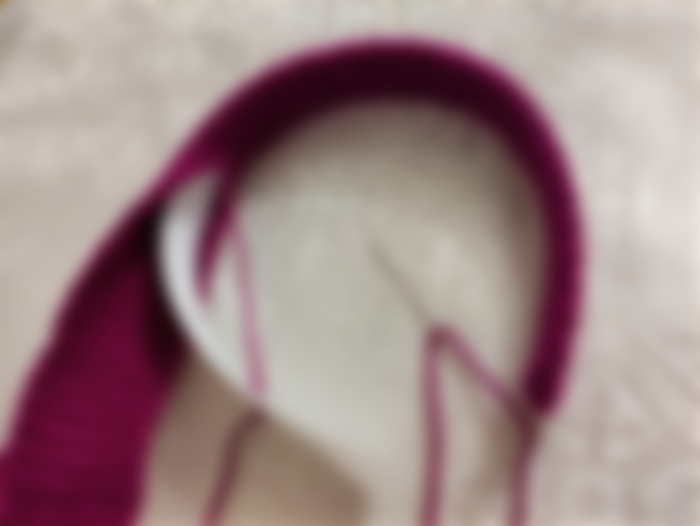
Now we are going to place our fabric in the headband, for this we are going to use a wool needle, we place a long strand and we begin to join with stitches from one side to the other, exerting some pressure so that everything fits well. To finish off the ends, we take the yarn and close it, making safety stitches so that it does not come loose.
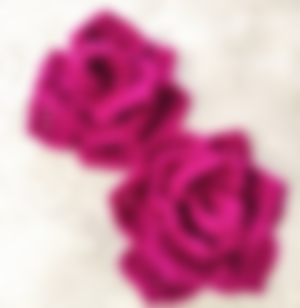


I hope you liked this simple tutorial, you can decorate it as you like, I have decorated it with this flower model, but you can decorate it with the model that you like or you can leave it without decoration because it also looks beautiful. See you soon, take care and have a happy weekend.
I want to take this opportunity to thank my sponsors, for renewing their affection and especially my new sponsor @Knopodters who has trusted me and now commits me with their support to move forward and not to falter in the face of any adversity.




for women this is highly recommended but what about me being a man, maybe I can't.