Last September, our professor in Visual Technology 3 gave us a project to create an architectural scale model in conceptual stage. The time period that he gave us was from October 1 until October 30, but due to our 1 week midterm interlude or break, he decided to extend the deadline until November 8, which is yesterday.
Before October started, me and my friend decided to already find a building that we could start to work on. Preferably, one that has a YouTube tutorial so we can do it less harder. And this is what I found...
Part 1
Part 2:
To be honest, having this video helped me so much and made my progress less stressful.
Background of the Building
Burj Al Arab is a luxury hotel, sometimes erroneously described as "the world's only 'seven-star' hotel",located in Dubai, United Arab Emirates. It is designed and constructed by Architect Tom Wright of WWKArchitects and developed by Jumeirah Group. It is known to be one of the tallest buildings in the world.
Burj Al Arab stands on an artificial island 280 meters from the beach. Construction of the island began in1994 and involved up to 2,000 construction workers during peak construction. It was built to resemble the billowing spinnaker sail of a J-class yacht. Two "wings" spread in a V to form a vast "mast", while the space between them is enclosed in a massive atrium. The shape of the structure also resembles the sail of a ship. Near the roof, it has a helipad at a height of 210 meters or 689 ft above the ground. The hotel's helipad was designed by Irish architect Rebecca Gernon. The helipad is above the building's 59th floor, and has been used as a car racetrack, a boxing ring, a tennis match, and the jumping off point for the highest kite surfing jump in history. This enormous building opened on December 1, 1999. And up until now, it is still known as an extraordinary and expensive hotel in the world.
Tools
Cutting Mat A3 - ₱249
Hobby Knife Set - ₱268
Scissors - ₱0 (Cause I already have this.)
Elmer's Glue - ₱28
UHU glue - ₱135 (A very nice glue! The quality is like the glue stick where we use glue gun, but this one is far better because it doesn't need glue gun anymore to heat it up so you don't need to worry about getting burned.)
Pencil - ₱0
Metal Ruler - ₱0
Materials
Foam Board - ₱520
Illustration Board - ₱15
White Crepe Paper - ₱8.50
Fairy/Christmas Lights - ₱35 (Not sure? I forgot it.)
Toothpick - ₱0 (For the stand of trees.)
Brown Used Folder - ₱0 (For land, trees, and for the back part.)
Brown Paper Bag - ₱0 (For land, and helipad)
Vellum cartolina
Balloon Stick
Modelling Process
Build the island or the base of the building.
1. Using a sharp knife, cut out a foam board that is the same size of the island.
2. Paste a cut-out brown folder and brown paper bag at the top which serves as the ground of the island.
3. Cut out 41 pieces of illustration board that have a dimension of 3x5 meters, and wrap them with a brown
paper bag.
4. Paste the 41 pieces of 3x5 meters illustration board around the island.
Build the core of the building.
1. Cut out foam boards into the same size of the left and right side of the building. Also cut out other
pieces that are part of the building.
2. Put them all together by using glue. In my case, I used UHU glue all throughout the building process.
3. Cover the right and left facade of the building using white crepe paper. By using it, the light can pass
through.
4. By using a sharp knife, cut out 54 pieces of an illustration board with a width of 0.3 meters and with a
length of 27 meters. It must look like strips. Then, paste 27 pieces each on the left and right sides of the
exterior of the building up to the facade.
5. Put the balloon stick at the back part of the building.
Work on the exterior details of the building.
1. Cut out foam board needed for the exterior details of the building.
2. Paste the pieces together.
3. Put them on the right and left side of the building.
Work on the facade of the building.
1. Put the fairy or christmas light inside the building.
2. Cut out curve-shaped foam board pieces. Then, paste them on the facade of the building.
3. Cover the entire facade by using white crepe paper.
Work on the smaller details of the building.
1. By using a 5 mm foam board, slice them lengthwise as thin as possible.
2. Have 6 pieces that have a length of ~16 cm for the upper part. Have 6 pieces that have a length of ~19 cm.
cm for the middle part. Have 6 pieces that have a length of ~17 cm for the lower part.
3. Group them into 3 pieces with the same lengths. Then, glue each of the tips together.
4. Have shorter length pieces of the sliced foam board and paste them on the lengthwise foam boards.
5. After that, glue them on the sides of the building.
Build the helipad of the building.
1. Cut out foam board with a triangular pizza-like shape. Then, put it on the top of the building.
2. Cut out the vellum board into a circle. And using a knife, create rectangular holes at the sides of the
circle.
3. Cut out brown paper bag into a circle. By using a knife, cut another smaller circle. Then, cut a “H”
shape within the smaller circle.
4. Paste the cut out brown paper bag with a “H” on the circle vellum board.
5. This time, paste it on the balloon stick holder.
6. Paste the balloon stick holder at the upper center part of the building.
Work on the rear side of the building.
1. Cut out 5 pieces of foam boards that can fit in between the 2 vertical structures of the building. Then,
glue them in between them.
2. Cut out brown folder that can fit at the rear part of the building. Then, glue it there.
3. To build the restaurant, cut a vellum cartolina that has a dimension of approximately 12.5x10 meters.
Make them curved and put the cut out brown folder in empty spaces. Then, glue them at the back
part.
Add a landscape.
1. To make the trees, cut out brown folder with circle shapes. Then, cut at least 6 radius of each circle but
make sure not to cut the center part.
2. Stab the center part of the cutted brown folder circles onto the toothpicks. Now, we have the trees;
3. Stab the miniature trees or the toothpicks onto the island of the building.
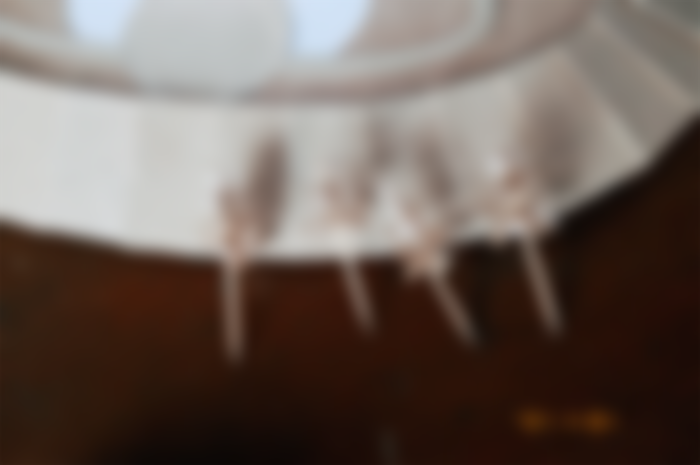
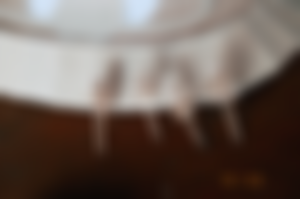
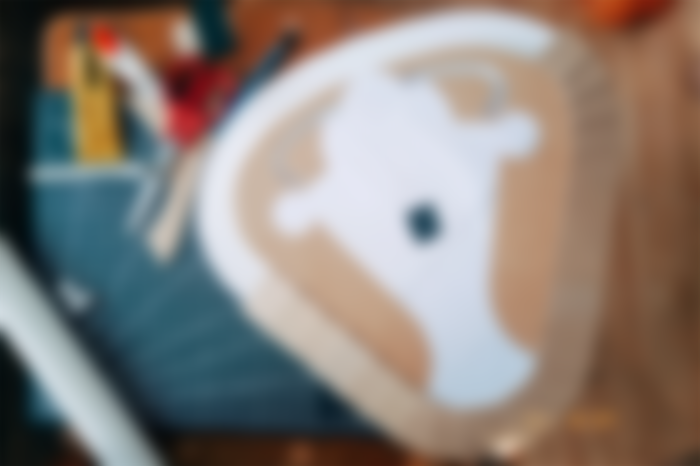
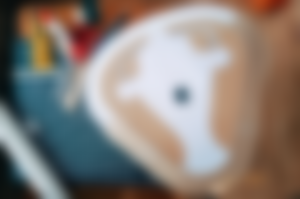
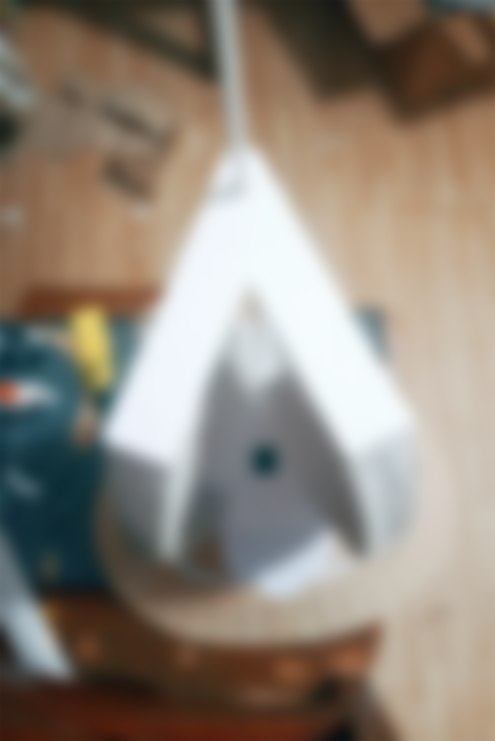
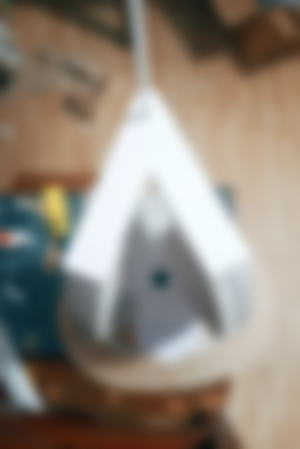
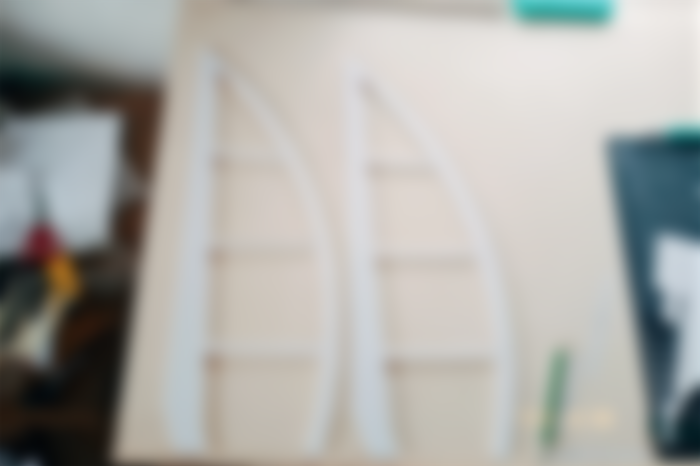
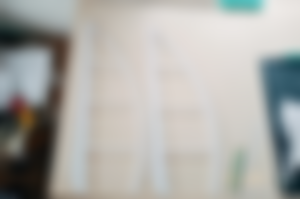
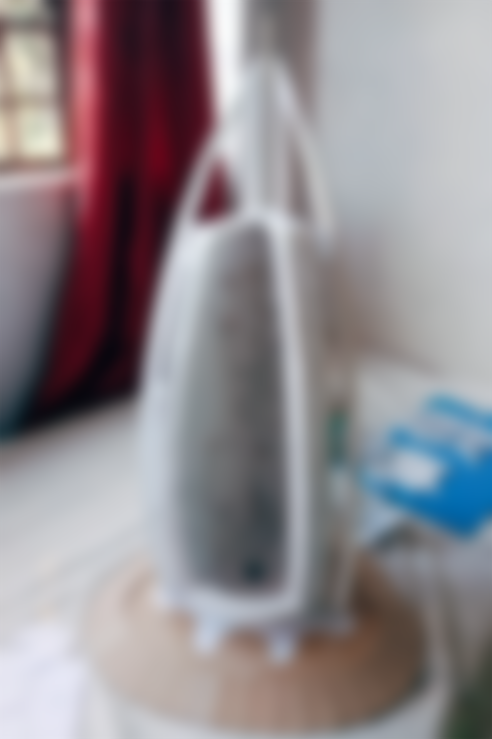
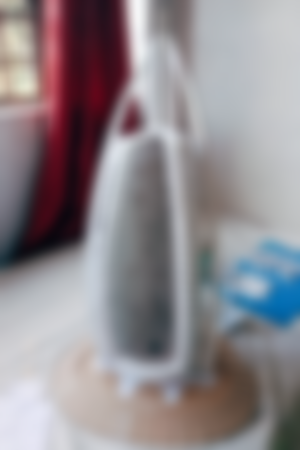
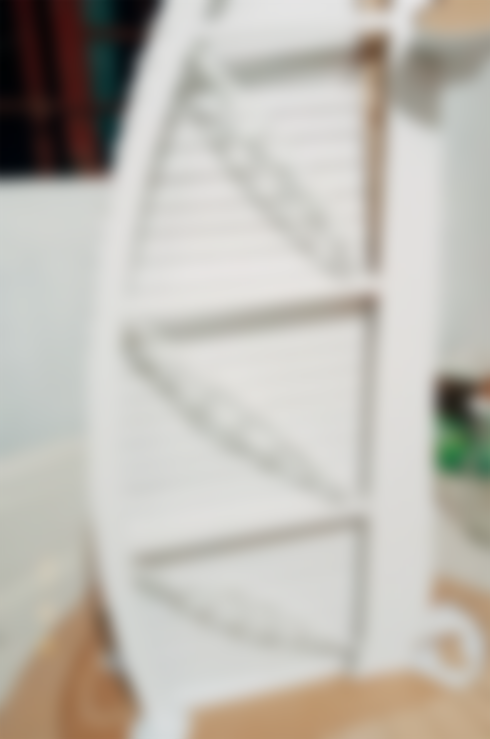
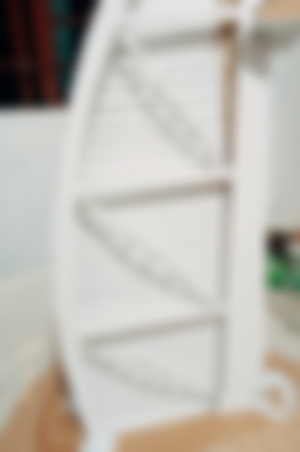
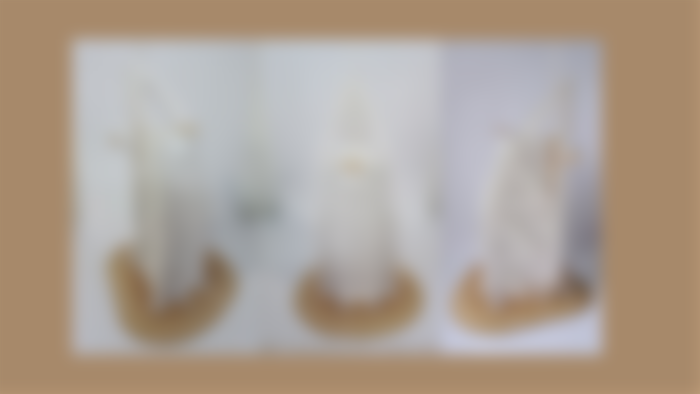
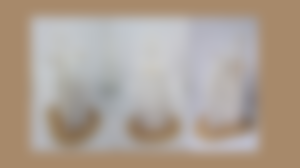
Photos of Scale Model
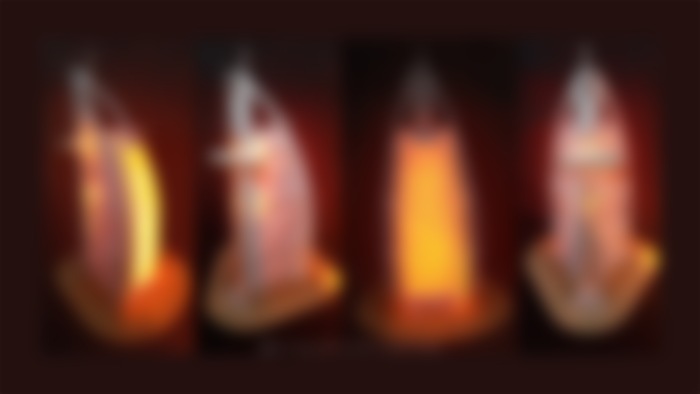
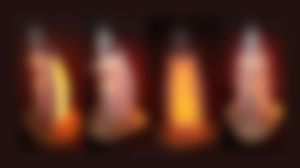
Day Scene
Night Scene
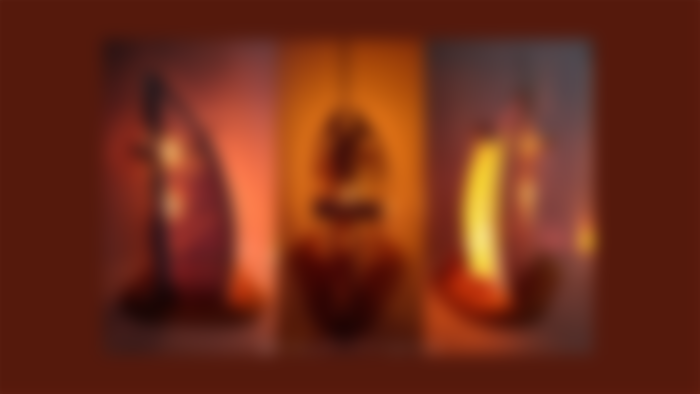
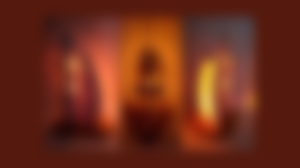
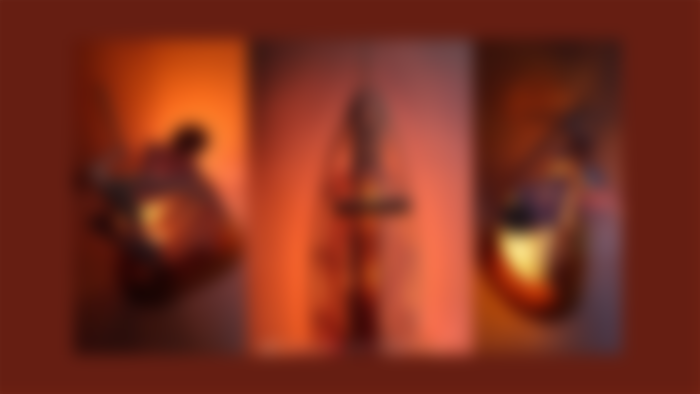
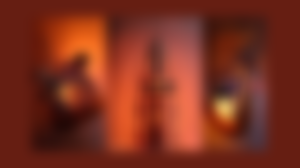
Dark Background
Details
I made an article dedicated for this work of mine for the purpose of sharing to others and documentation where I can look back with what I have accomplished. This is not in any way to brag. Hihi.
You guys can leave any constructive criticism on the comment section.
Thanks for reading and until the next blog. ❤️
Previous Article:
Get to know me more on my noise.cash: CrazyRichFilipina
Date Published: November 9, 2021
Wahhhh, ang angas ang galing 😍 @Meyzee oooohhhh galing galingg