"Made with LOVE" 💕 Remembering and putting into practice what I learned from my grandmother.
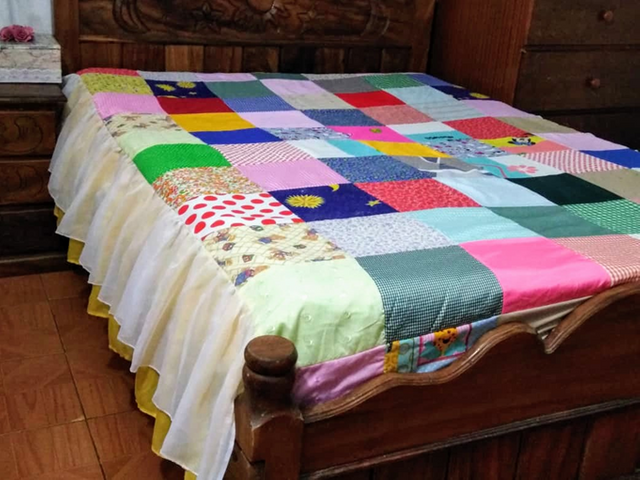
Today I want to show you with great pride and full of happiness the quilt that we have called "La colcha de la Nona", we have called this quilt this way because it reminds me a lot of my grandmother Evangelina Rangel, who spent her time making quilts with many scraps of fabric that she took from old clothes that nobody used. In my mind I remember that she had a beautiful jean quilt; I liked it very much because the jean was of various shades; nowadays I would like to have that quilt with me, but I don't know where it went after my grandmother died.
Anyway, sometimes I think that it was from each of these people who passed through my life that I learnt to love handicrafts and above all recycling.
I started this project a year ago and had not taken it up again due to lack of time. I always knew that I could make it with all the fabric scraps I had saved, but I just needed to take that impulse to finish it.
One day I started to choose the pieces of fabric I was going to use, I also chose the colours and the size, in my mind I was putting together the design, there are many ways to make it, but the one I wanted to make was this one, made of many colours. As you can see I made it reversible, so I have a blanket for a while.
Step by step.
* I confess that a year ago I took the step by step photos of how I cut out the squares but I lost them, I couldn't find them anywhere, so I'm just going to tell you the measurements I used to cut out the squares, they measure 22 cm from side to side.
* Before starting to sew, I placed the squares of fabric on the bed and I arranged them so that the colours were not so close to each other.
* I made 11 rows of 7 squares each, then joined them together to form the full size of the bed.
* Then we made some ruffles with diopobello or with some fabric that you have around that is soft, that has a drape.

* We join them to the quilt facing each other, as shown in the picture, if possible and for more security, fix them very well with pins or with needle and thread, using straight and zigzag stitching.
* When we have both ruffles fixed to the quilt, we are going to place a sheet fabric as a lining and then turn it over so that our quilt has a better finish.
* As you can see in the image, I decorated with hearts a sheet I had at home and that we hardly used, I decorated it with some hearts where it had some little holes. Then we face the front of the sheet with the front of the quilt, we fix it very well with pins or with needle and thread so that it doesn't move when we are sewing with the sewing machine.
* When we are sewing with the sewing machine we must leave an opening of 20 cm in one of the corners and then turn over; we close with a hidden seam and that's it, that's it, the magic happens and our blanket, quilt, quilt or whatever you want to call it is ready.

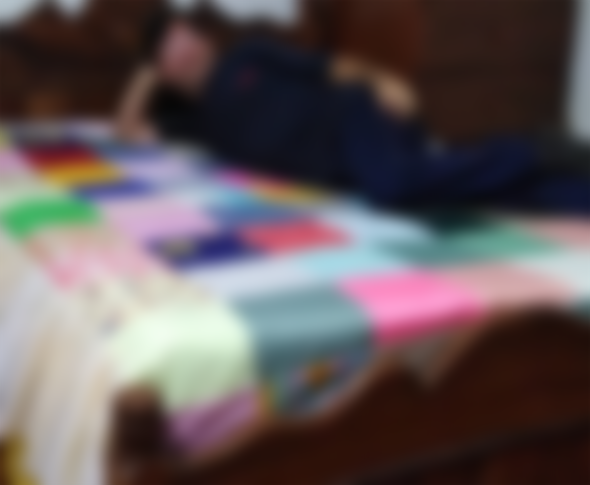
My husband making the quilt for the first time
Here is my husband unveiling my quilt, he was surprised when he came home from work and he loved it so much that he got on it right away and between laughs and jokes he wanted me to take a picture of it to show it to his family. So now we have a beautiful memory of the first time I used my nona quilt for the first time.
I hope you all like this project a lot, it really took me a long time to do it, because I wanted to put a new sheet fabric on the other side, but with this situation we have in my country it was a bit difficult to do, because they are very expensive; but well, that didn't stop me, No sir!
I tell you until the next "Made with LOVE".
I want to thank my friend @jane who very kindly is my new sponsor, may God bless her and multiply her health.



At first I thought this was crocheted but upon closer inspection it was quilted. I haven't tried quilting yet. I don't know how to use a sewing machine and it really takes time to sew by hand.
Great job! 👍🧡