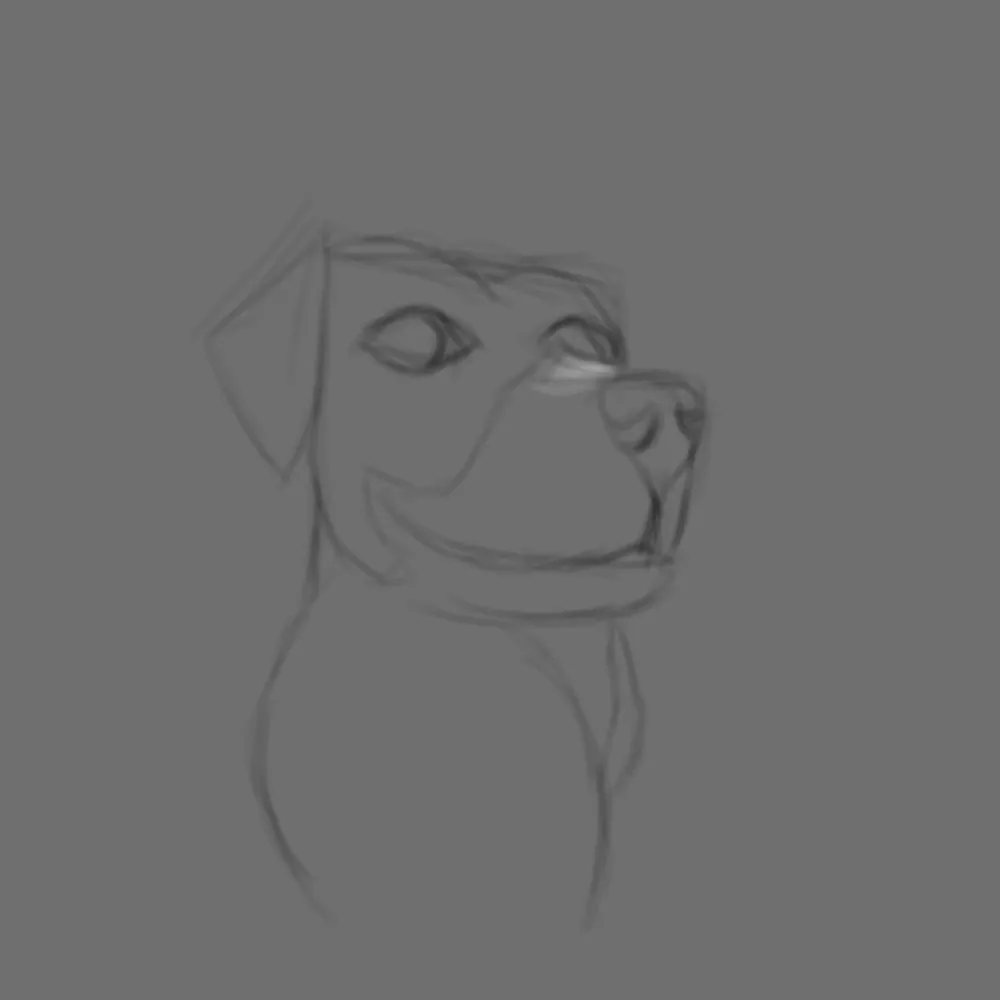
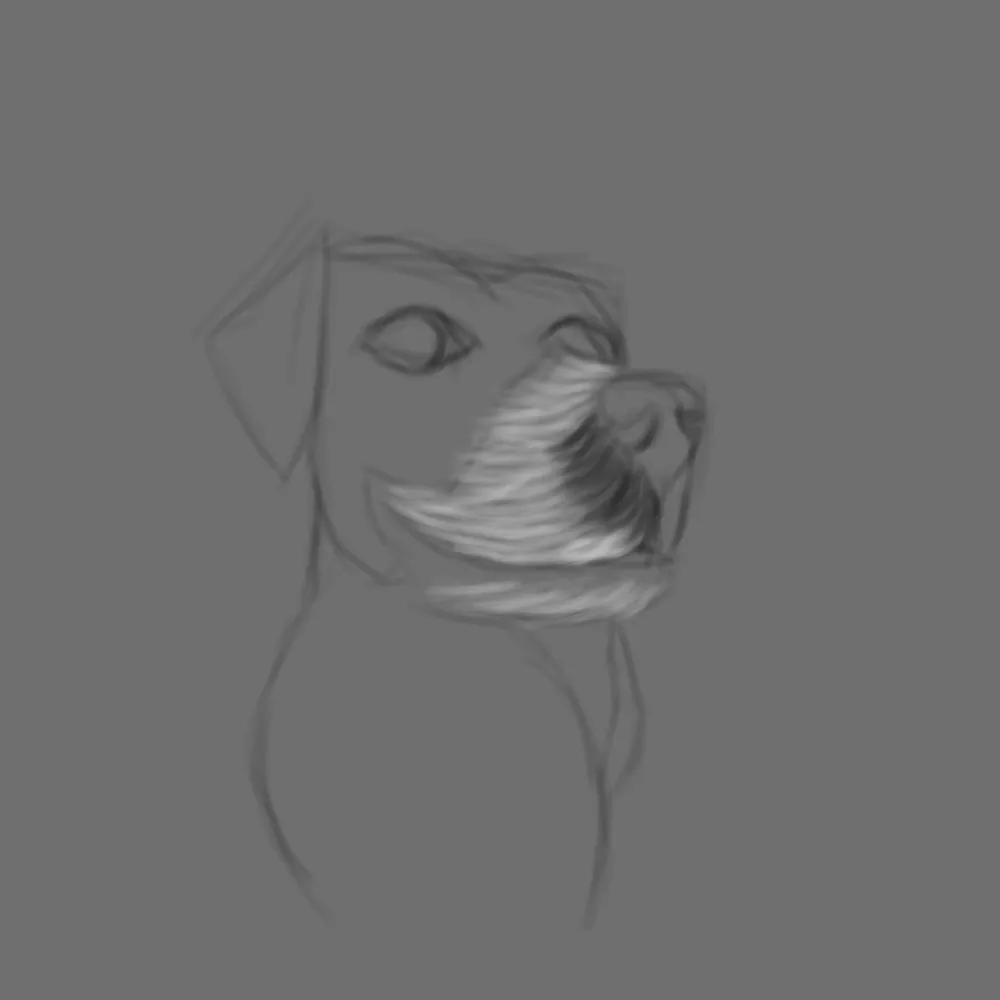
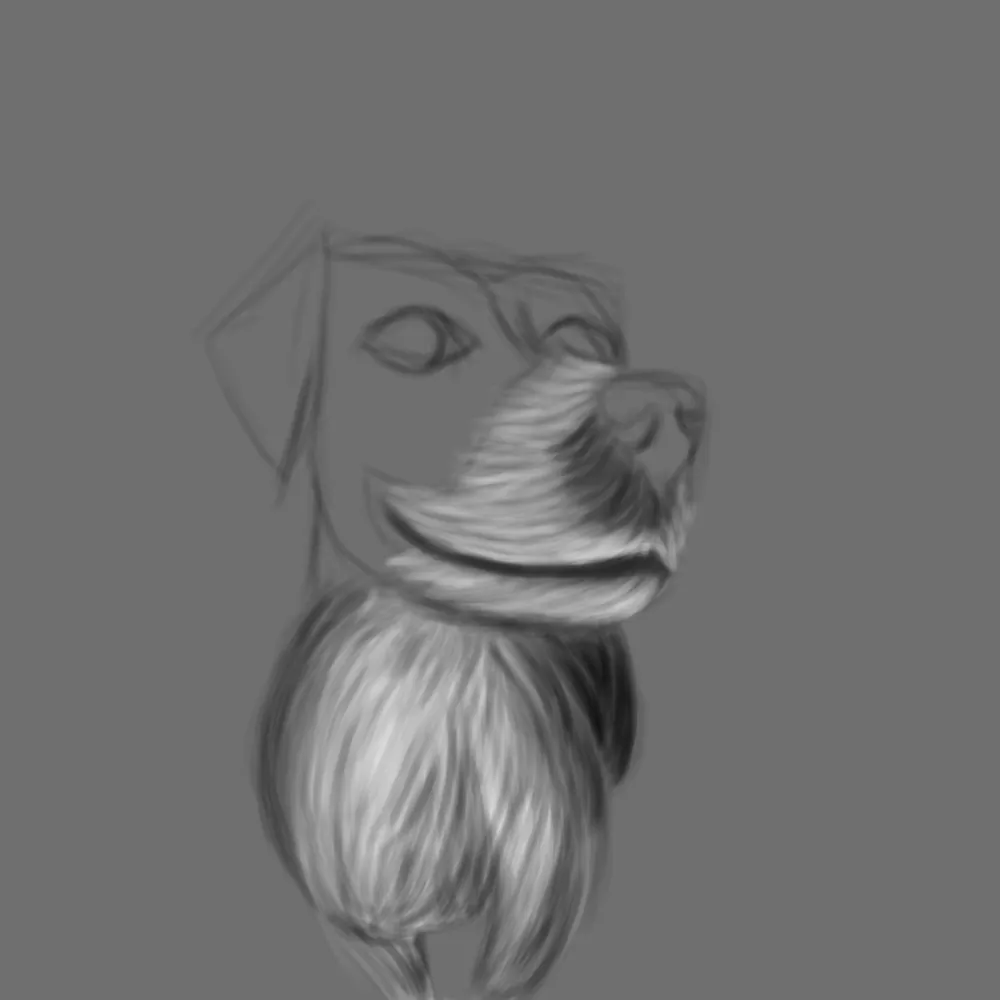
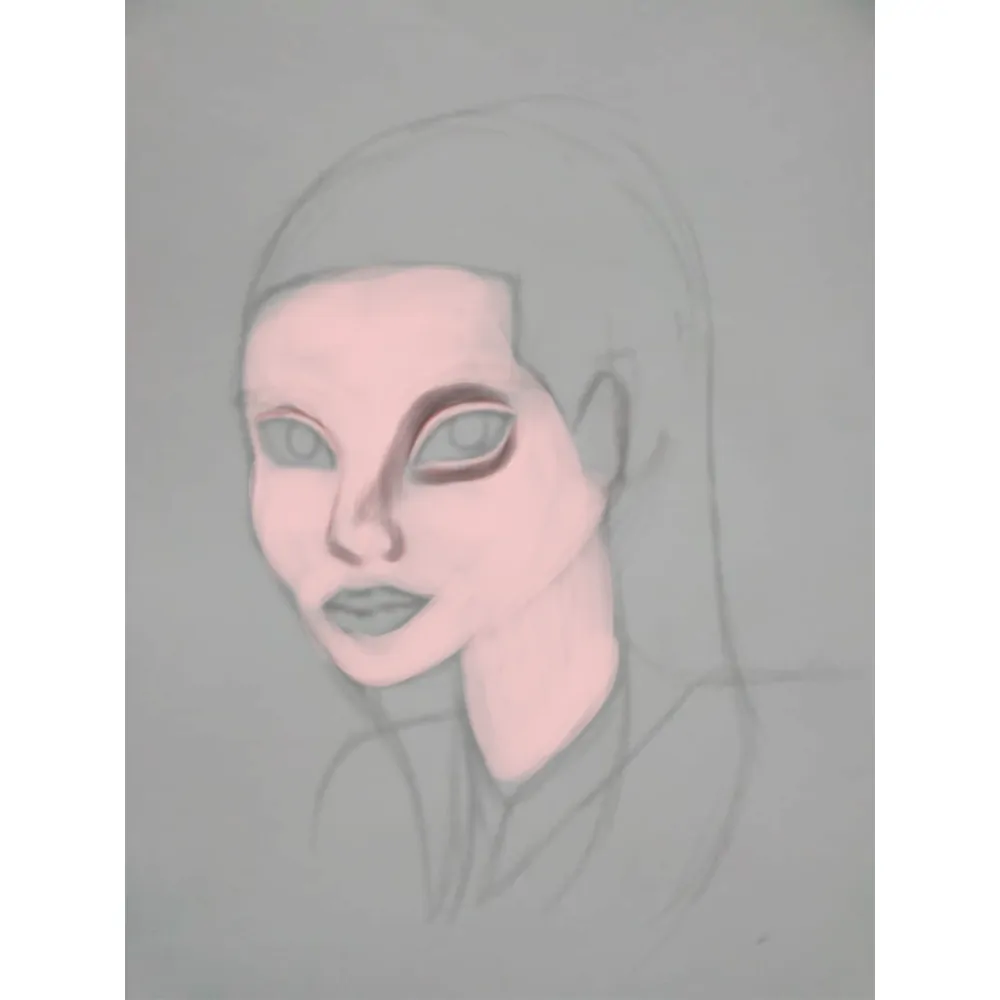
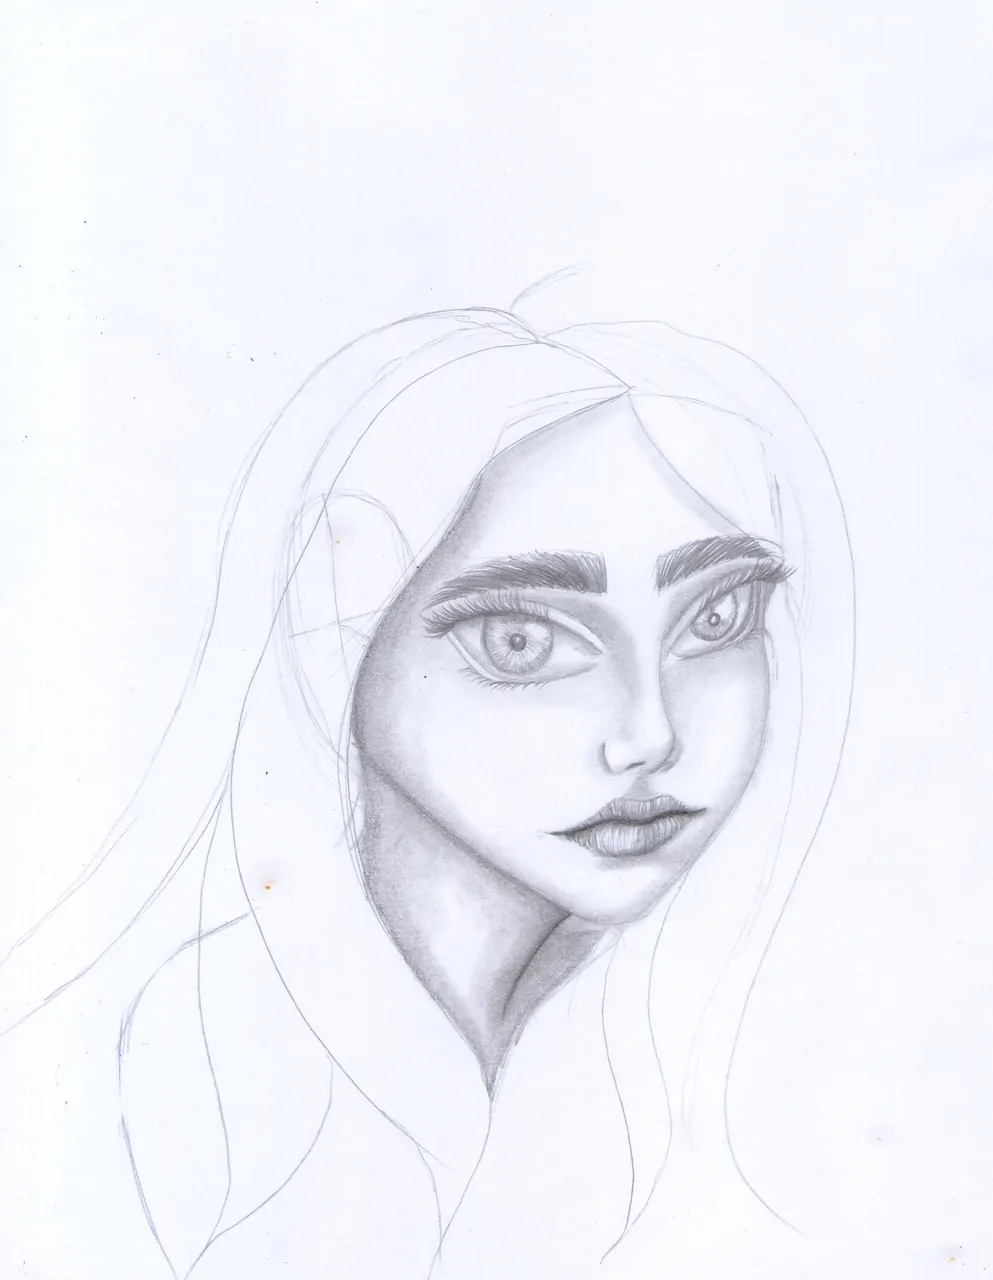
My progress on Rollercoin
Hello everyone, I have not published my post for several weeks and several things have happened in my personal life and that is why I have not published any of my drawings that I have been doing digitally and traditionally, although I am still practicing a little every day to improve that skill.
So I'm back to share one of my other hobbies which is gaming and I've been looking for a game to earn money and I remembered that I had created an account at Rollercoin three years ago, by the way I have a trophy and it's been about two months I have seen several videos on how to make money on this platform and I have been growing in this game.
After several videos that I saw of this game, you have to invest a lot of money to see a certain favorable amount in a month and since I do not have that much money, I went for the part of generating for free, I have been investing little by little and going growing during the following months until getting $1 daily, but since we are currently in a market dominated by bears the profits of this game are very low compared to previous years
Next I am going to show you my room and what I have achieved in these two months and for me personally I have done a lot and of course I have been watching many videos to continue learning in this game in order to get more money to continue investing, in the next days I am going to tell you the day to day in this game


Sakura Haruno - Digital Art
Hello everyone, I had enough time without sharing drawings and in this occasion I want to show you an illustration of an anime character called Sakura Haruno, I had enough time without making a character of this type, of course this is not an illustration 100% anime style, if not a fan art of this character making it semi realistic.
In the elaboration of this drawing I used a reference that I found by internet, I used 3 types of brushes, and as for the sketch I did it of digital form to continue practicing in this format, next I am going to describe some of the processes to do this drawing.
Process
As I mentioned at the beginning of this post I made the sketch of this drawing in Photoshop.
From here I started to create other layers to apply the other colors, starting with the skin selecting a skin tone, in the hair the pink color, for the clothes the red color and the yellow color.
Having each of the elements in color I added details such as shadows and lights until I got the desired volume.
Finally I made a background with green colors, one light and the other dark to make a transition between both tones and I added lights to the character.
**Graphic Tablet:** Tablet Huoion H430P
**Programs used:** Photoshop
I hope you like it, thanks.
Portrait - Digital Art
Hello, this time I made a drawing of a portrait that I had done some time ago a little more realistic with the details of the face more in accordance with the proper proportions although I still need to continue handling this type of art in terms of details.
I used 4 types of brushes to make this drawing in digital, making the sketch in pencil and paper and then pass it to digital taking a photo, then I will describe some of the processes to make this drawing.
Process
As I had mentioned at the beginning of this post I made the sketch in pencil and then I passed it to digital with a photo to then have it in the Photoshop program.
From here I started to create other layers to apply the other colors, starting with the skin selecting a warm skin tone and adding shadows little by little to each of the parts of the face to give it volume.
Then I used a green color to make the hair, using other types of saturation with the same color to make the shadows to the hair and then I made the eyes using a yellow color.
The background was what I liked the most of this drawing because of the types of colors I selected to make the leaves.
Photoshop
Tablet Huoion H430P
I hope you like it, thanks.
Portrait - Digital Art
Hello everyone, this time I want to show you one of my digital drawings that I made of a portrait that I found on the internet and I wanted to make it in digital, obtaining this result.
For the realization of this drawing I made the sketch in digital and then I was making layers after layers until I got the desired result using two types of brushes and one for the background watercolor style.
Process
I started making the sketch of the character with a type of brush in digital to then continue doing the following steps.
Having the structure of the face I selected some tones of colors and applied them in different layers that I was creating with each of the elements of the face, in the skin was where I used several tones to add the necessary depth to the face and then continue with the lip using another style to make it a little more realistic.
In each of the elements I added details for the skin, hair and eyes and then I made the background using a watercolor brush in which I used several types of colors.
Photoshop
Tablet Huoion H430P
I hope you like it, thanks.
Dog - Digital Art
Hello everyone, a few days ago I had made this drawing of a dog and during the process it was taking the shape of one of my first pet and I really liked the result I got.
For the realization of this drawing I used a reference that I looked for on the internet of a very charismatic pose of a dog to practice the different poses that this canine can have.
Process
I made the sketch of the silhouette of the dog with a type of brush and then I created another layer for the color of the dog.
As I mentioned in the previous step I added the fur to the dog with two tones, black and white to fill it completely, I made the eyes in another layer using a brown color tone.
Finally I made a background like a mountain with grass around it and a blue sky with a lot of clouds, the theme of the backgrounds I still need to practice because of the shades of colors I use.
Photoshop
Tablet Huoion H430P
I hope you like it, thanks.
Cartoon Style Portrait - Digital Art
Hello everyone, this time I want to share with you another portrait that I had done a few days ago in a cartoon style, from a reference that I found randomly on the internet, I am still practicing in this world of digital.
For the realization of this drawing I made the sketch in pencil and then pass it to digital and go making layers after layers until you get the desired result using two types of brushes and one for the background watercolor style.
Process
I started by making the sketch of the character on a normal sheet of paper and then I took a picture of it to have it in the program I am going to use to make this portrait.
I created the following layers to make the skin tone and add the depths of the face using a color tone and I changed the saturation of the color to make the necessary shadows.
In this layer I made the hair with a brown color and I was making the locks what I liked was the tone of the lip that I selected and at the moment of creating the eyes I used a blue color that I also liked a lot and finally I made a background with a watercolor brush.
Photoshop
Tablet Huoion H430P
I hope you like it, thanks.
Cartoon Style Portrait - Digital Art
Hello everybody, in this opportunity I want to share with you a portrait that I had made some days ago in cartoon style from a reference I found on the internet.
In the realization of this drawing I applied another type of method to add color to this portrait using two types of brushes for the elaboration of this drawing.
Process
I started with a pencil sketch that I made and then I took a photo to transfer it to digital and I added the definitive lines.
At this stage I created another layer and used another type of skin color to add little by little the details in the face, then I made the eyes in another layer.
In the process I did the lips without adding a specific color, I wanted to do it in a natural way and then I did the hair applying various shades of yellow and finally I did a background with a type of brush that I had downloaded and I wanted to try it out.
Photoshop
Tablet Huoion H430P
I hope you like it, thanks.
Bird - Digital Art
Hello everyone, this time I want to show you a digital drawing I had made of a bird that I made using the same colors of the reference.
I really liked the design of the bird because of the position it was in, it was as if it was screaming and I wanted to elaborate this same scene with the digital drawing.
Process
I started by making the sketch and took a picture of it and then I transferred it to Photoshop and started to add color to it.
I created another layer to add color to the bird with a shade of green and then with another darker tone I added hairs by hairs, I did all this until I completed the bird placing all the possible details using only one brush for the fur and one layer.
Almost finishing the drawing I made the branch applying several shades of brown and finally I made a background with watercolor brush style to make a landscape in the background of the bird.
I hope you like it, thanks.
Portrait of a Woman - Digital Art
Hello everyone, this is another of my portraits that I made in digital applying another type of method, which used the grayscale as a sketch and coloring in another layer of each of the elements, I wanted to make one as I had done at the beginning with the Medibang program.
In this drawing I made a portrait from the front and added a black background to highlight the colors of the face.
Process
I started making the sketch and positioning each one of the elements to continue with the next step.
In this step I made another layer to apply the black color applying it in the darkest areas having the right proportions I continued with the other layer of light.
Having the face completed and the areas with more darkness I created another layer to make the coloring, but here I used another method making layer and adding types of colors to make both the skin, hair and eyes, what I liked was the hair for the tone that I selected of purple.
Finally I made a black background to highlight the hair color of the character and I still need to learn in this world of digital art and I am currently making these drawings in Photoshop.
I hope you like it, thanks.
Drawing Pain
Hello everyone, a few days ago I had made a drawing of a character from the Naruto Shippuden series, is one of the villains of this saga and is Pain, I liked the design of this character by the possession that has and the good thing about this was that I practiced a part of the anatomy of the body and position of the hand.
In the elaboration of this drawing I used the mechanical pencil to make the sketch of the character, the colored pencils to make all the elements and the 4B pencil to make the suit together with the 8B.
Process
I started making the sketch of the character with the mechanical pencil making Pain's silhouette and then adding the internal details using guide lines at all times.
At this stage I started to use the colored pencils, making the skin tone of the character with the color peach, light brown and a dark red and then continue with the hair using the color orange.
Finishing the character I made the band with the 4B pencil and in the metal I used the mechanical pencil and in the suit I used both the 4B and the 8B pencil and in the cloud I used the red color.
I hope you like it, thanks.
Portrait of a Woman - Digital Art
Hello everyone, a few days ago I had made a digital drawing of a portrait that I had made in cartoon style adding a lot of depth in the drawing in the details.
For the elaboration of this drawing I used the grayscale style to then place the color tone to each of the elements that make up this drawing.
Process
First I started by making a sketch, this is a process that is very difficult for me because I still don't know how to make the silhouette of anything I like very well.
At this stage I continued adding another layer placing a black background with a medium opacity and then I added another one to make the shadows of each of the elements of the face and the dress.
Finally I added the colors to each one of the elements to then make the background of a blue color, this is a detail that I have to continue practicing because it is a subject that I see it complicated.
I hope you like it, thanks.
The Witch - Digital Art
Hello everyone, a few days ago I had made this drawing of a Witch in digital, as we are in the month of Halloween it occurred to me to make a mythical character of these celebrities and I made this character and in the background is the full moon.
In the elaboration of this drawing was in digital with the technique of grayscale, this is a method that I have to keep looking for more video tutorials and go learning with this technique.
Process
I started with a simple sketch with the idea I had in mind of a witch, in which her hat covered her face and only her nose and lip could be seen.
Having the necessary elements I added another layer applying the black color and with the strongest brush I filled the whole character to then make another layer applying the lighter areas, but before all this I had arranged the mouth that I had it very low to then make the layer of the shadows of the whole character.
When I had everything ready I started adding the tones for this character choosing a brown color for the hat, the green color for the clothes, for the skin a peach color although I had thought to make it green, but it looked ugly so I used the peach color and in the lips a dark red color.
Finally I added more darkness in certain zones to the character in the shadows layer and I added more lights to the border because of the moon's reflection.
I hope you like it, thanks.
Cartoon Style Portrait
Hello everyone, today I want to share with you a portrait that I had done some time ago in cartoon style of a female character, where I combine graphite and color in the hair area applying various shades in each of the locks, this was a character I did to practice a different style of drawing.
In the elaboration of this drawing I used a mechanical pencil, HB pencil, 4B to make the face of the character and in the hair I used the colored pencils, making locks of each color.
Process
I started making the sketch of the character using the mechanical pencil, using the loomis method to guide me of the proportions of the face, making the eyes bigger than normal.
Having the location of each element, I erased the guide lines of the face and then I applied the graphite and created volume in the face with the mechanical pencil, HB and 4B pencils.
Finally I continued with the hair, in which I used 6 colors to make the locks of hair with different colors applying a different method and I really liked the hair.
I hope you like it, thanks.
Portrait of a Woman - Digital Art
Hello everyone, today I want to show you a cartoon style portrait I had made a few days ago of a woman coming out of a portal of an unknown dimension.
I have been watching a lot of digital art videos and I found a technique called grayscale and this is what I wanted to do in this drawing, although I still need to learn because I had done the right arm and in the end I could not recover it from the layer at the time I was coloring it, then I will describe some of the steps to get this result.
Process
I began by making the sketch of a girl as I am experimenting with other styles I wanted to do it in a cartoon style, I was making the most appropriate proportions that were adjusting to the face and once I got the right proportions I continued with the next step.
In this stage I added in all the drawing a layer of gray and then I made another layer adding the darkest zones with the black color, for this I only used two types of brushes, having the darkest zones I used the white for the parts of clarity guiding me of the places that deserve it.
Finally I added the color selecting a tone for each element, creating each layer with its appropriate colors, I had a small inconvenience with the right arm and I tried to do it, but it didn't come out so I decided to eliminate it, what I liked was the hair since I added several tones of colors making different layers for each one of them, at the end of the process I made a background of several tones to make a portal, it made me remember the series of Danny Phanton.
Right now I'm doing a drawing of a witch in digital and this is one of the processes.
MediBang Paint
Tablet Huoion H430P
I hope you like it, thanks.
Drawing Tenten
Hello everyone, today I want to show you a drawing that I had done days ago of a character from the anime series Naruto and I thought of doing Tente, but I realized that the design of this character is from the Boruto series.
Tenten is a kunoichi of Chūnin rank belonging to Konohagakure who, along with Neji Hyūga and Rock Lee, were part of Team Guy.
In the realization of this drawing I used a mechanical pencil to make the first strokes of the drawing and once finished this phase I used the colored pencils to make the necessary shadows of the character.
Process
I started making the sketch of the character with a reference that I found on the internet and then I was making strokes by strokes made with the mechanical pencil guided by the loomis method and go fitting the elements of the face, I have realized that the proportions of the eyes in the characters of these series are equal to the real anatomy of the human body.
To make the skin tone combine several shades of colors to make the final result using blue, red and peach to unite the other shades of colors, for the hair I used two shades of brown and I was making strokes by strokes following the direction of the hair, what I liked were the buns by the way I was making the hair.
Having almost finished the character, I added color to the eyes with the two shades of brown placing the area with dark and the other part light, for the dress I used the pink color for the edge of the dress and in the buttons I used the yellow color and with the mechanical pencil I made the shadow to the areas of the dress.
I hope you like it, thanks.
Drawing Pumpkin Man
Hello everyone, a few days ago I had made this drawing with the theme of Halloween and I want to share with you a drawing of a character that I created from a pumpkin, I was making the anatomy of the body, this is a stage that I still do not know how to draw much and I was guided by several references of the character of Jack Skellingtong, to make the body.
For the elaboration of this drawing I used the mechanical pencil to make the sketch and to draw the head of the character I used colored pencils, a 4B pencil and markers.
Process
I started as every drawing doing the sketch of the character using the mechanical pencil, guided by the character Jack Skellingtong to make the anatomy of the body, having adequate proportions I continued with the coloring stage.
In this stage I started the coloring using orange, red and brown to make the pumpkin and in the inner part I used the colors red, orange and yellow as if I had a candle inside the pumpkin.
Using the 4B pencil I made the whole suit to make a kind of texture, with the mechanical pencil I made the hands and legs and then I used the green color as if it were a vine and finally I made a background with two markers, the green color as if it were a two and the red as a five.
I hope you like it, thanks.
Drawing a Portrait
Hello everyone, today I want to share with you a drawing I made of a portrait that has in one part color and in the other part graphite style, this drawing I had done days ago and I spent a lot of time to do it, what I liked is that I was practicing both methods at once.
For the realization of this drawing I used a mechanical pencil, 4B pencil to make the graphite part and finally I used the colored pencils for the colored part.
Process
I started making the sketch of the portrait, I had found this reference on the internet and I really liked the pose that represents the face and I was doing it little by little with certain reference guides applying the loomis method doing all these strokes with the mechanical pencil, but I forgot to do it in the sketch part and I was already coloring.
In this part I was already doing the color area using several tones to get the skin tone and in the hair I used a brown color and I liked the process of this area.
At this stage I was already doing the clothing part and I did it with the gray color and in the eyes I used a brown color.
In the graphite part I just used the mechanical pencil and the 4B pencil.
I hope you like it, thanks. https://read.cash/@alerovasber/drawing-a-portrait-92b0d0e3#i-hope-you-like-it-thanks
Koala - Digital Art
Hello everyone, if you read the complete post yesterday, I had shown a part of my new digital drawing which is of a Koala, I am still in the process of learning in this world of digital art and as I want to try the different brushes that these programs have.
I wanted to do something different from the portraits, so I was looking for what I could do on the internet and when I saw this little animal I wanted to do it with a different style.
Process
I started making the sketch of the koala with the first brush I found to make the right proportions.
In this part I continued with adding another layer for the coloring using the gray color, I went little by little making the shape of the fur, then I created another one to make the darker areas to then go the working ones.
Almost finishing the drawing I added the eyes and the nose and then I added more details, in the background was what took me the longest to do, I selected a random color and selected a brush and I was trying them, I found one that looked like I was making grasses and I was filling it little by little.
The graphic tablet I used to make this drawing is Huion H430P and the program I used is called Medibang.
My next drawing is going to be a traditional portrait with a technique that I really like.
I hope you like it, thanks.
Drawing of a Butterfly
Hello everyone, I had done this drawing days ago of a butterfly, but I did it in a not so traditional way, in which I made several changes in its design having a part in black and white and the other with several colors being the normal way and as these days I have been doing several drawings combining graphite and coloring, it is as if a Ying and Yang style, but in one with color.
In this drawing I made a butterfly almost in profile making the other wing visible and I made one with a totally strange design that came to me when I was making lines after lines and in the other wing I used chalks for the coloring.
Process
I started making the sketch of the butterfly using the mechanical pencil to continue with the next step
Having the right proportions I continued with the graphite stage using the mechanical pencil I was adding stripes by stripes until I got a result like a snail style.
In the coloring stage I used dark blue, blue, green and yellow chalks, then with a blue color I made the edge of the butterfly and with the green color I made stripes on the colored wings and finally I made a background with 4B mines and with the yellow chalk together with the blue.
I am still practicing with digital art and this is one of the drawings I have been doing of a Koala.
I hope you like it, thanks.
Drawing a Portrait
Hello everyone, the drawing that I want to share today is one that I had done yesterday and is one that combines the technique of graphite and color, but not in a normal way, but in the hair has a portal to another dimension, this is an effect that I like to do and is the galaxy style.
For the realization of this drawing I used a mechanical pencil for the graphite part and a 2B pencil for the eyes, with respect to the coloring I used several colors to make the galaxy effect.
Process
I started with the sketch of the character with the mechanical pencil to then go to the next stage of the shadows.
Then in this stage I used the mechanical pencil to make the shadows with a style of stripes in one direction and others in several directions, finishing this stage of the graphite I made the eyes with the mechanical pencil and the 2B pencil.
Once the drawing was almost finished, in this stage I began with the coloring making the galaxy effect using the black color as a base layer and then I applied several tones that I selected randomly.
I hope you like it, thanks.
Converting a Traditional Drawing to Digital
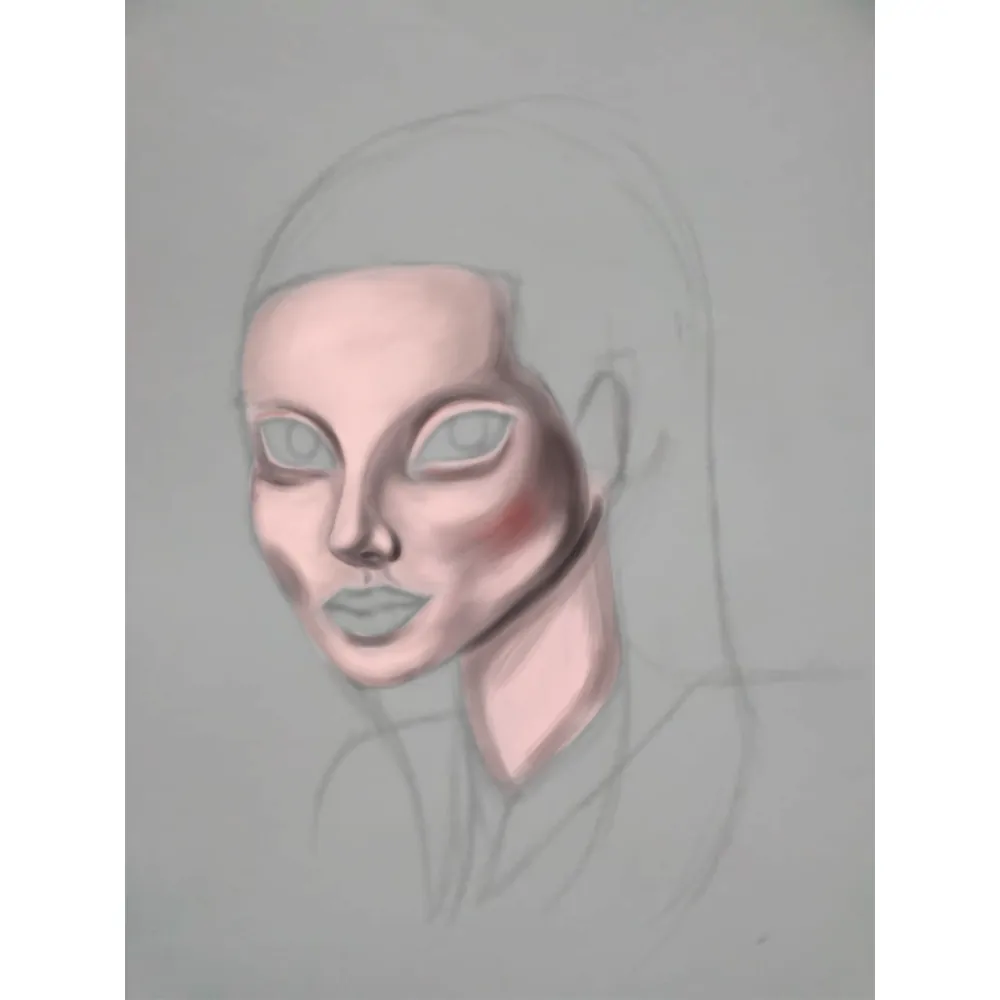
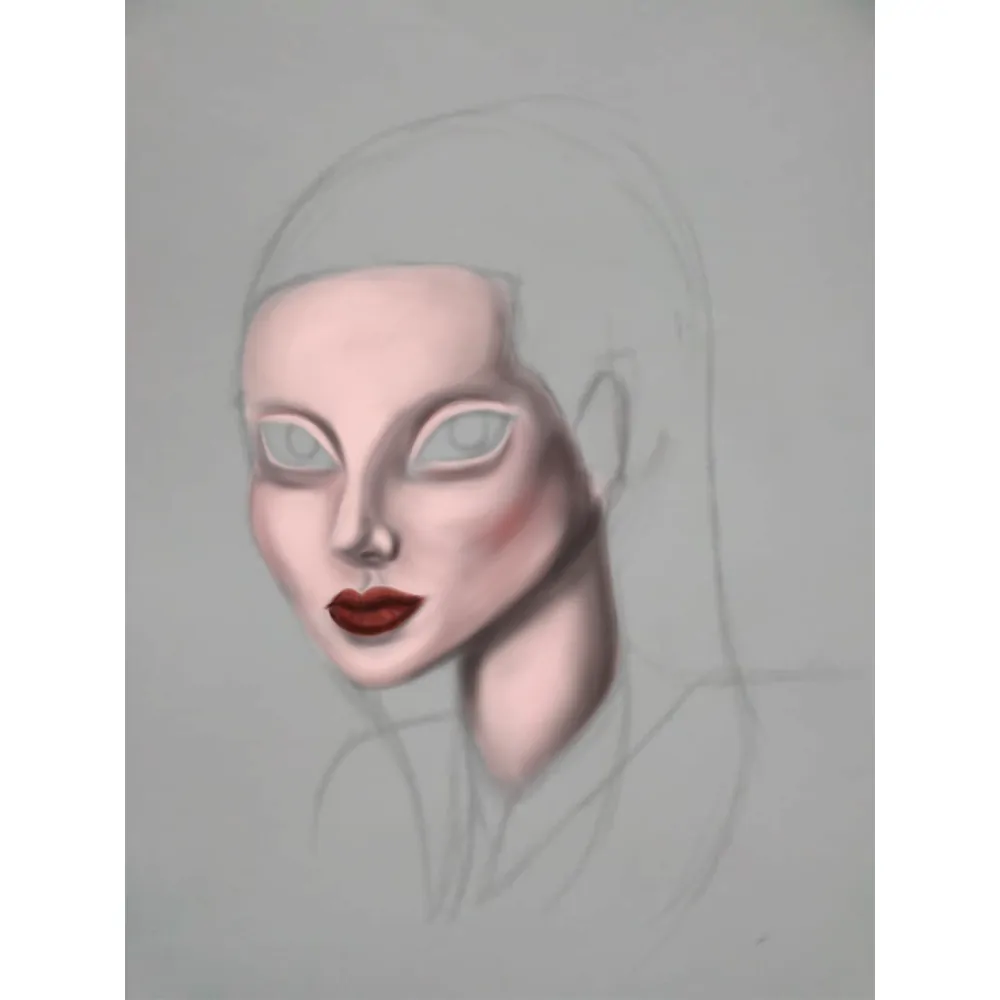
Hello everyone, after several days I managed to finish this drawing in digital in total were 4 days to finish it, after watching several videos about digital drawing, on various topics especially on faces, I got this result, I still have much to learn in this way of digital art.
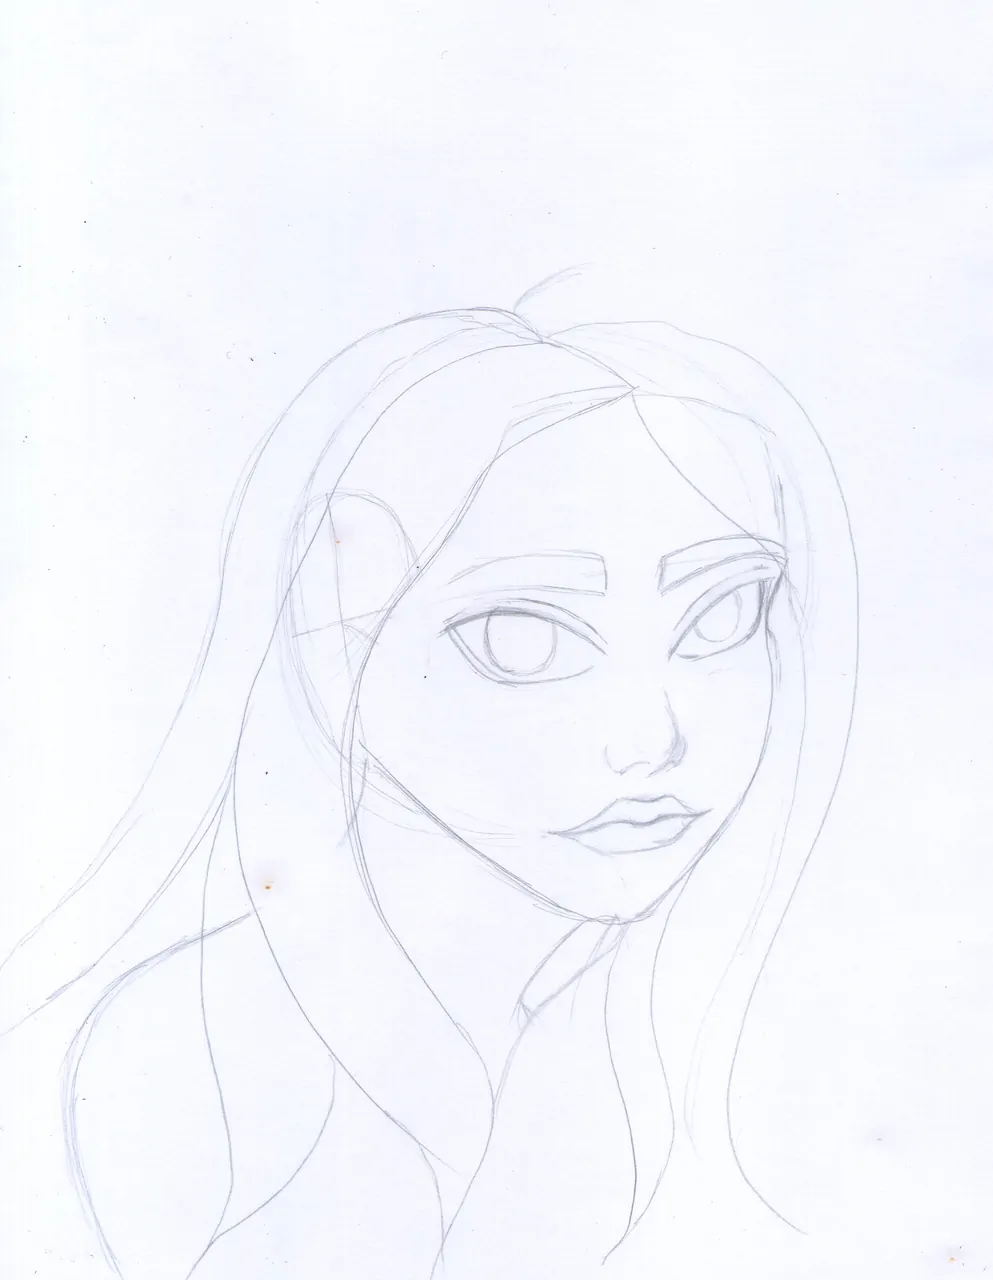
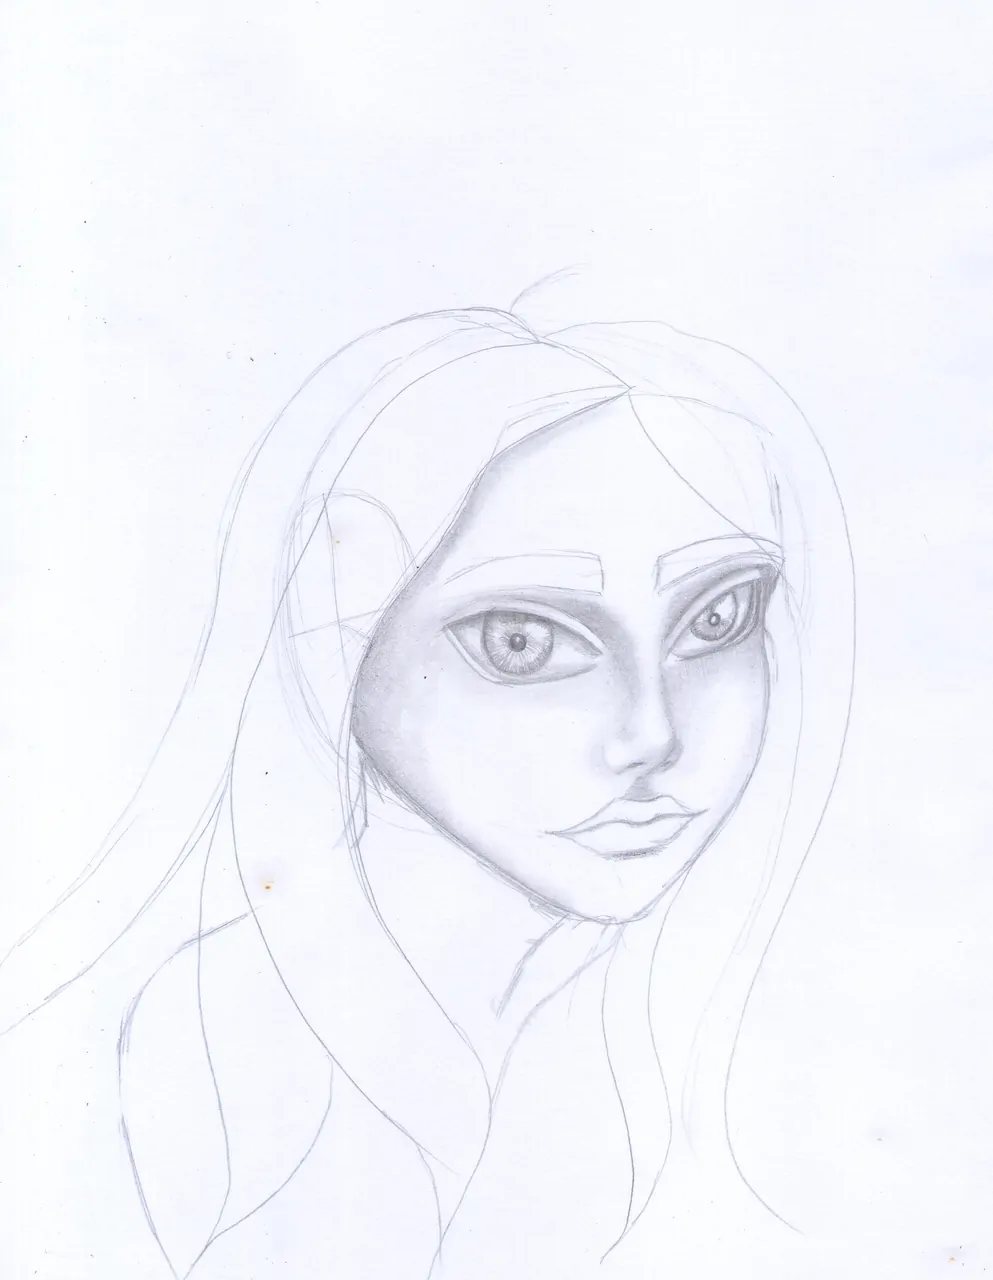
The realization of this drawing came to my mind because of the portrait that I had done days ago and I liked the result although the proportions of the face are not the real ones, this was the drawing that I converted to digital, I only used the face as a guide, the hair is not the same.
Process
I started with layers adding a pink color for the skin using the brush, then using the airbrush for the shadows caused by the skin.
For the eyes it was a battle because I was not getting the proportions that was, I had done one which is the green color and when I was going for the other eye it was not coming out at all, but this was the result and I continued with the other elements.
I added a black background and then I made the hair with neon tones using two colors, making each strand and placing darker tones at the end.
The program I used to make this drawing was Medibang Bang and I used the tablet that I had mentioned a few days ago, it is called Huion H430P.
I hope you like it, thanks.
Drawing a Portrait
Hello everyone, yesterday I had made this drawing of a portrait that I did combining several colors and graphite, just using a mechanical pencil in the second option and I made the shadows making stripes in one direction, this style of sketch I really like when I browse social networks look so natural.
For the elaboration of this portrait I came up with several ideas in the process using a mechanical pencil to make the sketch and most of the shadows on the face, and finally it occurred to me to add several colors in the hair.
Process
I started by sketching the face from the front adding each of the necessary elements, making all these strokes with the mechanical pencil.
At this stage I was thinking of making a graphite portrait and so I started with the eyes and in certain areas I was already making lines as if it were the shadow, then I was making the eyebrows and mouth using the mechanical pencil.
Finally I was selecting several colors to make the hair, each one of them has no specific order until completing all the hair.
I hope you like it, thanks.
I am sharing this drawing because I am currently doing it digitally, I have watched several videos to learn this process, it is a little complex because I am still getting used to it with my graphic tablet, but I am doing it little by little, the application I am using on PC is Medibang and this is the progress I am making with the digital art process.
Digital Drawing of a Zombie
Hello everyone, days ago I had made a digital drawing of a drawing I had done of a character from a game, it is a zombie called Colonel Cockroach, months ago I had done it in traditional drawing, describing each of the steps and as I'm still practicing with digital coloring I converted it to digital.
For the realization of this drawing I used my phone, since I had it very advanced in the application Ibistpaint X, a week ago I managed to acquire a graphic tablet and I have not yet made any drawing, but I have been practicing with the application Medibang on the PC, then I will show you my traditional drawing of the character.
Process
At this stage I started placing the green color to the silhouette of the character and then adding details in the face with the soft brush with a darker tone, for the eye I made another layer guiding me from the drawing I had done.
Adding another layer to make the mouth and using the airbrush to join the elements of the face.
In the shirt I had thought to do it in a way, but in the end I went for another way adding texture to the clothes with the airbrush, from here I was doing more layers to make the bulging eyes using the pink color.
I made a background with a random color that I selected in the chromatic circle to make the last details of the mouth.
I hope you like it, thanks.
These days I'm in a vice of making 3D characters with the program called Blender, I'm currently working on a character that I had made, but I'm not getting as I want, I have to keep learning the shortcuts that has this type of program and I was also looking at a program called Zbrush also serves to sculpt characters.
Digital Drawing - Fantasy Character
Hello everyone, days ago I had made a drawing in the application Ibistpaint X, but I had not shared it here, are one of the many practices that I have done in this world of digital drawing and this time I made a freehand fantasy character that then scanned and then pass it to the application that I mentioned and draw it.
The sketch I made was a fantasy character in cartoon style because I made the eyes bigger than normal making all these strokes with the mechanical pencil, then I will show you the sketch of the character.
Process
The coloring I used a light pink, the theme of the colors is something complicated because there are a great variety of colors and if you move it a little in the chromatic circle you obtain another different tonality, select any pencil to go filling the zones where the skin will go with the color that I mentioned previously.
At this stage I had changed the skin tone adding a little more yellow with respect to the shadows I used several darker tones, at this stage I continued with the eyes making another layer and used the spray pencil to make the silhouette and in the iris I used a pink color and then I did the hair with a shade of green and with the same spray pencil I used a darker shade of green and with the blender I spread it throughout the hair and finally I used another lighter shade of green.
In the last steps I did the lip with a pink color using the same principles of the previous steps, in the dress I used another shade of pink, I applied the shadows in the areas where it is required and finally I did a background in this part is for me the most difficult because I do not have much idea of what to do, but this time I thought of adding the brightness of a sun in the corner.
I hope you like it, thanks.
Unboxing - Huion H430P Graphics Tablet
Hello everyone, today I wanted to share with you this unboxing of the Huion H430P, it is a graphics tablet that can be used for digital drawing and games, such as OSU, it can also be connected to a cell phone with type C input to do different creative works.
For some time I wanted to buy a graphics tablet to learn to make digital drawings and these months I discovered the 3D modeling that can also help me in the process of making characters, 1 month ago I was presented with an opportunity to buy it and I had to wait for the package to arrive and finally arrived ....
One of the features of this tablet is that the pen does not need batteries or charging to work, the PW201 pen has 4096 levels of sensitivity to pressure, using the static of the body to work. The reporting rate is 233PPS, the pen resolution is 5080LPI and the sensing height is 10mm. All these factors will make you can better control the strokes to ensure thinner or thicker lines, always adjusted to the needs of your drawings in digital.
This graphic tablet model has a modern design and is very light, weighing the same as a cell phone and providing a quite feasible mobility. Its dimensions are 21.8 x 16.8 x 4.2 cm and it weighs only 458 grams.
This equipment has incredible functions and tools that will facilitate the connectivity and use of the device. Being able to use it on computers both in Windows, Mac and Linux operating systems having a working area of 4.8 x 3 inch and in Android device is 3 X 1.87 inches. It has 4 customizable pressure keys to program your favorite shortcuts and make the process easier.
The contents included with this model are 8 replacement stylus tips, the Pen Nib Clip for removing the stylus tip, a glove, micro USB cable, OTG Type C adapter and quick start guide.
The functions that this tablet can perform will depend on what you are going to use it for, for example I purchased it for the digital art area, in which I read several reviews about this device and it is quite good and in fact better than you would expect for this price. Not surprising though, as Huion has a good reputation. It also works with many art programs including Corel, Photo Shop and Affinity, but in the Android area we find Huion Sketch, Sketchbook, Medibang and my favorite app on which I've done several of my drawings and shared in the Hive world, the app is called Ibistpaint X.
While waiting for this moment I was watching several videos on Youtube to integrate into this world of digital art, very soon I will be sharing with you my next works that I will do in this graphic tablet called Huoin H430P.
Practice - Portrait in digital
Hello everyone, today I want to show you another of my practices in the Android application called Ibistpaint X, this time is another portrait that I had done some time ago and I wanted to do it again, but in digital doing as a remake style hahahaha.
The drawing that I select is a portrait that I had done where I combine graphite and a color tone although in this occasion I use two colors in the hair a brown and in the tips a yellow, next I will show you my drawing.
Process
I began making the silhouette of the eye and the color I selected was purple and then I applied the skin tones adding a base to the skin, as a kind of pink color and then apply four palettes of colors that I selected, light red and blue, and the brush I used was the airbrush.
In the previous step I had not described the lip in which I selected about 3 shades of red and with the same brush, I am liking the result of the airbrush.
In this step I made the hair with the same tonalities that I used in the traditional drawing, using the brown color and a yellow, it is difficult to make these tonalities in the circle of colors, but in this occasion I didn't use a special brush to make the hair since I didn't like the result and I wanted to do it in another way in which I applied a base to then use the airbrush and make each tuft.
Finally I made the eyes adding more details, but I don't know why it doesn't fit with the face and I made the background with various shades of purple and pink.
It is not the best result, but it is a simple practice that I am doing and sharing, I just need to keep watching videos to keep learning.
I hope you like it, thanks. https://read.cash/@alerovasber/converting-a-traditional-drawing-to-digital-aac00852#i-hope-you-like-it-thanks
Practice - Portrait in digital
Hello everyone, I hope you are well today I want to share my second practice that I have registered a portrait following the same sequence of converting a traditional drawing to digital, this time I combine more colors in the processing of the skin with 4 tones to make the skin in certain areas where this shadow, then I will show the process of coloring to achieve the final result.
Process
The previous image was the one I selected from several drawings I had done of portraits, it is something that I am still practicing because of the different elements that the face has, in this stage I started selecting the image and created a layer to make the eyes using a shade of green.
After having finished a part of the eyes adding details little by little I continue with the skin, as I mentioned at the beginning the previous drawing had not come out well at all since I only used two tones for the color and in this opportunity I added several shades of color in the palette, in which I used a blue and red tones together with a peach color.
In these last steps I remember that I had seen a video to make hair and I found out that there is a brush specially for hair and I used it, but before I had made a base with a red color and then I used that hair brush applying layer by layer and in the last one I made a background.
It is not the best result, but I learned about the different tones that appear in the face depending on the light that reflects us and what the eye can interpret, I have already made other portraits and I hope to share them with you soon, it is not an easy way, but not impossible.
I hope you like it, thanks. https://read.cash/@alerovasber/converting-a-traditional-drawing-to-digital-aac00852#i-hope-you-like-it-thanks
Jake The Dog - Practicing with Blender
Hello everyone, this is one of the last practices that I did in blender because my PC I had lost the hard disk and the good thing is that it is not long to get the hard disk and continue in this world of 3D, so this time I had made a cartoon character, the previous one had been a video game that became popular called Among Us.
The name of the character I made in Blender is Jake, he is a magic dog and Finn's companion who is his best friend and adoptive brother. I selected this character to go little by little practicing the shortcuts that the program has and to continue familiarizing myself with the platform because with this program you can do impressive things, next I am going to show you the process and mention some parts.
Process
For the elaboration of this modeling I had seen several videos, in which you can start your work with a cube and then you add several commands and you can shape it as you want and then I found another one where with vertices you can go forming the character and well I was starting with the second method, but as I was not getting out I went back to the first one.
Once molded Jake's body and seeing it from several perspectives I continued with the foot which I used the Path figure to go little by little modeling the right foot, having an adequate proportion I enabled the mirror option so that both feet looked alike.
Here I continued with the muzzle of the character starting from a cube to go little by little making the shape of an arc and then continue with the nose which I used a sphere to flatten it a little.
Then I made the ears with a cube until I got the shape of an ear.
Once the ears were squared I continued with the arms starting with the right one and then the left one, what I didn't like were the fingers and that's what I have to keep practicing to get a better shape.
For the eyes were two spheres that I matched with the reference and then apply shade Smoth on the whole figure to remove the square parts.
The coloring was something where I applied several textures for the nose and the eyes, and then I added a background that I downloaded from the internet from a room.
I hope you like it, thanks. https://read.cash/@alerovasber/converting-a-traditional-drawing-to-digital-23436366#i-hope-you-like-it-thanks
Converting a Traditional Drawing to Digital
Hello everyone, I hope you are well today I want to show you a practice that I had done at the beginning in digital art, this is a wide world and what I know is nothing hahahaha, I'm still practicing and as I draw in traditional what I will do is convert one that I did to digital and it is not the same as I did in the previous publication, in which I made an effect to the portrait with the blue color in lighter areas and I made the red color, but this time it is different, next I will mention the experience to make this drawing in the Ibistpaint X program.
This was a drawing that I had done in color and this is the sketch of the drawing and I will show you the final result of the traditional drawing.
Process
From the beginning you have to make layers in the coloring and I started with the eyes having the sketch in the background and followed with another layer to make the lips in orange.
In the next step I created another layer for the skin using several tones to get the depth of the character in the skin, I used a skin color and in the dark parts I used an option that makes the same color you can make it darker.
At the same time I was making the hair color with a blue tone to continue with the same colors that I used days ago to make the color portrait.
I had blurred the hair a little bit and at the end I realized that I didn't layer the eyes but I had placed it directly on the sketch so I did it again and then I did a background style to the sketch, I will keep practicing to improve in this style of drawing because you can achieve impressive results.
Well it is not one of the best results, but it is an experience that I want to share in my first steps in this world of digital art in which I am converting my drawings in traditional drawing to digital.
I hope you like it, thanks.
Practicing in Sketchbook- Sand Monster
Hello everyone, these days I was trying an application called Sketchbook on android, to make digital drawing, I had not thought of doing something special so I started making random strokes until certain strokes had the shape of something and I continued until I got to make a sand monster, then I have the process of the development of this drawing.
PROCESS https://read.cash/@alerovasber/converting-a-traditional-drawing-to-digital-23436366#process
At the beginning of the drawing I was making the sketch and as I mentioned at the beginning I had no idea what I was going to do so I was making several strokes at random until it occurred to me that it was a kind of monster.
At this stage I was thinking that it looked like a sand monster like the one that appears in Spiderman 3 and also to a game called Clash of Clan, which has a character called Golens, with this game I had a great vice hahahaha.
As I said at the beginning I chose a tone of light brown color and then select another darker color in the same range to make the deepest part, then select another type of pencil called airbrush and look for a color that was in the middle of those selected to go applying it in the lighter color to make the transition of both colors.
I was not liking the result so I was applying a lot of pencils until I got the blender to make a better transition of the colors.
At this stage I made another layer to make the eye, it occurred to me to put a turquoise color and I liked this color and then I applied more details to add depth and clarity.
Compared to the first application of Ibispaint X the Sketcbook, has more brushes in its catalog for free and instead the first one you have to watch a video to unlock several brushes, but otherwise everything is fine, every day I'm fine more videos to keep learning in this fantastic world.
I hope you like it, thanks. https://read.cash/@alerovasber/converting-a-traditional-drawing-to-digital-23436366#i-hope-you-like-it-thanks
 @alerovasber