Hello! Welcome to my next article! Your presence is appreciated. ♥ (all of you)
In my introductory post, I promised to write about my hobbies and besides art the other important hobby of mine is journaling.
Nowadays I don´t write into my journal as often as I would like but when I do I put a lot of effort into it. And even though I can´t remember every little thing that happened a few months ago, I always make sure to include many photos from my phone gallery to remember every important moment possible.
In other words: I basically print out every picture that I like... 😂 So there is this situation: I have many pictures printed out and I don´t want to waste a lot of space in my journal by glueing it directly on the journal pages.
So... I came up with a solution! I will make a small diy album for all the photos! 😄
In this article I will describe the process of making it so you can make your own mini-album. If you are a journaling freak, if you like diy projects or if you just like to keep your memories close to you also in a physical form (not just digital), this article is for you.
What materials will you need?
Few sheets of A4 paper - But you can also use some old newspapers, craft paper or anything really.
Some printed out photos -Print as many photos as you want, but in a small size! because we are creating a small album after all 😊.
You can fit around 20-30 photos on one A4 sheet. The best PC programs to place the photos on the sheet are Adobe Photoshop or other editing programs but you can easily do it in Microsoft Paint (which is free) or Microsoft Word. You can print it at home or at a local printing place. I promise it won´t cost you much (I printed out around 60+ photos on 3 sheets of paper for a few dollars).
Scissors
Glue stick (or any other glue for paper)
Stapler
Pen, pencil
Optional: washi tapes, stickers etc. (for decoration)
How to do it:
First we will make the album itself. You can start with any paper size but I decided to work with A4 because it´s the easiest for me.
I cut all my A4 paper sheets in half like this to make them A5 size:


Then I folded them in half to create the individual album pages.


After you have them all folded, you need to create a signature. Signature is basically a bunch of folded papers layered on top of each other. It´s a term used in book-making. Most books are created by stitching a few of these signatures together.
Here I created a signature - I placed 3 folded papers on top of each other to make an album with 6 pages. (You can add as many pages as you want.)

We need to connect the pages now. I did it with 2 staples on the size after I closed the pages. If you don´t have a stapler, you can put a little glue into the creases in the middle and glue the pages together.
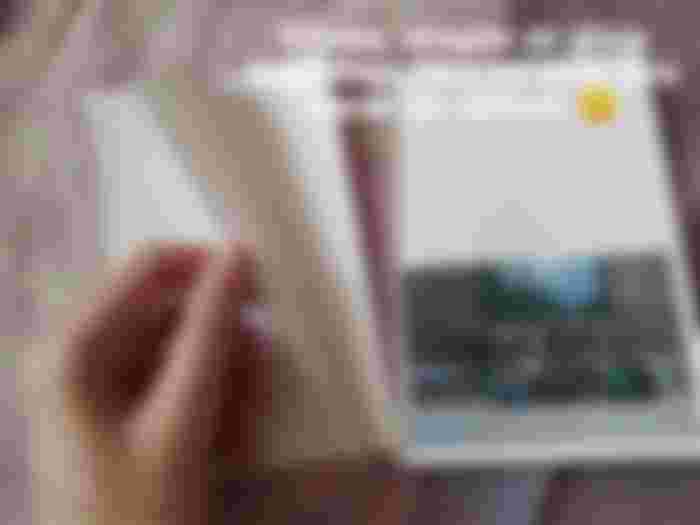

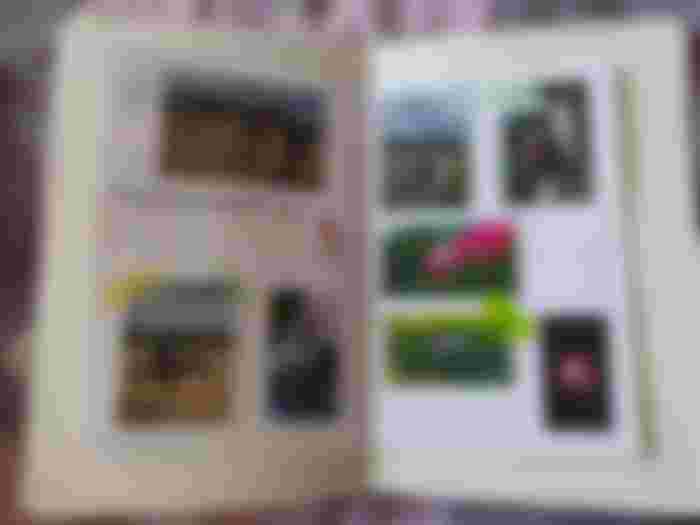
Now we can put the photos in the album! I prepared all the photos and started to arrange them inside the album to see how they will fit.


After I was satisfied with the visual I glued them all in place. (You can also use tape for this but I feel like that would be a lot of work. 😅)


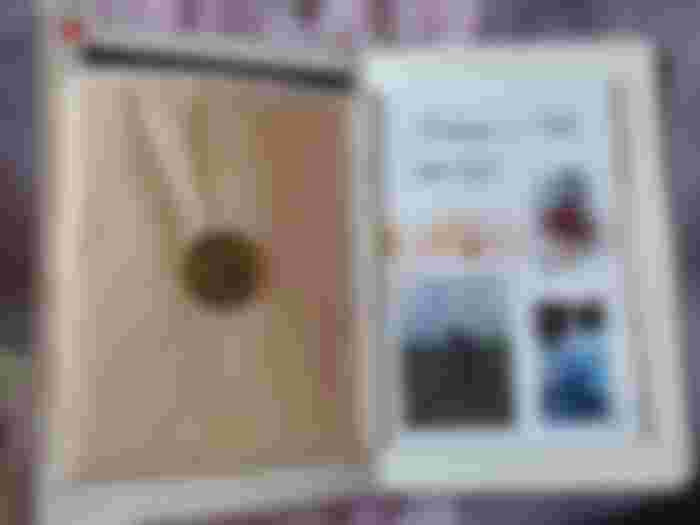
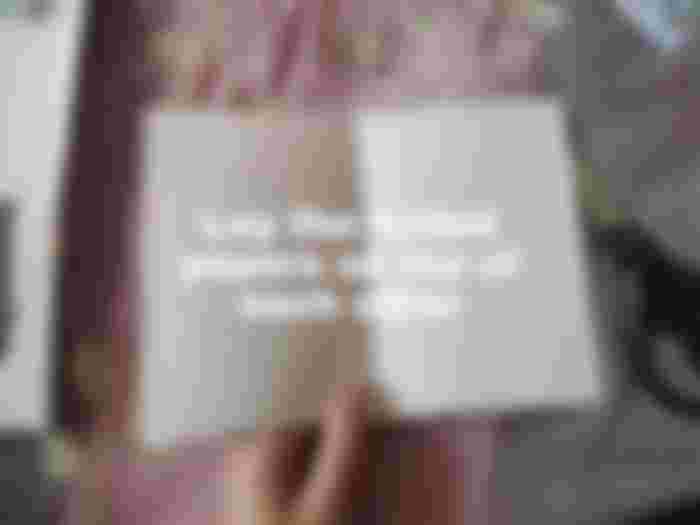
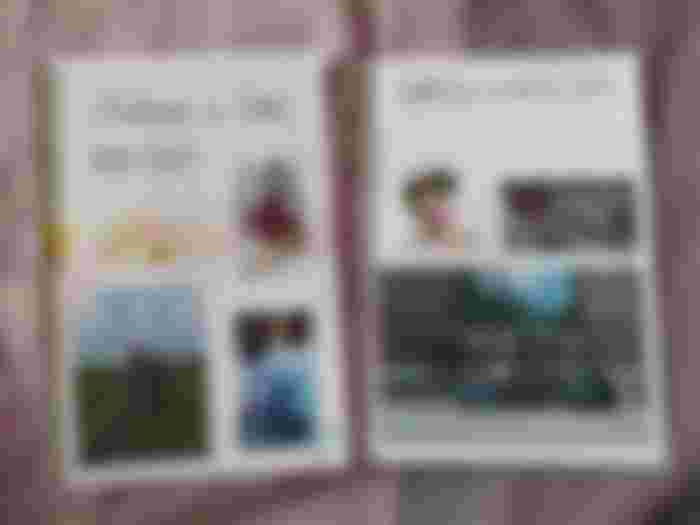
On the front page of the album, I also added a title to know what the album is about.
My handwriting is not as neat as I´d like, so I often use fonts. I wrote this in Photoshop, chose some nice font, adjusted the size of the text to fit on my album and then traced the text with my pencil from the screen. Then I wrote over the pencil with a black pen and voilà! It´s really easy and it looks almost professional (cheating, haha). 😄 So sad that I can´t do calligraphy. 😔


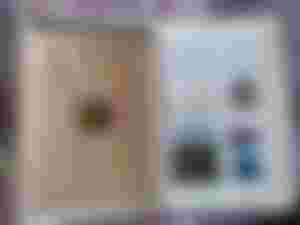
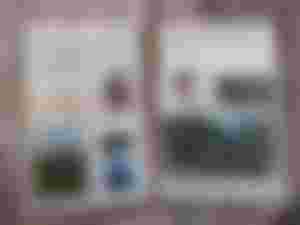
It´s almost done! All I did after was decorate the album with some pieces of washi tape and some stickers to make it look pretty. Like this:

And that´s it! We´ve made a diy photo album together! Eyyy. I did two the other day and I will make more in the future because I love it - it saves me a lot of space in my journal and is also saves all my memories. 😊
We made it to the end! Nice. 💗 I hope you liked this article even though it´s not a usual one. I was just really excited and I wanted to share this process with you.
Write me all your thoughts in the comment section. Are you a diy person? Do you keep a (bullet) journal as well? I will look forward to hear from you.
Take care. 💗
It's a great way to keep some memorable photos. I remember I made a scrapbook before as our project at school but after that I was not able to make a new one for myself. I sometimes create a notebook but for sketching purposes. Thanks for this idea, will definitely make one. ❤