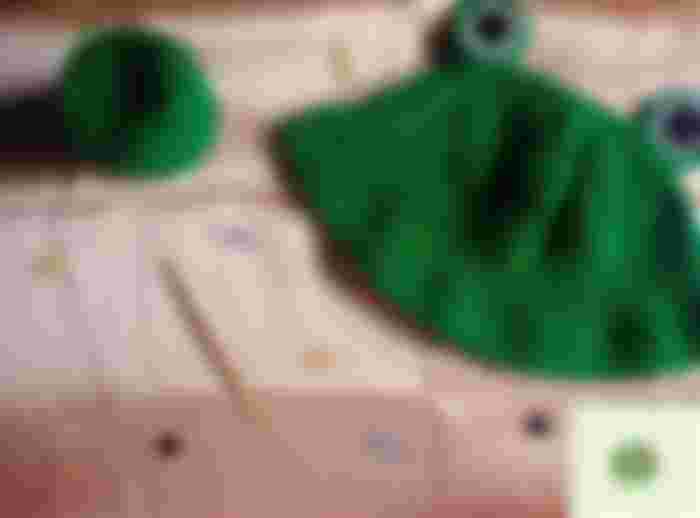
I shared a frog hat I made on noise.cash and since it's been a few days since I last posted any crochet related stuff here, I thought to myself, "Why not share how you made the hat?"
So here I am now, writing the pattern from my mind. While I was making the hat, I was taking a lot of pictures because I wanted this to be a tutorial that even someone who is just starting out at crochet can follow. Unfortunately, I transferred my photos to my laptop and I am writing this article on my phone. Sorry, I am lazy to take my laptop out. I guess I will do something else for beginners.
This written pattern will be for people who already have a basic knowledge of crocheting. So you should know how to tie a slip knot, how to do chains and how to do a single crochet. If you know how to do those things then let's get started.
Materials I used:
For the materials I used a green 4-ply Indophil yarn. It took about 75grams of yarn to finish this project. Then some scrap black and white yarns for the eyes and mouth.
I also used a 4.00mm crochet hook as well as stitch markers to keep track of the starting stitch as well as the stitch count. And of course, a darning needle to weave the eyes and the ends.
Steps for the bucket hat:
Make a magic ring then put 8 single crochet stiches in it. Make sure to mark the first stitch. This is stitched in the round so no need to slip stitch for each round.
**always mark the first stitch for each round so you will not lost count of the stitches
Round 1: After that, start increasing your stitches. Put 2 single crochet stitches into every single stitches that you made earlier. You will have 16 stitches in this round.
Round 2: For this round, you will use the pattern 1 SC, 2SC. What this means is that for the first stitch, you need to put a single crochet stitch and then in the next stitch you will 2 single crochet stitches. It repeats until the end of the round. You will 24 stitches for this round.
Round 3: The pattern for this round is 1 SC in the next 2 stitches, 2SC. What this means is putting a single crochet in the first 2 stitches then at the 3rd stitch, you will increase. You will have 32 stitches for this one.
The next few rounds follow the same kind of pattern here. The difference for each rounds is that the next round will have more single crochet before the increase, the count of stitches at the end also increase by 8 stitches each round. So in the 4th round it will be 1SC in the next 3 stitches, increase. This round will have 40 stitches. In the 5th it will be 1SC in the next 4 stitches, then 2SC in the fifth. You should have 48 stitches at the end of round 5. Just repeat this until you reach your desired crown size. For mine, I stopped at around 6 inches following a size chart I found online.
After that, you will work on the length of the bucket hat. All you have to do is put a single crochet into every stitch, still making sure to mark the start of each round, until you reach your desired length. Once you cam fit your head into the hat, it is time to add some brim. For the brim, I followed the pattern of putting 1 single crochet into the first stitch then 2 single crochet in the next. I repeat that until I reached the end. Then I put more rounds of single crochet until the brim is 2 inches deep. I fasten it off.
Step for the eyes:
The eyes are incredibly easy to make. Use your green yarn to make the pack part of the eyes. All you have to do is do a magic ring, put 6 single crochet in it. Increase in the next round, putting 2 stitches for it. Then follow the 1SC, 2SC for the next round. After that, 1SC in the next 2 stitches then increase. In this round, put 1SC into the next 3 stitches then increase. For the last round, you will need to do 1SC in the next 4 stitches, then increase. Fasten off. Make two circles like these for 2 eyes.
Then next is the front of the eyes where we follow the same proscces but we need to change color. So make a magic ring using a black yarn, add 6 single crochet. Do the first round in black yarn as well. Then change to white yarn for the next 2 rounds. The last round will be green. Fasten off.
Finishing the frog bucket hat:
To finish the project, join the front and back parts of the eyes. Weave them into the bucket hat accordig to your preference. Then weave all the remaining ends.
The end product will look a little like this:

If you like what I made please consider following me on my other accounts to be updated of more of my crochet projects.
noise.cash: https://noise.cash/u/ZehraSky
Facebook: https://www.facebook.com/zehrasky.yarns/
Instagram: https://www.instagram.com/zehrasky.yarns/
Tiktok: https://vt.tiktok.com/ZGJkNE3a7/
Shopee: https://shopee.ph/zehrasky.yarns
You might be interested in making you Shooky (BT21) bucket. Check out this article if you want to learn how I did mine: https://read.cash/@ZehraSky/crochet-making-a-shooky-bt21-bucket-hat-for-my-sisters-birthday-ed2058d4

ang sarap lumipad dyan para magpaturo huhu