If I had known that noodle-making is as easy as changing your shirt, I would have done it a long time ago. 🤣
Well, this past few days aside from attending my kids with their modular activities which are getting more difficult every week, I also diverted my attention to other things to relieve my stress. This one I mentioned few days back, I attended a training about making noodles using our local products as an additional ingredient. I could have searched it in youtube but our internet connection doesn't allow me. So here was the process. It could be done manually even without a machine. In here I combine the procedure with the machine and manual.
Ingredients are
◾For squash◾
1kg. All-purpose Flour
420 grams pumpkin(boiled)
1 tbs. Salt(fine)
5 tsp. Lye
◾For Moringa◾
handful of moringa (removed from stem)
1 kg. All purpose Sifted flour
2 tbsp. Fine salt
5 tsp. Lye
2cups water
◾First things first, tie your hair and use hairnet and clean apron before starting to proccess. If you like your hair hanging and get mixed with the noodles and your dress get smudge with flour and yellows stains and greens when cooking so be it. Be sure you are the only one to eat your finnish product.Check your nails if they are properly cut. There might be some lurking creatures under it😁✌️. Wash your hands with soap and clean water. I prefer this than using sanitizers and alcohols because you are going to hand contact with the food.You can use hand gloves though but i'm not comfortable with it because i can't feel the texture of the dough. Lastly wear your mask.
Now here's the process.
◾Boil the pumpkin and weigh it to 420 grams before we made a puree by using a blender. If you don't have a blender, you can mash it.
◾For moringa wash the leaves then blend with the water.


◾Mix the lye thoroughly with the puree then strain. Use the spoon to press the lump of the squash that is formed if mashing is manually done but if you use the blender, there's no need for straining.
◾Next, mix the puree to the flour partially. Then using the hand, transfer it in on the table. Clasp a lump and knead it using the palm, the part near the wrist. You can use the rolling pin. When the puree incorporates with the flour, it is now ready for sheeting. Sheeting is the process of thinning the dough before it will be sliced.

*If manually done, use the rolling pin to make the dough into a smooth thin sheet-like clothing about .01 inch thick. Sheets must be at least 8-10 inches long. But using the sheeter, it would be easier. Using the sheeter you just let it pass the equipment a few times until no white marks of the flour can be seen. It is done lump by lump if using a small sheeter.
◾Set aside the sheets until all of the dough passed the process.
◾Now is the cutting process. By installing the cutter, let the sheets pass the machine and it will automatically be cut into strips.


*Manually done, you need to roll the sheet and using a knife, slice the edge thinly at least .01 inch thick.
💠Boiling💠
The next part is the boiling of the noodles.
◾Boil water in a pot and prepare a pot or basin with tap water for washing the newly boiled noodles. When the water reached the boiling point, drop the noodles. Be sure the noodles don't stick with each other before dropping. When the noodles float, scoop it out of the water. If having a large quantity, do not drop it one time. Do it gradually.
Transfer the cooked noodles in the prepared basin with tap water in it. The noodles are now ready for consumption. It is called fresh miki or fresh vegetable noodles. It can be mixed with other vegetables and meat. Just store it in a refrigerator for a longer span of shelf life.


🔥Frying🔥
This part was the one I was given the task with.
It's up to you if you want the noodles fresh or fried. But for those who do not have a refrigerator, fry it for a longer duration of shelf life.
We have a fryer actually but unfortunately, the trainer was not familiar with our fryer so we use the frying pan.
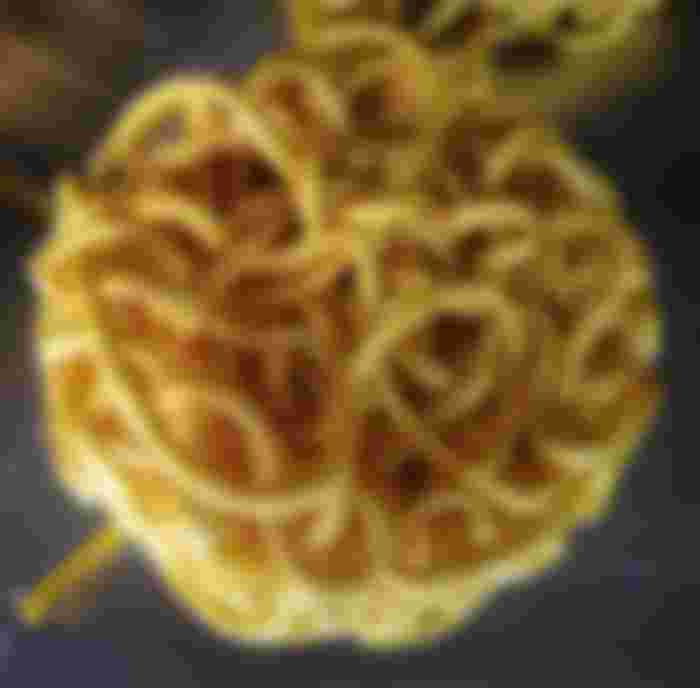
◾ Heat the oil in a pot or frying pan. The oil should be enough to submerge the noodles. Using a stainless molder drop boiled noodles in it and keep it in the fryer. The moment the noodles left the molder, it's already done.
* NOTE! dip the molder first for a minute in the hot oil before using so that the noodles won't stick to it.


Now we have a finnish product!!!
>Xzeon<

...and you will also help the author collect more tips.




Great recipe. I make plain noodles, I never added vegetables. And I don't have a machine, I chop with a knife. Yours are great.