How To Set Up Metamask - Tutorial For Beginners
Getting Started With Web3!


Web3 presents massive potential and online opportunities we could only dream about a few years ago.
It begins with NFTs, DeFi, decentralized applications, clouds, and a personalized approach to using the internet.
And this is only the beginning. Metamask presents the entry into the modern internet, a rapidly growing virtual economy that will soon transform into a global digital market of goods, services, and businesses, a second opportunity with unlimited potential, dubbed the Metaverse.
Beginners should immediately set up their Metamask and begin the journey in Web3 as this is not just a financial tool but the entrance to the modern digital economy.
With this tutorial, we explain in simple terms how to begin your Web3 journey by first setting up Metamask in your browser and creating your first Ethereum account (address).


Learn Metamask in Six Steps!
Step 1: Download The Metamask Browser Extension
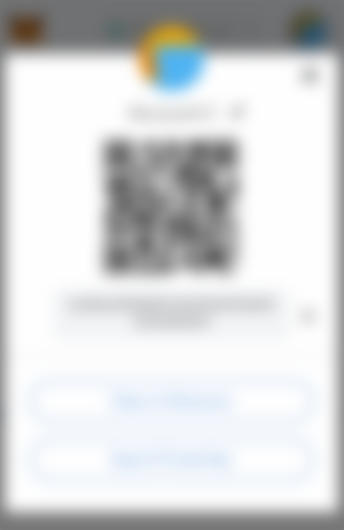
For Chrome users: visit the Metamask Web Store page and add the extension.
Firefox users will find the Metamask Add-On here.
After the installation is complete, don’t forget to visit the extensions option in Chrome and pin the extension on the browser, so it will always be visible:
Notice:
The Metamask extension is not visible by default when running the browser in incognito mode (Chrome) or private mode (Firefox).
Users should visit the extension settings for each browser and change the related settings to allow Metamask to run in private windows:


The first step is complete, as you have the Metamask wallet added to your browser.
Although, there are a few more necessary steps as we will guide you next to discover how to handle Metamask (on desktop).
The procedure will take approximately ten to twenty minutes for a beginner, but learning how to use it demands a few hours.


Step 2: Getting Started!


After pressing “Get Started”, we reach a page asking for permission to gather (anonymously) user data, which we suggest denying.

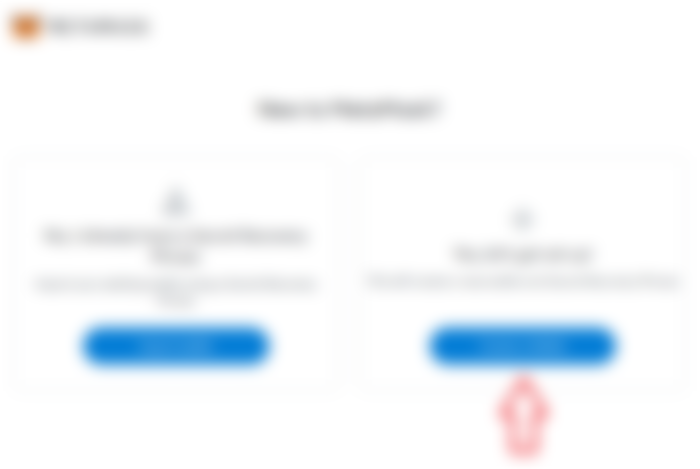
Select “Create a Wallet”

Create a Password (8 characters minimum):
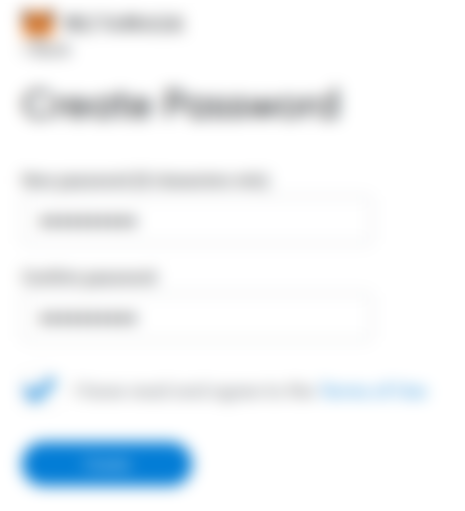
The password is bound to this particular installation of Metamask in our browser.
If we remove the extension and re-install it, this password won’t grant access to our Ethereum wallet. The seed phrase (and private keys) provide access to our crypto funds. This password is only temporary.
We should save the Metamask password together with the seed phrase and private keys.
The Secret Recovery Phrase
A video regarding the secure use of Metamask follows, which we suggest watching, and after clicking “next”, we reach the essential part.
Write down the Secret Recover Phrase, as this is the access to your Metamask Wallet. With this phrase or the private keys (which we will learn how to extract below), we access our cryptocurrencies, tokens, and NFTs.
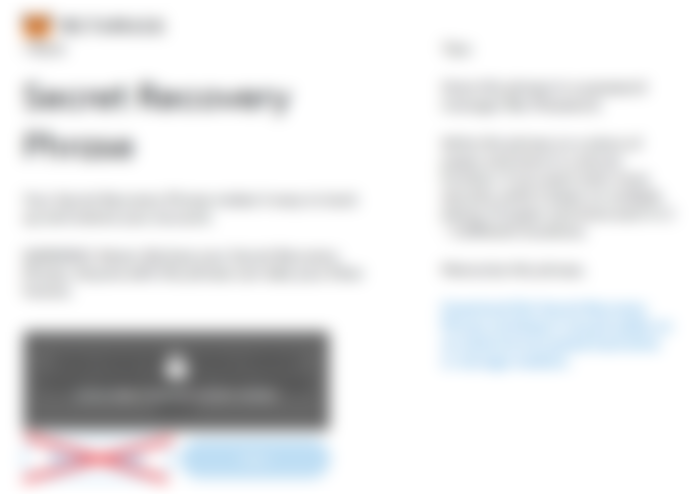

Don’t press “Remind me later”.
Some users did that and lost access to tokens and NFTs since a beginner can easily forget this required process.
Be careful: You Can Lose Funds If You Skip This Part
Reveal the secret words and write them down on paper or store them in a (trusted) password manager, as Metamask suggests.
After writing down the secret phrase and pressing “Next” Metamask will prompt us to confirm the previous words. With our secret phrase, we can recover our Metamask wallet on any device and access our funds using any Ethereum wallet.
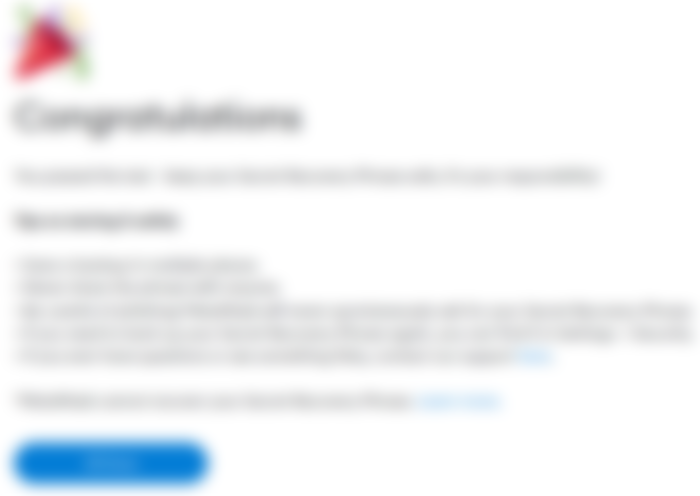

And this is it. Our Metamask is now ready to use! Congratulations!
However, there is a lot more to learn.
Step 3: How To Use Metamask
For a beginner, it is often frustrating. Still, the learning curve doesn’t demand more than a couple of hours to reach a basic understanding.
With time, every Metamask user will adapt and figure out how to use the wallet without issues.
A) Use Expand View
This option will save us time when we explore Metamask for the first time.
It is also helpful when we try to perform transactions between wallets, change network settings or manually import tokens.
The Metamask extension will collapse once we change the window. With this approach (Expand View), the wallet will stay active inside a tab, an option that will save time for the user.
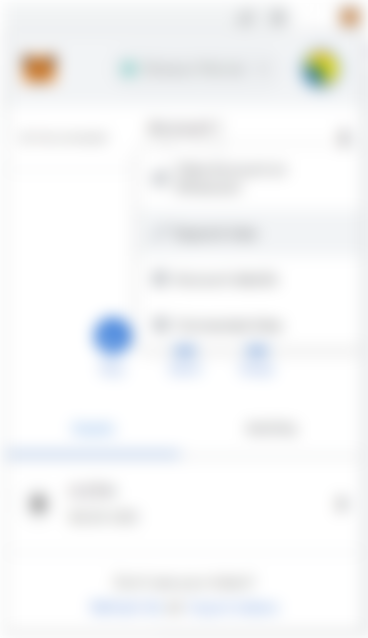
B) Find Your Address
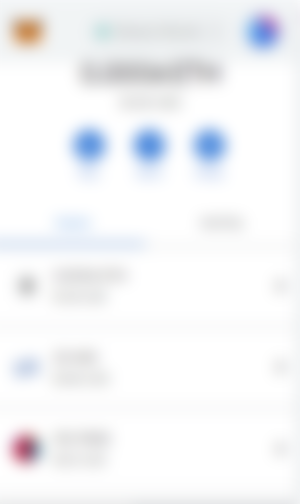
After we finish setting up our Metamask Wallet, we notice that (by default) it is connected to the Ethereum Network, while it also gives us an Ethereum address.
An Ethereum address (or account) will always begin with 0x:


An example of what an Ethereum address looks like:
0x2E5b6fFEB3B2D0dD318340f04E9D302368158312
With this address, we can receive funds or scan with explorers to monitor our account’s activity.
We provide our address when anyone (a person, exchange, or a site) plans to send us ETH, NFTs, or ERC20 tokens.
We can use our Ethereum address with other networks compatible with Ethereum (EVM compatible).
In the following article we learn how to connect Metamask with other compatible Ethereum networks (Polygon, BSC, Fantom, HECO, smartBCH, etc).
*** Don’t send the private key / secret phrase to anyone ***
If we accidentally send the private key instead of the public address, our funds are in danger.
C) How To Extract The Private Keys
Metamask stores a private key for each address it contains. To extract the private key for each of our Ethereum addresses we follow these steps:
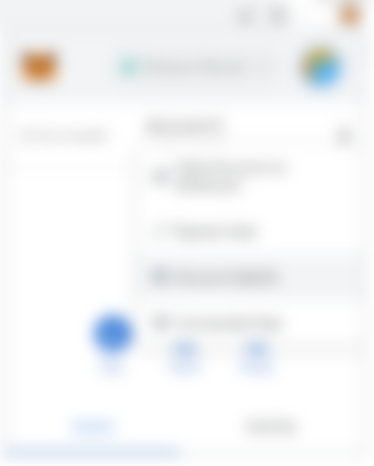
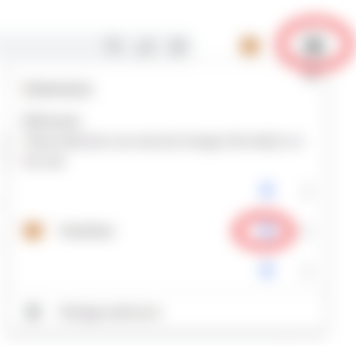
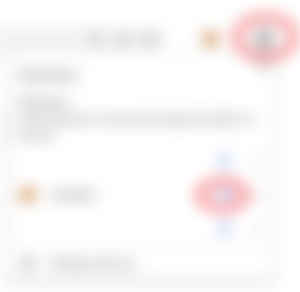
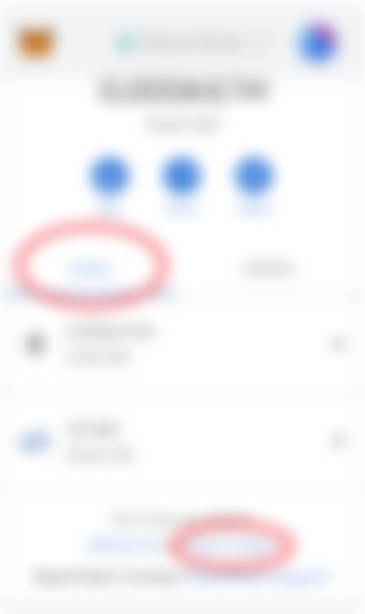
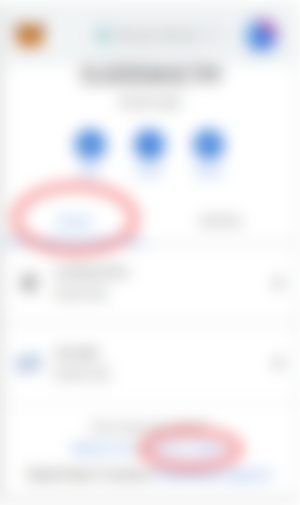
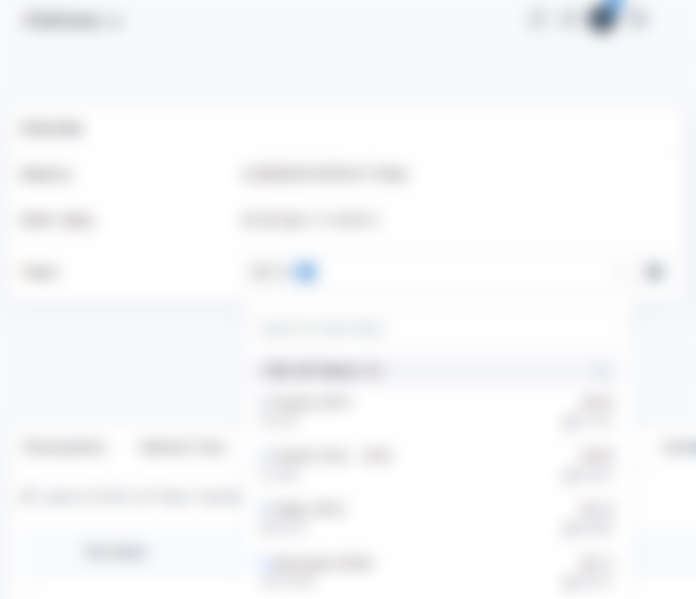
Open the address (account) settings by left-clicking on the three dots
Open “Account details”

In this screen, we can locate our public key, view our address on Etherscan, and export our private key.
We will be asked for our password and export our private key, which represents access to this particular address. We can import this private key to any other Ethereum wallet (non-custodial) and access funds using any other device.
The private key grants access to our crypto, so we must handle it with extreme diligence. Writing it down on a piece of paper and securely storing it in more than one location is a safe approach.
Losing the private key translates to a loss of funds.
Step 4: Funding Your Metamask Wallet with ETH
The main gateway of funding to cryptocurrencies is centralized exchanges.
Exchanges like Kraken, Coinbase, Binance, and Bitstamp offer their services to approximately 100 million people today.
Buying from a crypto exchange or platform allowing withdrawals is the first step. However, a few platforms do not offer withdrawals, and other services demand high fees.
While exchanges offer a service to cryptocurrency by creating the ramp from the “fiat” system (national currencies) to cryptocurrency, they also present a centralized approach that contradicts the fundamentals of crypto.
Centralized exchanges are in control of the private keys.
After purchasing, the right approach is to send your coins/tokens to a non-custodial wallet. A hardware wallet is a decent solution.
Metamask offers the option to connect with Ledger, Trezor, and other hardware wallet solutions.
Withdraw Ethereum From An Exchange
To fund your Ethereum wallet, first, you need to own ETH.
ETH is used in the Ethereum network as gas to pay for the miner fees that include transactions in a new block, mine the block and validate it as it gets added to the blockchain.
You don’t need a full ETH (the current price is $1715) since, currently, even $20 will suffice for a dozen transactions.
Ethereum users will check network fees on the Etherscan website before transacting:

Ethereum Gastracker
At times of congestion, Ethereum fees rise significantly. We’ve encountered Ethereum fees of $200 just for simple contract interactions. Before sending funds to Ethereum, we have to consider the cost of each transaction.
Withdrawal fees will also vary between exchanges. Each exchange sets rules that can vastly differ from the actual blockchain fees.
When users withdraw funds, the exchange will prompt them to enter the Ethereum withdrawal address and the fees it will withhold.
If we plan to use other networks instead of Ethereum (e.g. Polygon or BSC), then we don’t need Ethereum for gas fees.
Each network has a native token used for gas.
Step 5: Importing ERC20 Tokens On Metamask
Ethereum ERC20 tokens (also ERC721 and ERC1155 NFTs) are smart contracts operating in Ethereum, using Ethereum as gas and enjoying the security level the Ethereum network provides.
We transfer tokens in the Ethereum blockchain in a similar approach to ETH.
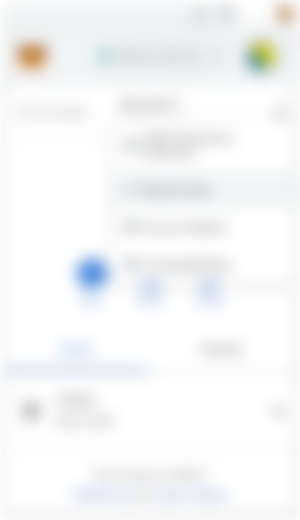
Metamask presents our tokens on the “Assets” tab:
However, Metamask will initially display only a few “popular” tokens, but not all. We have to add tokens (manually) if we want them displayed on Metamask.
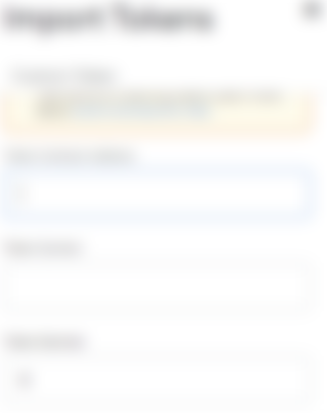
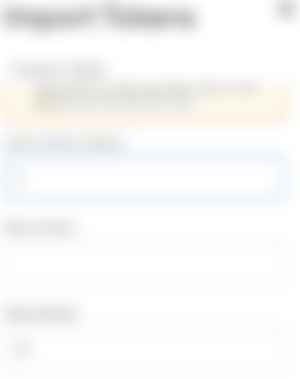
Pressing “import tokens” will offer us two options:
i) Search for a token &
ii) Manually import token

Using the search feature, we can write the name of the token we are looking for and import it. If we own tokens in our wallets, they will become visible in the “Assets” section of Metamask.
However, we will probably own tokens the search option won’t fetch.
In this particular Ethereum account, for example, I own a small number of tokens called BlockPass, which I verified using the Etherscan explorer.
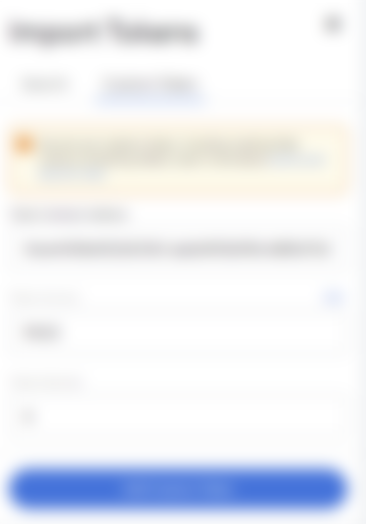
To add these tokens, Metamask requests these settings:
Contract Adress
Token Symbol
Token Decimals
Usually, the contract address is enough, and the rest settings will auto-fill by Metamask. If they don’t, we can find this information on Etherscan by searching using the token’s contract address.
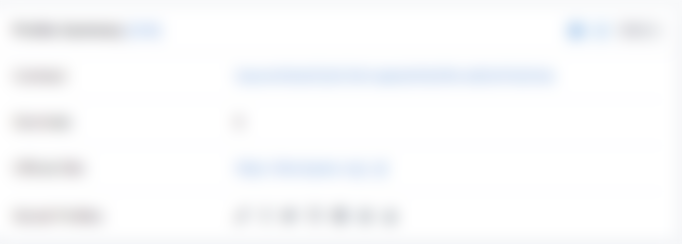

After adding a token, Metamask will ask us to verify that we want to import it and display the amount we hold.
With this approach, we can make all tokens we hold visible in Metamask.

We can search Etherscan to find a complete view of the tokens and NFTs we hold and import them into our Metamask wallet.

How to use Etherscan: Etherscan.io Tutorial
This tutorial explains everything a beginner needs regarding the proper use of Etherscan.
Step 6: Transfering ETH/Tokens & Web3 Functionality
Pressing “Send” from the main Metamask page initiates the transaction. The process is self-explanatory.
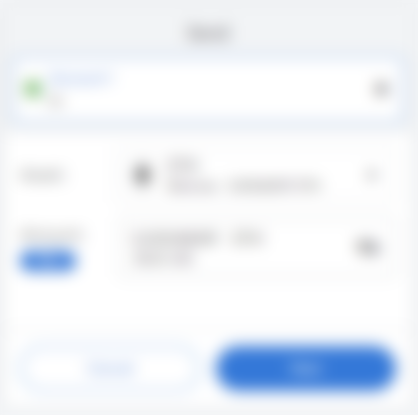

We can select to send Ethereum or other tokens in our wallet (after importing them).
Web3 functionality is equally user-friendly.
By visiting a website supporting Web3 functionality, Metamaks prompts us to sign a message and connect using the current active Metamask address.
NFT marketplaces, DeFi, and Dapps operate this way. Web2 is already obsolete in the cryptocurrency field.
We can trade our NFTs at OpenSea, experience DeFi on Uniswap, play games, or explore vast 3D Universes like Decentraland using our Metamask wallet to sign in and interact with these platforms.
Next Part: How To Connect Metamask to EVM Compatible Networks
Most users will get accustomed to Metamask after a few hours of testing and using it.
With this tutorial we explored the basics for a beginner to set up Metamask on a desktop browser and use the wallet to transact, sign messages and interact with Web3 apps and websites.
The same tutorial applies to every other EVM-compatible network.
In the following guide, we will discuss Metamask’s connectivity with EVM (Ethereum Virtual Machine) compatible networks like Polygon, BSC, Avalanche, Fantom, HECO, smartBCH, and more.
Web3 will entangle with the upcoming Metaverse (or Metaverses) and become the standard. Self-ownership in the digital realm will not just be allowed by corporations but demanded by the public.
Pluralism in Web3 networks and Dapps is bringing positive results, so we should expect competition to rise as developers will present modern Web3 wallets with extensive functionality.


Find me on:
● read.cash ● noise.cash ● Medium ● Hive ● Steemit ●Vocal
● Minds ● Publish0x ● Twitter ●Reddit
Copyright Disclaimer:
Material published in this content, is used for entertainment and educational purposes and falls within the guidelines of fair use. No copyright infringement intended. If you are, or represent, the copyright owner of images used in this article, and have an issue with the use of said material, please notify me.

Don't forget to Subscribe and Like if you enjoyed this article!


I give up on setting up meta mask as I have been trying it for years for my minds account but its too complicated sorry as you tried your best.