
With this tutorial, I will try to make it easy for everyone to understand how to set up a Metamask Wallet and add networks in it like the Binance Smart Chain orPolygon (Matic), and how SmartBCH mainnet can also be applied when its mainnet is released.
If you don't have a Metamask wallet already, don't worry, I will provide directions from scratch. This is a beginner's tutorial that will help you with setting up your wallet to access a few of the most popular networks compatible with Metamask.
All you need to begin is a browser able to run Metamask, like Chrome.
Please note that this is a tutorial for the desktop (PC) version of Metamask.
Key information
Metamask is an Ethereum Wallet, but can also be used with more networks or sidechains. Binance Smart Chain also works with Metamask and requires a similar procedure. RSK Mainnet is a Bitcoin (BTC) sidechain that also connects to Metamask and bridges the two blockchains. SmartBCH does the same more or less, creating a layer-2 running on top of the Bitcoin Cash network.
It is important to know that no matter the network a 0x wallet is always created on the Ethereum Blockchain. You can use the same phrase or private key to access the same wallet in any of these networks.
For example, if you have an Ethereum Wallet you can use the same wallet for all the networks supported by Metamask, be it BSC, RSK, Polygon, or SmartBCH (when the mainnet is announced).
We can also use existing Ethereum wallets, but we need to add the networks on Metamask. I have used existing Ethereum wallets for BSC and Polygon (Matic).


Part 1: Setting Up Metamask in 2 Steps
For this tutorial, we will begin with installing Metamask and creating a new wallet on the Ethereum Network which is the standard procedure. Then move on to setting up the other networks.
This part is mostly for beginners with Metamask and for someone that is already using this wallet, it can be skipped and move directly to Part 2: Adding a New Network.
Step 1: Install Metamask
It is always recommended to download any kind of software directly from the official source of the developers. Metamask is a browser extension.
The link is this one: https://metamask.io/download.html. It will send you to the Chrome web store for browser extensions.
After installing Metamask to your Chrome browser make sure you press the extensions button on Chrome and "pin" Metamask on your browser so it is always visible.


The "pin" button should be at "blue", in order to have the Metamask icon shown on our browser. Otherwise, you will find some trouble trying to seek the app within your extensions.
Step 2: Setting Up Metamask
At this point, it is important to stress the fact that any password, phrase, or private key is very important to copy to a piece of paper and secure. Metamask is a wallet and funds will be at risk when a user is negligent.
Moving on we now have our Metamask ready on the browser and the icon is visible too.


Pressing "Get Started" will navigate us to create a new Ethereum Wallet or to import a Recovery Phrase.


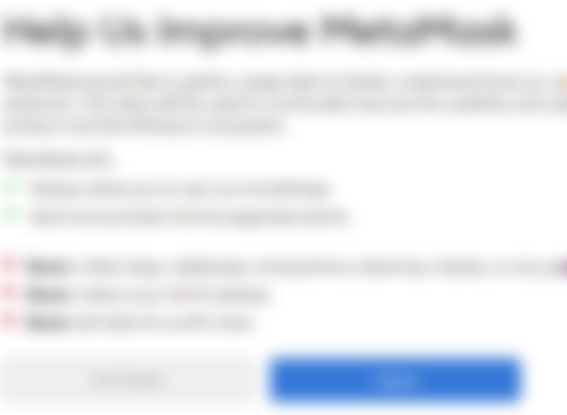
After creating a new wallet I skipped the part Metamask was asking for permission to gather data by clicking "No". This is probably shown to EU users, I'm not sure if this option is given to everyone else.

Moving on we are prompted to create a password.


After the password screen, Metamask provides a video tutorial explaining what the recovery phrase is about and how we can secure our wallets.


The secret phrase can be found later inside Metamask, as well as the private keys to your wallet. However, it is of utmost importance not to skip this part but copy the secret phrase immediately and store it in a secure location.
After that, we are prompted to verify our phrase, and then some more information about securing our keys is given by Metamask.
And this was it. A new Metamask Ethereum wallet is now ready for us to use. More importantly, we don't need to use a browser tab, but just pressing the Metmask Icon (fox) on the extensions toolbar, the wallet drops down.
Part 2: Adding A New Network in Metamask
We have our Metamask installed and ready, so now we will need to pay attention to some of the details.
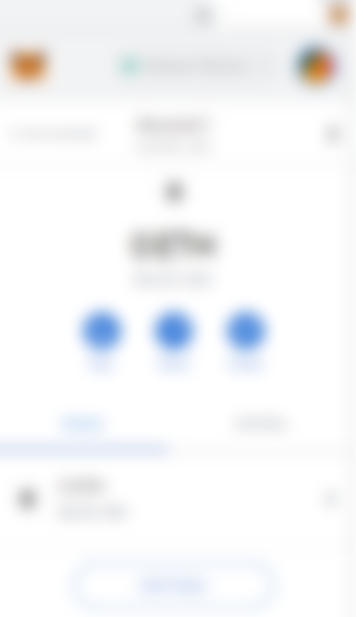
First of all, on the top of the wallet area, we can see which network we are connected to at the present time.
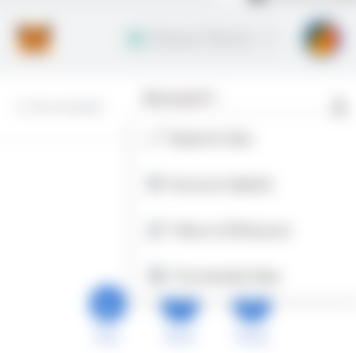
The default is always: Ethereum Mainnet. The wallet we created is an Ethereum wallet. Pressing the "down" arrow, a dropdown menu appears with the rest default networks which are mostly testnets for the Ethereum blockchain.


At this point, we will select "Custom RPC" to write down the details required in order to include the network on Metamask.
But first, word of advice: Metamask has this habit to exit from the dropdown state the moment we switch to another tab or another application on our desktop. This will not help us when we are copy-pasting and alt-tabbing since the data is not saved but will be removed.
For this reason, we will open Metamask in a browser window (or new tab).
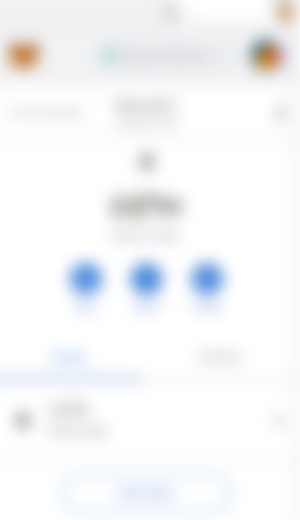
Step 1: Open Metamask in a new browser tab (Important)
To open Metamask on a new browser tab we have to press the three dots, then a dropdown menu appears and we select from there the first option: "Expand view".

This step is quite important and usually takes some time for users to figure out.
Step 2: Adding A Network


After selecting Custom RPC the following form appears where we now have to input all the network details required to access the network we want.


The image is blurry, so I will zoom in to the important part which is the details we have to copy and paste:
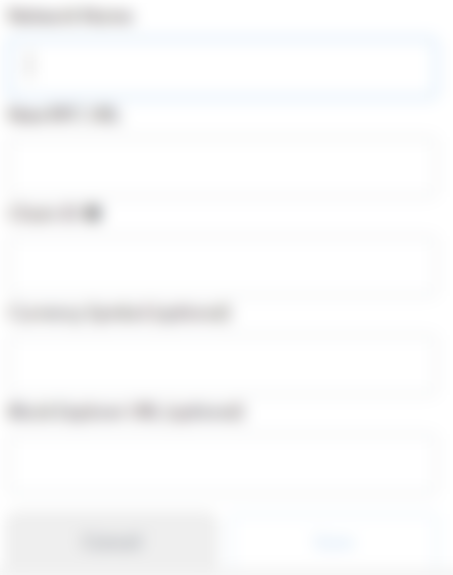

At this point, I will provide the values required in order to access some of the more popular networks.
Binance Smart Chain (BSC)
We do not need a new BSC wallet, we only need to add the BSC network on Metamask and then we can use our existing wallet(s) to access the Binance Smart Chain. The same goes for other networks that are EVM and Metamask compatible.
For BSC mainnet we will need to write down these specs:
Network Name: Smart Chain
New RPC URL: https://bsc-dataseed.binance.org/
ChainID: 56
Symbol: BNB
Block Explorer URL: https://bscscan.com
Source: Academy Binance
*Always validate the information and derive it from the official source.
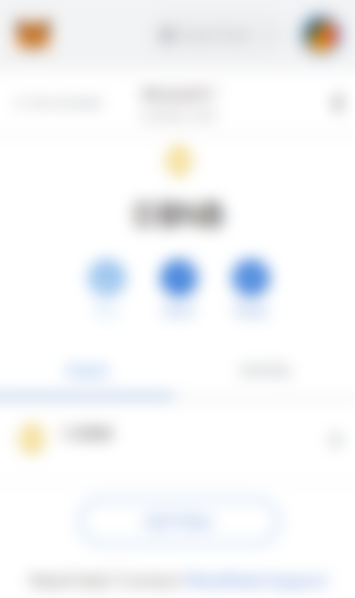
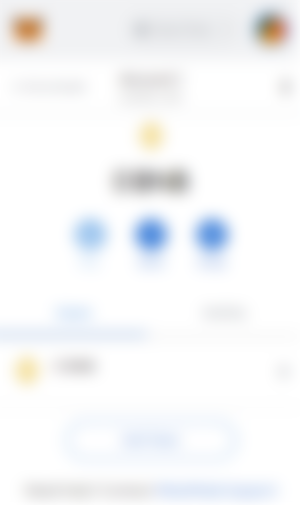
So there it is. The Binance Smart Chain for us to use, without even having to create a new wallet.
The same can be applied for other networks.
Polygon (Matic)
For Matic the values we need to input are:
Network Name: Matic Mainnet
New RPC URL: https://rpc-mainnet.maticvigil.com/
ChainID: 137
Symbol: MATIC
Block Explorer URL: https://explorer.matic.network/
Source: Aavegotchi
OKEx Chain
[In formation was added on August 03,2021]
After request from @Cineholic I found the OKEx Chain settings for Metamask.
Network Name: OKExChain Mainnet
RPC URL: https://exchainrpc.okex.org
Chain ID: 66
Currency Symbol: OKT
Block Explorer URL: https://www.oklink.com/okexchain/
I have not tested the OKEx Chain yet, however, I managed to successfully set it up with Metamask using this configuration.
Source: OKEx Chain Docs
SmartBCH


*Added August 24,2021 (*Edited April 2nd,2022)
SmartBCH is a new Bitcoin Cash sidechain (EVM Compatible) that aims to bridge Ethereum with Bitcoin Cash. It will help Ethereum DeFi platforms take advantage of the speed and low fees of the BCH blockchain.
Automated Process (takes only a few seconds):
There is an easy approach to set up smartBCH automatically on Metamask.
Visit the website marketcap.cash and on the top of the page press the button “Add SmartBCH to Metamask”. This action will automatically enter the specifications for smartBCH in your Metamask wallet by just signing with your address.
Manual process:
A second approach is to manually enter these settings:
SmartBCH is a new Bitcoin Cash sidechain (EVM Compatible) that aims to bridge Ethereum with Bitcoin Cash. It will help Ethereum DeFi platforms take advantage of the speed and low fees of the BCH blockchain.
Network Name: SmartBCH
New RPC URL: https://smartbch.fountainhead.cash/mainnet
(or: https://smartbch.greyh.at/ )
ChainID: 10000
Symbol: BCH
Block Explorer URL: https://www.smartscan.cash/
Source: noise.cash (official noise.cash account)
In case you have questions or stumbled upon issues during these procedures, feel free to comment and I will try to answer more precisely.
The values required by Metamask for the SmartBCH mainnet will become available right when the mainnet will be announced. For the time being, there are only testnets available, as explained above.
As users, we will require the mainnet values of all the mentioned networks with Metamask.


BACKPAGE
Images:
Lead & First Image from: Bitnovo (modified)

Writing on these platforms:
● ReadCash ● NoiseCash ● Medium ● Hive ● Steemit ●Vocal ● Minds
Also, active on:
Shout-out to my Top-3 Sponsors:
Don't forget to Subscribe and Like if you enjoyed this article!


Thank you very much Pantera, I have already added smartBCH, and others that you mention in the post that I didn't have. I honestly thought smartBCH was a new BCH wallet. I was seeing that some people use it to raise the value of their bch earned in Noise. Could you explain that to me?
I would also like to know how I send money from my bch wallet to my smartBCH. Thank you very much in advance.