Hello everyone, happy Sunday to you all.
Some people have asked me to show them how to use Canva and that's what this article is majorly going to be about. For those that don't know, Canva is a graphics design software that you can use to create beautiful thumbnails and header images for your articles.
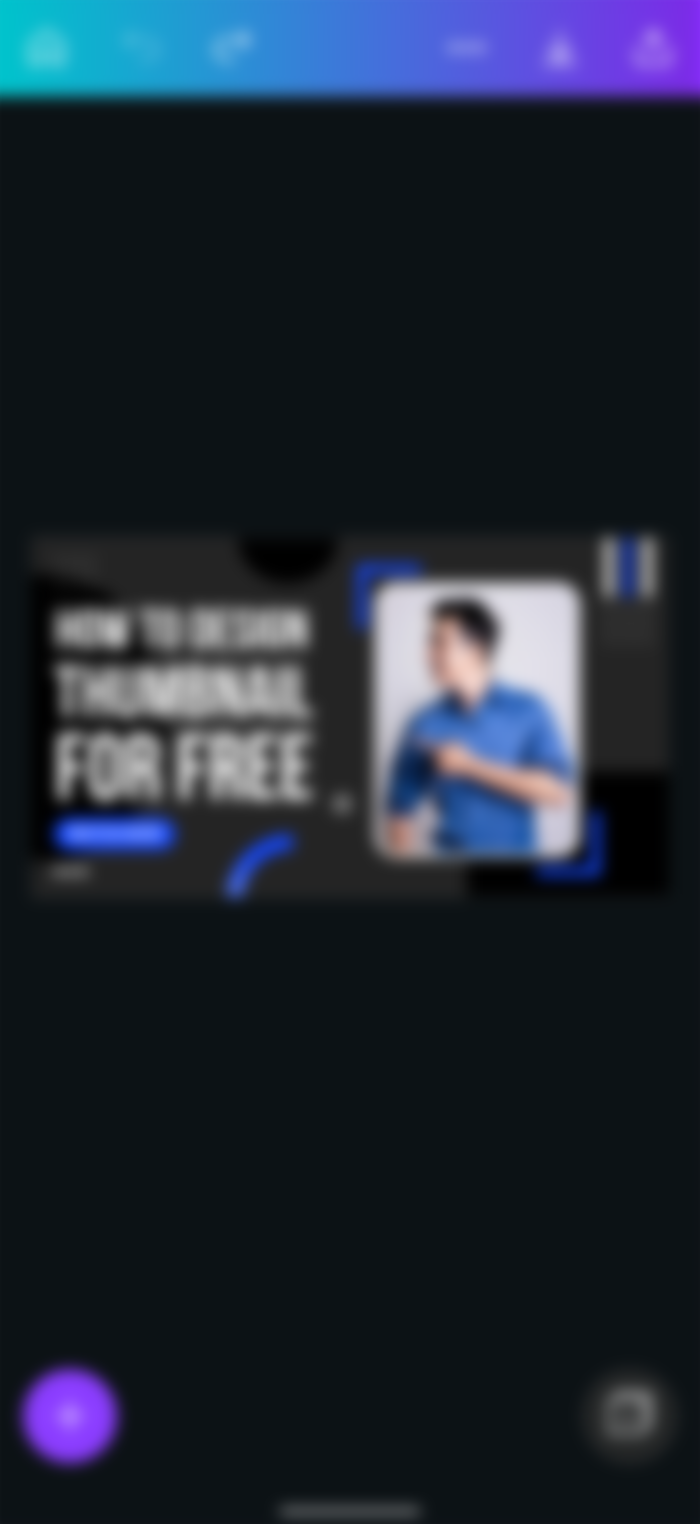
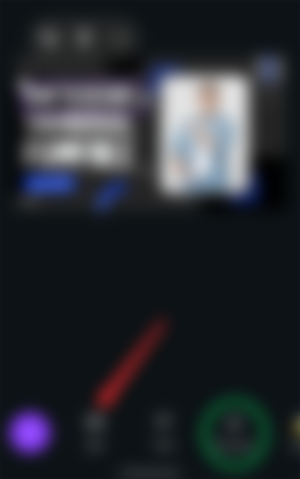
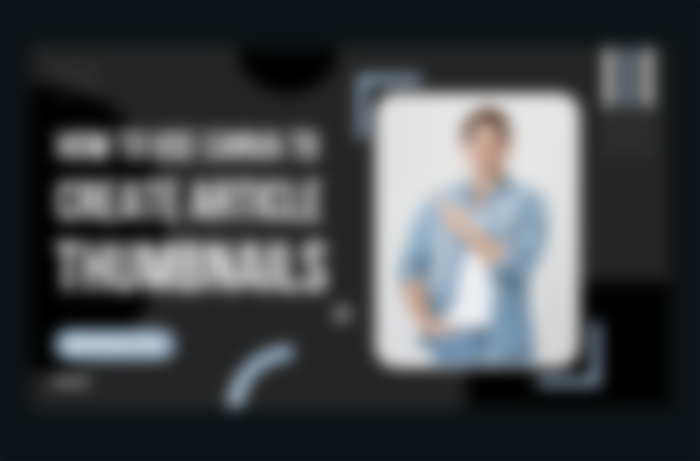
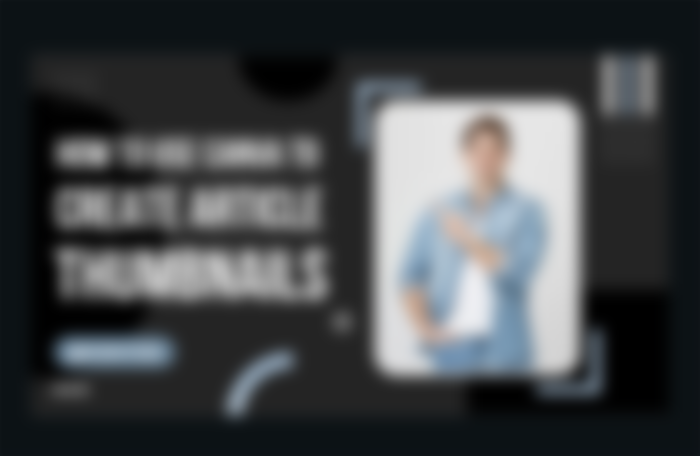
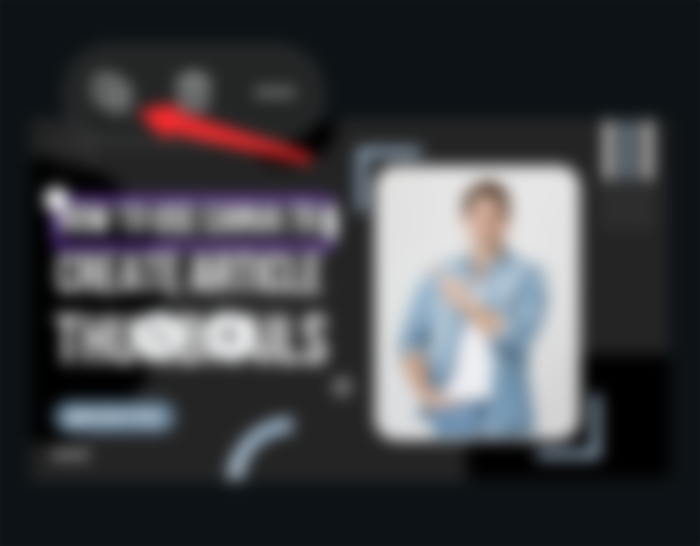
I sometimes use Canva to design my header images which I usually do from scratch but for this article, I will use an easier method which is to use already made templates, and I think I will switch to using templates as well, there are some really cool designs there. So for this, I will be showing you how I created the header image for this article which is pictured below.

1. I believe you should have Canva installed on your phone by now. Open it and create an account if you haven't before (It's easier to sign in with Google).
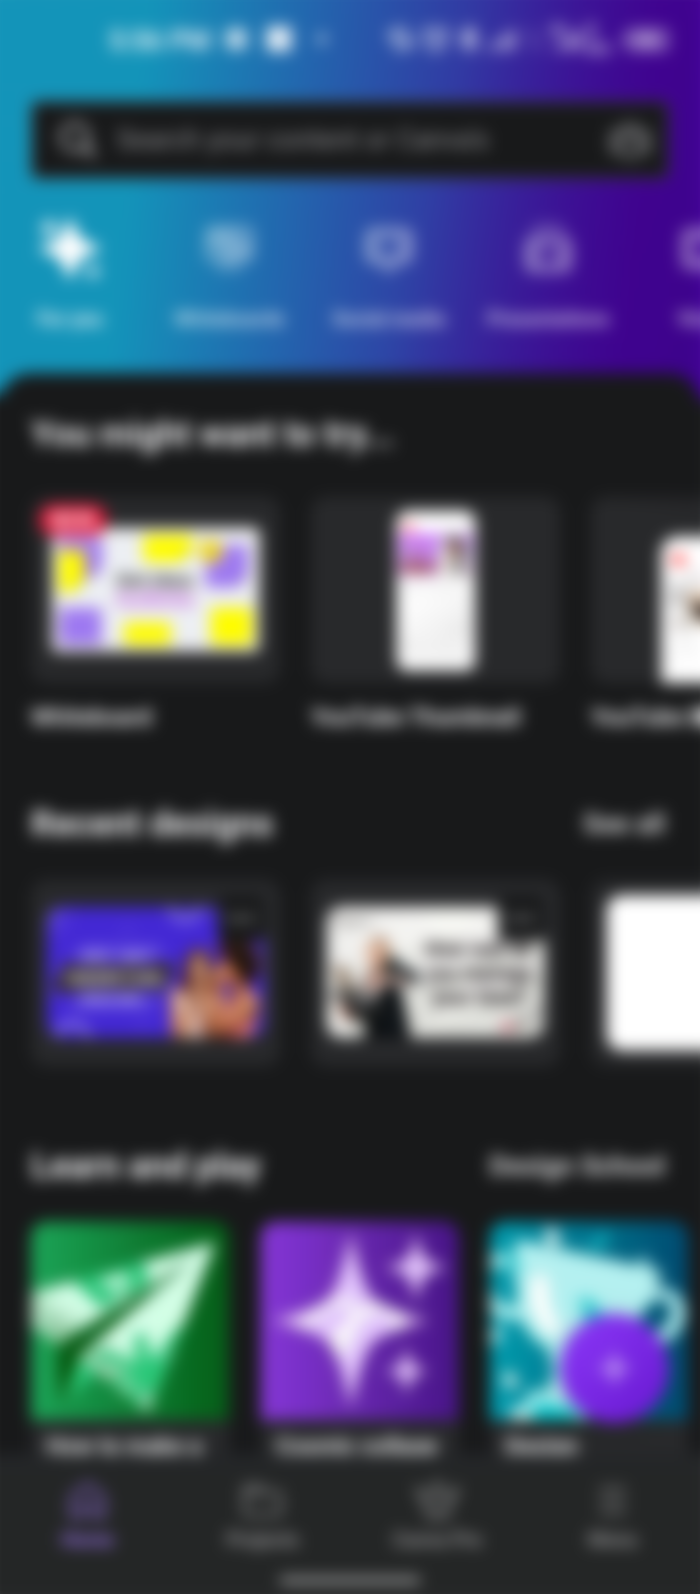
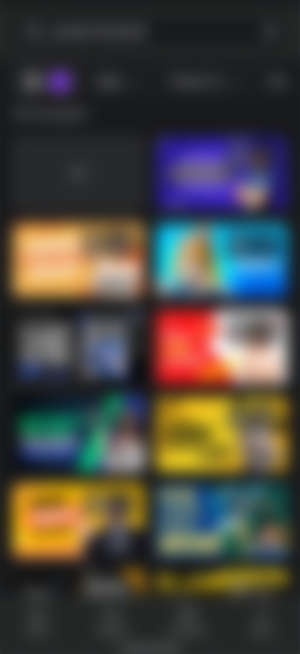
2. You should see the homepage which is similar to the one above. For this, we will use the YouTube thumbnail templates, it has the best size for creating header images.
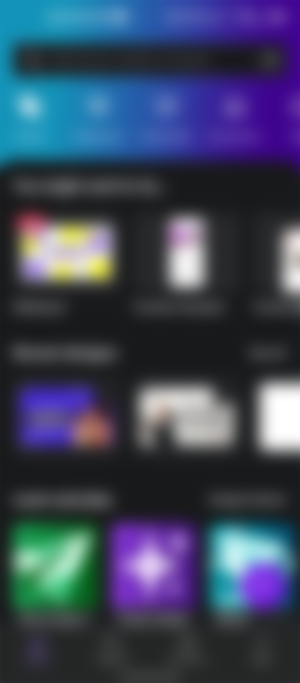
3. The YouTube thumbnail can be found in the "you might want to try..." section. If you can't see it, scroll horizontally till you find it, or better still just search for "YouTube thumbnail".

4. If done correctly, you should see something like the above picture. There are 4000+ templates there and you just have to pick one to suit your needs. Since this article is a tutorial, so I need a template for tutorials.

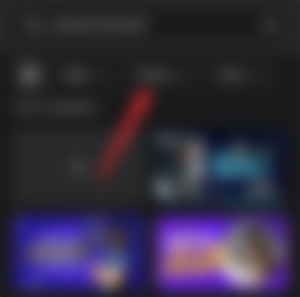
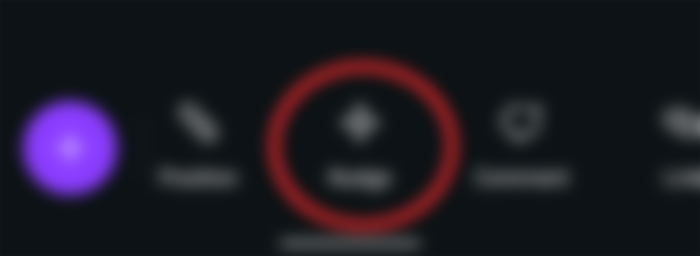
5. Click on "theme" and you should see a new page pop up with different themes you can pick from.
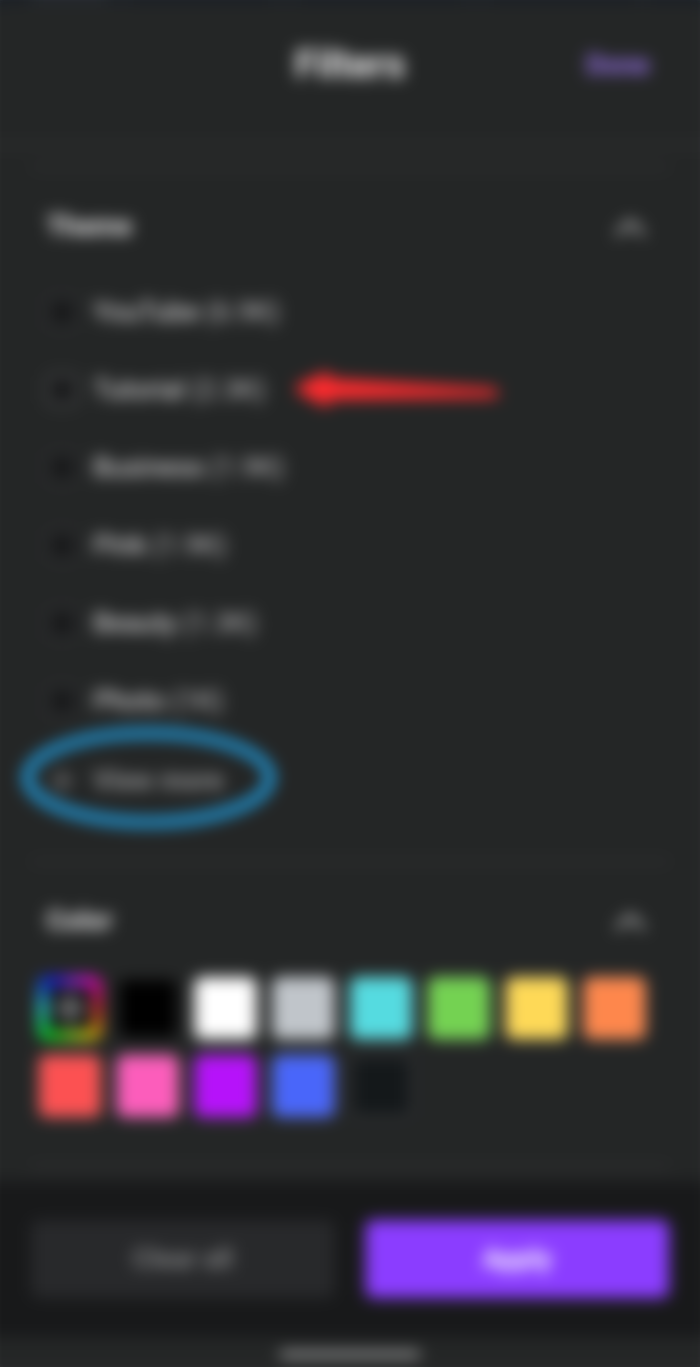
6. You can already see tutorial in that picture above but if you can't find it in yours, then click on "view more" and you will see a lot more filters.
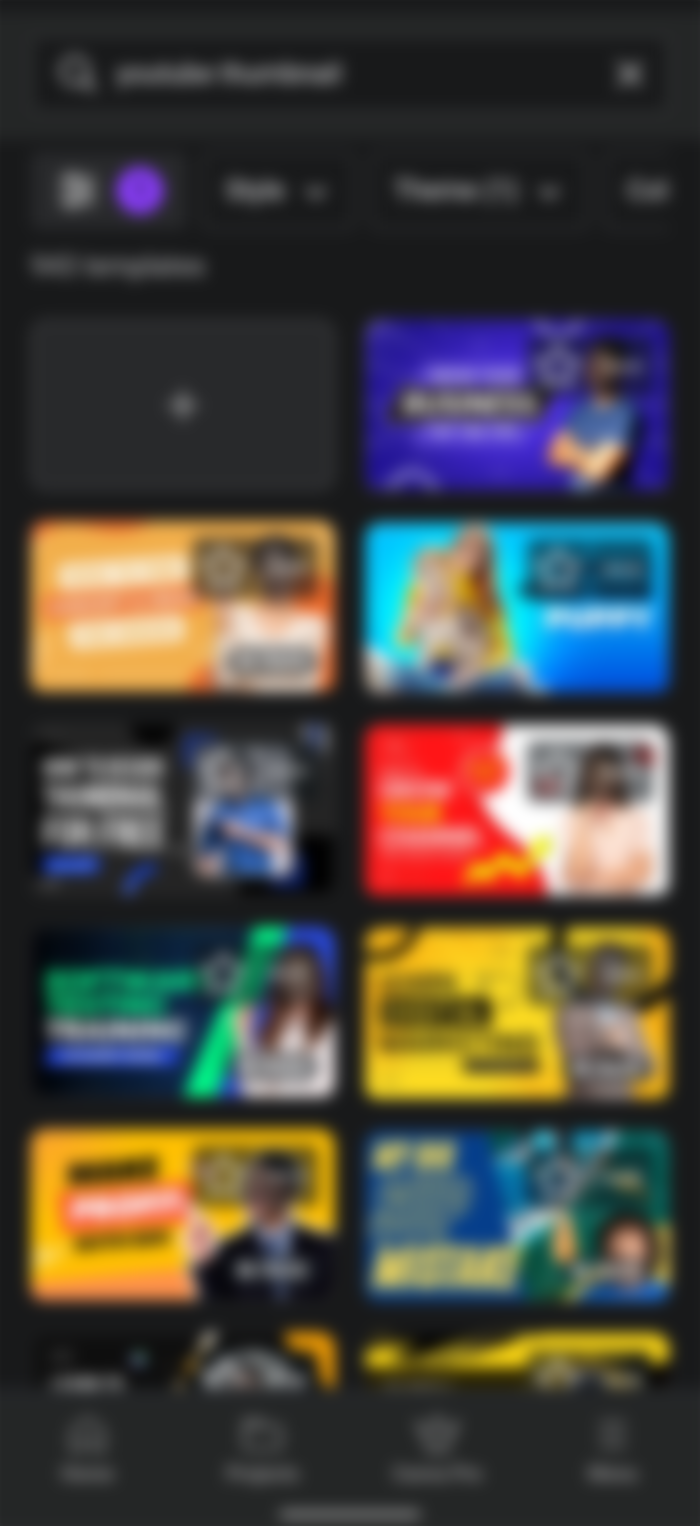
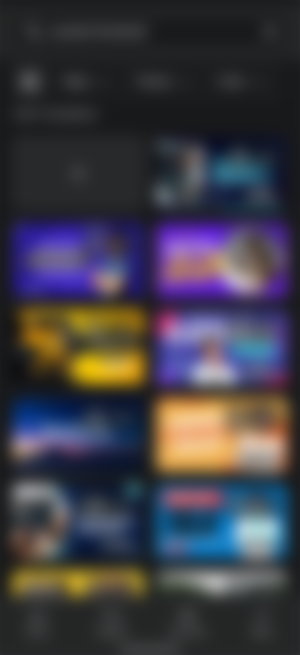
7. Click on tutorial and then click on apply, you should see something similar to the above image. Look for a good one that's close enough to your article's title and I know you should have seen the one I will pick.

8. Select the one you want and now it's time to edit it. Make sure to pick only those that don't have "paid" written on them, unless you plan on subscribing to Canva pro. The next screen that opens is where all the magic happens. You can edit the design anyhow you want and delete anything you don't need.
9. You can choose to use the default image but I prefer to use another one. Where I usually get my images from is freepik.com and in a short while you will know why (hey, nice rhymes! 😁).
10. Freepik is the best graphics design resource I have seen but for now, we won't focus on its features, we just want to get an image.
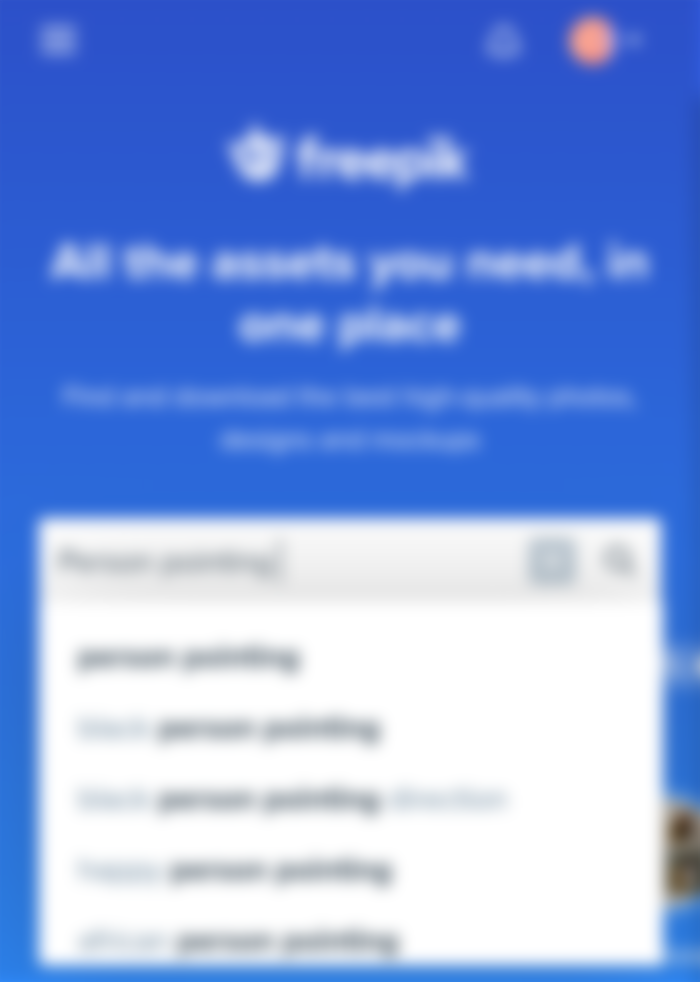
11. Searching for an image totally depends on what you want and right now we want an image of a person pointing with their finger, so that's exactly what we will search for!
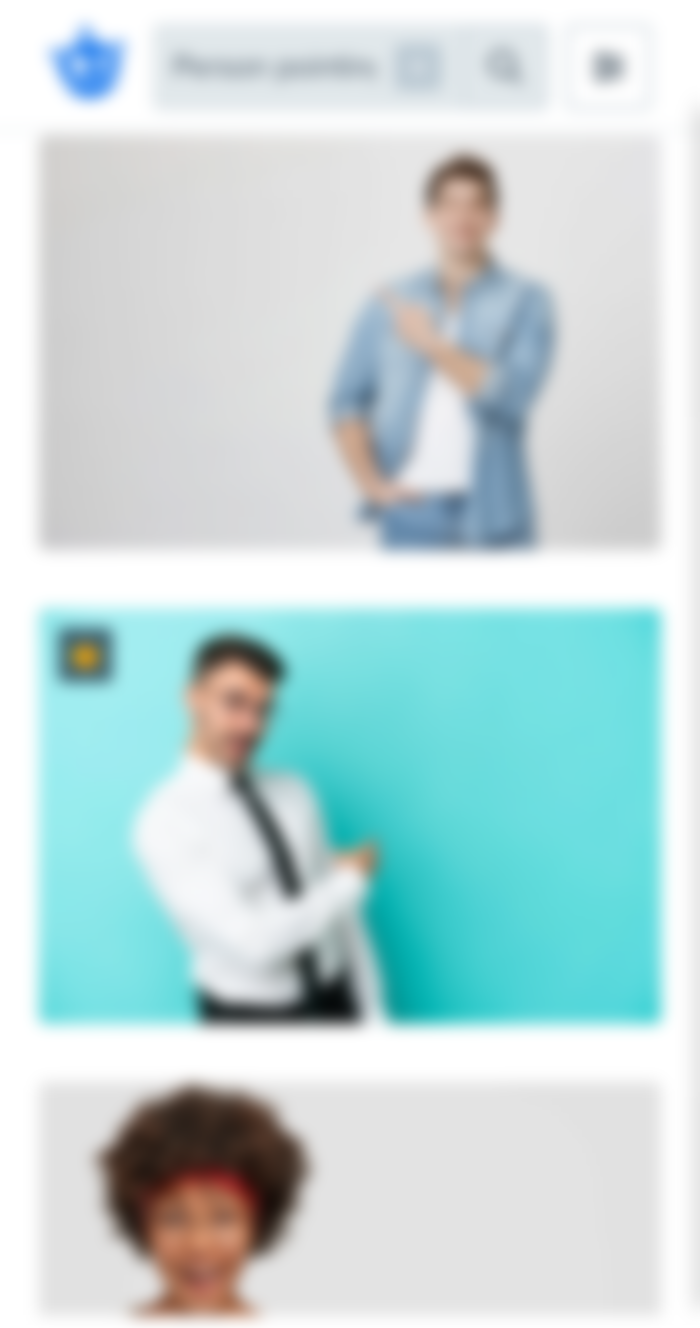
12. That's a fine young man we can use. This is the reason I love freepik: you get the pictures you're looking for and they mostly have plain backgrounds! I can pick an image of a person pointing to the right and flip it later in Canva, but for now, let's keep things simple and pick someone pointing to the left. Click on the one you want and the next page should open.
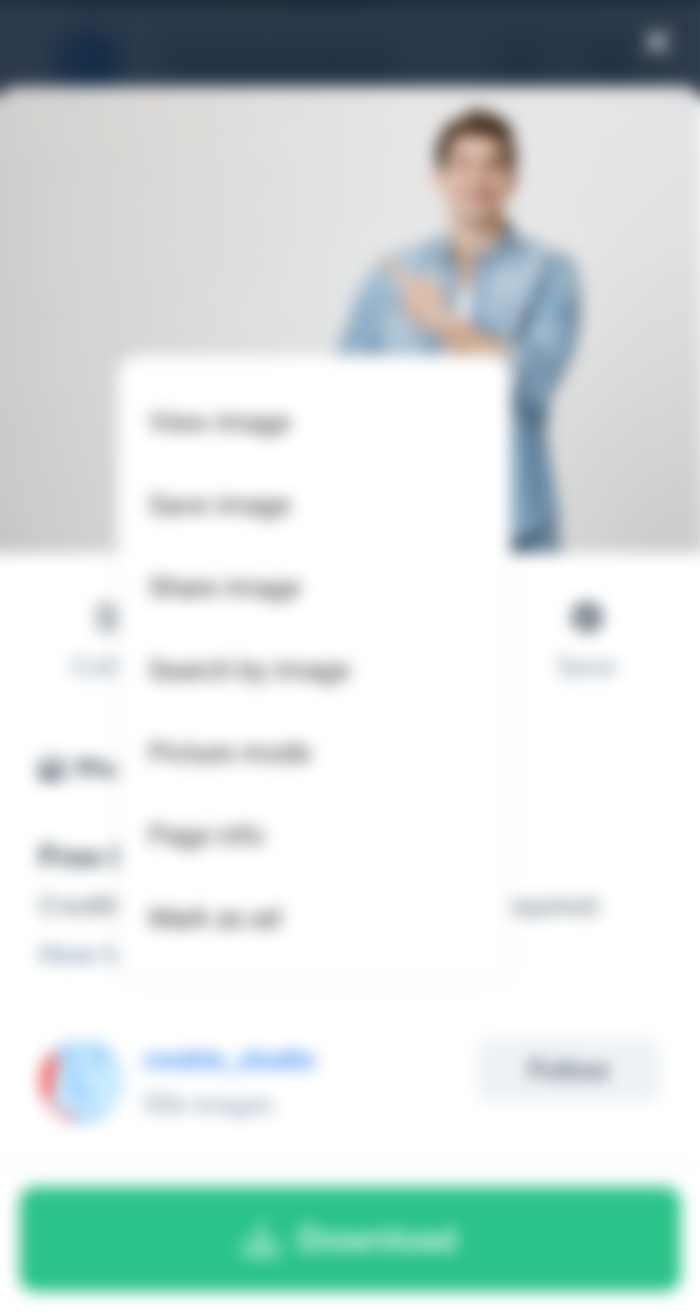
13. There's no need to click on the download button. Just hold the image and a popup window similar to the one above should open (depending on your browser), then save the image. Now let's go back to Canva.
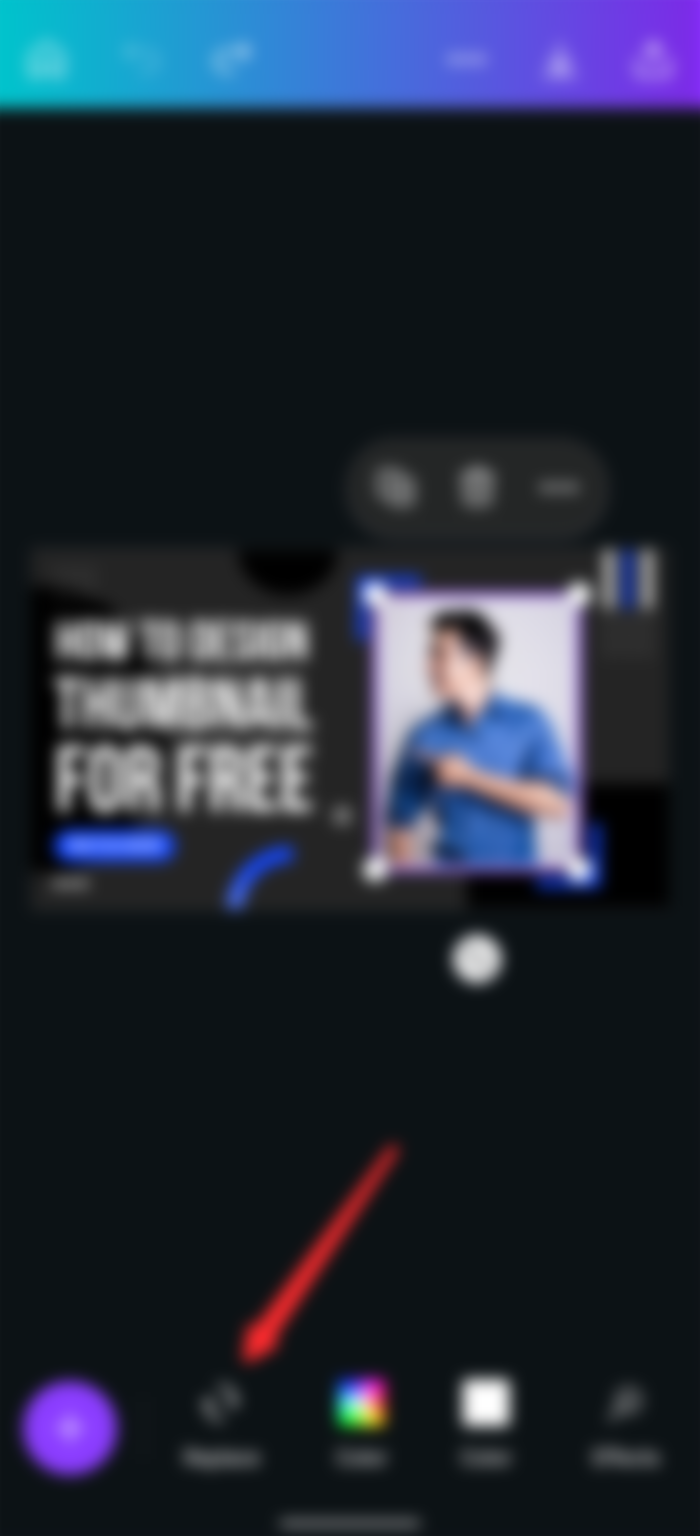

14. Click on the image you want to replace and a toolbar should appear at the bottom of the page. You can scroll horizontally to see all the tools but the one we want for now is the replace button. Select it.

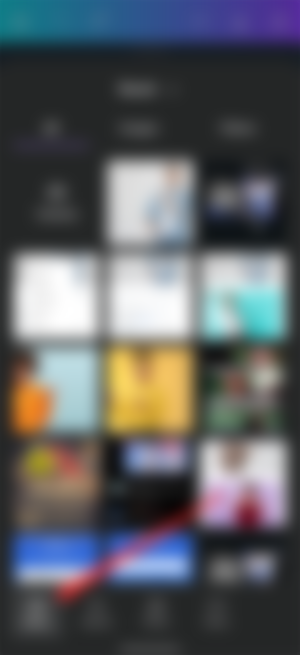
15. A new page should open up and it's a replica of your phone's gallery. Just in case the above page didn't open, select gallery at the bottom of the page and it should open up.
16. The most recent image you downloaded should be the first. If it isn't there, switch over to the image tab. Select the picture and wait for it to upload. After upload, just go back to the design.


17. The image might not be well arranged so you should fix it. Scroll through the toolbar at the bottom of the screen and look for "crop". Notice the "flip" button next to it? If the image you used is facing the wrong direction (maybe facing right instead of left), you can use that button to flip it horizontally. Works like magic!

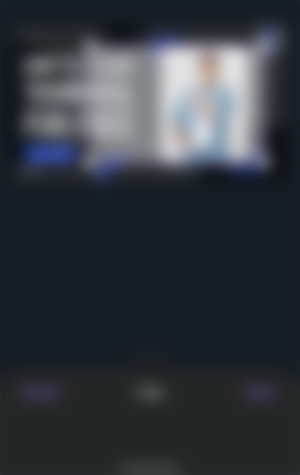
18. After clicking on the crop button, you can now adjust the model to the right position. Perfect! You can also increase the size with all those round things at the four edges of the image, but for now the size is okay. Now click on done
19. Now it's time for the text. Click on them one by one and replace what's there with the title of your article. Click on the text and it will be highlighted, click on it again to edit it, or just tap on the edit button at the bottom of the page.
20. If the text gets too big to fit in, then reduce the font size. Click on font size and drag it down step by step until the text fits in perfectly (or nearly perfect).
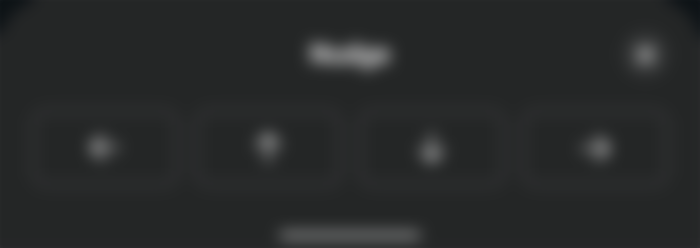
21. We don't need the "watch now" so I can replace it with my username. You can use your finger to arrange the text boxes (or any other element) or if you want to be more accurate, look for "nudge" in the toolbar and use it to adjust the text.

22. And now we are done with the texts but the design still looks off. I will let you in on a little color theory secret: try to use the same colors as the one on your image. For now, we will just try to change the blue colors on the design.

23. Click on any of the blue designs and immediately you should see two colors showing in the bottom toolbar but the one we are interested in is the blue color, so click on that one.
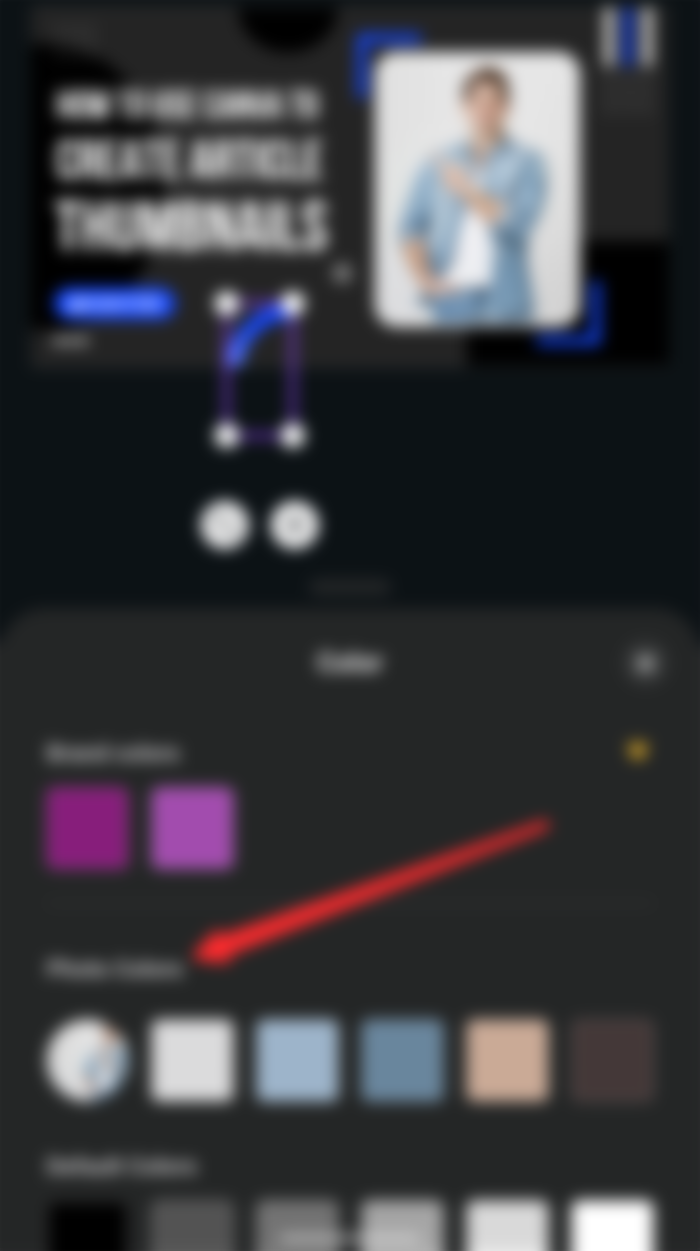
24. A color palette will open, scroll up till you get to a part called "photo colors". The colors on the image have been extracted and we can use them too! The light and dark sky-blue colors are the color of the model's jacket and the light sky blue is what we want. Select it.

25. You can change every other blue-colored element this way but there's a faster way. Once you select the light sky blue, it will ask you if you also want to change everything that has a blue color to that sky-blue, select "change all" and all blue colors will automatically change to sky-blue!

26. The light sky-blue color isn't having a good contrast with my username, so we should change that particular one to the dark sky-blue color. Follow the same process and change the color to the dark sky blue.
27. Now we are done! To download the finished work, just click on the download icon at the top of the page. Canva saves your work automatically, so you don't have to worry about saving every time, just make sure you're connected to the internet.

Extra tips
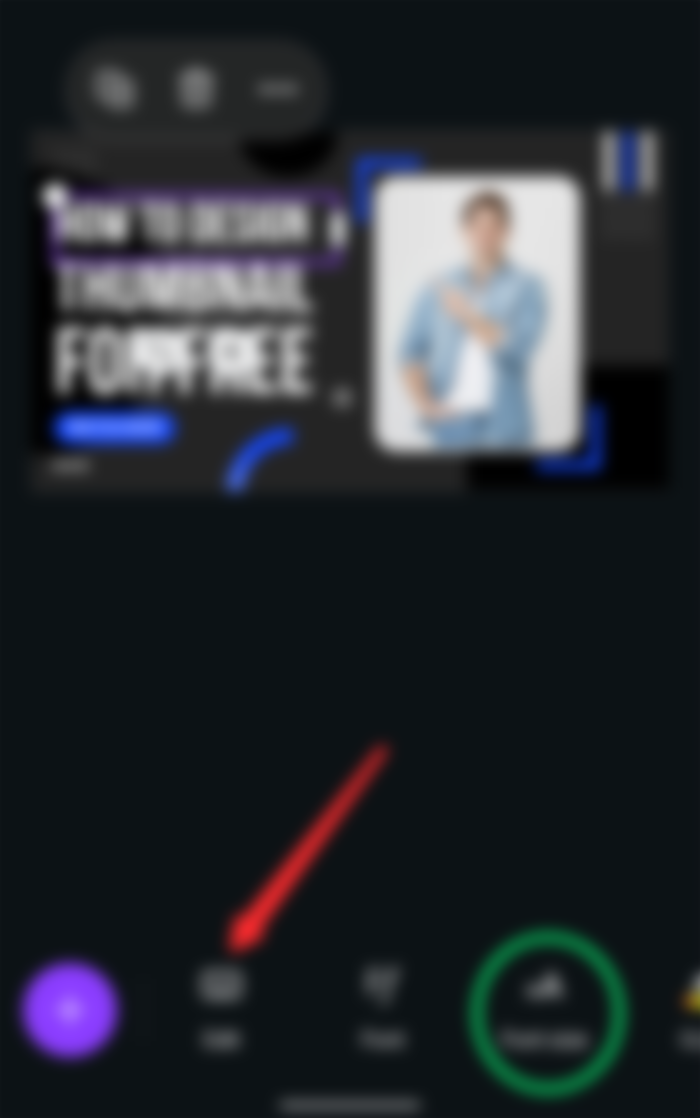
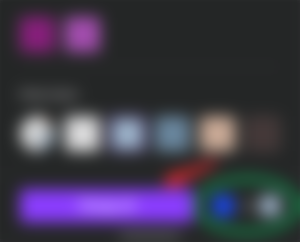
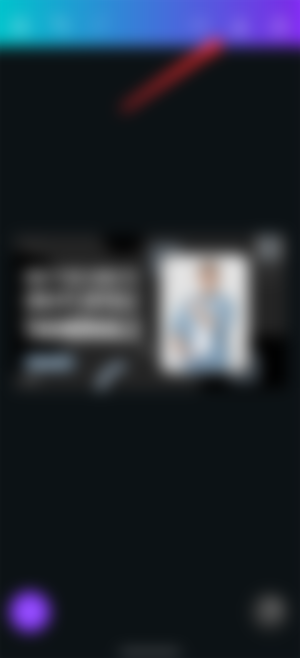
To add more text, just click on the plus (+) icon (look at the above picture, the icon is located at the bottom left in a purple circle) and look for the text section from the toolbar at the bottom.
you can also just click on any text and make a copy of it using the button in the above image. Then you can edit the new text

if you make a mistake, you can cancel it with the undo button. The one next to it is the redo button

Try and experiment with all the tools in the toolbar to know what each of them does. I didn't mention some things like how to make your text bold, you can find that out on your own 😉
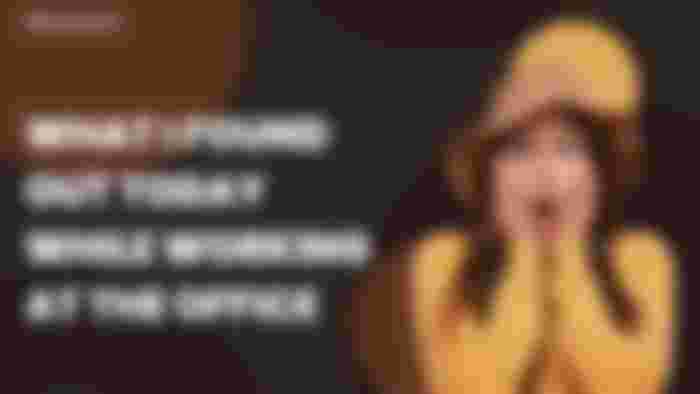
I will also do another tutorial to show how to create thumbnails for personal blogs, that's where I will show you guys how to do the design below which will involve removing the background from any image. If you're interested, then stay tuned for my next article 😊
Thanks for reading 💖💖💖
Sunday August 14, 2022

Thanks so much for telling me in particular about the app, I just downloaded it now