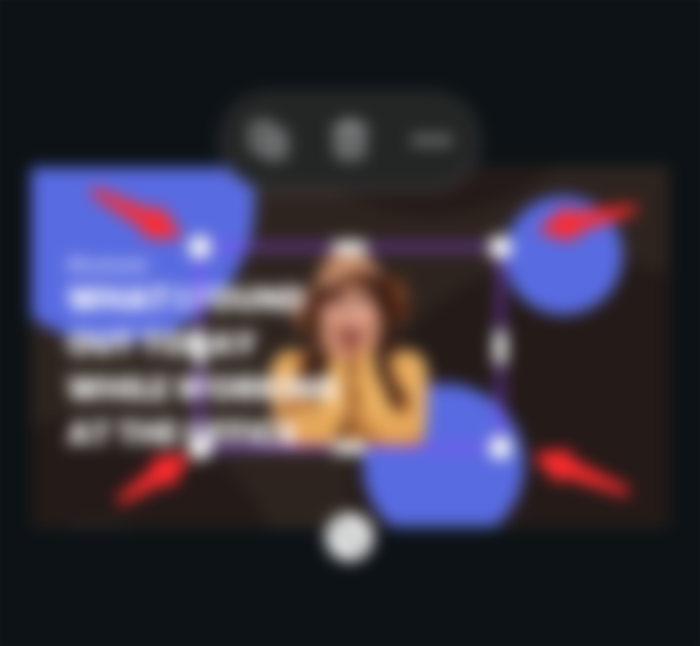
Ok, we are back! This is part two of the article I started the previous day and we will just pick up from where I left off in the previous article. I believe everyone that have read part one is now familiar with some of the features of Canva and if you haven't read it yet, then check out part one here. So, let's get on with it.

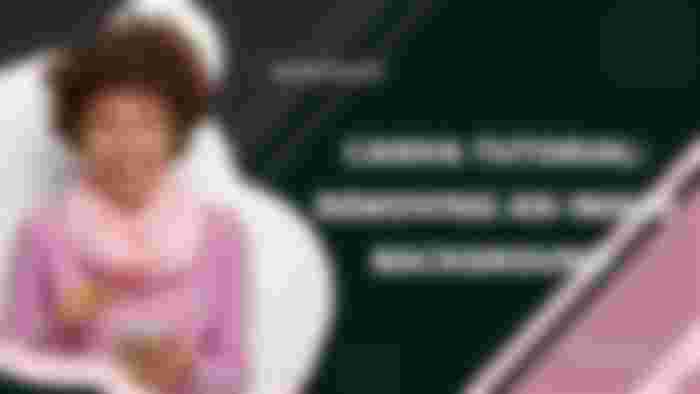
We will be creating the above design in this article using Canva to do the design, freepik to get our model image, and a new tool to remove the background 😁. I already explain how to use freepik yesterday to get any image you want, you can search for a keyword that relates to your article.
If for example you're writing about something that happened at your place of work, you might want to look for an image based on the feelings you were having. Perhaps you were surprised or shocked by what happened, and that's what you should search for "surprised lady" (or surprised people). As usual, freepik will give you lots of options but I picked her.


Now let's remove the background
1. We are going to use Adobe background removal and you have the choice of using their website or using the app. I prefer the app but for this one let's just go with the website. You can download the app if you want, just search for adobe express.
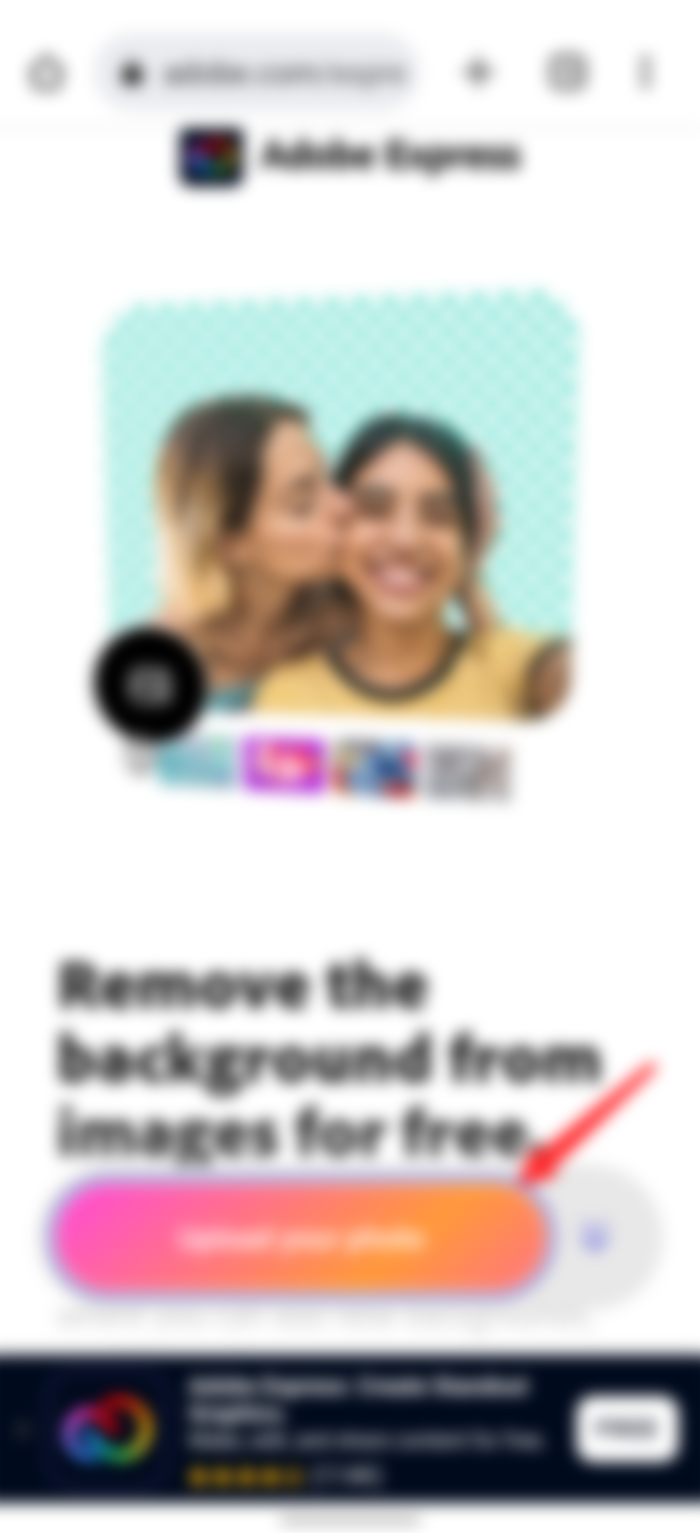
2. Head over to adobe and click on the "upload your photo" button, this will open another page where you will see a button with "upload image". Clicking on it will open your phone's gallery.
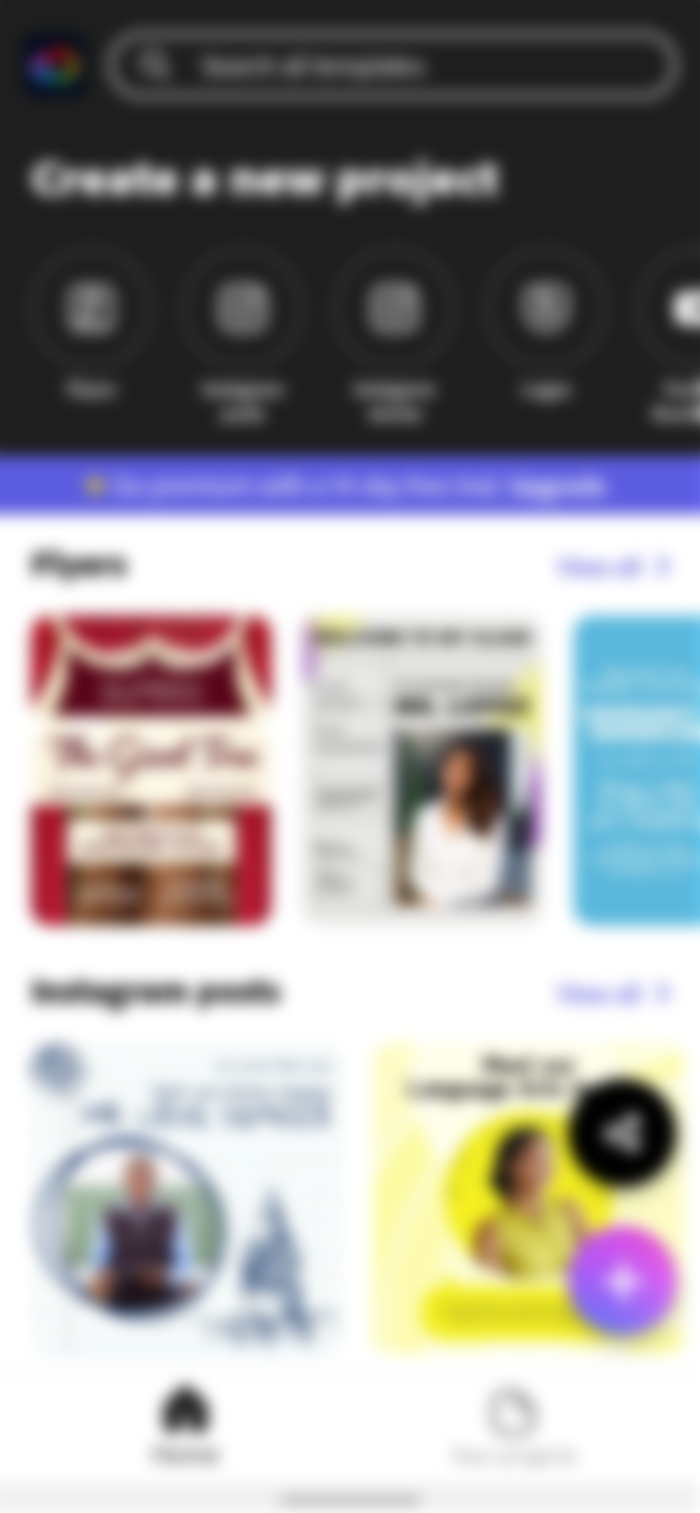

3. If you're using the app, first create an account with adobe using your Google account (it's faster), then click on that button as seen in the above Image. From there you can continue with the process.
3. Select the picture you want the background removed and it will start processing, after a while, it will remove the background automatically. Works like a charm!

4. Now you can just download the image. Not quite yet. If you click on the download button, they will ask you to sign up and you should do that.
5. You can sign up with your Google or Facebook account, it's faster than having to fill out the sign-up form. After signing up, you should be able to download the image with no issue.
Now let's head over to Canva
1. You should already know how to use templates by now (an example is the YouTube thumbnail template) but for this one we are not using a YouTube template, we need a blog banner.
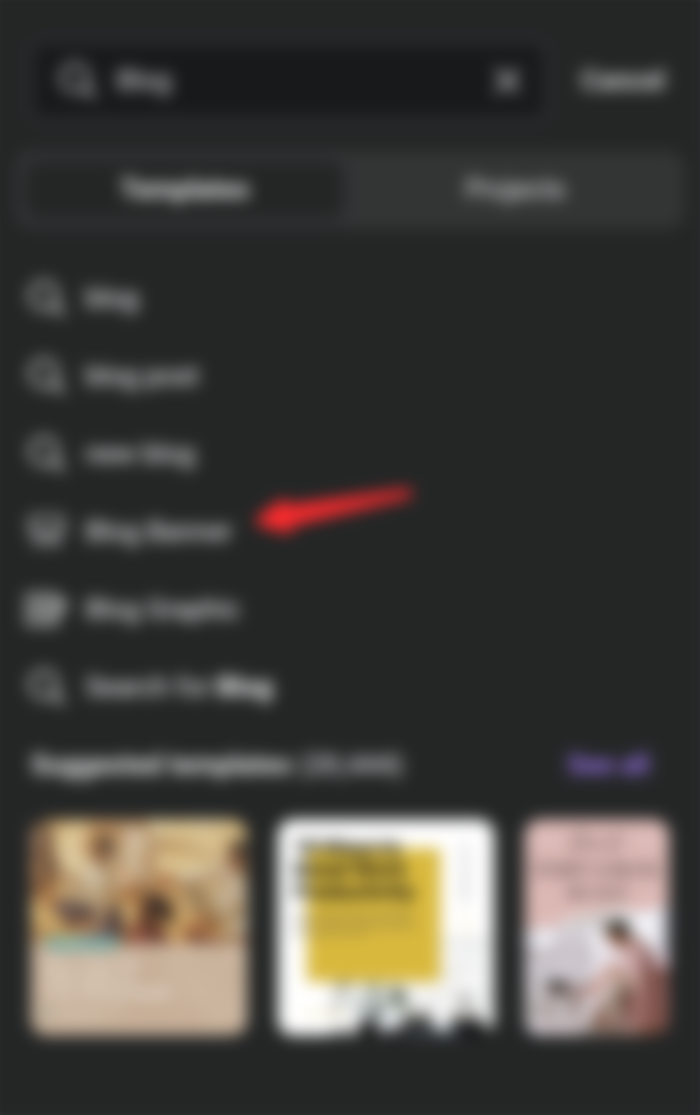
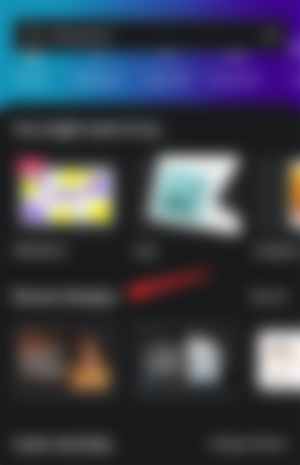
2. You have to search for blog banner and as soon as you type "blog", you should see blog banner among the options, click on it and you will see a lot of templates


3. I had to scroll down a bit before I saw the one in the picture above. That's what I will be using to create the design, I just have to delete the things I don't need.
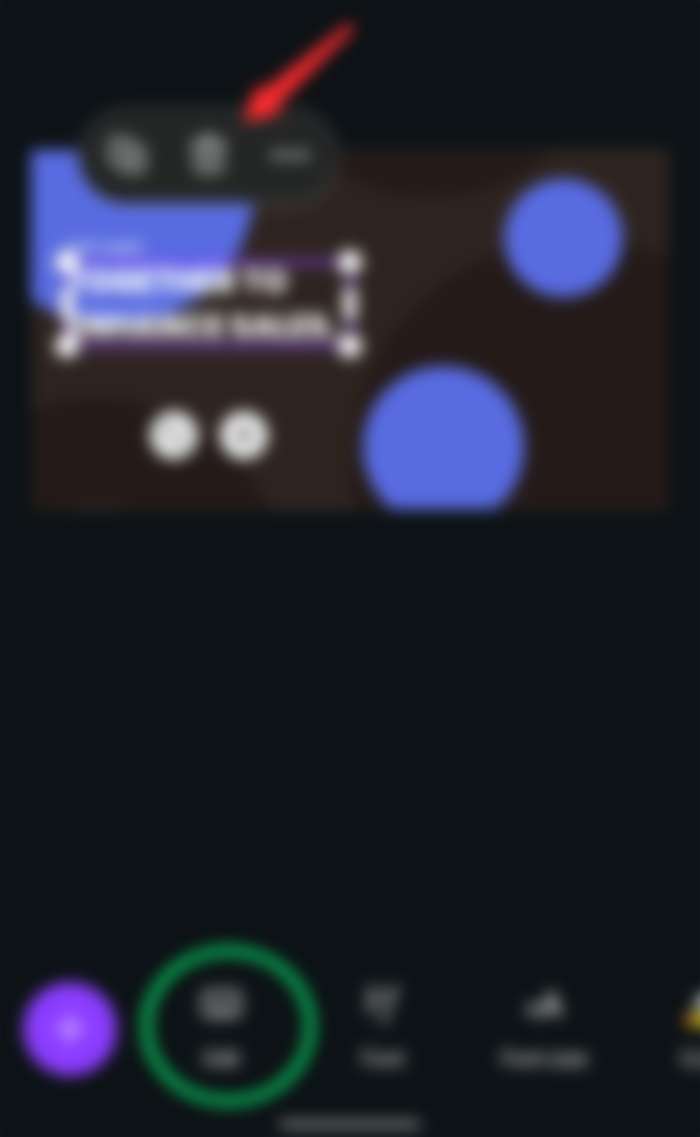
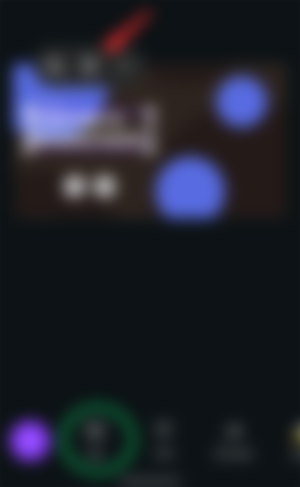
4. Just tap on any element and you will see the delete button but I'm not deleting that particular one in the above picture, that's why I will put my topic. Now click on the edit button at the bottom to edit the text.

5. Voila! You can see I have also added my username in the little text box at the top. You can adjust the size of the text with font size (found on the bottom toolbar). Now let's add the image.


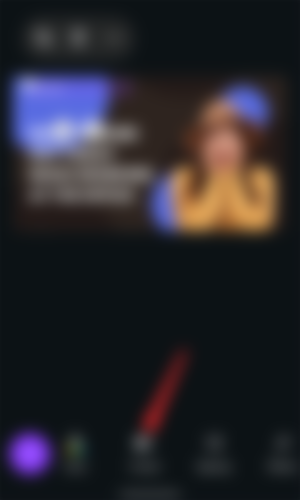
6. Click on the plus icon on the bottom toolbar and it will open a page similar to the one above. What we are interested in is the gallery section, click on it
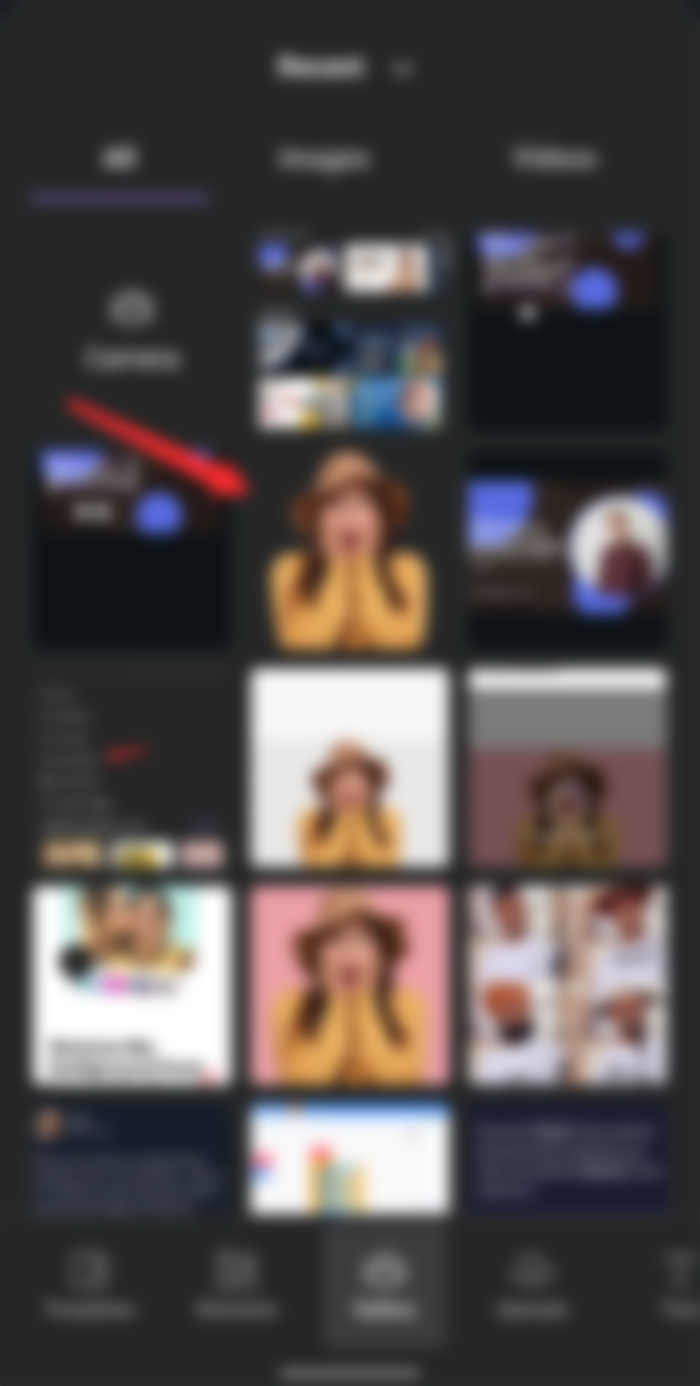
7. Select the image in which you removed the background and click on "add to page". once it finishes uploading, go back to the design

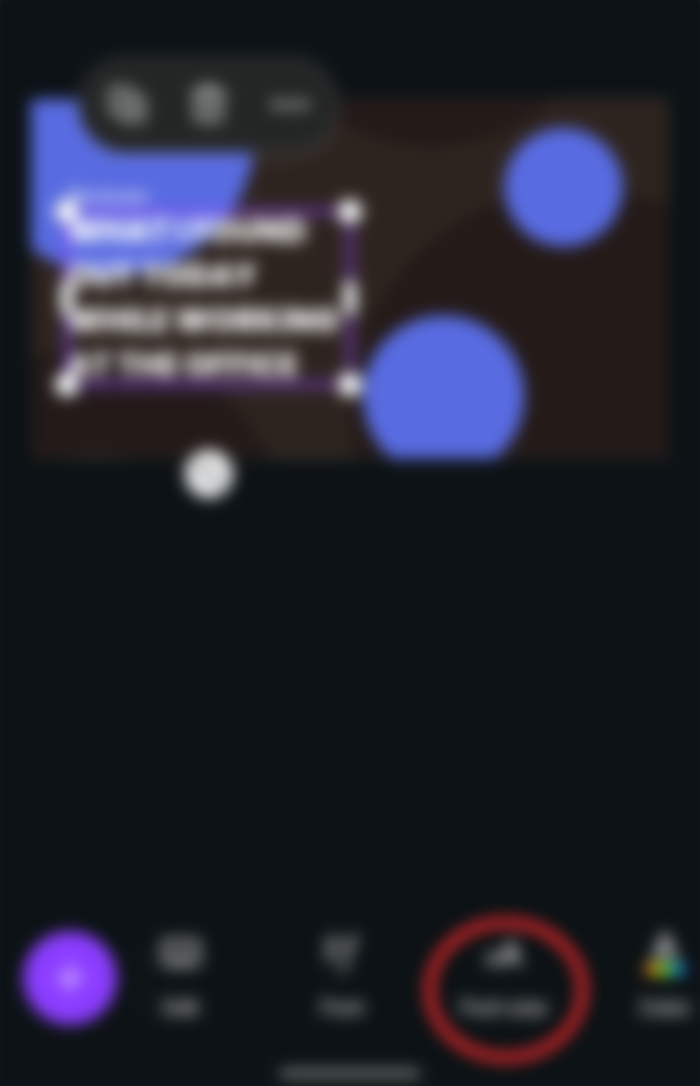
8. You will have to push it into the right place. Use those white balls on the edge to increase or decrease the size of the image. I also increased the size of the text by dragging out that same white ball at the edge. This will make it bigger.

9. I have moved my username to the top and now it's time to make it bolder. Click on the format button and you will find bold there (B).
10. I don't like the contrast between the blue colors and the yellow on the model's shirt, time to change that. This isn't compulsory, you can leave it the way it is if you like but it's just something I like to do
11. Click on one of the blue-colored designs, and click on the color on the bottom toolbar.
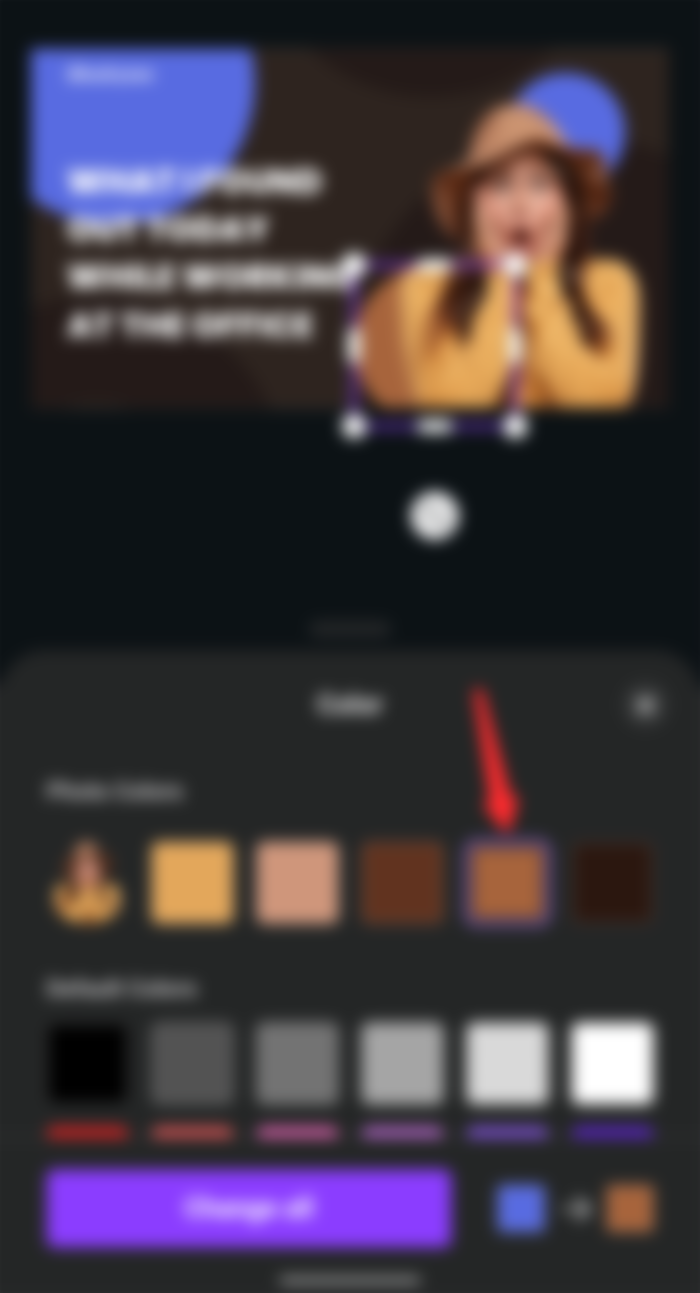

12. I'm selecting a color that's similar to that of her hat. After that, you should click on "change all" to change all the blue colors to that new color.
13. I went back to change the color of one of the circles to also match the color of her shirt (yellow).

14. The design is pretty much done at this stage but I just want to change one more thing. Click on the title and scroll through the bottom toolbar to look for effects.
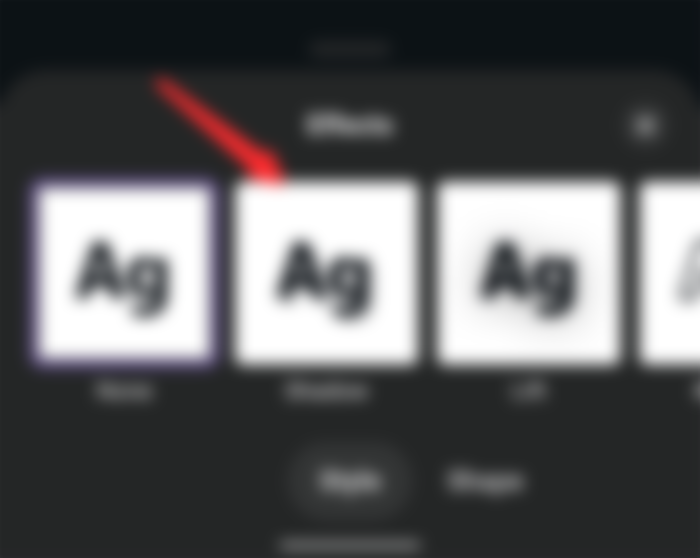
15. You can use any effect you want but the one we need is shadow. Just select it and we are done
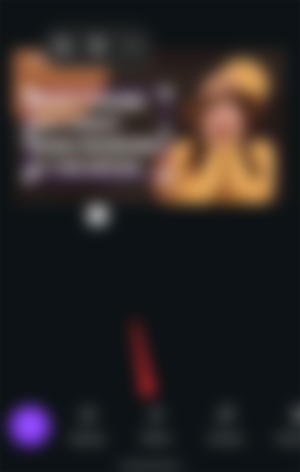
The good thing with a simple template like this is that you can adopt it as your personalized template. You can use your image in place of that model and anytime you want a thumbnail, all you have to do is to change the text.

You can do this by just checking your recent designs and then picking the one you want to edit. An example is a design below, I used the same template we used in this article but I have customized it with my picture.


There's a lot you can do with the free templates on Canva if you're the type that likes using thumbnails for your articles. What are the benefits of using a thumbnail? Well, it makes you look more professional, at least that's the impression I get whenever I see someone using them on their articles but even I don't use it every time, sometimes I'm just lazy to create one 😆.

Thanks for reading 💖💖💖
Monday August 15, 2022
Thank you for this step-by-step tutorial! It will be a great help for me since I am also editing my own blog banner.