A few days ago, I published a do-it-yourself crocheted coin pouch as I am slowly getting ready for the personalized gifts this Christmas.
Since then have made three pouches. Yes, only three, since my time is divided into working from home, gardening and crocheting, Not to mention Facebook scanning and watching YouTube.
Anyways, for this article, I would like to show you how I change yarn colors for projects that calls for different colors.
I planned to make a watermelon design for one of the pouches.
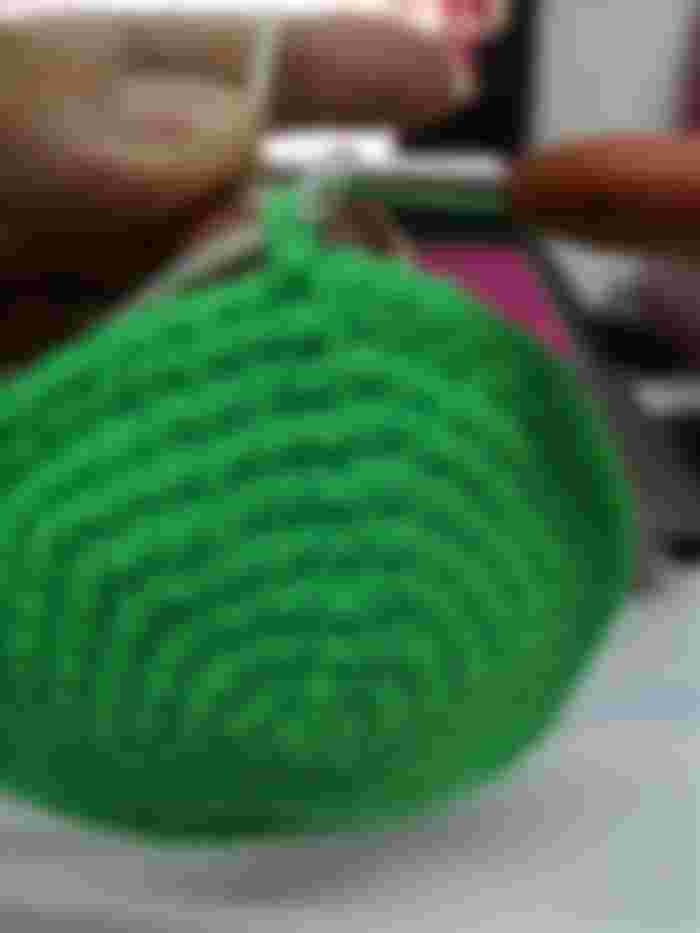
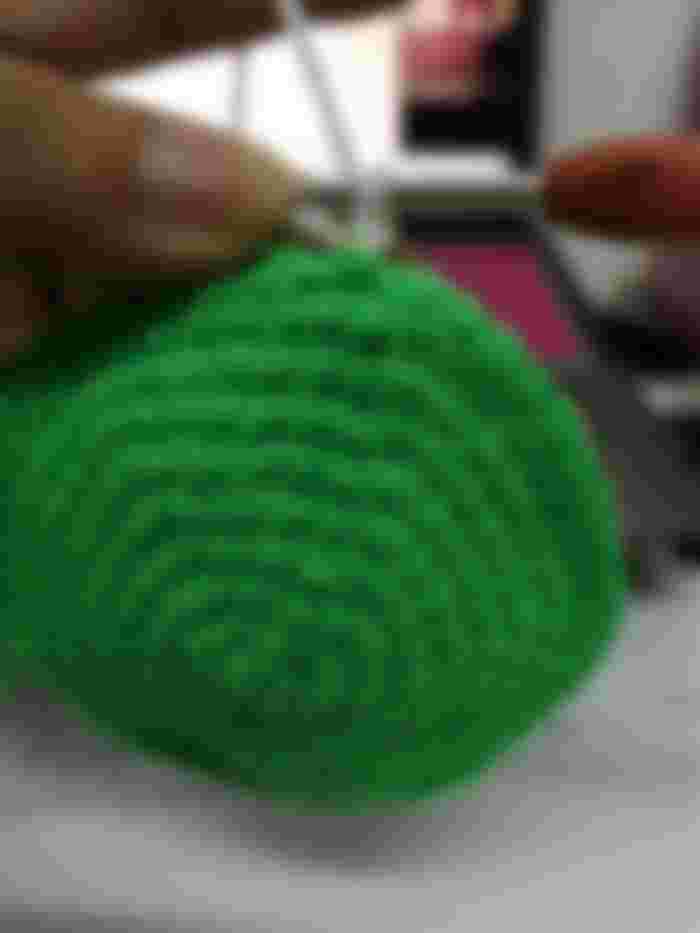
I started with green that will serve as the outer portion of the watermelon. After a few rounds I added white. I first close the last round with a slip stitch before attaching the white. The picture below shows how I added the white yarn.

Pull the green yarn tightly once the white yarn is added.

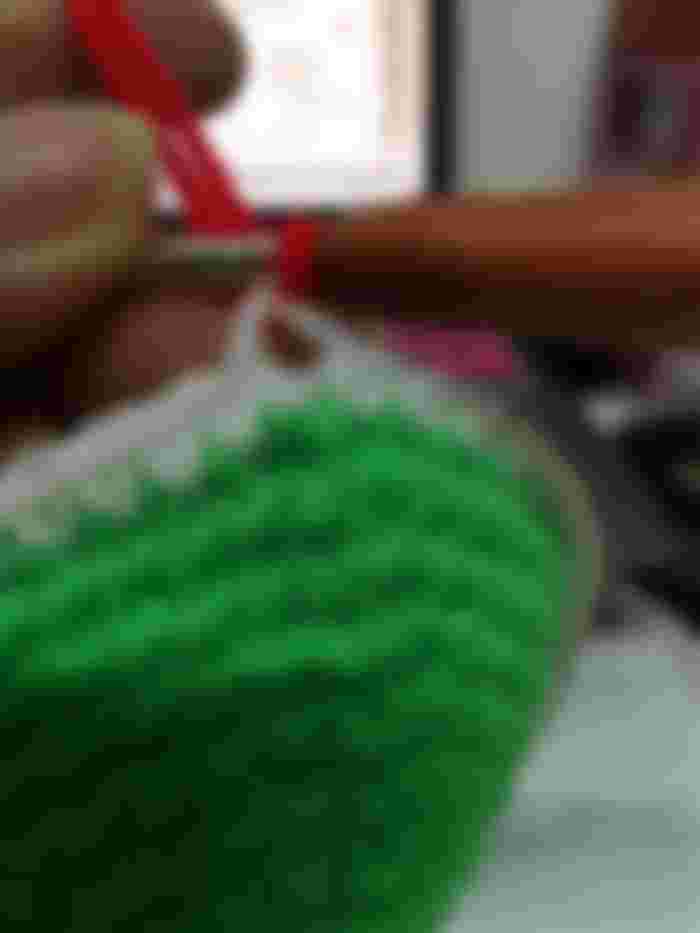
There is only one round of yarn before attaching the red color. Since this round is continuous, attaching the red yarn is different from attaching the white yarn. In this round, I made an unfinished single crochet of white yarn and finished it with the red yarn.

Then continue with the red yarn until round 20.

This is how the joining looks like after several rounds.

I sew on the seeds with black yarn.
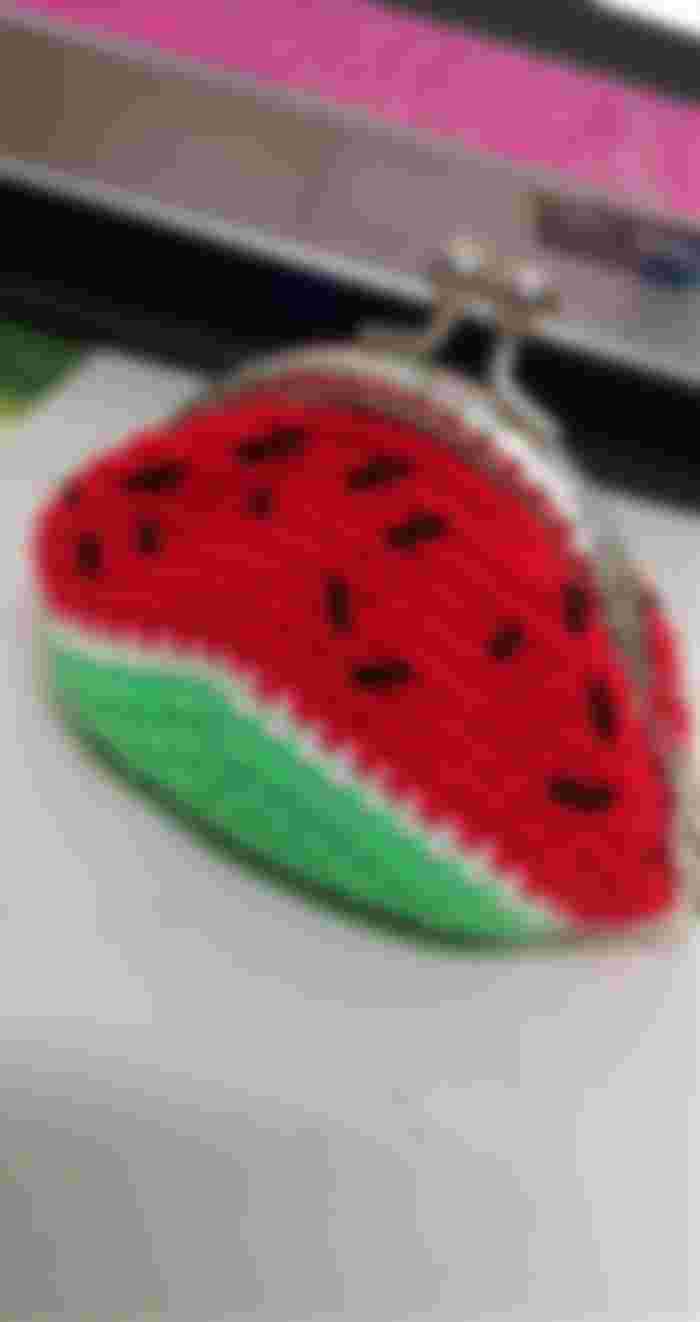
After attaching to the metal clasp. This is now the finished project.

Another coin pouch done.
Any suggestion on what design to make next?
Comment down below.
Thanks for dropping by.
❤❤❤


Too cute! How about strawberry😍😍😍