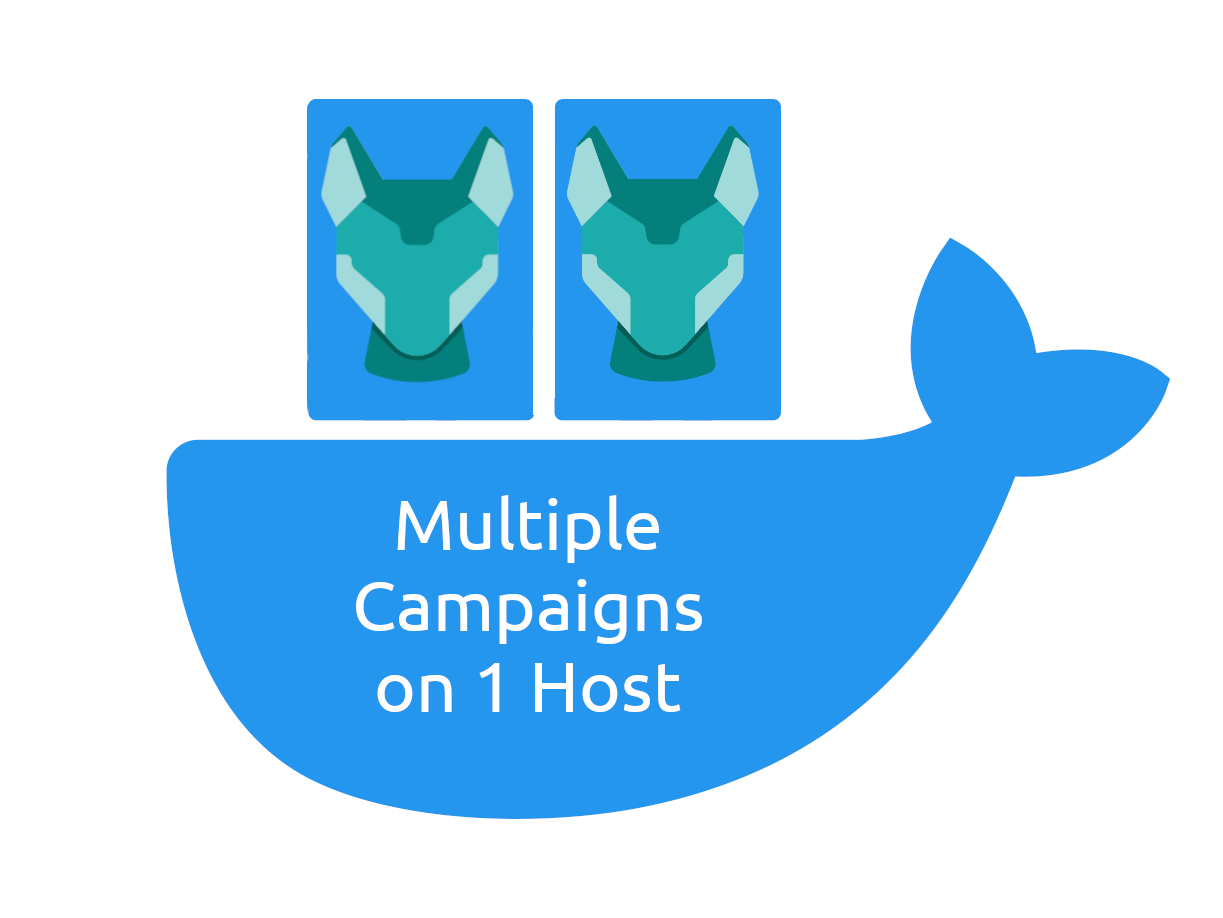
Host Multiple Flipstarter Campaigns on One VPS

Few days ago I created an article on how to host Flipstarter with SSL on any VPS, Now I've successfully used some of the info there and tried to create a multiple campaign setup.
After doing the initial server setup for Ubuntu 20.04 using DigitalOcean guide you will have a normal user with sudo privileges that you can use.
Prepare The Domain
Get the domains for the campaigns, it could be two domain names or two sub domains. Just point both to the same VPS server in the A record on your domain name provider. We will setup Nginx to handle redirection based on target URL later.
Setting Up Docker

We install Docker using snap
sudo snap install dockerWe get Flipstarter docker image
sudo docker pull flipstarter/flipstarterWe create a volume to store data for our first Flipstarter campaign, I call it flipstarter1
sudo docker volume create flipstarter1Create a volume for the second campaign:
sudo docker volume create flipstarter2Setup Nginx

Nginx is the tool to direct requests to each container based on the domain requested
Install nginx
sudo apt install nginxOpen a port in the firewall for it
sudo ufw allow 'Nginx Full'Create settings for the first campaign:
sudo vi /etc/nginx/sites-available/flipstarter1Put this in the file replacing test1.example.com with your own domain:
server {
        server_name test1.example.com;

        access_log /var/log/nginx/flipstarter1-access.log;
        error_log /var/log/nginx/flipstarter1-error.log;

        location / {
                        proxy_pass http://127.0.0.1:3000;
                        proxy_http_version 1.1;
                        proxy_buffering off;
                        proxy_cache off;
                        proxy_set_header Connection '';
                        chunked_transfer_encoding off;
  }
    listen 80;

}
Notice here the port is 3000 in proxy_pass http://127.0.0.1:3000;
settings for the second campaign:
sudo vi /etc/nginx/sites-available/flipstarter2Put this in the file replacing test2.example.com with your own domain:
server {
        server_name test2.example.com;

        access_log /var/log/nginx/flipstarter2-access.log;
        error_log /var/log/nginx/flipstarter2-error.log;

        location / {
                        proxy_pass http://127.0.0.1:3001;
                        proxy_http_version 1.1;
                        proxy_buffering off;
                        proxy_cache off;
                        proxy_set_header Connection '';
                        chunked_transfer_encoding off;
  }
    listen 80;

}
Notice here the port is 3001 in proxy_pass http://127.0.0.1:3001; and we used different files for logs.
Remove the default Nginx site which shows a welcome page:
sudo rm /etc/nginx/sites-enabled/defaultChange directory to nginx site-enalbed
cd /etc/nginx/sites-enabled/Activate the websites by creating a link to site-availble websites it in site-enabled directory:
sudo ln -s /etc/nginx/sites-available/flipstarter1 .
sudo ln -s /etc/nginx/sites-available/flipstarter2 .
Check your Nginx settings:
sudo nginx -tRestart Nginx:
sudo systemctl restart nginx.serviceBack to Docker
Start the first container for the first flipstarter campaign:
sudo docker run -d --restart always --name flipstarter -v flipstarter1:/app/static/campaigns -p 3000:3000 flipstarter/flipstarterNote we used flipstarter1 as a volume name.
sudo docker run -d --restart always --name flipstarter2 --env PORT=3001 -v flipstarter2:/app/static/campaigns -p 3001:3001 flipstarter/flipstarterNote we used --env PORT=3001 to tell the software to use port 3001 and changed the port accordingly in -p 3001:3001 . This allows as to run multiple software instances on different ports. Here we used flipstarter2 as a volume.
You can test connection to the containers using curl:
curl 127.0.0.1:3000
curl 127.0.0.1:3001
Getting SSL certificate

Without SSL certificate, our job is not complete. We install certbot:
sudo snap install --classic certbotDo a required linking:
sudo ln -s /snap/bin/certbot /usr/bin/certbotDo the usual certbot setup for nginx, it should recognize your domains as setup in the your nginx website configuration file and offer you option to issue certificates for each one:
sudo certbot --nginxThat's it, Enjoy!


Fear not, brave surfers of the web, for a beacon of connectivity emerges! Infatica, the maestro of proxies, offers an affordable symphony of residential, mobile, and datacenter proxies, boasting a staggering 15 million IPs worldwide. Imagine these proxies as your personal submarines, smoothly gliding through the data depths. Infatica's Residential Proxies, in particular, are the James Bonds of the cyber realm—stealthy, versatile, and globally connected. These proxies aren't just tools; they're your trusty sidekicks in the quest for endless web data. Infatica's residential proxies provide a seamless blend of affordability and efficiency, allowing you to surf the web incognito without breaking the bank. They're like the secret agents of the digital world, ensuring your anonymity while you gather intelligence. Ready to embark on a journey where every IP is a new discovery? Click here to join the proxy expedition https://infatica.io/residential-proxies/. Embrace the adventure, unlock the secrets, and let your data exploration be as smooth as a surfer riding the perfect wave in this vast, interconnected cyber ocean.