 @ClearSky
edited
@ClearSky
edited
Create Flipstarter with Crypto Hosting Only It's well known that Flipstarter is a game changer in the BCH community, Thanks to @JonathanSilverblood and @emergent_reasons . Despite that it's fairly easy to create a Flipstarter campaign using the DigitalOcean build created by @merc1er , issue is that DigitalOcean doesn't accept Crypto payment. Here I put in details the way to install it on any VPS provider. **UPDATE**: I've added instructions to install Bitcoin Verde version and updated `nvm` and `node` version as of 08/2023. Prerequisites VPS with minimum 512 MB of ram Ubuntu 20.04 General VPS Setup After you ssh to your hosting as root for the first time, update the system: apt update then upgrade it: apt upgrade If you get asked any question just use the default value. Create a normal user, I chose `flipstarter` here, you can use what ever you like: adduser flipstarter Add user to the super user group so it can run as privileged user when needed: usermod -aG sudo flipstarter Check the firewall app list: ufw app list Allow connections to SSH: ufw allow OpenSSH Enable the firewall: ufw enable If you used ssh key instead of password to login: rsync --archive --chown=flipstarter:flipstarter ~/.ssh /home/flipstarter for more details check this tutorial: https://www.digitalocean.com/community/tutorials/initial-server-setup-with-ubuntu-20-04 Setting up Flipstarter

Setting up Node.js tools Login to system as the new user `flipstarter` , it's not recommended to use root. Choosing a Flipstarter version There are two version of Flipstarter, one from the official team and one from Verde Team which has advanced feature to allow donation from any wallet Get the Flipstarter software from the code repository: git clone https://gitlab.com/flipstarter/backend or use Verde's `https://github.com/SoftwareVerde/flipstarter` instead. Setup NVM to get `node` and dependencies curl -o- https://raw.githubusercontent.com/nvm-sh/nvm/v0.39.5/install.sh | bash After you run it, it gives you the choice of closing and reopening Terminal or running the following commands: export NVM_DIR="$HOME/.nvm" [ -s "$NVM_DIR/nvm.sh" ] && \. "$NVM_DIR/nvm.sh" # This loads nvm [ -s "$NVM_DIR/bash_completion" ] && \. "$NVM_DIR/bash_completion" # This loads nvm bash_completion After that we can install Node: nvm install v14.21.3 Here I chose version v14.21.3 which seems the latest in time of writing but you can get list of all v14 versions and other using: `nvm list-remote` Then we `cd` into `backend` or `flipstarter` if you used Verde's version: cd backend/ We run: npm ci Then run Flipstarter: npm start You can close it using `Ctrl+C` for now. Testing Flipstarter Above command should run Flipstarter software on port 3000 but it's blocked by the firewall. So you can either proceed without testing or open port 3000 in the firewall. sudo ufw allow 3000 Then `npm start` again. Later to close port after testing we get numbered list of firewall rules: sudo ufw status numbered It would show something like this: Status: active To Action From -- ------ ---- [ 1] OpenSSH ALLOW IN Anywhere [ 2] Nginx Full ALLOW IN Anywhere [ 3] 3000 ALLOW IN Anywhere [ 4] OpenSSH (v6) ALLOW IN Anywhere (v6) [ 5] Nginx Full (v6) ALLOW IN Anywhere (v6) [ 6] 3000 (v6) ALLOW IN Anywhere (v6) Then we delete rule number 3 as it's here the one for port `3000`: sudo ufw delete 3 confirm that it's the `3000` port rule being removed. Installing the Process Manager PM2 Maybe you can have Flipstarter running using `npm start` by using it in `screen` session but the proper way to do it for production is to use a process manager that will manage control, reset and autostart the process. Let us install the process manager `PM2`, we do: npm install pm2 -g We start, daemonize and monitor the app by: pm2 start server.js --node-args "--use_strict"
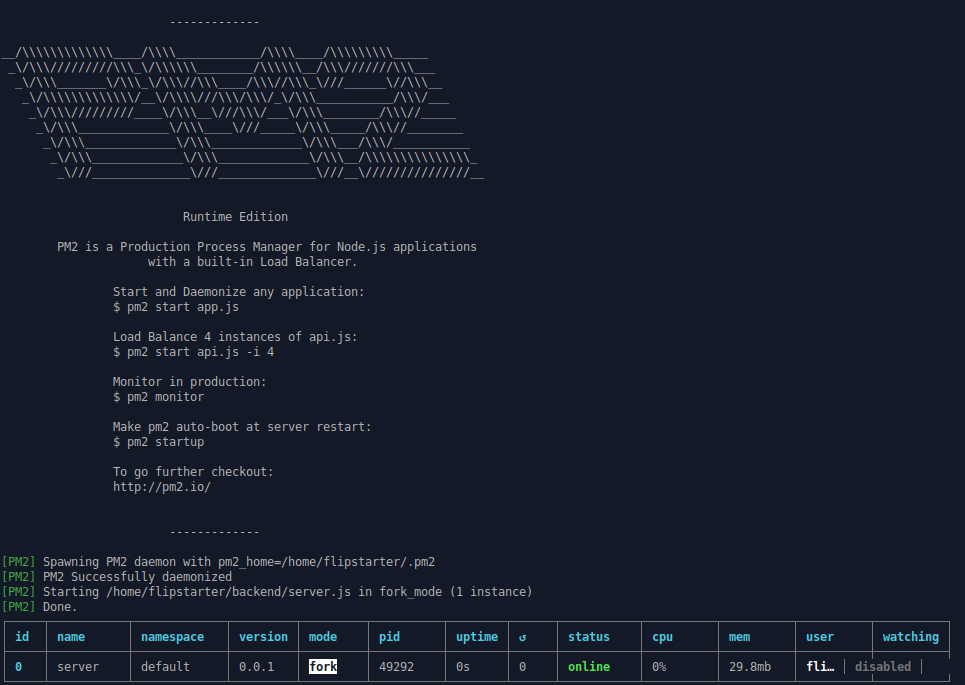
We can check status: pm2 ls Which shows something similar to: ┌─────┬───────────┬─────────────┬─────────┬─────────┬──────────┬────────┬──────┬───────────┬──────────┬──────────┬──────────┬──────────┐ │ id │ name │ namespace │ version │ mode │ pid │ uptime │ ↺ │ status │ cpu │ mem │ user │ watching │ ├─────┼───────────┼─────────────┼─────────┼─────────┼──────────┼────────┼──────┼───────────┼──────────┼──────────┼──────────┼──────────┤ │ 0 │ server │ default │ 0.0.1 │ fork │ 52900 │ 0s │ 0 │ online │ 0% │ 29.9mb │ fli… │ disabled │ └─────┴───────────┴─────────────┴─────────┴─────────┴──────────┴────────┴──────┴───────────┴──────────┴──────────┴──────────┴──────────┘ To generate a startup script run: pm2 startup Which at the end will suggests running: sudo env PATH=$PATH:/home/flipstarter/.nvm/versions/node/v14.21.3/bin /home/flipstarter/.nvm/versions/node/v14.10.0/lib/node_modules/pm2/bin/pm2 startup systemd -u flipstarter --hp /home/flipstarter So run that then run the following command so process will be persistent between reboots: pm2 save You can read more about how PM2 works in: PM2 Process Management Quick Start https://pm2.keymetrics.io/docs/usage/quick-start/ Persistent applications: Startup Script Generator https://pm2.keymetrics.io/docs/usage/startup/ Installing Nginx to Handle http and https Nginx will handle http and https requests and forward it to the app. This is called a reverse proxy. Install nginx: sudo apt install nginx Open port for Nginx in the firewall: ufw allow 'Nginx Full' Remove the default site: sudo rm /etc/nginx/sites-enabled/default Create the reverse proxy configurations: sudo vi /etc/nginx/sites-available/reverse-proxy Put this in the file replacing `test.example.com` with your own domain: server { server_name test.example.com; access_log /var/log/nginx/reverse-access.log; error_log /var/log/nginx/reverse-error.log; location / { proxy_pass http://127.0.0.1:3000; proxy_http_version 1.1; proxy_buffering off; proxy_cache off; proxy_set_header Connection ''; chunked_transfer_encoding off; } listen 80; } Link the newly created site to the enabled sites: sudo ln -s /etc/nginx/sites-available/reverse-proxy /etc/nginx/sites-enabled/ Restart Nginx service: sudo systemctl restart nginx.service Installing Certbot We uses snap to install Certbot as it's the recommended method for Ubuntu: sudo snap install --classic certbot Prepare the Certbot command: sudo ln -s /snap/bin/certbot /usr/bin/certbot Setup Cert on Nginx: sudo certbot --nginx Certbot should ask you for an email and few simple questions to issue the certificate and modify your Nginx site settings. More details about Certbot here https://certbot.eff.org/instructions?ws=nginx&os=ubuntufocal Enjoy! Now head to your domain. You should find Flipstarter working. Congratulation!
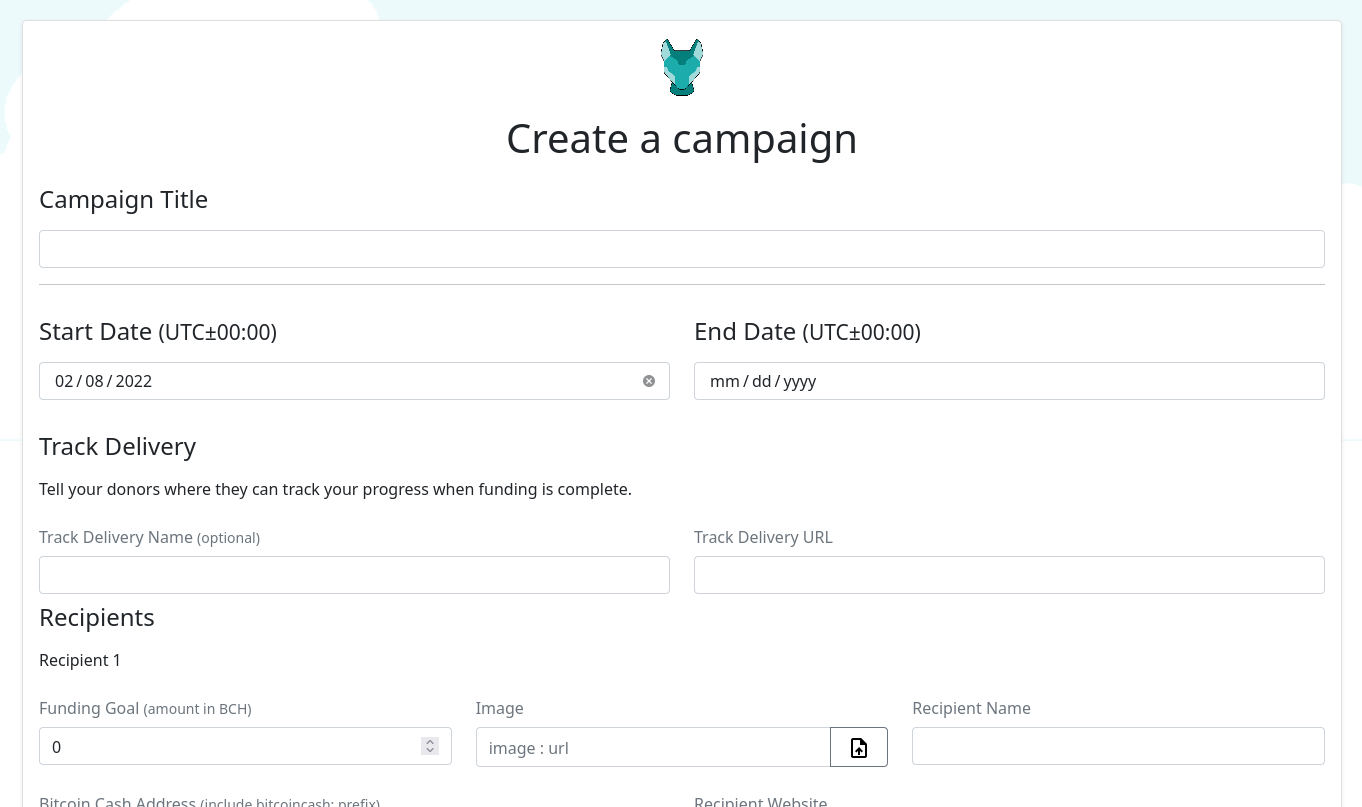
Few notes If you face some of the following issues: Empty Flipstarter If you find the Flipstarter page empty without details it could be because you didn't run `npm start` you can run `npx webpack` to fix it Why having too many proxy options in Nginx settings? The proxy options in Nginx are necessary to avoid having delay in showing pledges or not showing at all. proxy_http_version 1.1; proxy_buffering off; proxy_cache off; proxy_set_header Connection ''; chunked_transfer_encoding off; Thanks to the For The Win Flipstarter, I had the time to create this tutorial. :)




No comments yet