Handicraft Handmade "gift bag"
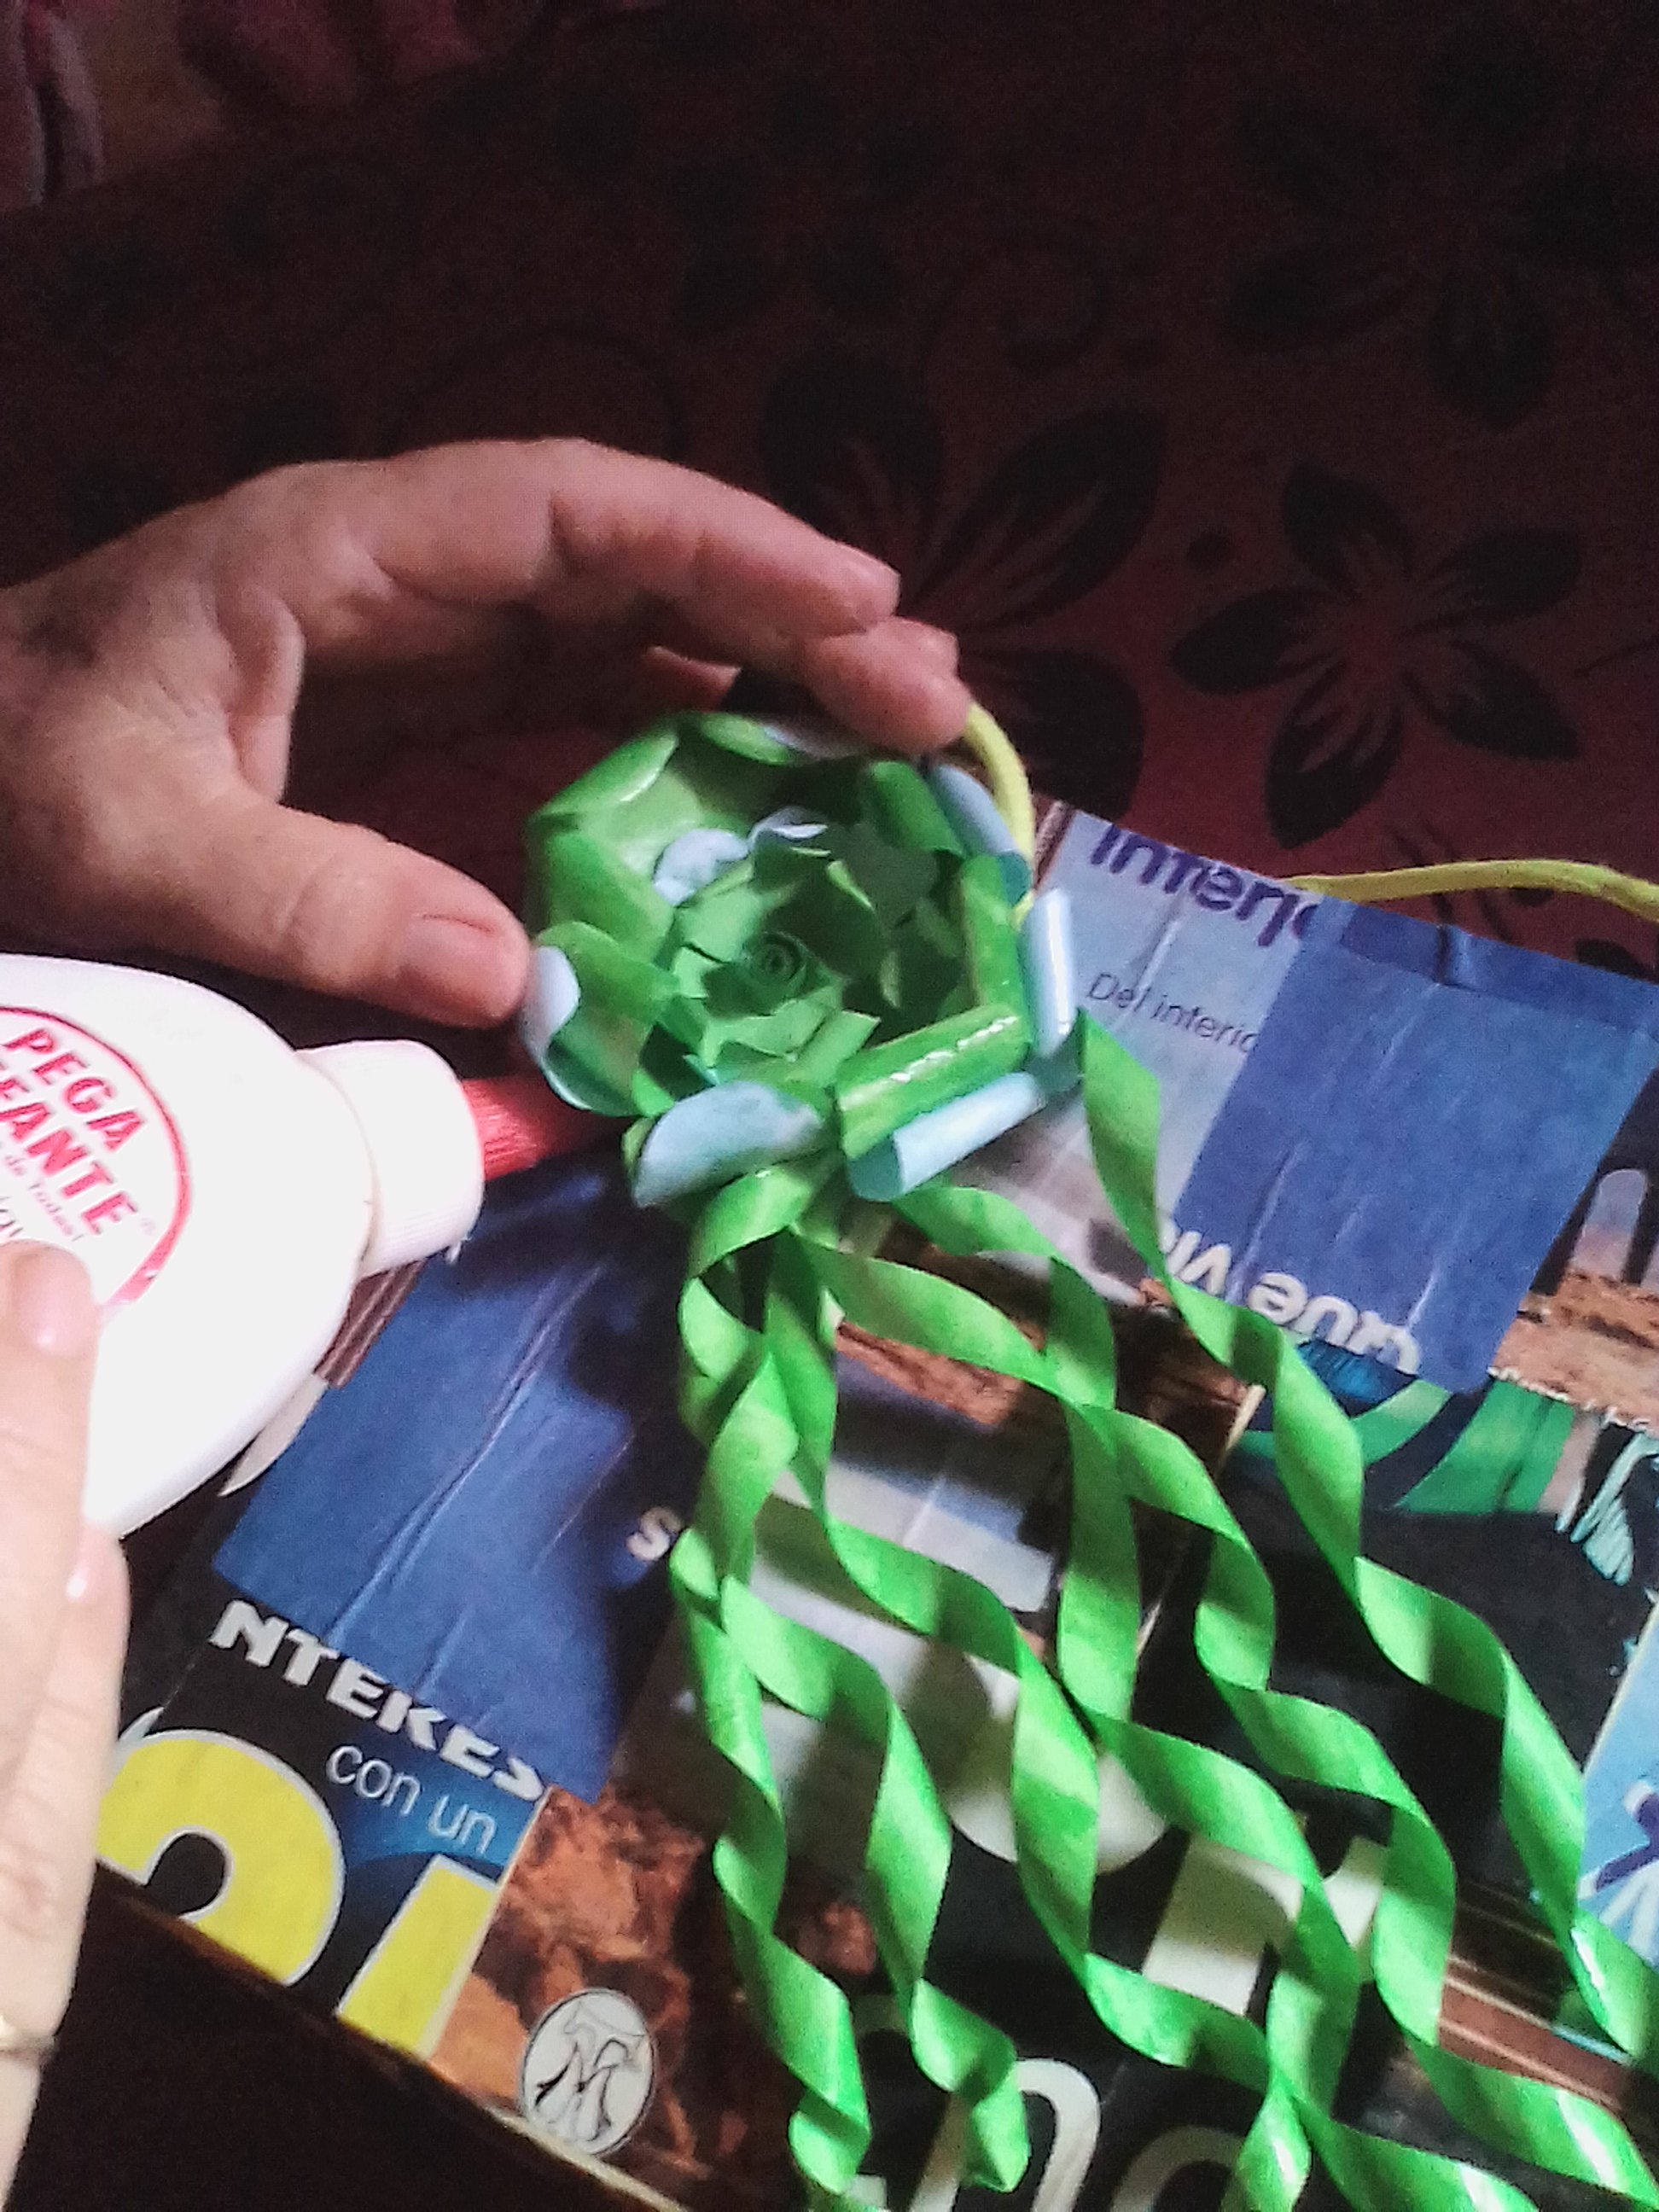
Materials: a letter-type folder or a piece of cardboard, magazines to cut out, paper (green and blue), pencil, glue for paper, silicone (hot or cold), satin ribbon, scissors, hole punch.
Los materiales: una carpeta tipo carta o un trozo de cartulina, revistas para recortar, papel (verde y azul), lápiz, pegamento para papel, silicón (frio o caliente), cinta de raso cordón, tijeras, perforadora.

How to do it:
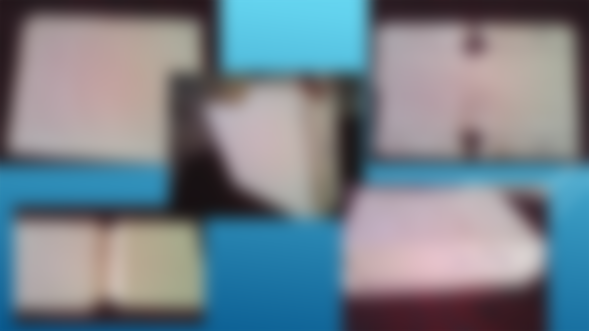
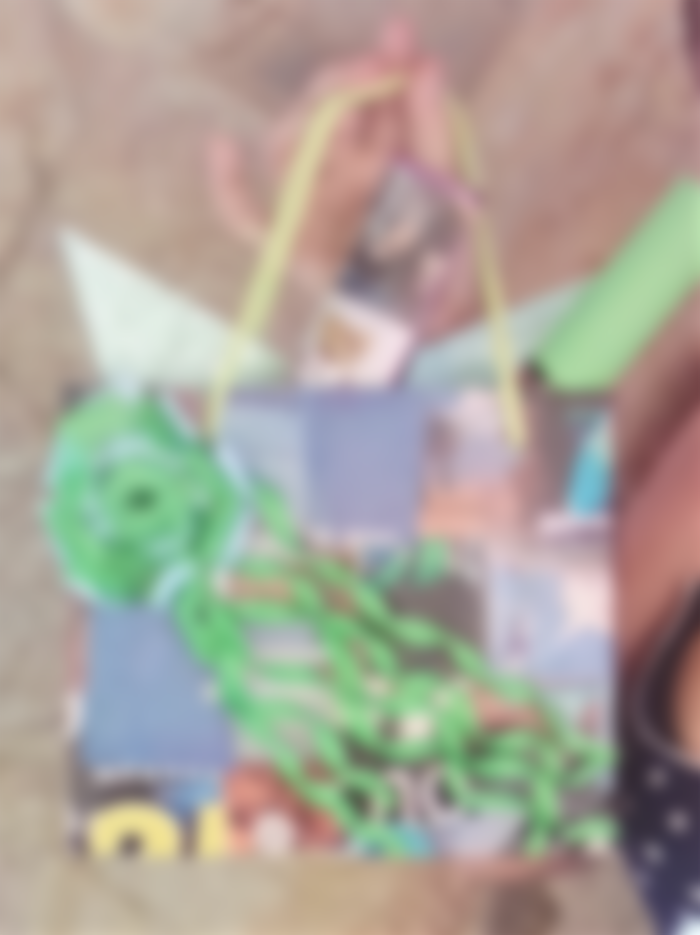
With the help of the pencil and a ruler I traced the pattern of the bag on the yellow folder, cut it out and folded it, as shown in the image. Cut out photographs or advertisements from the magazine's sheets and divide them into small squares, glue them and stick them on the bag mold, at the end cover with white glue mixed with water and let it dry.
Como se hace:
Con ayuda del lápiz y una regla tracé el patrón de la bolsa sobre la carpeta amarilla, lo recorté y doble, tal como muestra la imagen.Recorta fotografías o publicidad de las hojas de la revista y divídelas en pequeños cuadros, engoma y pégalas sobre el molde de la bolsa, al finalizar cubre con pega blanca mezclada con agua y deja secar.

The flower:
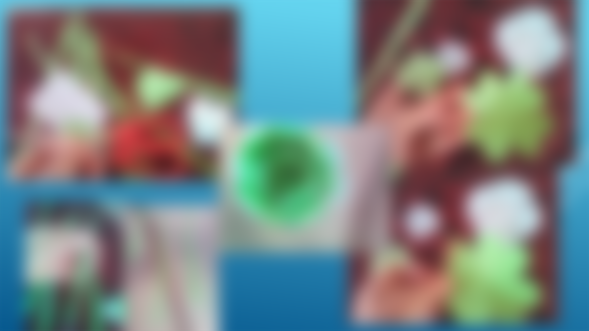
I cut out strips of paper (approximately 0.5 cts.), I folded pieces of paper in four and cut out the shape of a heart as shown in the image, when opening it there was a nice motif like a flower, I separated the petals a little more with the scissors and then I rolled the flower with a toothpick and with a pencil the paper ribbons I placed a little glue delicately and I took it out of the pencil and let them dry on a glass surface, I also put a little glue diluted with the flower water and let it dry (when it was dry I placed a roll of paper in the center).
La flor:
Recorté tiritas de papel (de 0,5 cts. aproximadamente), doblé trozos de papel en cuatro y recorte la forma de un corazón como muestra la imagen, al abrirlo había un lindo motivo como una flor, separé los pétalos un poco más con la tijera y luego enrollé con un palillo la flor y con un lápiz las cintas de papel coloqué un poco de pegamento delicadamente y lo saque del lápiz y los deje secar sobre una superficie de vidrio, a la flor también le coloqué un poco de pegamento diluido con agua y la dejé secar (cuando estuvo seca coloqué un rollito de papel en el centro).

The assembly
After two hours everything was dry and I started to assemble the box, first I went over the folds again, cut the edges again to eliminate imperfections, I marked and drilled two holes on each side of the bag and proceeded to glue with the glue gun . I proceeded to place the bow, first the ribbons and then the flower. And ready finished.
El armado
Luego de dos horas ya estuvo todo seco y comencé a armar la caja, primero volví a repasar los dobleces, recorte nuevamente los bordes para eliminar imperfecciones, marqué y perforé dos orificios en cada cara de la bolsa y procedí a pegar con la pistola de silicón. Procedí a colocar el moño, primero las cintas y luego la flor. Y listo terminado.

It is always good to do something with our own hands, I hope this publication inspires you to make your original gift bags. greetings and see you soon.
Note: All photographs are my property.
Siempre es bueno hacer algo con nuestras propias manos, espero que esta publicacion les inspire para hacer sus bolsas de regalo originales. saludos y hasta pronto.
Nota: Todas las fotografías son de mi propiedad.


Nice work you worked very hard first to make it and second you write in so easy and understandable way as a common person can easily understands and get benefit from it.