mainnet.cash is a library which allows you to interact with the BitcoinCash network. It aims to simplify the BCH development substantially, allowing new business ideas to be implemented swiftly. Our core features are available in the browser or in the node.js environment. Our REST server allows for an easy integration with other programming languages.
We’ve implemented the most convenient functionality of a crypto wallet like working with network transactions, sending and receiving funds. However, you can treat mainnet.cash as an “umbrella” library which aims to support the most popular and emerging BCH technologies. Among these are: SLP tokens, HD and multi-signature wallets, encrypted messaging, smart contracts in bitcoin script and cashscript, decentralized exchanges, anyhedge and much more!
So let’s get started using mainnet.cash with Javascript and build a simple wallet application, shall we?
For this clone the following repository https://github.com/mainnet-cash/mainnet-tutorial.git and open the 1.tutorial.html file.
Or simply paste this text in a new file with .html extension:
<html>
  <head>
    <meta charset="utf-8">
    <script src="https://rest-unstable.mainnet.cash/scripts/mainnet.js"></script>
  </head>
  <body>
  </body>

  <script>
    async function run() {
    }

    run();
  </script>
</html>
This is a basic html page with mainnet.cash library imported.
Now lets add the UI elements to the webpage and paste the following text inside the <body> tag:
<div style="display: flex; flex-direction: row;">
  <div style="margin: 30px; flex: 50%;">
    <h1>Bitcoin cash</h1>
    <div>Wallet balance: <span id="balance"></span></div>
    <div>Wallet balance USD: <span id="balanceUSD"></span></div>
    <div>Deposit address: <span id="depositAddr"></span></div>
    <div>Deposit QR: <img id="depositQr"/></div>
    <div>
      <input type="button" id="getSats" value="Get testnet satoshi"></input>
    </div>
    <div>
      Send to address
      <input id="sendAddr"></input>
      <input type="button" id="send" value="Send"></input>
      <input type="button" id="sendMax" value="Send All Funds"></input>
    </div>
  </div>
</div>
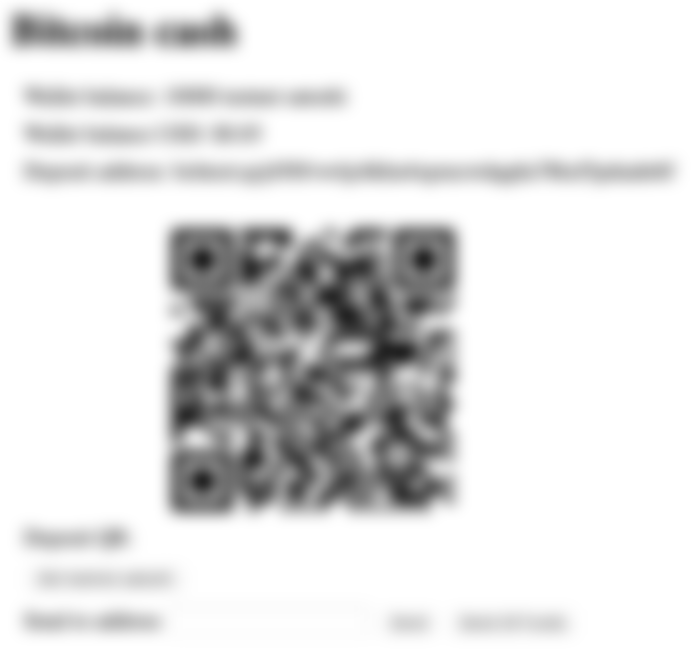
This markup will render the basic UI elements of the wallet: balance, balance in USD, deposit address, deposit address QR code, some buttons for getting the testnet satoshi and sending them around.
Let's animate our webpage and make our wallet functional.
First things first - we should create the wallet object.
const wallet = await TestNetWallet.newRandom();The wallet variable will now provide the wallet functionality on the test network, where BCH is worthless.
Now we can access the full functionality of the mainnet.cash library. Let's get the wallet balance in satoshi and USD and update the webpage UI.
const balance = await wallet.getBalance();
document.querySelector('#balance').innerText = `${balance.sat} testnet satoshi`;
document.querySelector('#balanceUSD').innerText = `$${balance.usd}`;
Easy, isn't it? We hide the complexity of interacting with the network, counting the unspent transaction outputs (UTXO), calculating the fee amount and converting the sats to USD from you. We want to enable you to concentrate on the business-logic.
To watch for balance updates we set up a callback:
wallet.watchBalance((balance) => {
 document.querySelector('#balance').innerText = `${balance.sat} testnet satoshi`;
  document.querySelector('#balanceUSD').innerText = `$${balance.usd}`;
});
The code within curly brackets is identical to one shown above. It will be evaluated each time our wallet receives or sends funds.
Now let's get our wallet's deposit address and QR code image containing it and update the UI:
const addr = await wallet.getDepositAddress();
document.querySelector('#depositAddr').innerText = addr;

const qr = await wallet.getDepositQr();
document.querySelector('#depositQr').src = qr.src;
mainnet.cash hosts a testnet faucet which will refill our wallet's address up to 10000 satoshi.
document.querySelector('#getSats').addEventListener("click", async () => {
  await wallet.getTestnetSatoshis();
});
Let's claim them by clicking on the Get testnet satoshi button.
Pay attention to the wallet's real-time balance update.
Now we have 10000 satoshi which should worth $0.05 USD on the BCH main network.
Lastly let's program the Send and Send All Funds buttons:
document.querySelector('#send').addEventListener("click", async () => {
  const addr = document.querySelector('#sendAddr').value;
  await wallet.send([{cashaddr: addr, value: 1000, unit: "sat"}]);
  alert('Sent 1000 sats to ' + addr);
});

document.querySelector('#sendMax').addEventListener("click", async () => {
  const addr = document.querySelector('#sendAddr').value;
  await wallet.sendMax(addr);
  alert('Sent all funds to ' + addr);
});
Try sending the funds to yourself, or open a new browser window and send them to another random wallet.

This concludes the first chapter in our tutorial series. Next time we will add the SLP token support to our wallet. Be sure to check out our web site and library documentation. You can ask any questions in our telegram group we have created recently.
Cheers,
pat for mainnet.cash team.


Nice