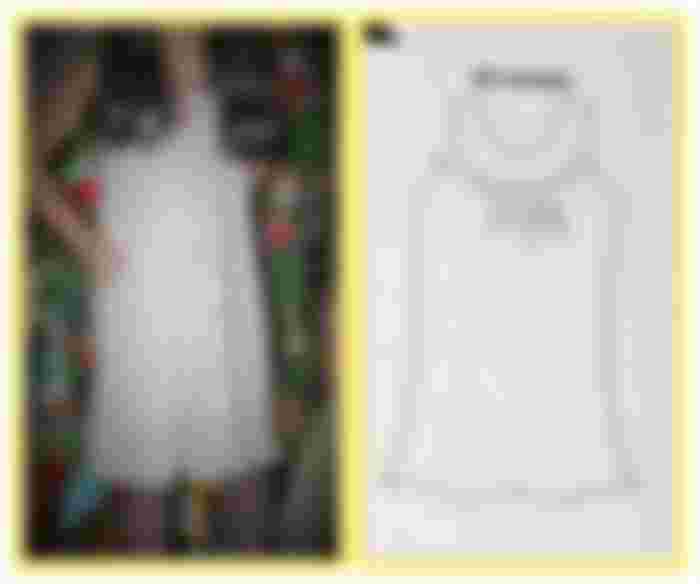
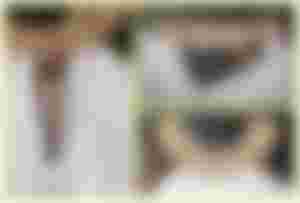
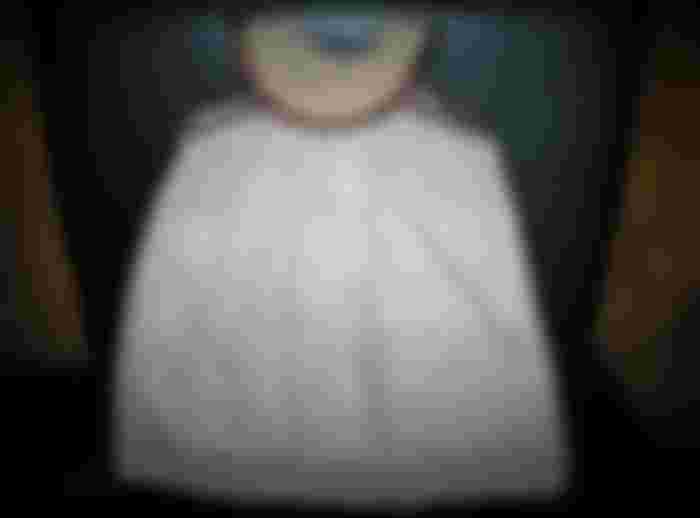
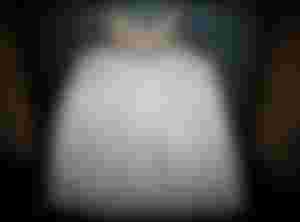
How nice it is, to be with you again, sharing one more of my creations. This time, it is a very simple dress that I made for my eldest daughter. The model of this dress, I call it a crazy gown. Because of its cut, it falls bathing the body of the lady who wears it, of course, depending on the type of fabric used. I would recommend that you use a type of fabric that is soft, not too stiff. If the fabric is too stiff, you run the risk of looking like a lamp when you put it on, hahaha.
Que grato es, estar nuevamente con ustedes, compartiendo una más de mis creaciones. En esta ocasión, se trata de un vestido muy sencillo que le realice a mi hija mayor. Al modelo de este vestido, yo le llamo batica loca. Por su corte, cae bañando el cuerpo de la dama que lo use, claro, dependiendo del tipo de tela que se use. Les recomendaría, usar un tipo de tela, con una textura suave, no muy rígida. Si la tela es muy rígida, corren el riesgo de al ponérselo, parecer una lampara, jajajaja.


Another recommendation is that it is more advisable for those women who have small breasts. For girls, which is the case I will introduce you, it is a classic dress, besides, it is very comfortable for them. Well, but let's get to work, I start my explanation, I hope that with it, dare to perform, is very simple to do.
Otra recomendación, es que es más aconsejable, para aquellas mujeres que tienen poco busto. Para las niñas, que es caso que les presentaré, es un vestido clásico, además, que resulta muy cómodo para ellas. Bueno, pero pongámonos manos a la obra, ya inicio mi explicación, espero que, con ella se animen a realizarla, es muy sencillo de hacer.

Materials:
1 meter of embroidered Batiste fabric, the color of your preference.
1 meter of lining fabric.
¼ meter of Dacron fabric for the yoke.
Thread
Needles
Scissors
Measuring tape
1 button.
1.5 meter bies
Materiales:
1 metro de tela Batista Bordada, del color de su preferencia.
1 metro de tela de forro.
¼ de metro de tela dacrón para el canesú.
Hilo
Agujas
Tijeras
Cinta métrica
1 botón.
1,5 metros de sesgo

Step 1:
As usual, I used a pattern I found in one of my sewing magazines. The first thing I did was trace the pattern on paper. After I had all the pieces on the paper, I started to trace the front and back of the pour, both on the batiste fabric, and on the lining. Once, marked on the fabrics, I proceeded to cut the pieces.
Paso 1:
Como de costumbre, utilicé un patrón que encontré en una de mis revistas de costura. Lo primero que hice fue trazar el patrón en papel. Luego de tener todas las piezas en el papel, inicie el calcado de las pieza delantera y trasera del vertido, tanto en la tela de batista, como en la de forro. Una vez, marcadas en las telas, procedí a cortar las piezas.

Step 2:
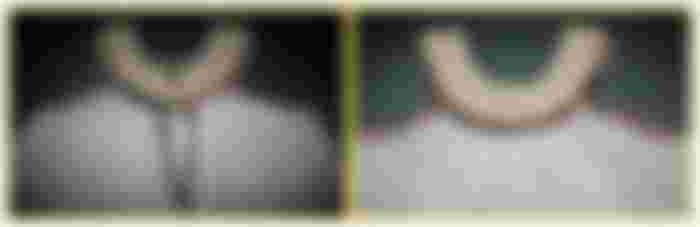
Take the Dacron fabric meter ¼, mark and cut the pieces corresponding to the pouring yoke. Immediately, I proceeded to trim it, sew it to the machine, and finally iron it, to seat the seams. At this point, I was ready to stick the miter tape on the edge. However, I just finished it and reserved it for later use. I did not machine sew the bies binding, because I would then have to attach it to the rest of the dress, and then I would have to sew it back on and it would not be neat.
Paso 2:
Tome el ¼ de metro de tela Dacrón, marque y corte las piezas correspondientes al canesú del vertido. Inmediatamente, procedí a bastearlo, costurarlo a la máquina, y finalmente plancharlo, para asentarle las costuras. A esta altura, ya estaba listo para pegarle en el borde la cinta de sesgo. Sin embargo, solo lo basteé y lo reservé para usarlo más adelante. No costuré a máquina el sesgo, porque, luego tendría que fijarlo al resto del vestido, entonces tendría que pasarle nuevamente una costura y no quedaría prolijo.
Step 3:
Taking up the body of the dress, take the front and back pieces, both in batiste fabric, and in the lining and fix them on the sides. Then, pass a seam with a loose loop through the neckline, front and back. This type of sewing allows you to pull one of the thread strands and thus crease the piece of fabric. This reduces the size of the neckline, adjusting it to the size of the yoke, which is much smaller. Finally, on both sides of the dress, I placed a bias around the curve corresponding to the armhole.
Paso 3:
Retomando el cuerpo del vestido, tome las piezas delantera y trasera, tanto en tela de batista, como en el forro y las fije por los laterales. Luego, pase una costura con la lazada floja, por el escote, delantero y trasero. Este tipo de costura, permite halar una de las hebras de hilo y con ello arruchar la pieza de tela. Con ello reduje el tamaño del escote, logrando ajustar al tamaño del canesú que es mucho menor. Finalmente, en ambos lados del vestido, coloqué sesgo en torno a la curva correspondiente a la sisa.

Step 4:
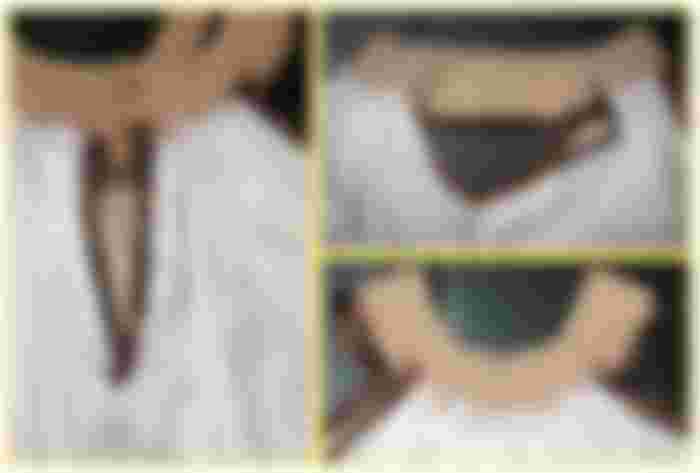
This step basically involves attaching the yoke to the rest of the body of the dress. As I had already told you in a previous step, the bias in the yoke was already sufficient. Now it should be fixed to the front and back neckline of the dress with the final seam. But before that, the back opening of the dress must be finished off, so place biases as well. Once the back opening is finished and the yoke is fixed, all that remains is to make the buttonhole and place the button on the back. Of course, do not forget that you must make the ring, with it and a good ironing, and your dress is ready to wear and enjoy it. I hope you like this project and give free rein to your creativity, remember that the fabric colors and combinations are to your liking.
Paso 4:
Este paso, básicamente comprende unir el canesú al resto del cuerpo del vestido. Como ya les había adelantado en un paso anterior, ya el sesgo en el canesú estaba basteado. Ahora correspondería fijarlo al escote delantero y trasero del vestido con la costura definitiva. Pero antes de eso, se debe rematar la parte de la abertura trasera del vestido, para ello, coloque también bies. Una vez rematada la abertura trasera y fijado el canesú, solo resta realizar el ojal y colocar el botón en la parte trasera. Por supuesto, no olviden que deben realizar el ruedo, con ello y una buena planchada, ya su vestido estará listo para lucirlo y disfrutarlo. Espero, les gustara este proyecto y le den rienda suelta a su creatividad, recuerden que los colores de tela y combinaciones son a su gusto.
Content and photographs of my intellectual property
Technical information
Camera: Pentax * istDL
Lens: Pentax 18-55
Lighting: Natural Light
Location: Barcelona, Anzoátegui State, Venezuela
Contenido y fotografías de mi propiedad intelectual
Información Técnica
Cámara: Pentax * istDL
Lente: Pentax 18-55
Iluminación: Luz Natural
Locación: Barcelona, Estado Anzoátegui, Venezuela


Congratulations, my friend. It is a very simple and very nice piece.