I've always had a thing for arts and crafts, such as crochet, cross-stitch, embroidery, stationery collecting, papercraft, and a couple of years ago, I discovered the art of "rubber stamp making". I got to know about it when I started doing penpals. They would send me letters decorated with stamps they made themselves. The cherry on top was my discovery of a Taiwanese washi tape and stamp maker, Chamil Garden, that is so popular in the crafts community that as soon as they open for orders every new collection, they would sell out a few hours later.
So, as someone easily influenced by the "limited quantity" phenomena, I couldn't help but bite into the hype. I do not preach nor promote impulsive buying by all means. At that time, I had the means to afford them so I was able to collect them despite the price tag (but frankly, the bitchy high shipping fee made it expensive. The stamp itself wasn't that pricey.)
It goes without saying that I was so in love with Chamil Garden that when I was organizing my collection for this article, it was all just Chamil Garden stamps.
After I show you my small collection, I'll show you how I made one on my own.
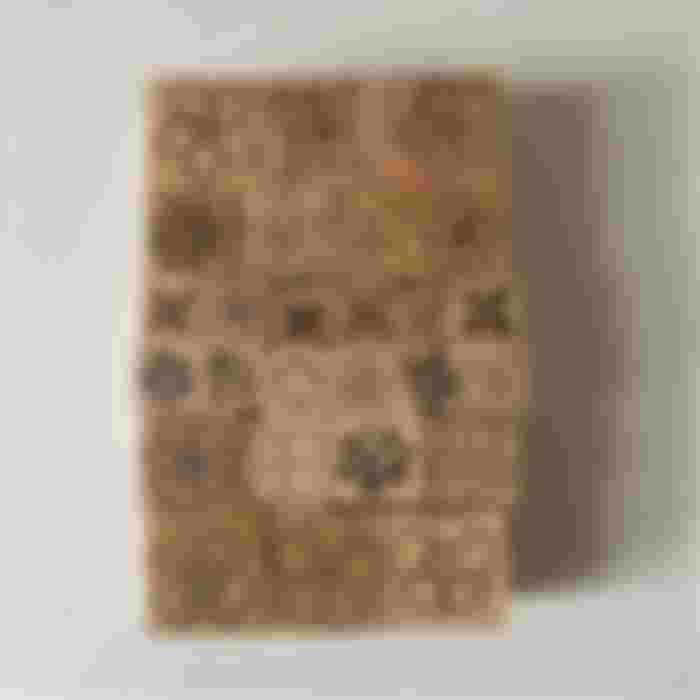

First up is this collection, EP 6 - Flower season A and B. This is the very first collection I bought during their fast-paced order situation. I know what you're thinking. "It looks the same".
Well, it IS a flower collection, and if you stack them like what I did in the lead image (check above). I'm not sure if they still sell this but it is also a good stamp for your journals. Make borders with them or just randomly stamp them around.

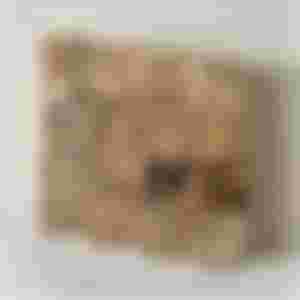
Next up is this Postmark2 - pace L and R set. Again, another set of random stamps you can stack or use when you're decorating your journal page.
It may seem limited in terms of usage due to the very uncommon design, however, as journaling is very different from one person to another, how stamps like these are used depends entirely on its owner.
Personally, I just randomly stamp them and let the paper accept them. If it didn't turn out well, we live tomorrow for a new page.
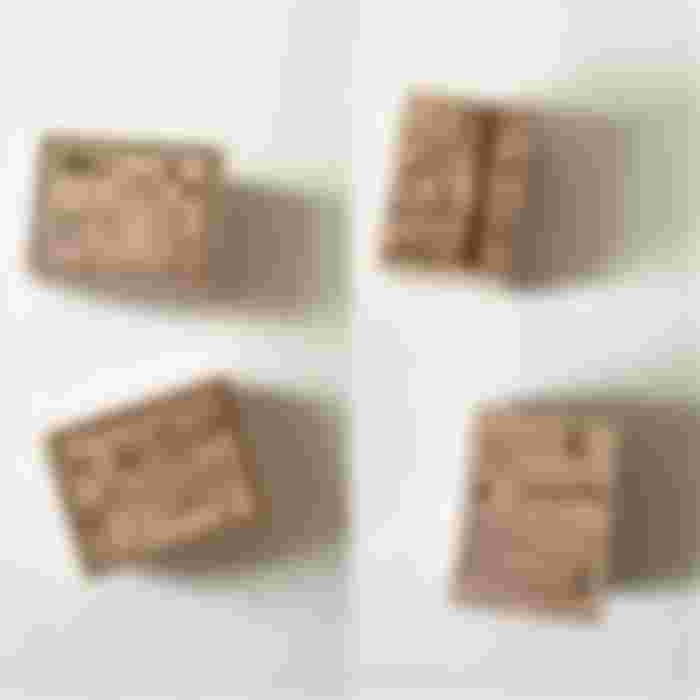

Lastly, my favorite of the Chamil Garden bunch. The 2 on the left are called Tea Time and on the right are pieces from different sets I saw and bought faster than the speed of light since they are the last stock.
As these are old but very popular collections and already phased out, it took me some months to find a reseller that has them. Luckily, I did find them at a local art and craft store and on a US-based reseller and now they stay in my own collection forever.


Now, it's time to show you how I made one.
Not to sound so conceited but in terms of arts and crafts, I usually can do pretty much most of it once I put my mind to it. As I said in the intro above, I am quite fond of what encompasses the arts and crafts universe, you can almost call me "Jack of Trades" of arts and crafts.
I’m the kind of girl who likes what I like and I like stuff that’s yet to reach the market, perhaps the target customers are way lesser than the profit. And also, let's be honest, as much as there are unique, one-of-a-kind brands, the arts and crafts industry is saturated. Sometimes, I couldn't find a good stamp that fits my taste so as they say, "If it's not in the market, make your own!".
So, how did I make them?
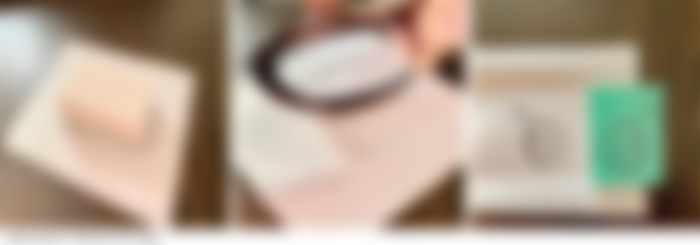
Here's what you will need. A rubber stamp block, Exacto knife/design knife, tracing paper, design of choice, kneading (moldable) eraser/a small soft brush. In Japan, there are rubber stamp-making kits so I am sure that if you google it, you can find one near you. Even Daiso or 100-yen-stores have them, albeit not in a kit.
Let's get down to what you really came for. The steps!

Design/Template. If you have never made one, find a simple design. You also practice with simple shapes like circles, squares, and triangles. Also, if this is your first time using an Exacto knife, you have to practice to keep a steady hand.
I will keep saying this in the rest of the article but in rubber stamp making, you can always subtract but you can never add. So, find a relatively simple design and draw it on paper (preferably, tracing paper but a normal paper will do. You just have to draw harder.)
Transfer design to the rubber stamp. Once you have decided on your design, take your rubber stamp, place it on the side to be carved (in my case, the green side), and rub the design on it. If you are using tracing paper, you don't need to rub hard since the design will transfer easily in the stamp. I used printing paper so I scratched the back of the design with scissors to transfer, as shown in the image above.
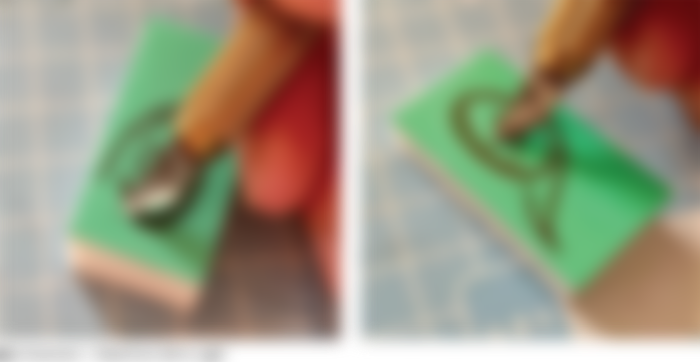
Time to carve the sh*t out! Okay, that was intense but again, be extra careful. Knives hurt more than your unfaithful boyfriends. What I did it hold the knife at a slight angle and started to carve from the outside of the design, going towards the inside of it. I recommend going deep when carving the outside since, in the end, your will cut them out but when carving in the inside, just insert the tip of the Exacto knife and CAREFULLY carve out.
You can always reference Youtube or Google on how to properly carve because I am less likely to properly follow steps (ironic for a Libra, I know).
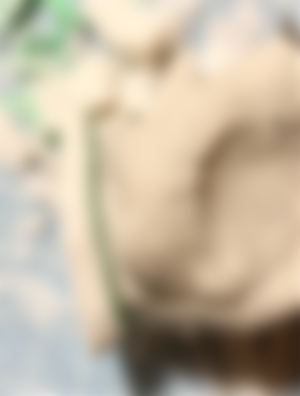
3.5. I always get lost and forget where I had just carved so if this happens to you, what I do is stretch the rubber stamp a little bit, and the areas where you just cut will show. Just like the image above.
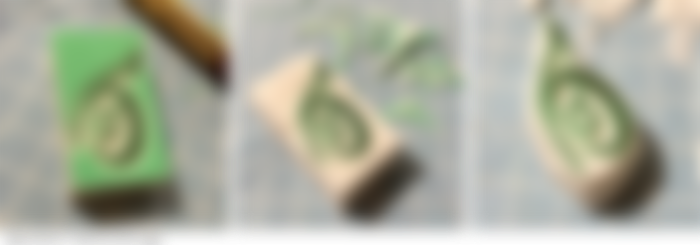

Cut out the excess. When you finished carving the design, cut out now the excess of the stamp area (the green side for me), first. After that, you can cut out the rest of the rubber stamp block. I like to do this step because I always put my stamps on a wooden block so it has a handle. If you do not want to put it in a wooden block, you can cut out enough so you can hold it without staining ink on your hands.

Clean up your little stamp. I didn't understand the need to do this step so at first, I just skipped it entirely. When I tried my newly made stamp, it was outright dirty.
Why? Because there are still tiny rubber pieces in the crevises of your design and you need to take it out.
So, get a kneaded eraser which is what I used but if you don't have it, you can use a smooth brush and swipe them out.
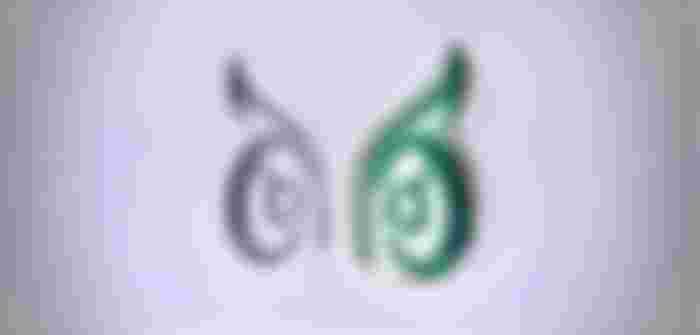
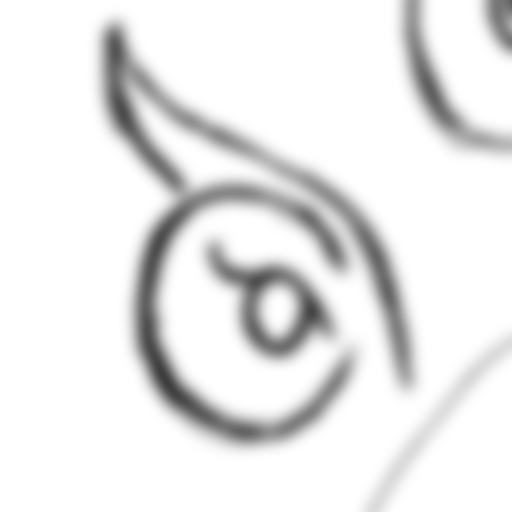
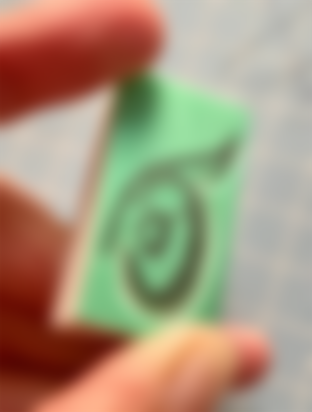
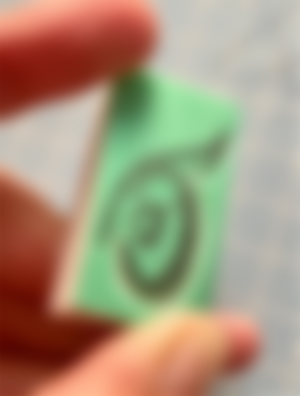
You're done! Once you are satisfied with your stamp, go ahead and try it! Here's mine. If you haven't noticed it yet, it is an owl's eye. It took me a total of 2 hours to make this one. It's been some years since the last time I made a rubber stamp and it felt like riding a bike when I did it again. Of course, I had fun making this one despite the errors.
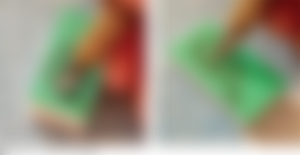
Now that I have shown you how to make one, I would also like to show you the rubber stamps I had made in the past.
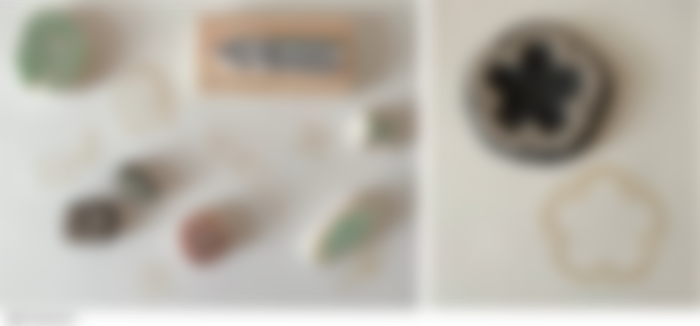
When I used to do penpals, I always stamp them on my letters to add a little oomph for my friends across the globe. As I am still doing journals, these stamps are my go-to for decor.
As I said it's been years since I last made one and I almost forgot the feeling of being super focused on what you're doing and you just realized you're done. I have a relatively short attention span but with rubber stamp making, it's almost like meditation. The lack of rush and the need to take my time just loosens the tight know in me and I feel relaxed. It could also be a good business if you ask me but I don't have the time, money and patience, yet.
Would you like to try making your own rubber stamp? Let me know if you did.
All materials and images are produced by me, unless stated otherwise.
I'm crimsonowl, an artist in progress trying to make a living out of art, an NFT artist-creator, a crypto blogger talking about anime. art and everything in between - just a Random girl in the blockchain.
Article 14, September 25, 2021 - Creativity is contagious, pass it on. Albert Einstein
Cute!!! I'm not a fan of stamps but they're always so cute to me OwO