How to make a beautiful dress from the recycling of a used shirt - size XL.
Hello my dear creative friends of Read.cash, the week is flying by and there are so many things to do. Every day I want to make and create beautiful things, there is always inspiration but it seems that time plays against me and I don't have enough; could it be that this is life as we get older?
Today I come again with my recycling, you will tell me why I always do things like this, but the truth is that I like to create things from those things that we all have in the corner of our homes. Since I discovered recycling I have a different vision of things; I remember my mother had 3 huge baskets full of clothes and she always said that you had to keep clothes because you never knew when you were going to need them, I understand her point of view but you don't have to wait so long, and what if on the other hand we always do well in life and nobody ever sees those clothes? That is also very sad.
Another point of view is that not all of us are creative enough to see that behind a huge shirt, flannel or trousers we can hide a beautiful piece of clothing for the little ones in the house or a blouse for mum or a bag to go to the market.

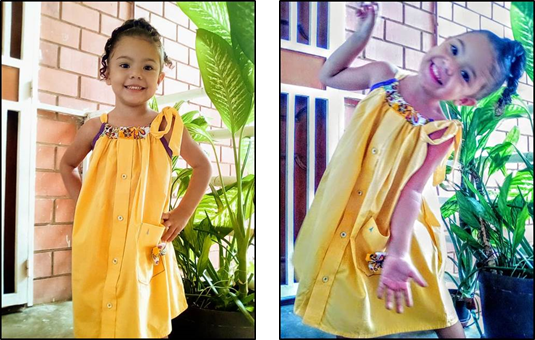
Well, without looking sideways today I took a huge and very yellow shirt that my friend Romelia gave me, it is a used shirt size XL, as soon as I saw it I knew it was in very good condition and the fabric was quality, so after meditating so much I decided to cut it to make a dress for my niece Gabriela who is 3 years old.
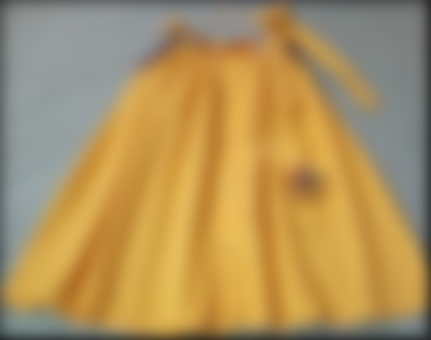
It is very important to visualize first what we want to design, according to this thought is that we are going to proceed to cut, because as the saying goes, after the eye out, no Santa Lucia is worth". My niece Gabriela is in the process of growing, so it is good to take into account that you have to leave as much length as you can to the dress. The measurements I used for the length of the dress were 50 long and for the width I left the total measurement of the shirt.


Step by step


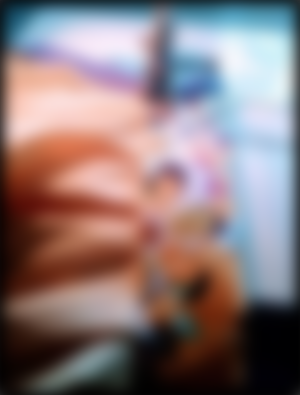
For the armhole I made it 6 cm downwards, drew a line with the ruler and cut.
We cut two 10x23 cm rectangles.
We sew by hand on the top of the dress, until we reach the same 23 cm of the rectangle we made in the previous step.

We continue working on this upper part to form a different, beautiful and decorative detail with this purple fabric, this is the place where a long strip will be sewn later. Now we face the right side of the rectangle with the back of the shirt and sew the straight seam with the machine.


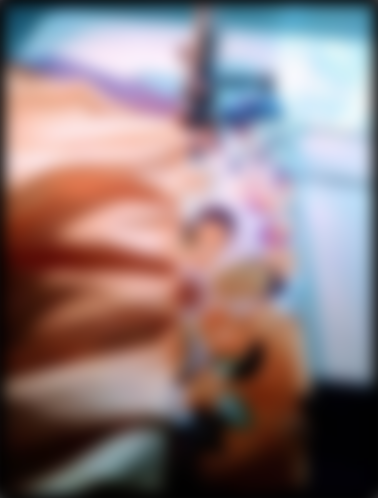
When we have finished the previous step we place a bias binding around the armhole, then we join the rectangle towards the front of the dress as shown in the image, through this tunnel we are going to pass a strip of a colour that stands out and that is 1 metre long or more.
Another detail that I find interesting to emphasize is that I carefully removed the pocket from its original position and placed it further down and decorated it with a pretty flower.
Gabriela fell in love with her dress and everyone at home was asking me how I had done it, I thought that was nice because while we were having a coffee I was telling them while everyone was taking pictures of her. I know that from now on more than one in the family will get me pieces of clothes in good condition that they no longer wear to make the most of them.
Well friends, I hope you liked it and see you in the next post, take care of yourselves and remember to smile, life is beautiful.


https://www.deepl.com/translator
Impressive! Too bad I don't have your skill so I can't really try it.