Caramel cushion made from recycled jeans
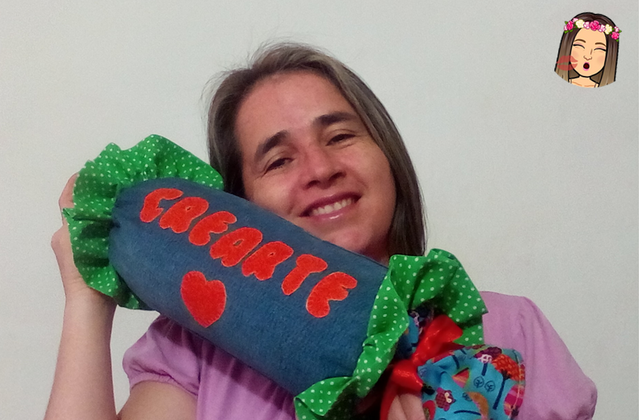
Candy cushion for you!
Today I come to bring you this beautiful candy shaped cushion made with recycled material. All of us women love to have our spaces in the house well decorated, from the porch of our homes, the living room, the master bedroom. Wherever we go, we love to be comfortable and we craftswomen know that to make a piece we spend hours sitting on a chair until we finish it. That's why a cushion is essential, so we can lie down and be more comfortable to work.
Step by step
In my bed I also have a few cushions, I like my husband and I to be very quiet, relaxed, watching a movie in the comfort of our bed. So if you like the idea and you have an old jean lying around that you don't wear you can take it and come with me to learn something new.
We are going to make a main piece by cutting a jean leg measuring approximately 30 x 38 centimeters. We cut it well so that all the sides are straight.

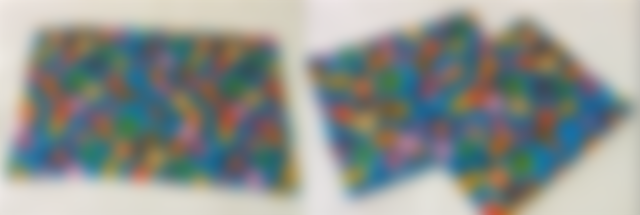
We are also going to cut two squares for the sides measuring 20 x 38 centimeters. We join the ends and french sew to hide the imperfections. We should also sew one of the edges and reserve it for later working with this piece.
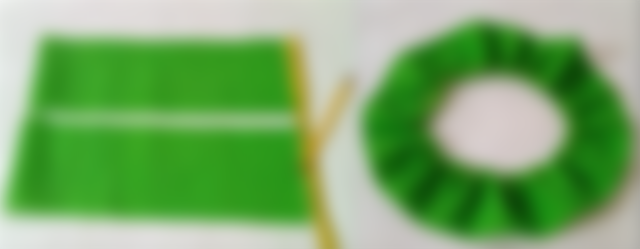
Cut two pieces for the decorative ruffles, measuring 12 cm wide x 80 cm long. Iron them in half so that they are 6 centimeters wide, join the ends with straight stitching and gather them until the circumference of the cushion is the same size as the cushion.

Patchwork embroidery
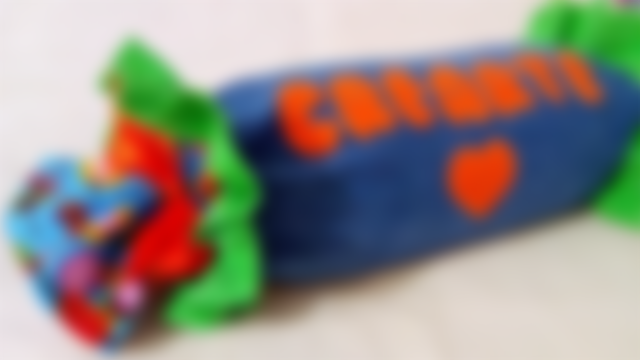
From the beginning when I started cutting this cushion I wanted to do it with the patchwork technique, so I cut out the letters with this word that I love because it encourages me every day, create + art, is to design every day what we like and the most important thing is that each of these things we print a lot of LOVE. We all have the gift to create, there is always something that we like, we can work with any material, in the schedule that we like, I particularly love to work in the morning after my husband and my children go to their daily tasks, there is in the middle of that silence, that tranquility that inspires me.

Well, after cutting out the letters, we put some glue on the back to make it more resistant and to prevent it from fraying when washed. Then we embroider all around with scallop stitch.
When we have all the pieces ready we begin to assemble the cushion, the first thing we do is to close the main piece with straight and zigzag stitching.
Before I continue I want to tell you that I had a caramel cushion to cover and based on that measurement I made this pattern, but if your cushion is bigger or smaller you only have to calculate the measurements leaving always two centimeters of seam on each side.

Turn the piece right side out and place the decorative ruffle. I like to fix this ruffle with long stitches made with needle and thread (Bastear) so that the piece does not move when sewing.
Now we do the same with the two cylinders that we reserved previously. We face right sides together, trying to place the edges well, it is also good that all the seams are in the same direction. Now we pass straight seam and if you like you can make a zigzag, this will give better neatness to the work.
Final result.
Well friends! now I have a new cushion that will give me comfort for my back or neck. I am very happy with the result, I really like everything, the color, the size. I tell you that the cylinder I used to put inside is a cushion I made some time ago filled with fabric scraps left over from my crafts, so this cushion is practically made of recycled material.
I really don't throw anything away in my sewing workshop, for me everything is useful and deserves a second chance. With this I say goodbye, I hope you like this craft, take care of yourselves and remember
Put a smile on your face!!!!




Your creativity is amazingly commendable ma'am. The stitching is also clean seems like it is professionally weaved.