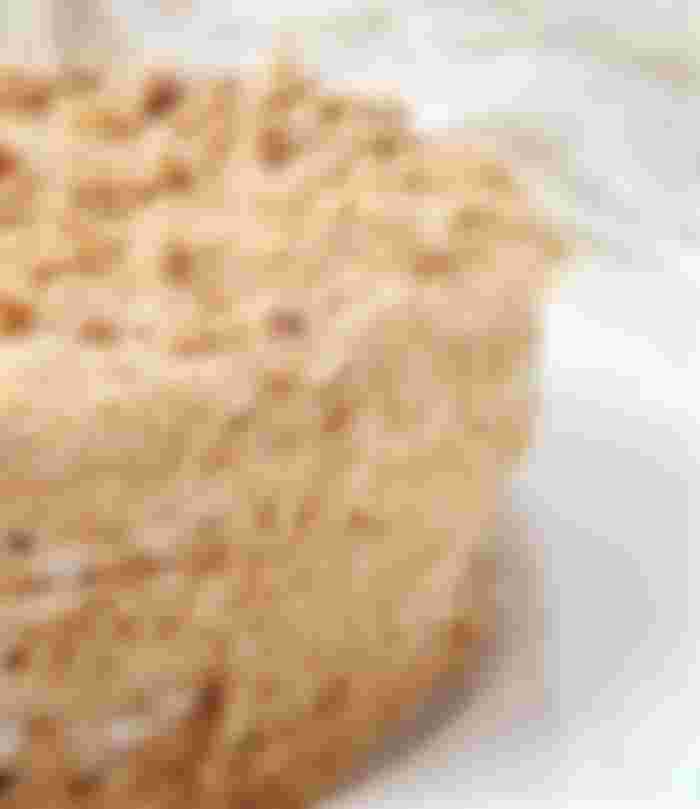
Honey buckwheat flour cake
I love buckwheat honey - it's deep in colour, almost brown, and when poured into a nest, it's coloured like dark amber; incredibly aromatic!.... My son and I prefer buckwheat honey, while my daughter and father prefer "golden" honey - herb or sunflower honey. All kinds of dough are suitable for gingerbread, but this time I wanted to bake gingerbread with buckwheat. I also have buckwheat flour! What would happen if you added it to the muffin mix? This would make an amazing buckwheat gingerbread! I wonder how it would taste and smell? I thought so and started experimenting!
From the recipes for buckwheat bread and pancakes, you already know that buckwheat flour should only be added to the mixture along with wheat flour, as buckwheat does not contain gluten, so it does not form the gluten needed to keep the mixture from falling apart. Buckwheat flour makes the dough more fragile and loose. After some deliberation, I decided to use wheat flour and buckwheat flour in a 2.5:1 ratio. You can use more, like 2:1, just a little buckwheat flour:)
All in all, I would say that the buckwheat flour honey cake turned out delicious and yummy (like all honey cakes!), but even though I could taste the buckwheat, my family ate it and didn't notice anything:)
Ingredients:
For 10 crusts
1.5-2 tablespoons buckwheat honey,
1.5 cups sugar,
90 grams of butter,
3 eggs,
3 teaspoons baking powder (no additives),
200 grams buckwheat flour (1.5 cups),
500-550 grams of wheat flour (about 4.5 cups or a little more).
The amount of flour may vary as it depends on the moisture content.
200 ml cup.
How to bake:
Knead the honey dough in the same way you would knead a honey cake. Place the honey, sugar and chopped butter in a non-stick pan over a low heat or in a water bath. Heat, stirring, until the sugar has dissolved and the honey and butter have melted.
Meanwhile, in a separate bowl, beat the eggs and baking powder for about a minute on medium speed until light and fluffy.
Pour the rich foam into the contents of the pan and stir to combine. The mixture will begin to foam and bubble. Remove the pan from the heat and immediately add the two kinds of sifted flour, stirring first with a spoon (while the mixture is hot) and then with your hands once it has cooled slightly and become thick. The dough turns into buckwheat flour: light brown, speckled like freckles and fragrant!
The dough is not crisp, but not sticky either, but soft, warm and rich. Divide into balls according to the number of crusts, place in a floured bowl and cover with a cloth. Preheat the oven to 200 °C, sprinkle the table with flour, take a dough ball and roll it out to a thickness of 3-4 mm. Try to shape the dough into a shape that is slightly rounder than the shape you will use to cut the dough (for example, a lid or a plate, but a lid is more practical because it has a handle).
Roll out the dough with a rolling pin, place it on a baking tray lined with baking paper, unfold and place in the oven. However, it is even more convenient to roll the dough between two sheets of parchment paper sprinkled with flour and place the bottom sheet on the baking sheet. Bake at 200°C for about 5 minutes - the crust is relatively thin and bakes very quickly. While the first crust is baking, roll out the second crust.
While the first is baking, cut it into the desired shape while it is still soft. The crusts can be eaten, but not all of them, only the ones sprinkled on the pie. All the cakes are baked. They can keep for several days, so you can bake them in advance.

And if you are going to make and eat the cake right now, you can make the cream. I like the honeydew with sour cream the best: sour cream soaks the cakes well and combines with them in taste, the cake turns out delicate. There are two recipes for this cream: a simple and a complicated one. You can see the complicated one here, but for the quick one, you just need to whip a light 15% sour cream with sugar or powder.
Spread the sour cream on the cakes - generously, so that the cake is well saturated and does not come out dry. The top layer and sides of the cake also smear with cream and sprinkle with crumbs from the trimmings (you can roll them with a shaker or you can knead them by hand). We let the honeydew soak for at least 2 hours.
It is understandable that you want to try as soon as possible, but if the cake does not have time to soak, it will be dry. If it has stood and still seems dry, you can take a trick: pierce the cake in many places with a wooden skewer and gently pour with a tablespoon soaking: wine, diluted berry syrup or what with lemon.


