July 5, 2021
For crochet enthusiasts.
I have been crocheting for more than ten years already. I have favourite stitches to make as they are easy to do and are fast too.
But I also have a least favourite and that is the granny square. It is fine by me if there is only one colour involved but that will not make an eye catching project. Granny square makes a very nice project if there are different colours in each round. And because of the different colour of yarns used there are lots of yarn ends to hide. This is my most hated part of the crochet, hiding lose ends.
Correction please… it is not the stitch that I hate… it is the hiding of those lose ends.
After hiding those lose ends, I will have a mountain of short yarns.

I am not throwing this short yarns out. I will save them and use them as stuffing for amigurumis.
My motto : Nothing’s wasted.
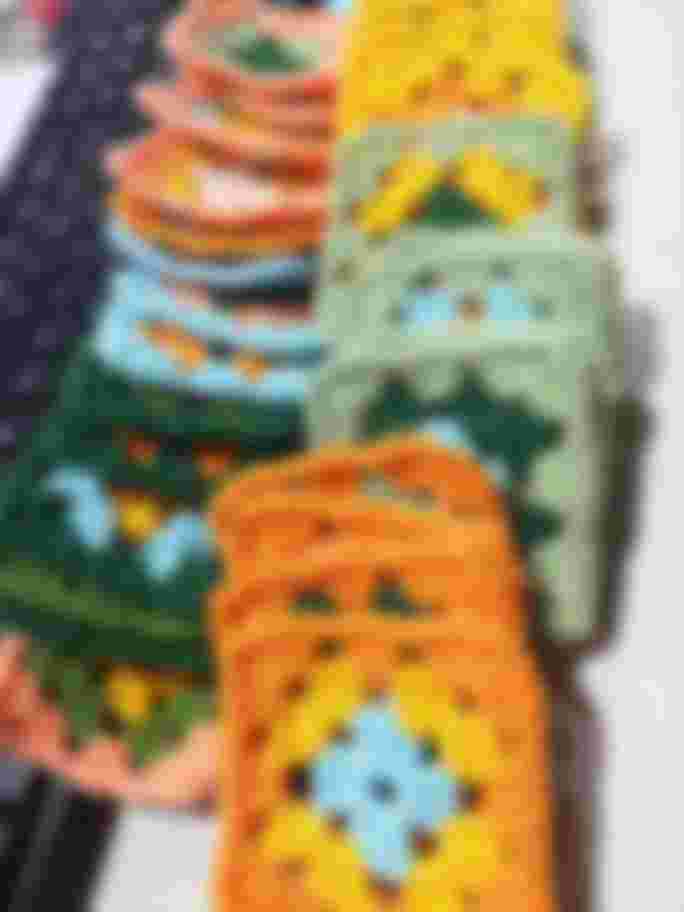
The project I have in mind will involve making lots and lots of granny squares, around 36 pieces of granny squares. I decided to make this project to use the leftover yarns that cannot complete a project if it is on its own. It needs a combination of other yarn colours that are short ones too.
Granny squares will also entails connecting one square to the other, another tedious job if you are not used to doing it. It took me a few stitches before I got the hang of it.
This pattern of granny squares starts with chaining 5 and joining it with a slip stitch to make a round.
Here are the steps in making granny squares:
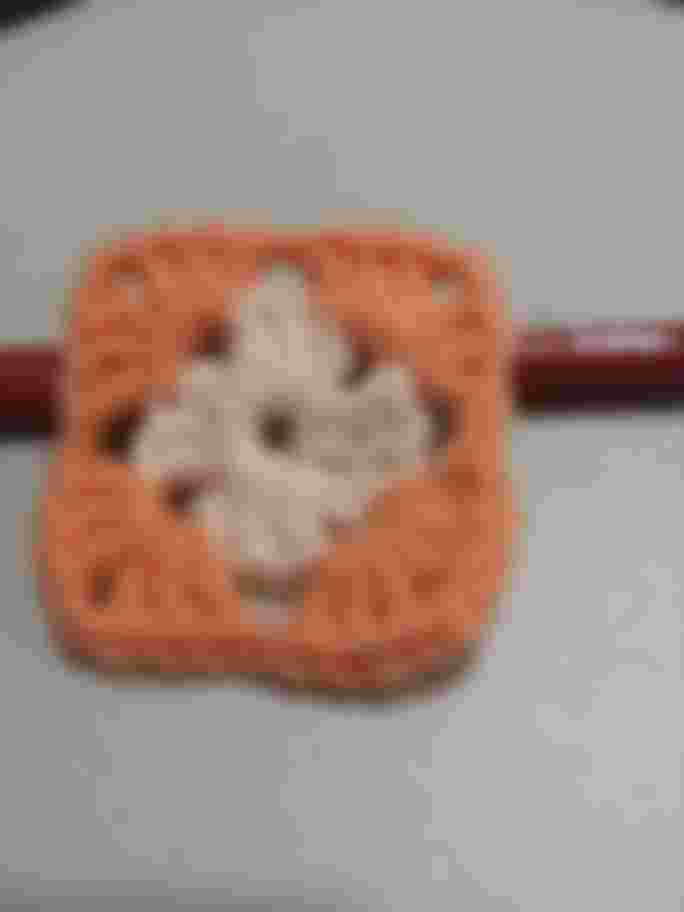
Round 1 – Using first colour of yarn - chain 3 – this counts as one double crochet. Make two more double crochet and then 2 chains. There has to be four sets of three double crochets and 2 chains to complete this round. Slip stitch on the third chain the beginning round and fasten off. Better to hide lose ends every time a round is finished.
My practice is to make all round one first of different yarn colours. I made 5 pieces of each color before going to the next round.
Round 2 – Using a different colour of yarn, insert yarn in any chain 2 spaces. Chain3 and again this counts as a double crochet and make two more double crochet, chain two and make three double crochet in the same chain 2 space. Make a chain of 1 and do another set of three double crochet, chain 2, three double crochet in the next chain 2 space of the previous round and chain 1. Repeat this until all four chain 2 spaces are filled up. Join the round with a slip stitch and fasten off. Again hide all lose ends before the next round.
Round 3 – Again, use a different colour of yarn, this is the third different colour used. Same as round 2 but this time make 3 double crochet in the chain 1 space of the previous round.
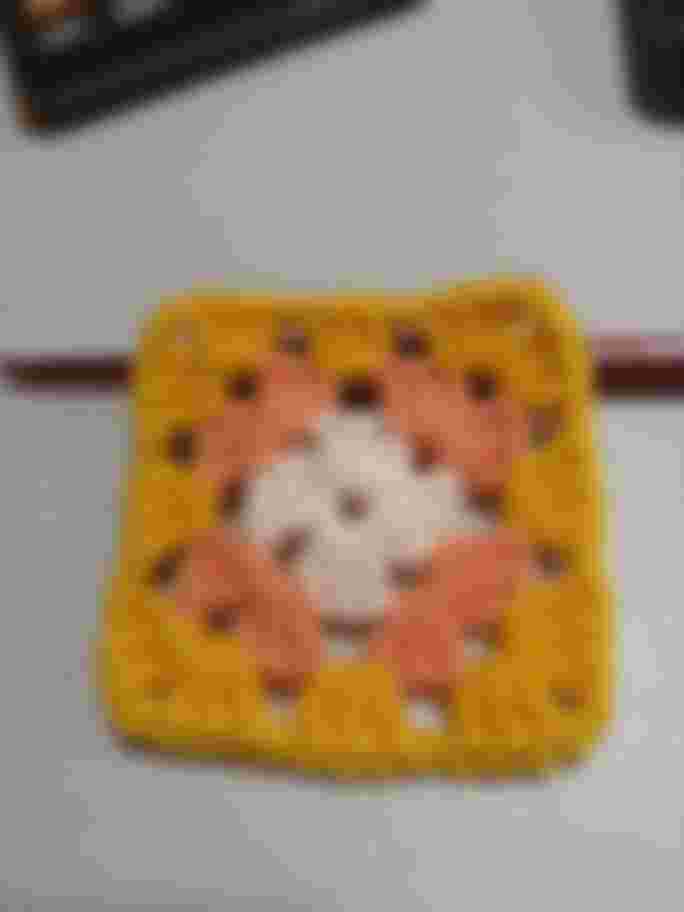
This completes the granny square before connecting it to the other squares.
Last round – Round 4 – another new colour of yarn is used. The start of this round is the same as Round 2 and 3. But this time there are two chain 1 spaces that will be filled up with 3 double crochets. The first square has no connection yet with other squares. It has to be done and fastened off for the whole round. It is in the second square that connecting the pieces will start.
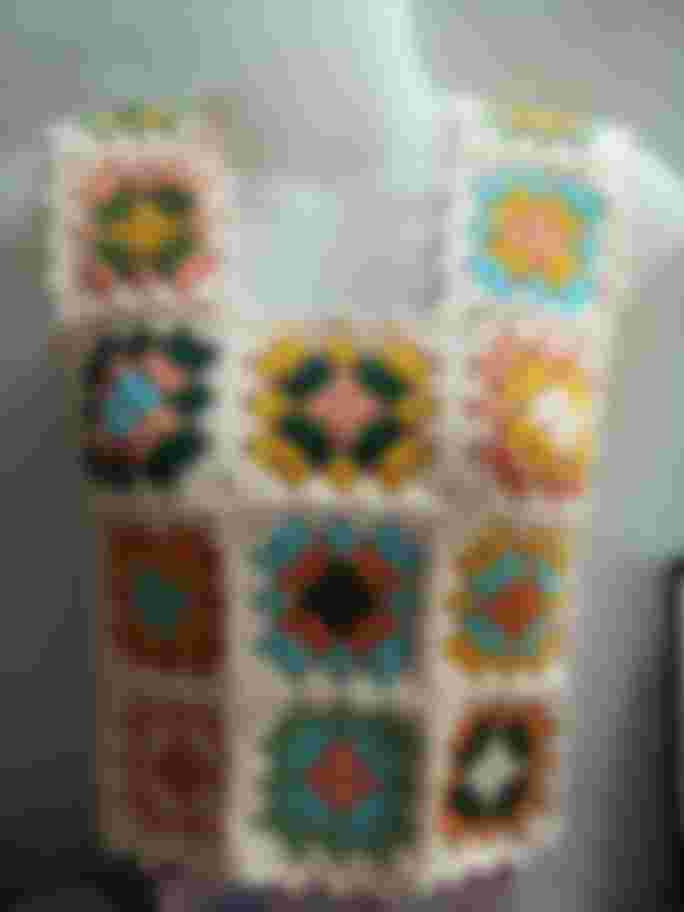
And this is the finished product.
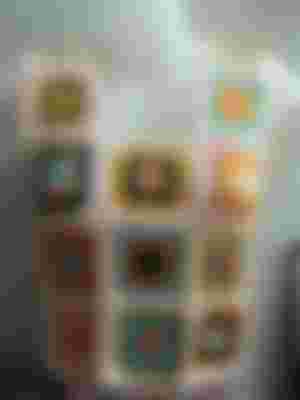
I made a top, though there are several projects that can be done using granny squares. Blankets are on top of that list.
Magic wand does not only come from the hands of the magicians or from Harry Potter. They may come in a form of a hook too.
Granny Square
Abbreviations
Ch – chain
DC – Double Crochet
Pattern:
Ch5, join
R1 – Ch3 count as double crochet
2DC Ch2
[3DC repeat chain 2] 3 times
Join.
R2 – join new yarn in any chain 2 space
Ch3 count as double crochet, 2DC Ch 2, 3DC in the same space, Ch1
[3DC Ch2 3DC in the next Ch2 space, Ch1] repeat 3 times
Join.
R3 - join new yarn in any chain 2 space
Ch3 count as double crochet, 2DC Ch2, 3DC in the same space, Ch1
[3DC, Ch1 in the next Ch1 space
3DC Ch2 3DC in the next Ch2 space, Ch1] repeat 3 times
Join.
For a bigger granny square, just add more rounds and 3DC in every Ch1 space.
Thanks for dropping by.
🧡🧡🧡

Wow! This looks like a lot of work, but you are so good at it Judith. I love seeing your projects taking shape and I love the finished one too! Thank you for sharing your passion with us 💙