Note
This is my Visual Programming assignment that I translated to English myself during my undergraduate study at the Department of Electrical Engineering, Udayana University, 2011. Indeed, this assignment is far behind times but it can be an entertainment in the future where Visual Basic sophistication is very advanced and when seeing this assignment, old programmers will feel nostalgic and young programmers will be surprised at how underdeveloped Visual Basic was then. This assignment has never been published anywhere. I and Muhammad Audy Bazly, as the author and copyright holder, license this task with CC-BY-SA where anyone can share, share, republish and sell on condition to state name us as authors and let us know that the original and open versions are available here.
Get to know Visual Basic 6.0
Basic language is basically a language that is easy to understand so programming in the Basic language can be easily be done even by people who are just learning to program. This is even easier after the presence of Microsoft Visual Basic, which was built from the idea of creating a simple and easy scripting language for the graphic user interface developed in the Microsoft Windows operating system.
Visual Basic is a programming language that is very easy to learn, with visual programming techniques that allow users to be better creative in producing an application program. This can be seen from the basic creation in Visual Basic is FORM, where users can set the appearance of the form and then run it in a very easy script. The explosion in the use of Visual Basic is marked by the ability of Visual Basic to be able to interact with other applications in the Windows operating system with ActiveX Control components. With this component it allows users to call and use all existing data models in the Windows operating system. This is also supported by programming techniques in Visual Basic which adopt two types of programming, namely Visual Programming and Object Oriented Programming (OOP). Visual Basic 6.0 is actually a development from the previous version with several additional components that are currently trending, such as internet programming capabilities with DHTML (Dynamic HyperText Mark Language), and several additional database and multimedia features that are getting better. Until the time this book was written, it can be said that Visual Basic 6.0 is still the first choice in making application programs that exist in the national software market. This is due to the ease in carrying out the development process of the application being created.
Visual Basic 6.0 Interface
The Visual Basic 6.0 interface contains menus, toolbars, toolboxes, forms, project explorer and properties as shown in Figure 1 below.:


Figure 1 Visual Basic 6.0 interface
Making an application program using Visual Basic is done by making an application display on the form, then given the program script in the required components. The form is composed of components that are in the [Toolbox], and each component that is used must have its properties set via the [Property] window. Menus are basically standard operations in the Windows operating system, such as creating new forms, creating new projects, opening projects and saving projects. In addition, there are visual basic usage facilities on the menu. For more details, Visual Basic provides a very complete and detailed help in MSDN.
The toolbox contains components that can be used by an active project, meaning that the contents of the components in the toolbox really depend on the type of project being built. The standard components in the toolbox can be seen in Figure 2 below.
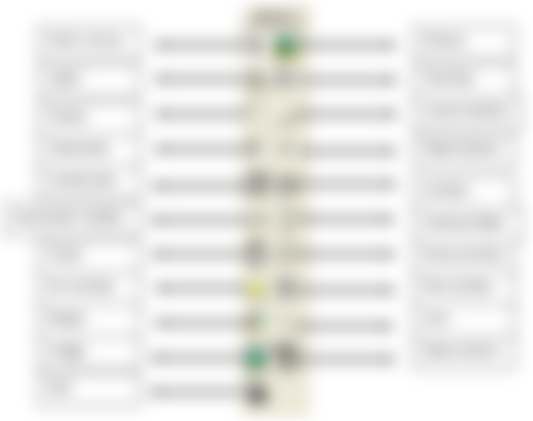

Figure 2 Standard Components in the Toolbox
The functions of the control components in the ToolBox in Visual Basic:
Pointer: use Pointer if you want to select control components that are already installed in the form.
Label: to make text such as title, and so on. Labels cannot be changed by the user.
Frame: to create a frame.
CheckBox: to create select control, where this control is selected when the user clicks. CheckBox can be selected 1 or more.
ComboBox: to create combination control between TextBox and ListBox.
HScrollBar: to create a horizontal Scrollbar.
Timer: for time control.
DirListBox: to display a directory or folder.
Shape: to make a box, rectangle or circle.
Image: to create an image.
OLE: to link other software to the form.
PictureBox: to display images on the form.
TextBox: to create text that can be changed by the user.
CommandButton: to create buttons, such as the OK button, cancel, and so on it's up to you.
OptionButton: functions the same as CheckBox, but OptionButton can only be selected 1 by the user.
ListBox: to create a list of choices.
VScrollBar: to create a vertical Scrollbar.
DriveListBox: to display the drives on the computer.
FileListBox: to display files.
Line: to make a line.
Data: to connect the database to the form.
Basic Concepts of Programming in Visual Basic 6.0
The basic concept of Visual Basic 6.0 programming is making forms by following the property, method and event programming rules. This is means:
Property: Each component in Visual Basic programming can set its properties according to application needs. Property that should not be forgotten for each component is "Name", which means the name of the variable (component) that will be used in scripting. The property "Name" can only be set via the Properties window, while the values for other properties can be set via the script.
Method: That the running of the program can be set according to the application by using the programming method set as the action of each component. This method is the place to express the programming logic of creating an application program.
Event: Each component can act via events, such as the click event on the command button written in the Command1_Click script screen, or the Mouse Down event on the picture which is written as Picture1_MouseDown. Event settings in each component that will run all the methods created.
Create a New Project
To start making application programs in Visual Basic, what is done is to create a new project. Project is a set of forms, modules, functions, data and reports used in an application. Creating a new project can be done by selecting the [File] >> [New Project] menu or by pressing the [new project] icon on the Toolbar which is located in the upper left corner. After that a confirmation will appear for the type of project from the application program that will be created as shown in Figure 3 below.
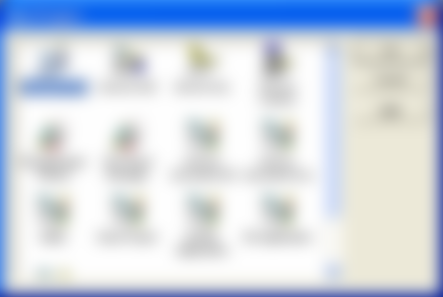

Figure 3 Project type selection screen
Visual Basic 6.0 provides 13 types of projects that can be created as shown in Figure 3 above. There are several projects that are commonly used by many Visual Basic users, including:
Standard EXE: standard project in Visual Basic with standard components. This type of project is very simple, but has the advantage that all its components can be recognized by all computer units and all users even though they are not administrators. This book will use the Standard EXE project as a visual programming concept.
ActiveX EXE: this project is an ActiveX project that contains components of the ability to interact with all applications on the windows operating system.
ActiveX DLL: this project produces a library application which can then be used by all applications on the windows operating system.
ActiveX Control: this project generates new components for other Visual Basic applications
VB Application Wizard: This project guides users to easily create applications without having to bother with programming commands.
Addin: a project like Standard EXE but with a variety of additional components that allow users to be creative.
Project data: this project completes its components with database components. So it can be said that this project is provided for database application development purposes.
DHTML Application: this project is used to create internet applications on the client side (client side) with DHTML functions.
IIS Application: this project produces server side internet applications with CGI (Common Gateway Interface) components.
Then select Standard EXE and press [Ok]. Then the display of Standard Exe appears as shown in Figure 1. Thus the project is ready to be created. In making the previous project double click on the form created so that there is a hidden window in the form of a window for programming or a code window. This can be done by selecting the icon for the form window or the code window in [Project Explorer]. This can be seen in Figure 4 and Figure 5.
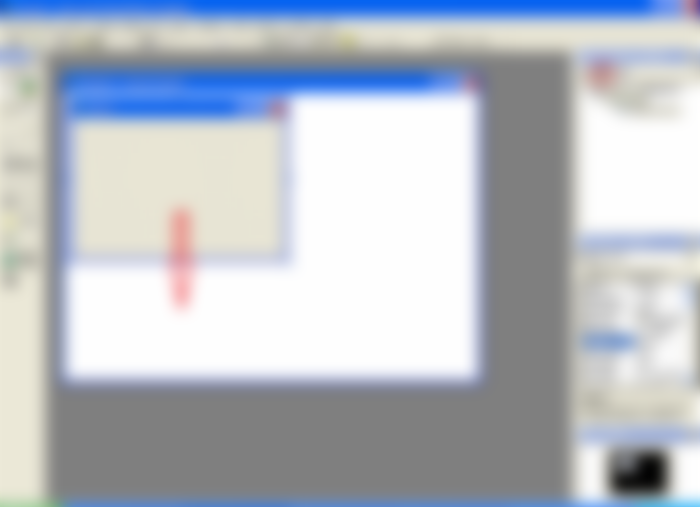

Figure 4 Form Window
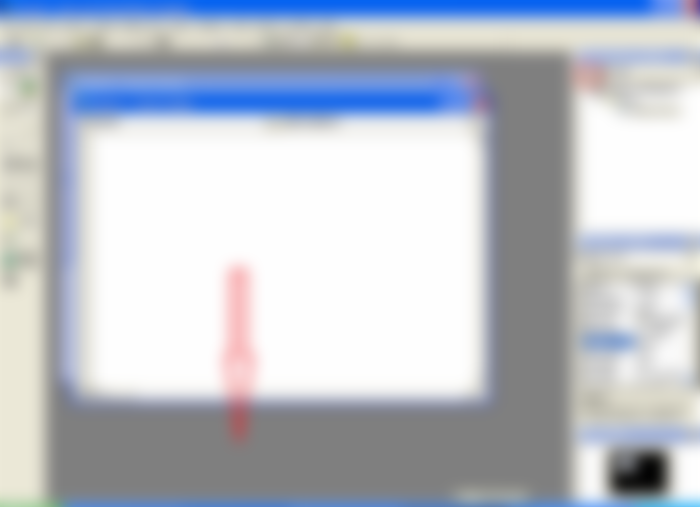

Figure 5 Code Window
In the form window, the user builds the appearance of the application program that will be created by adjusting the components both their location, properties and events. To retrieve a component from the [Toolbox], you can click on the component, then click or drag it to the correct position on the form. For example, taking a label from the Toolbox can be done in a way like Figure 6 below.

Figure 6 Retrieving labels from the Toolbox
The steps for retrieving a label from the toolbox to attach it to the form are as follows:
Click the [Label] icon on the [ToolBox]
Move it to the position where the label will be placed
Click and drag until the size is correct then release
Note: don't forget to set the property name of each component used, because name is the identity of the object that will be used in writing the program. The next step is to provide text on the label, for example "Hello world", then select the Caption property, and fill it with Hello world. The program display results are as follows:


Figure 7 Layout on the Form
And to run the program, click the Run icon () on the toolbar or select the [Run] >> [Start] menu, or by pressing the [F5] key. So that the program results are:


Figure 8 Program Results
In Figure 9 is an example of a program that we made, namely the calculation of free space loss to calculate the loss of signal strength in the air. The method is the same as just adding formulas. Program is available at Github.

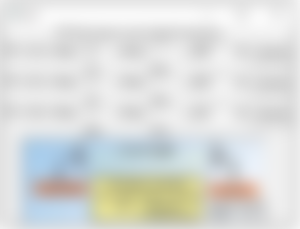
Figure 9 Free Space Loss Program
Mirror
https://0fajarpurnama0.github.io/bachelor/2020/09/07/our-2011-assignment-regarding-visual-basic-6
https://0fajarpurnama0.medium.com/our-2011-assignment-regarding-visual-basic-6-f0812913710b
https://hicc.cs.kumamoto-u.ac.jp/~fajar/bachelor/our-2011-assignment-regarding-visual-basic-6
https://0darkking0.blogspot.com/2020/12/our-2011-assignment-regarding-visual.html
http://0fajarpurnama0.weebly.com/blog/our-2011-assignment-regarding-visual-basic-6
https://0fajarpurnama0.wixsite.com/0fajarpurnama0/post/our-2011-assignment-regarding-visual-basic-6
https://read.cash/@FajarPurnama/our-2011-assignment-regarding-visual-basic-6-6abeabae
https://www.uptrennd.com/post-detail/our-2011-assignment-regarding-visual-basic-6~ODM0NTg4

...and you will also help the author collect more tips.