Have you been losing your tiny things or accessories lately?
Cool, I have a way to help you tackle that issue with crafting
It's simple! All you have to do is get yourself a basket or you can as well make them yourself.
I will show you the basket I made for my small assets that I misplace easily. Now that problem is solved on my own part after making this tiny basket for myself.
Materials Needed
Cardboard Papers
Top Gum
Pen
Scissor
First, get cardboard paper of any color; preferably two different colors, Cut then into pieces and the sizes you want them.


Out of the two cardboard papers, cut one color into half again after first cutting them into pieces. Cut until it enough to round a basket.


Then you draw out two big circles in another piece of cardboard paper. Note the circle should be according to how big or how small you want the basket.


Carve out the two circles you drew on the cardboard initially.


Pick one of the circles, apply gum on it, and then pick the smaller pieces of cardboard you cut earlier and stick them to the circle.


Stick the pieces of cardboard all around.
Turn the circle around to see if it's enough. Here it is still looking scanty so we will keep applying gum and sticking more white cardboard.


You can see the difference between this one and the previous one. The white cardboard is much here and it is not looking scanty like the first one. Now, this is all set and ready.


Take a few pink cardboard, apply gum to both ends, stick them together, and form a ring with it.


Fold the white cardboard upward to make it stand.


After getting the rings, fit them into the upward folded white carboards. Be sure to skip the white cardboard one after the other before fitting the pink cardboard ring in.


Repeat the same procedure for the second row, again skip but this time, skip the ones you fit the ring in earlier and fit the next ring on the ones you skipped previously.


Do the same to the third roll, repeat the same thing I said above in the second row.


Again, repeat it for the fourth and the last row for me, you can keep yours as big and as wide as you need.


After you might have finished the last row, gum the edges and then trim out the leftover cardboard
And here we are done with the body of the basket
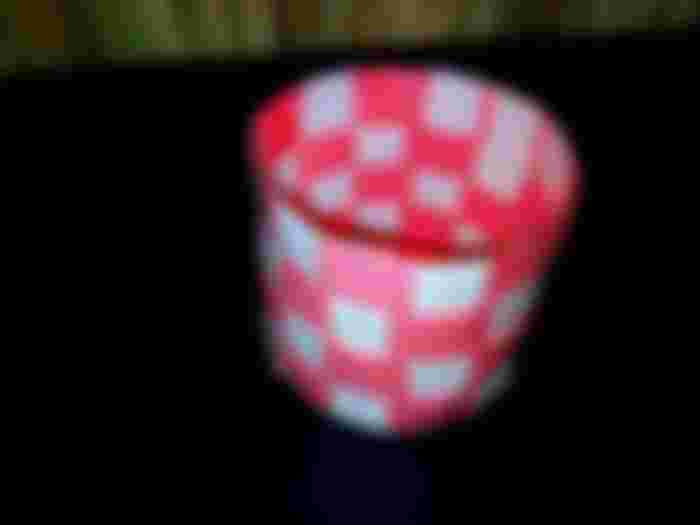

Look! That is what the inside would look like. Spacious enough to contain your tiny accessories right?


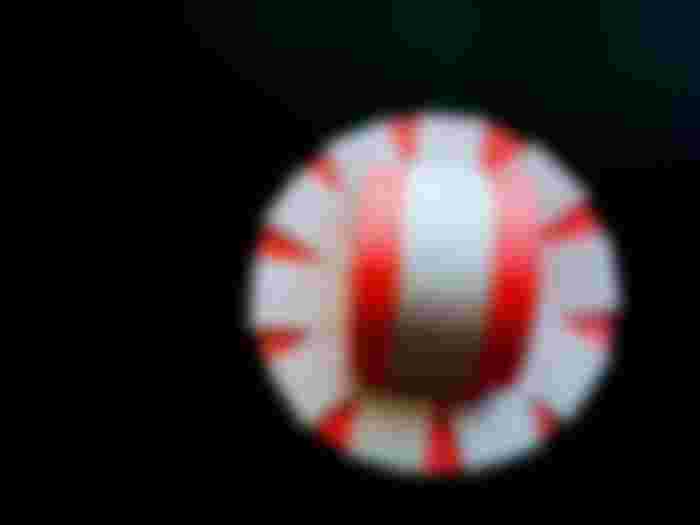
Now for the cover, we use the second circle we carved out earlier when we started, round it with white pieces of cardboard using the gum. Cut a small round pink cardboard, place it in the middle, apply gum and stick it.


Then for the handle, gum two pink pieces of cardboard and white cardboard in the middle


Stick the handle to the cover using the gum.


Here, you have a finished handle. It looks great right? I bet it is lol

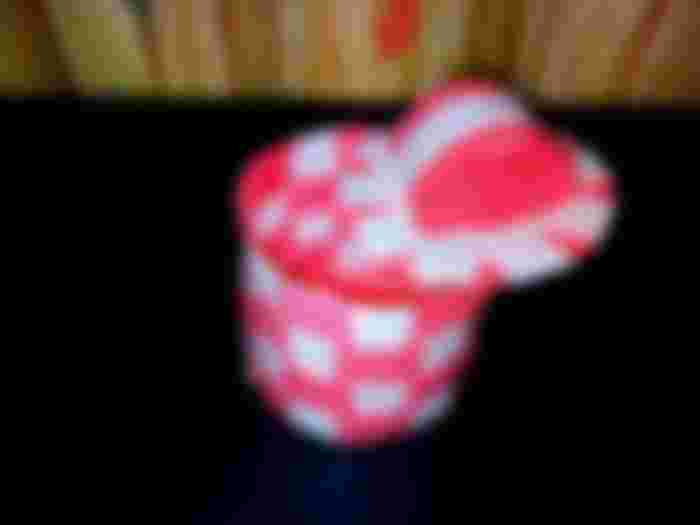
Viola! Our basket and the cover is ready.

Finally, we use pink cardboard for the basket handle
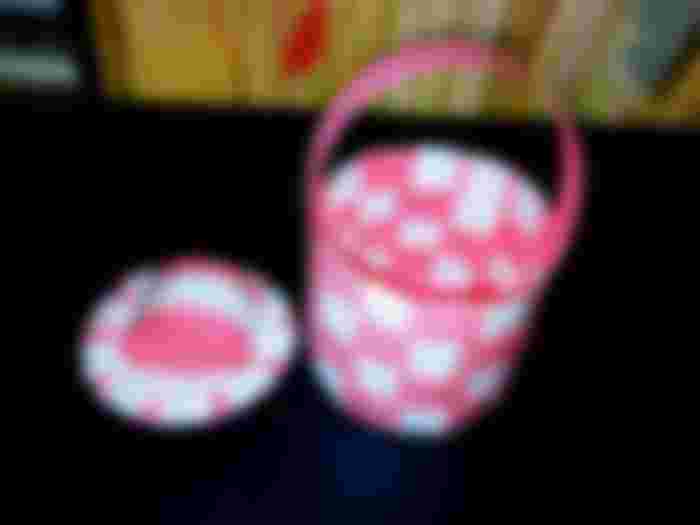

Now we have our basket, the cover and then the handle

This is it. From now on you won't have any reason to lose your tiny assets and accessories when you have that small basket to save them.
See you next time!