Levi Ackerman Glow Art
Hello guys😃
It's my first art post here after months of inactivity. I decided to post one of my glow artwork processes here as a new start. So let's not waste any time and start making our boy Levi glow.
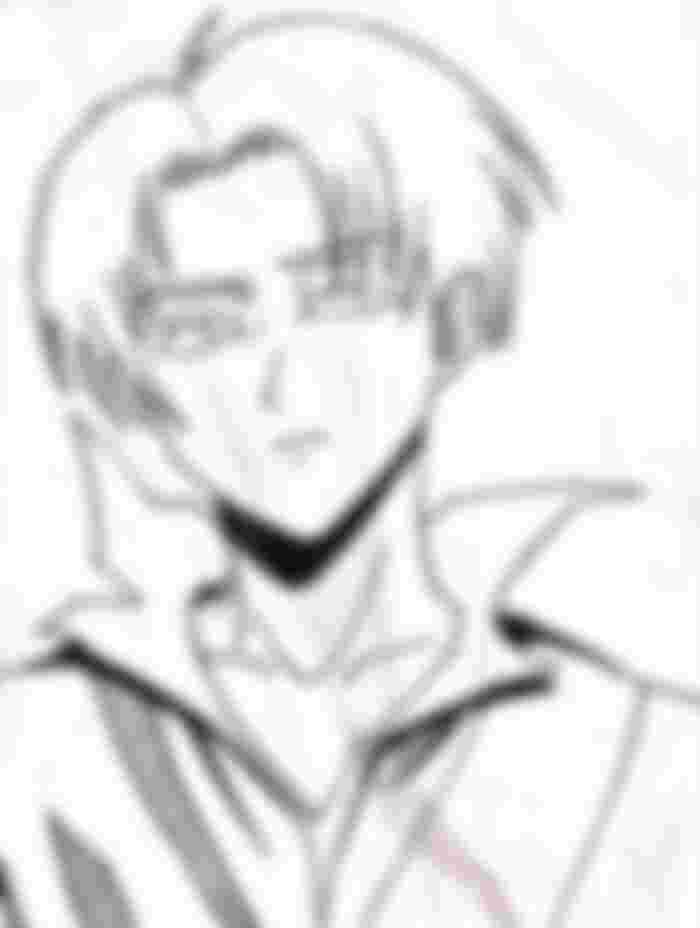
First of all, we need a line art of Levi Ackerman. I did this months ago but it was kinda lost for some time when I cleaned my room. I found it last week luckily and drew the lineart with a gel pen to make it more visible.
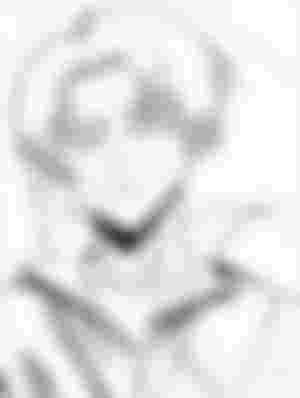
The condition of the paper is bad because of the folds. However, I fixed it after importing it to Ibis paint x app. By increasing the brightness and contrast of the picture I got a pure white background for editing. I used dip pen hard with white paint to draw over the folds to mask it. I also cleared some unwanted marks on it too.
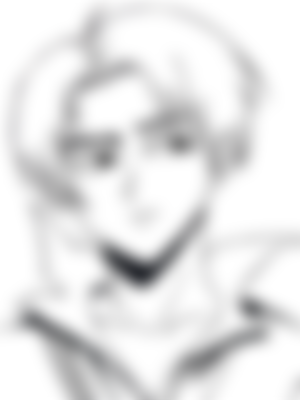
It looks better now and is ready for the glow art technique. For a person to see the glow the background or the area surrounding the character must be dark.
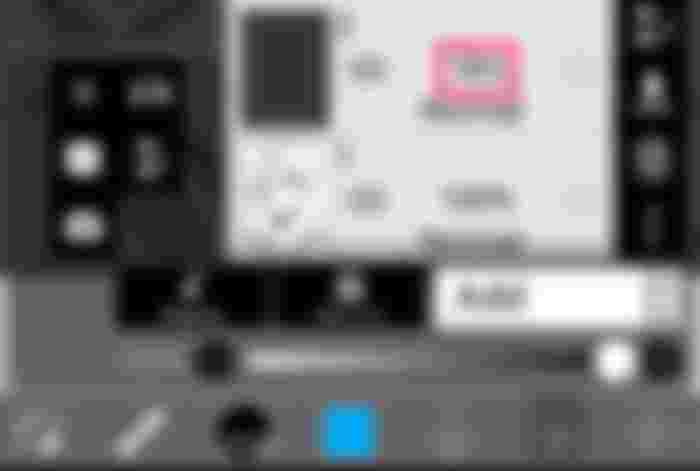
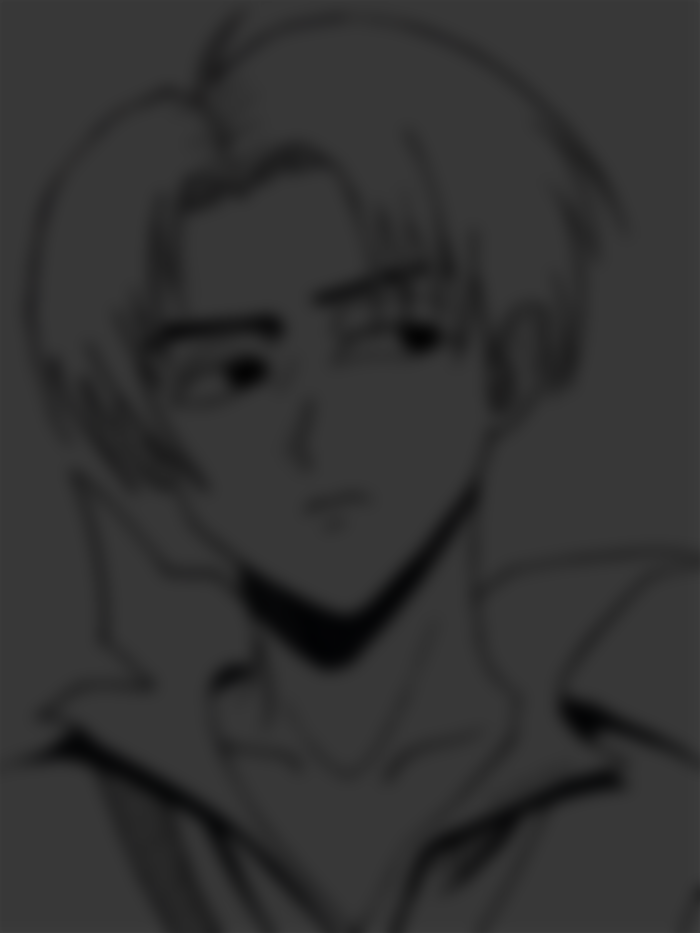
I'm making another layer on top of the picture and filling it with black paint with opacity kept at 45%. Don't reduce opacity below 40% as it will be hard to notice the glow. The ideal range is to keep the opacity between 45-70%. The range varies between these values based on the artist.
After creating the said layer the outcome will look like this.
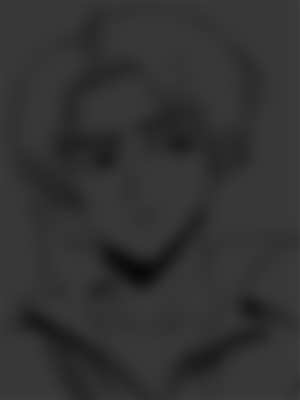
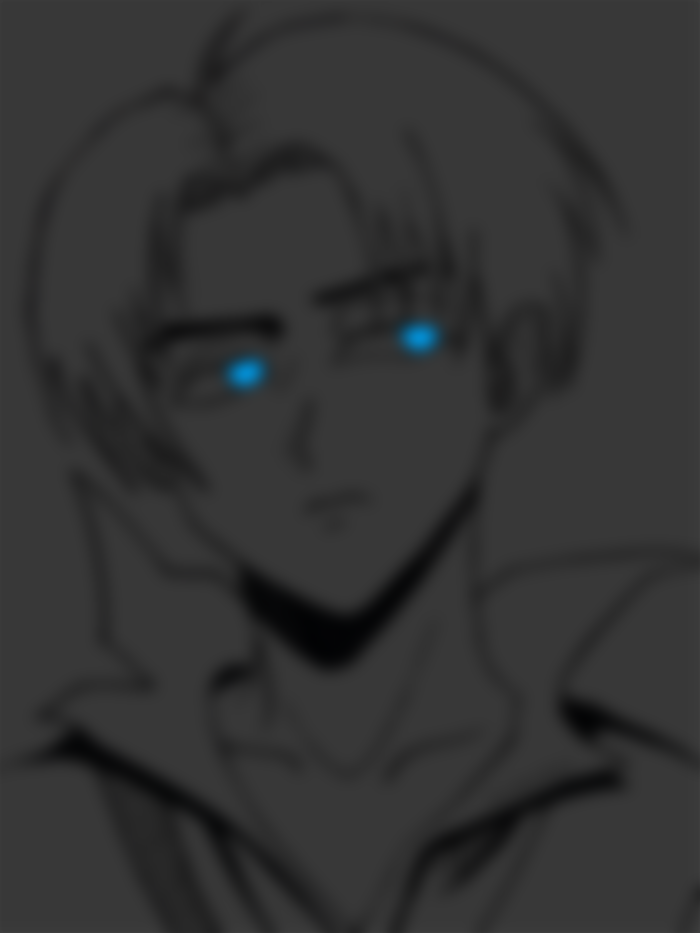
The next thing is to choose the source of light. I chose to do an eye glow with Levi here but you can choose to do the source of light from any part of the body.
The next step is to create an ADD layer on top of this and draw the light source. Always make sure that the colours you select are bright. I'm going for a blue coloured eyes here so I'm starting to fill the eyes with dip pen with blue paint.
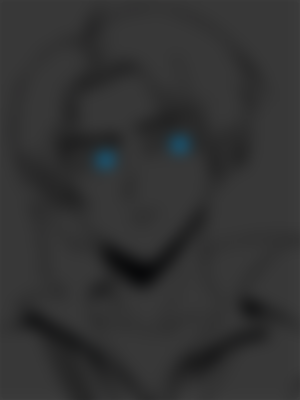
Once that's done create a normal layer on top of this and clip it. I'm gonna use Air brush with dark blue colour to create a gradient effect on top of his eyes. Clipping will help to control the spill.

Now I'm gonna make some patterns on the pupils with fade pen to make it look more interesting. You can add different patterns on the eyes based on your liking. As long as you follow the same on other eye you are golden.
It's important to clip each layer used for eye patterns to the first eye layer. To avoid mistakes i used 4 layers for each eye patterns.
The following with be the result.


The eyes looks like marbles now haha. Next comes the best part of the painting.
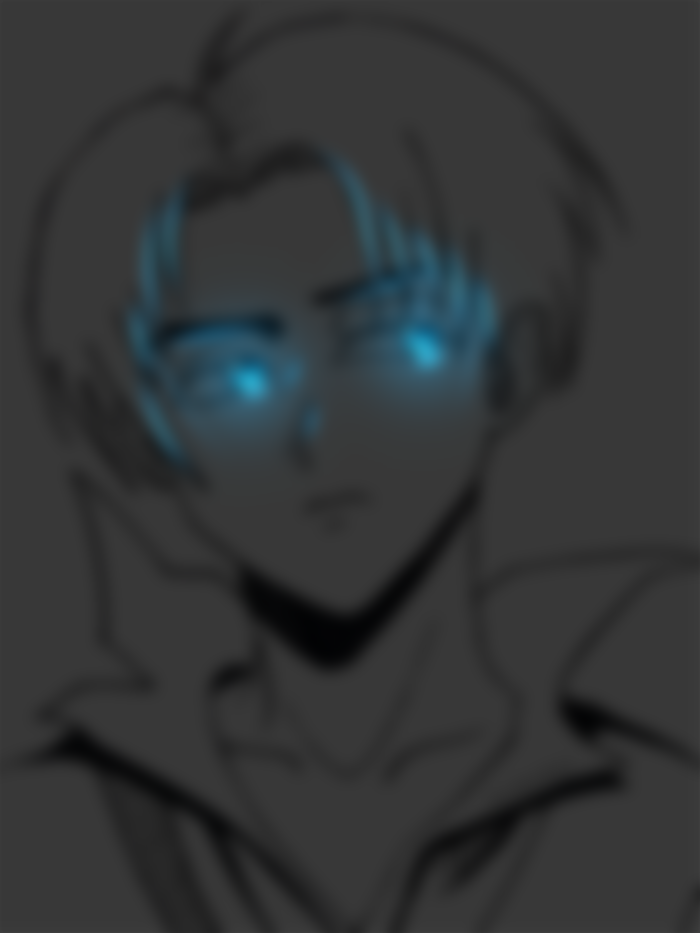
Now select Airbrush and increase the size to 50 per cent. Create another ADD layer on top and just tap on the eye area twice for both eyes. It will create the illusion that light is coming out from the eyes.
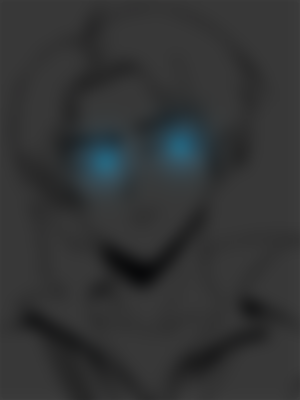
This light is gonna fall on the front side of his hair so I'm gonna draw some blue lines on the edges of his hair, under the eye brows and on top of his nose using pen fade brush.
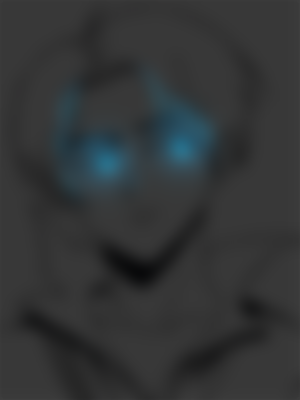
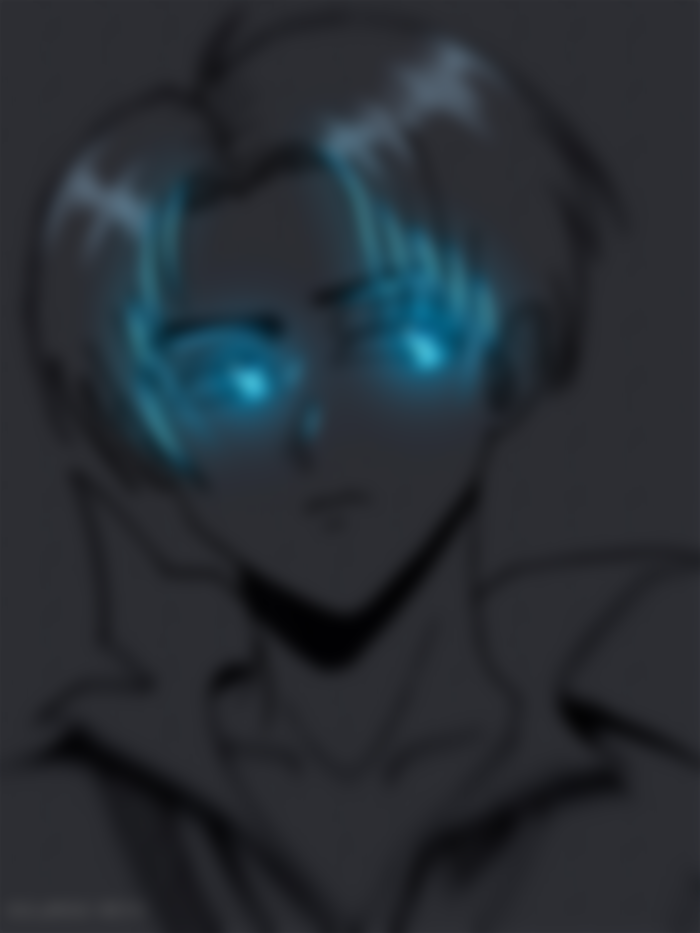
I also added a much more thicker airbrush light fall under the pupils. We are almost done here guys. Now I'm just going to add a simple whitish highlight on his hair with pen fade brush. Once that's done the next step is to paint the hair edges with a very light airbrush stroke to make it look more realistic.
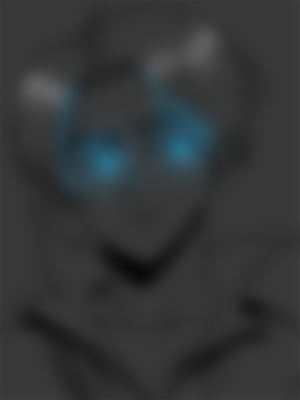
I want to increase the darkness of the artwork here just to make the glow look more obvious. You can use blur to direct a person's attention to the glow area so I'm combining both to create the final output.

Well, what do you think guys? I think Mikasa is gonna leave Eren when she see Levi with these angelic eyes xD. I had fun making these so I'm looking forward to see your reaction in the comments section.
Thanks for reading guys and I will see you soon with my next post 😇.






Happy to see your article here, welcome back, I presume! Furthermore it's far superior that you let us look into your craft cycle. I love it