
Scientific Name: Solalum lycopersicum.
Popular Name: Tomato.
1. Climate: It can be grown in an open field, in cultivation houses, greenhouses or in urban gardens. It is a crop of warm environments, the ideal temperature for its cultivation is between 17 ° C and 25 ° C. In Tropical Climate it can be cultivated throughout the year in the open field. In Stationary Climate it can only be grown in Spring and Summer in the open field.
2. Requirements:
2.1 Water: A good part of the formation of the fruit will depend on the water, the soil must always be moist but never waterlogged. If we grow in large areas it is recommended to use a drip irrigation system to keep the plant constantly hydrated and save water.

2.2 Solar Exposure: The tomato plant needs to be well exposed to sunlight for at least 8 to 10 hours a day. It should not be planted in roofed spaces or under other plants that provide shade.
2.3 Nutrients: At the time of beginning the formation of the fruit the plant will require a greater contribution in Potassium (K). In addition, it is recommended to fertilize the crop with Complete Formula Nitrogen, Phosphorus and Potassium (NPK). The Compost is very useful as a fertilizer in this crop because it provides good amounts of Nitrogen (N) and Potassium (K).

3. Seedbed: Usually this crop is germinated in seedbeds, however it can also be sown directly, this last method is recommended only in small orchards where we do not have the possibility of making a seedbed.
In the seedbed we recommend sowing 1 seed for each cell. If we make our seedbed with small plastic cups or egg cartons, we also recommend sowing 1 seed per glass and 1 seed in each space of the cardboard.
In a week or less we should be seeing the first outbreaks. The transplant is performed when the plant has developed 3 to 4 leaves and 15 or 20 cm tall, which should occur approximately 21 days after germination (depending on the variety or hybrid we are growing and the treatment of the seed).

4. Soil Preparation: For sowing in the field it is most advisable to make ridges, in the case of the small orchards the raised beds are recommended. The soil must be loose at least up to 30 cm deep to allow good root development.
In the case of very clay soils we must fragment the lumps using harrow, rotary cultivator, tiller or hoe. If we leave lumps between 0 and 30 cm deep we can have a bad root development.

For the raised beds you can use blocks, plastic bottles, wood, tires or any material that allows you to contain the earth.

5. Sowing: When the plant is extracted from the seedbed, it should be rooted in the substrate, the sowing depth is the same depth of the substrate in which the plant will be rooted. With respect to the Plant Spacing, a distance of 20 cm between plants can be used, to allow a greater population of them in the plantation.
6. Weed Control: This work must be carried out with great constancy in the cultivation and maintain the least amount of weeds possible in the plantation or garden, because remember that the tomato has high demands on water and Macronutrients (NPK), if we allow many Weeds in our crop will take away our plants the nutrients and water they need.

7. Tutored: The most convenient thing is to keep the tomato plant upright, for which we usually use very handmade systems composed of sticks and ropes, or very sophisticated systems such as those we can see in a cultivation house.
The important thing is that the plant does not bend or touch the ground due to its own weight, or the weight of the fruits. This work should be done as soon as we notice that our plants are slouching, so we will begin to tutoring before the plants begin to produce fruits.

You can tutore the plant by tying the tutor in the lower part of the stem (or anchoring it to the ground) and passing the rope around the plant stem as it grows, this is convenient that we do it in one direction for all plants; so it is recommended to do it clockwise, from right to left.

8. Pruning: The low branches of the tomato plant should be pruned to allow a better path of nutrients to the upper parts of the plant. This pruning is done a few weeks after the transplant, when the plant has already developed several branches in its middle and upper part. It is recommended to use scissors or razor to make precise cuts that do not damage the outside of the plant stem.

During the flowering and fruiting of the plant, large and old branches that do not produce flowers are removed, keeping the branches in better condition to continue allowing good photosynthesis in the plant. The branches of the lower part of the plant will try to sprout in different phases of the crop, we must prune these branches again with the scissors or razor.

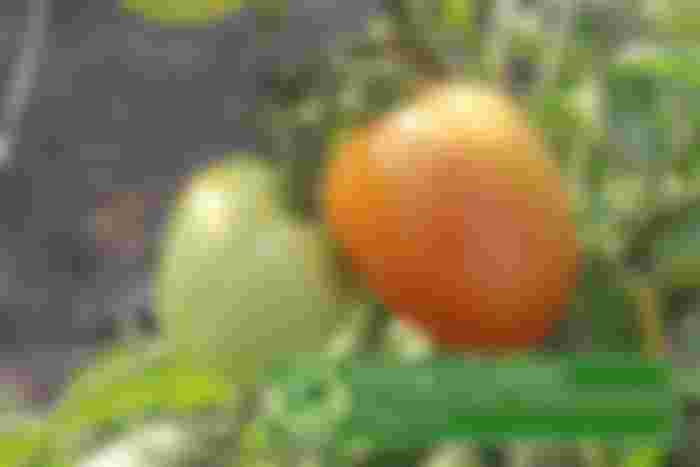
9. Harvest: It is best to harvest with scissors and the cut-off point is a small bump that is approximately in the middle of the peduncle of the plant. In the image under this paragraph you will see a red circle where we indicate the cut-off point.

Ripe fruits should be harvested or whose ripening has begun, green fruits (immature) should not be harvested as they may not mature or do so very slowly. The beginning of the ripening of the fruit will indicate that it has already completed its growth phase, that is, when the fruit begins to ripen it will not continue to grow, so we can harvest it from this moment.
If we harvest ripe fruits, it is advisable not to pile them in containers, meshes and baskets or large-sized, since the weight of the fruits of the middle and upper part would crush the fruits of the lower part causing them very serious damage.








One of the most difficult plants to harvest in my experience has been tomatoes. Thanks for these tips and relevant information.