Drawing and coloring step by step Mickey Mouse
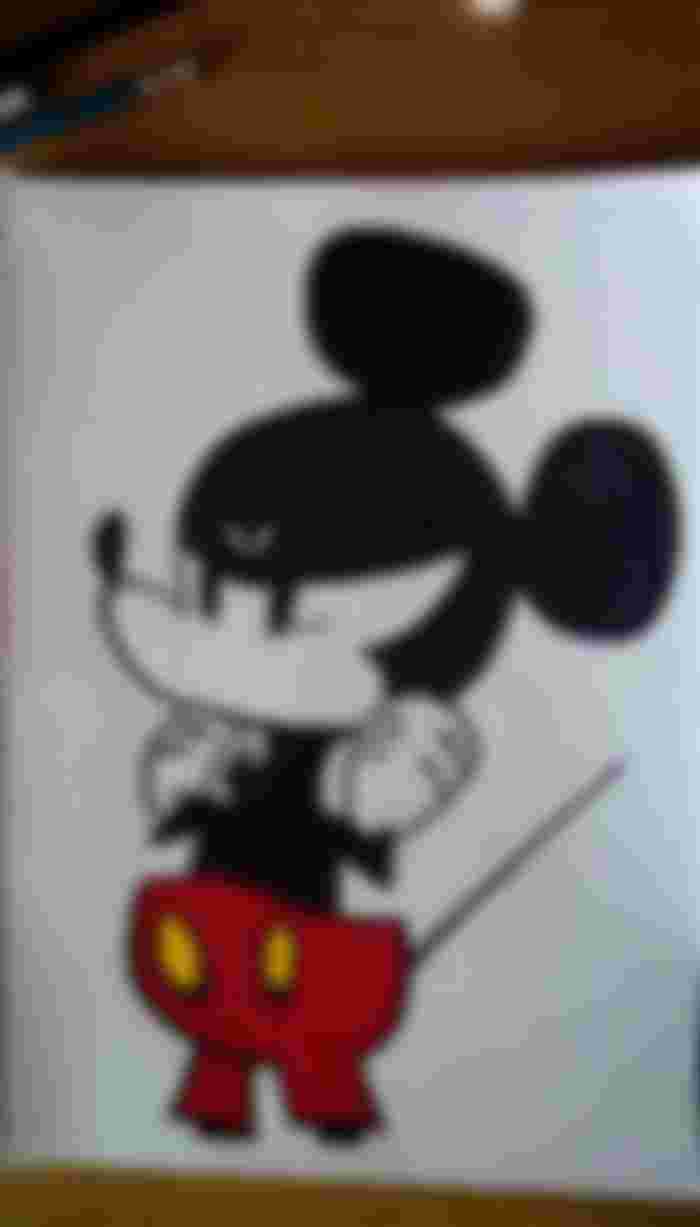
Greetings friends of the community, it is a pleasure to be among you again after so many days. In this opportunity I come to present a series of images where I show the step by step process for the development of a drawing based on the emblematic character of Disney company, Mickey Mouse; and for that I had to search for an image on Google images.
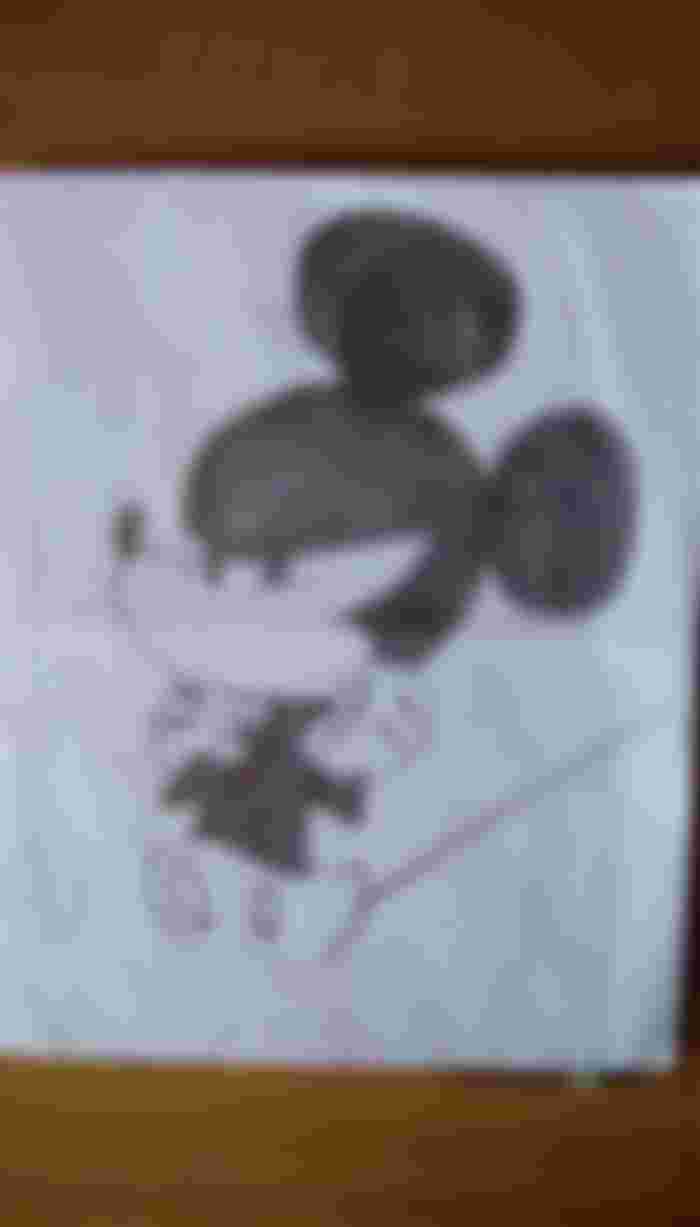
Once the image was obtained I proceeded with the process of making a sketch to have a reference image that later was going to be replicated again in a drawing pad, due to the types of materials used for the color this kind of sheets are more resistant than a normal sheet.


When I had the sketch ready I had the idea of giving it some shading to better appreciate the drawing, and after realizing some mistakes I avoided repeating them and improving them at the time of doing it in the block.



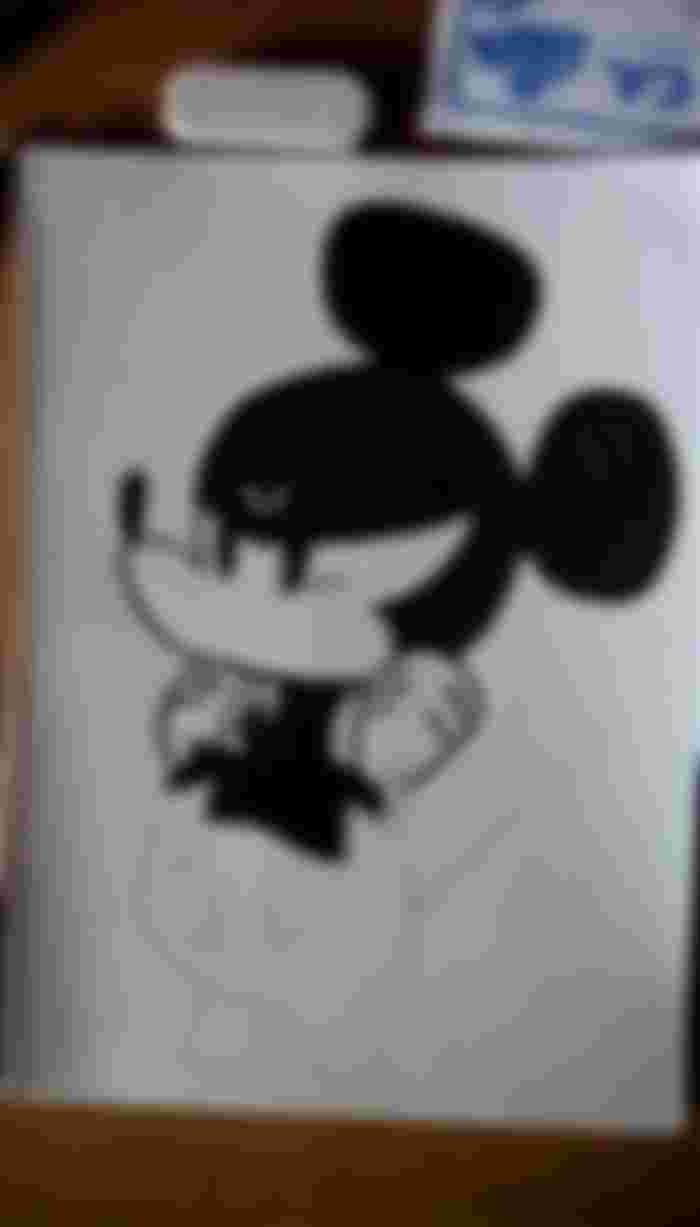
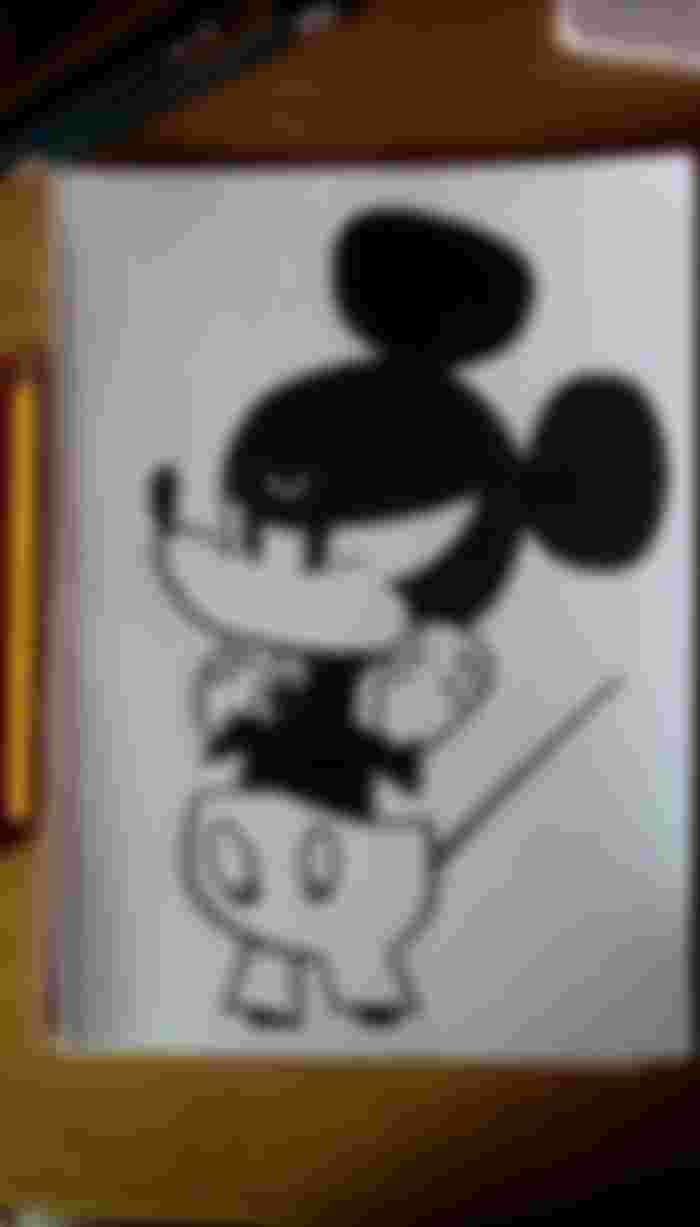
Now with the block I did the drawing again from the beginning, but because the sheet that is being used is not transparent so it does not serve to trace a drawing.
As for the materials used we have:
Drawing block.
Recycled sheet.
Eraser.
Pencil sharpener.
Prismacolor crayon.
Sharpie markers.
As you can see from the images and the list of materials, the work has been simple, unlike others. I hope that with this many of you can also join me to practice drawing or create your own designs.
Without more to say I say goodbye until a new installment. On my behalf I send you a big hug and, on the other hand, do not forget to leave your comments at the end of this publication, because your comments have a great value for me.
Until next time and many successes and blessings.
Note:
The images were taken with my Amazon Fire 7 tablet.

