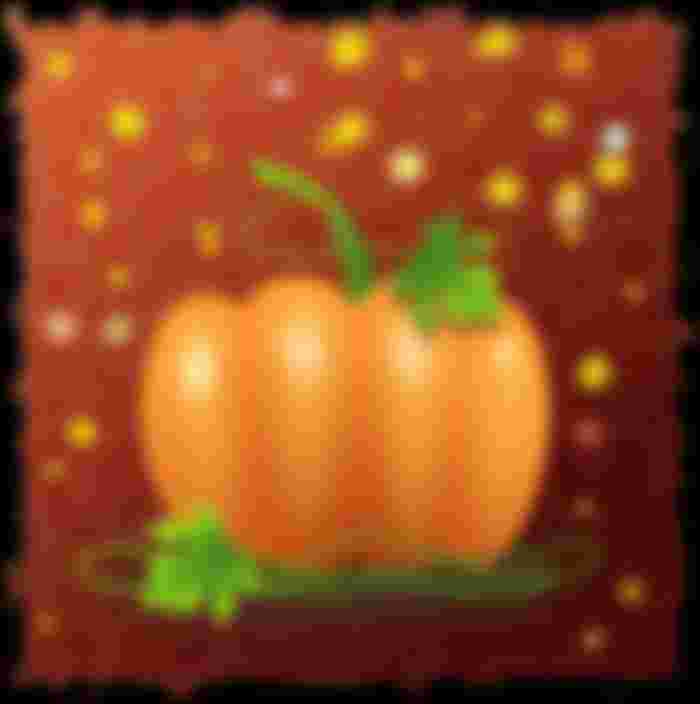
Autumn Sketches #5. Pumpkin (part 1)
Hi friends!
Theme of 5th day in my sketch challenge named Pumpkin
I decided to work in free vector editor Inkscape.
I've not worked in this program before and found it very attractive.

My tutorial turned out to be very long, so I split it into two parts.
So, I open Inkscape and create new file - 900 х 900 pxl


Then I select the Oval tool and draw a shape corresponding to the name.
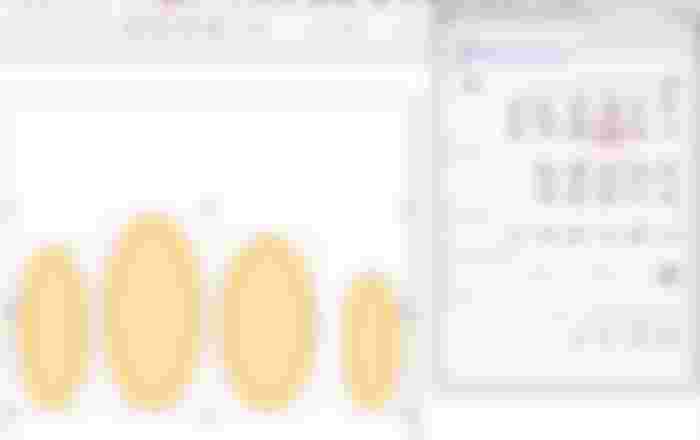
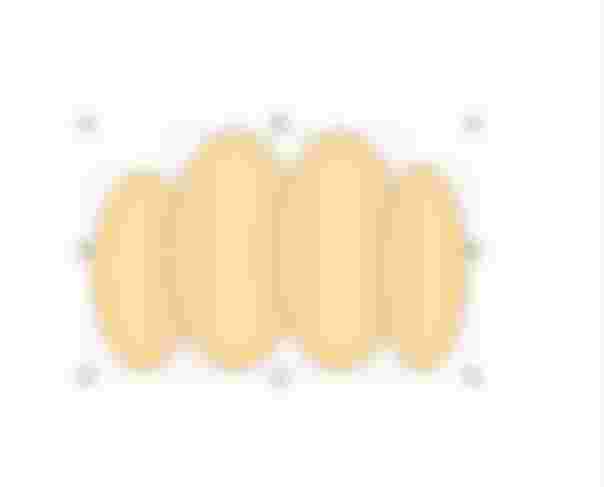
According to my idea, the pumpkin will consist of four slices, so I draw three more ovals.


I select all of them, copy and paste copies into the document - I'll need them in later stages.


Then, do not deselect, I go to Object - Align and Arrange, a window opens with different alignment buttons.
I press "Align Bottom Edges"

Then I move them closer together to create the basic pumpkin shape.

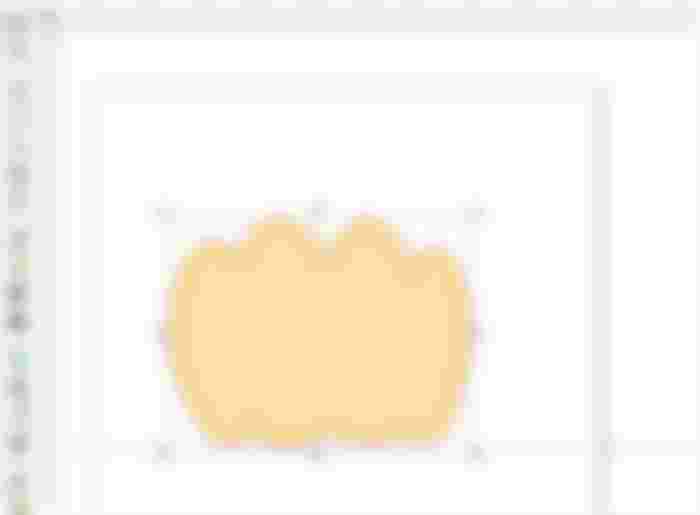
Then, again, without removing the selection, I go to Path - Union


Now, to give the shape a recognizable look I select Path - Object to Path


Now I can select Edit paths by nodes and give this object a recognizable pumpkin shape.
To make it easier to align the lower nodes, I use Select and transform objects tool to pull out a horizontal guide from the upper ruler - nodes snapping to it is enabled by default.
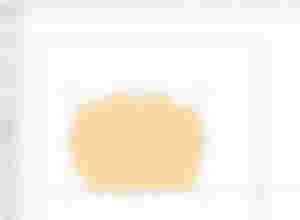
I choose a color more reminiscent of a pumpkin for the shape.


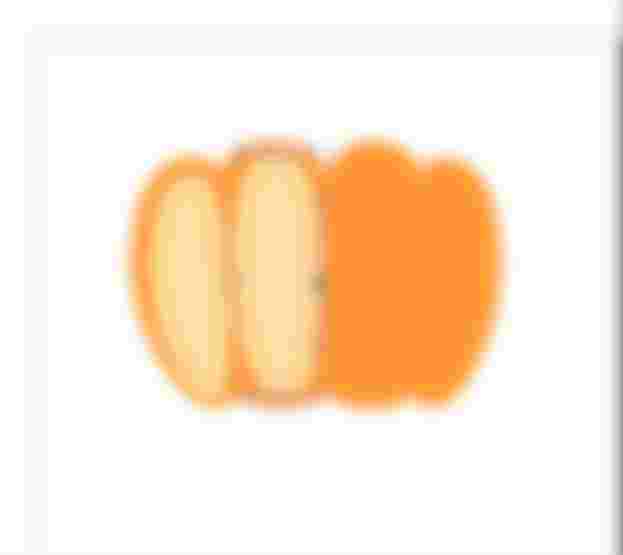
Now I need to give the pumpkin a more or less realistic volume.
I take one of the 4 ovals I copied earlier and place it over the base shape.
It will be glare


I choose Path - Object to Path again to give the desired shape to the glare

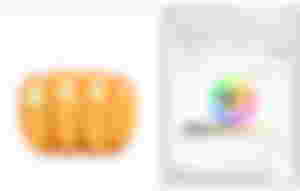
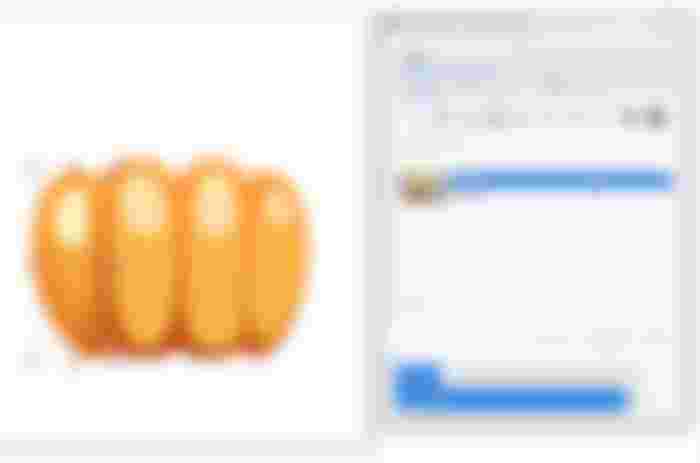
When I modify all glares, I go to Object - Fill and Stroke


A separate window Fill and Stroke opens


Using the color wheel, I choose the right color


and remove the stroke in the Stroke tab (f*irst icon as cross*)


and then, using one of the lower sliders, I set the blur for it to 20%

For the second glare I set blur 15%


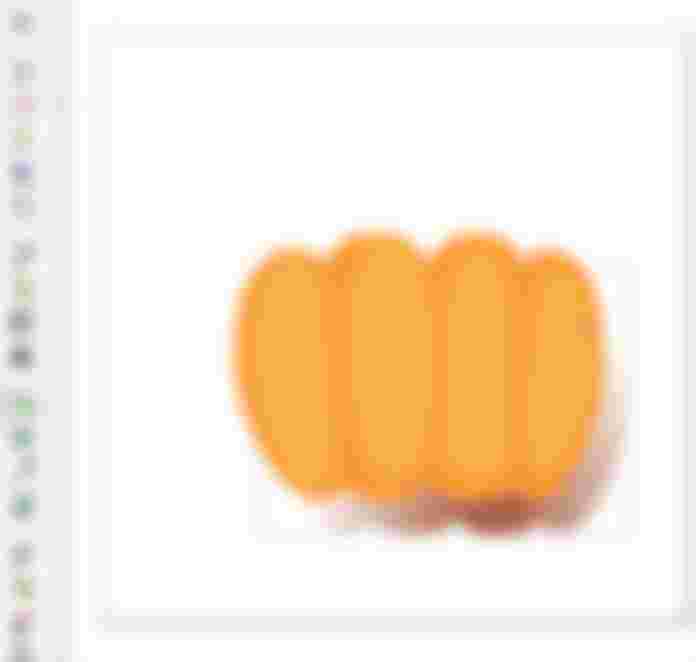
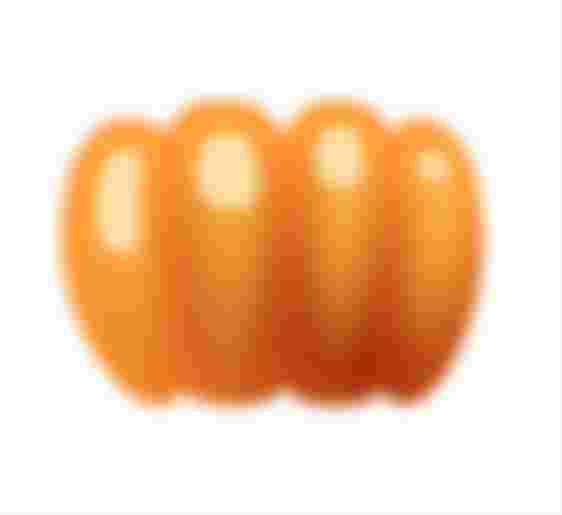
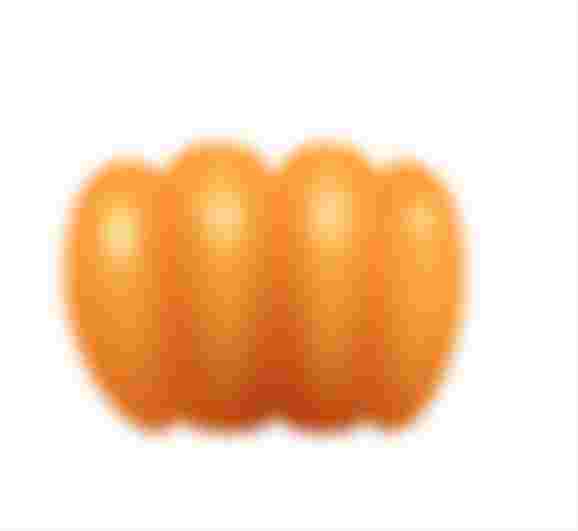
Ready-made version with glare.


To create a shadow on the pumpkin, I copy and paste the base shape.
Move it below the original, select both objects and choose Difference from the Path menu.
Yes, both of these shapes have strokes off.


I want to paint a shadow with a radial gradient


By default, the program opens a gradient - from color to translucency.
To make the top of the shape semi-transparent, I change the direction of the gradient with Create and edit gradients
Then I select a shadow shape and press Rise selection one step on the property bar


and combine the shapes


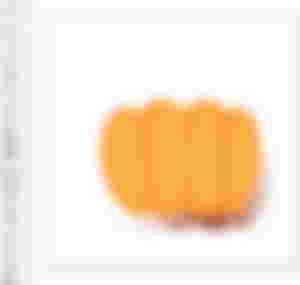
Then I change blend mode of shadow to Multiply for a more spectacular look


The pumpkin is pretty, but still not bulky enough.
I think it's worth adding some bright highlights on top.
I will make them from copies of the first row of highlights, only I will modify them using the node editor.


I choose a very light yellow shade for the upper highlights.

But now the first row of highlights looks too sharp.
Fill them with a suitable gradient to soften the edges.
I like this result better!
I also make for second highlights gradient fill
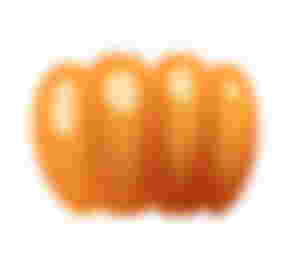
So, an appetizing ripe pumpkin is ready!

I select all the elements and group them for the convenience of further work


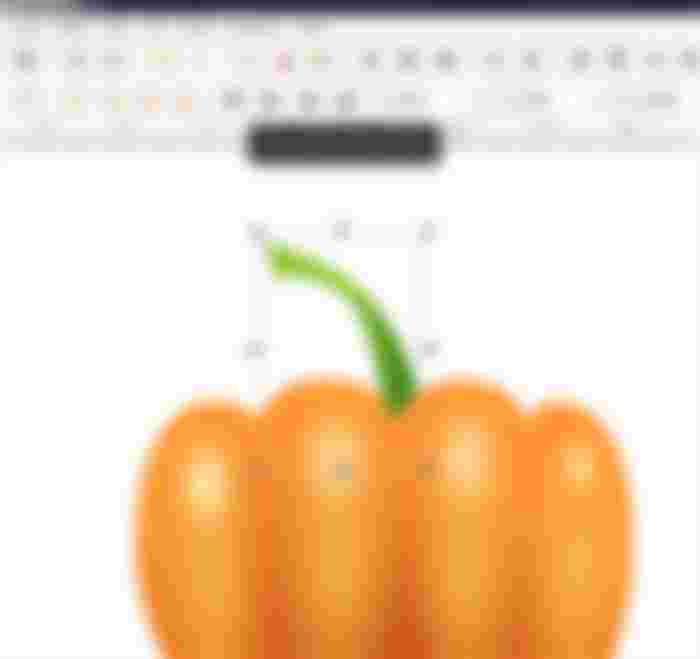
Next, I choose Draw Bezier curves and Straight Line tool and draw a stalk.


Fill in green, adjust the nodes


I select a suitable gradient for the stalk


and move it to the background
That's all for today.
In the second part I will show you how to create pumpkin leaves, as well as how to create a beautiful background for your picture.
Thank you for your attention and upvotes!
Have a nice and creative day!
Regards