

Hi there! This is another article in the series where I share my experience with beginner miners. Last time, we talked about OS installation and mining software configuration; today, we’ll be learning about video card overclocking which is used to increase hash rate and cut power consumption.
What Is Overclocking?
Using special software, we can increase performance of the processor, RAM and other hardware components. However, in GPU mining it makes sense to tinker with video cards only. Actually, it means changing AMD card timings, voltage, and core and memory frequency. Let’s take a look at how it’s done on Windows and Hive OS!
Dangers of Overclocking
Before we start, I have to warn you that manufacturers usually don’t support hardware overclocking. Even if you have a special model suitable for overclocking, it may be somehow limited in terms of functioning. For this reason, we’ll use “unconventional” means of overclocking which will most likely result in voiding your warranty, so be careful: incorrect settings may turn your device into a piece of garbage. Proceed at your own risk.
By the way, devices suitable for overclocking are usually more resistant to unsuccessful attempts: you can always switch back to default settings! Non-overclocking devices can be reset only with the help of some special equipment.
Run a Pretest
I recommend you to start by testing your equipment. Do it to get the general idea of its default capabilities. Just start mining for something about five minutes, check the hash rate and temperature, and measure the rig’s power consumption (if possible).
In my case, one 4 Gb Gigabyte RX 470 video card offered only 21–22 MH/s at default settings, about 25 MH/s when overclocked with the popular MSI Afterburner utility, — and 29.5 MH/s after I changed the timings through flashing.
Overclocking Stage 1: Flashing VBIOS
Instructions given at this step are applicable only to AMD video cards. It took me some time to find information on NVidia firmware modification, and it turned out it wasn’t worth it. However, make sure to look up info about your model.
VBIOS modification is the most dangerous stage of overclocking, but it’s also the most important one. Without it, you won’t be able to make the most of your video cards. There are several things a video BIOS contains information on; among then, there are operating frequencies, voltages and timings of the graphic core and memory. Default settings are usually set in such a manner that helps to provide maximum performance and stability for games, but it’s preferable to change them if you mine.
To keep this article short, I won’t go further into theory; let’s pass on to practice. VBIOS flashing includes three steps: backing up, modifying, and loading back onto the device. If you are ready to risk, try finding a ready-made mining BIOS image. Still, remember that loading a wrong firmware may kill the card.
If your video cards have a BIOS switch, your risk decreases significantly. Even if the video card doesn’t start, you can switch to the backup BIOS and restore the settings! Just look for a tiny switch on the side of the board.
I suggest we don’t risk it and go through all of the steps. Besides, if your video cards are absolutely identical, you may cut losses and create only one back-up copy.
Creating a VBIOS Back-up Copy
A video card has to be hooked up and properly installed in the operating system. I recommend hooking up the cards one by one so that you don’t flash an adjacent card by mistake. I’ll also say a few words about NVidia cards, but remember we are modifying an AMD one.
If you are a Windows user, download ATIFlash or NVFlash depending on your video card manufacturer. Linux-based mining distributives generally come with built-in utilities. Another popular piece of software is GPU-Z, but I won’t recommend it: there are massive forum reports describing problems caused by loading the full image.
ATIFlash has a graphic interface. Run the software as an administrator and select the desired adapter at the top; then press “Save”. It will result in a .rom file. Let’s give it a name (something like “backup.rom” will do).
ATIFlash may take a lot of time to load, but if nothing seems to be happening after you run the program, the most likely reason behind it is using Windows 10 and an outdated software version. Download v.2.8.4, and it will work!
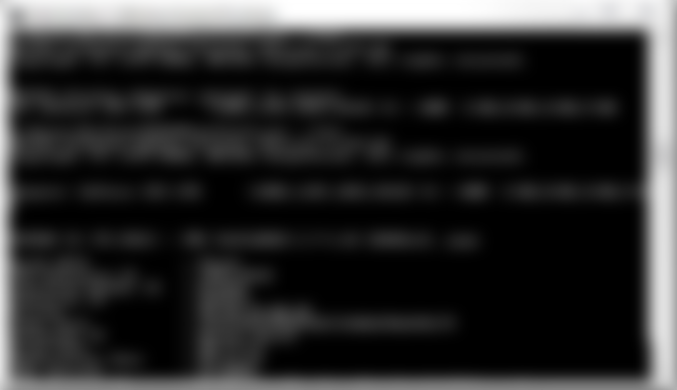

NVFlash is a console utility for NVidia. Open the terminal as an administrator; in Windows, click “Start” → cmd → a right-click → “Run as an administrator”.


Go to NVFlash folder:
cd C:\Users\Administrator\Downloads\NVFlash\Let’s get a list of video cards and take note of the desired video card number:
nvflash --listSave the original BIOS:
nvflash -io -b backup.rom

If your rig is based on Hive OS, it’s even easier. Open the web interface, then enter the desired rig and go to the Overclocking tab. Select the desired video adapter and click “Download VBIOS”. You’ll see a “> *.rom” shown as the rig status. Save it onto your computer. To make sure you selected the right video card, it’s better to connect the adapters to the motherboard one by one. That’s it!
Also, keep in mind a number of simple actions that may help you to save the video card in case of emergency. Make sure you created several copies of the final .rom file: send one of them to your own email.
Next, we’ll be making some changes to the image.
Modifying VBIOS for Mining
Here, we need to reset the timing values to make the frequency higher than 1,500 MHz (1,625, 1,750, 2,000, and so on). We can do it with the help of the Polaris Bios Editor software that comes in a number of versions. I picked the 1.4.1 one, but you should choose the version suitable for your video card and the memory chip. Setting a wrong version may cause displaying incorrect memory frequencies or not displaying them at all.
Run the program as an administrator (a right-click → “Run as Administrator”).
When you see the message about BIOS modification being dangerous and possibly leading to irreparable damage, click “OK”. Press “OPEN BIOS” and open the file you’ve loaded at the previous step. Remember, you have to make a copy of this file before making any changes.
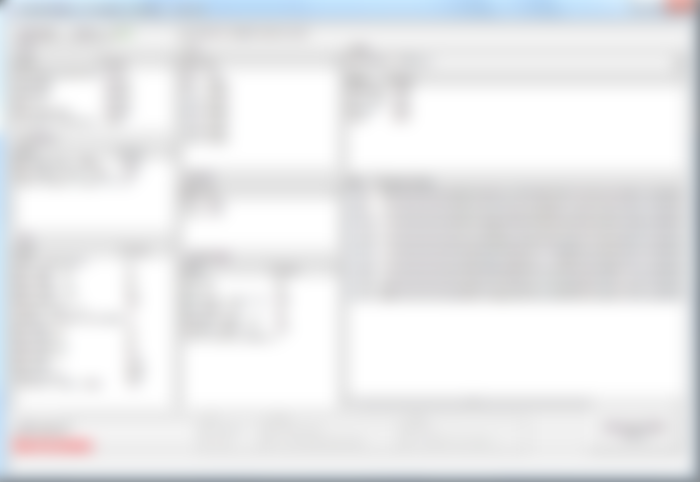

After opening the file, you’ll see a pane saying “TIMING VALUE” (or “Timing Strap”). If it demonstrates numbers different from 0:1500, 0:1600, etc. or there’s simply no pane shown, try another version of Polaris Bios Editor.
After that, copy the whole row opposite the 1,500 value and paste it into all the rows listed below (1,652, 1,750, 2,000…). To copy, click the value (for example, 7770000000000000022AA1C0…) with the right mouse button and choose “Select All”. Missing even one character will lead to irreparable damage! You can use this utility to change other BIOS parameters, e.g. maximum frequency or fan rotation speed, but timings are actually enough.
Save the file by clicking the “SAVE AS” button and adding the “_modded” suffix to the image’s name — do so to avoid mistaking this file for the original.

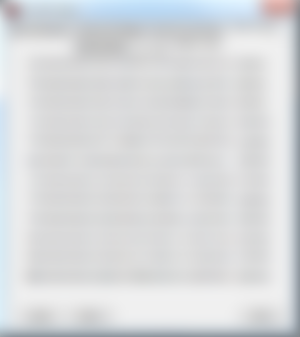
If you can’t find the right version of Polaris Bios Editor, try Red BIOS Editor. With it, follow the same instructions: load BIOS by clicking the “Load” button, go to the “VRAM Timings” tab, copy the value corresponding to 1,500 MHz into each row below. Repeat that for every memory chip that can be found in the Memory Type list. Finally, click “SAVE” and add a new file suffix.
Yay! We’ve modified the firmware; now we only have to load it onto the video adapter.
Loading the Modified VBIOS Onto the Video Card
Run ATIFlash as an administrator again; select the same video adapter at the top. If you have several video cards, it’s better to do it through a console, as video card names shown in the list get cut and you may accidentally modify the wrong card. So, as I’ve already said, it’s safer to connect video cards to the computer one by one.
This time, click “Load Image”, select the .rom file from the previous step (the “_modded” one), then click “Program”. Before you do so, close all unnecessary programs, as you’ll need to restart the computer.
It is very likely that everything will be just fine. After the operating system restart, you’ll be able to find the video card with the device manager.
Let’s take a quick look at some typical firmware issues:
Failed to read ROM error has to do with damaged firmware image. If you’ve downloaded it from the Internet, it’s better not to risk it and find a different file. If you’ve modified it yourself, try again and make sure to copy every character in the timing rows.
If facing an error which says Cannot find discrete ATI Video Card, make sure the video card is displayed in the device manager. Try connecting it directly to the motherboard, without a riser. Disconnect other video cards.
Stop immediately if there’s asubsystem id mismatch error! It means there’s something wrong with the firmware size Of course, you may try to transfer the values through Polaris Bios Editor, but it’s better to find a different image.

If you work on Hive OS, you have to go back to the Overclocking tab and click “Flash VBIOS”. Select the edited .rom file (with the “_modded” suffix) and the video card index (I still recommend connecting video cards one by one), and click “Upload”.
Congrats, you did it!
Overclocking Stage 2: Increasing Frequency and Decreasing Voltage
This stage is much easier and safer. Our task will be to find memory, core, and voltage frequencies letting the video card continuously offer the maximum hash rate possible. The word “continuously” is important here: a video card with all its frequencies cranked up might work, but with occasional freezing and errors. This is why we need to find a performance-reliability balance; thankfully, there’s almost no chance of damaging the adapter at this point.


If you mine on Windows, you’ll need the MSI Afterburner utility. Aside from what its name suggests, it works on both AMD and NVidia video cards. Install the software from the official website, restart the computer, — and you’re all set.
Afterburner comes in different designs depending on the version, but the structure is always the same: you see a number of categorized sliders, e. g. “Voltage”, “Clock”, “Fan”. A good start would be to set voltage as 920 mV, core clock as 1,000 MHz, and memory cllock as 2,000 MHz. Check how the card reacts. Then, depending on the memory chip manufacturer, you will need to either increase these values or decrease them. If the video card fails, try increasing voltage up to 950 mV or decreasing memory frequency down to 1,950 MHz. If everything works smoothly, you can slightly pump up the frequency parameters.
In my experience, Samsung offers the best performance. Its memory cards work continuously at 920 mV voltage, 1,100 MHz core clock and 2,100 MHz memory clock; their temperature and fan rotation speed are pretty reasonable as well (up to 68° C and up to 70% respectively). This combination provides an excellent hash rate at relatively low power consumption. If using Windows, you can check the memory manufacturer with the help of GPU-Z.
I wouldn’t set the fan rotation speed using Afterburner; it’s better to use the built-in Claymore auto fan. You can activate it through the -tt 68 parameter, i.e. target temperature.
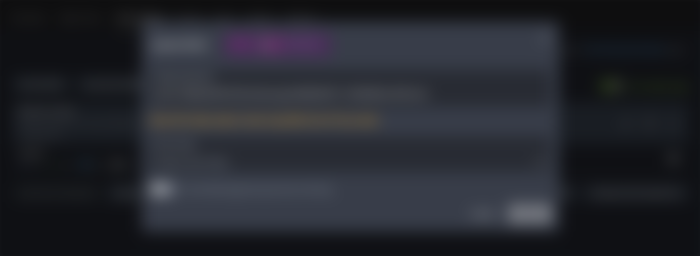
If you work on Hive, you won’t need any utilities: everything is already built into the system.

Open your rig in the web interface, and you’ll see the familiar CORE, VDD, and MEM abbreviations included into the video card list. These are the same parameters we’ve seen in Afterburner. To change the parameters, use the button in the rightmost column. Additionally, you’ll see memory chips shown under the video card names. If they are all the same, you can use the button for overclocking configuration on all adapters at once.
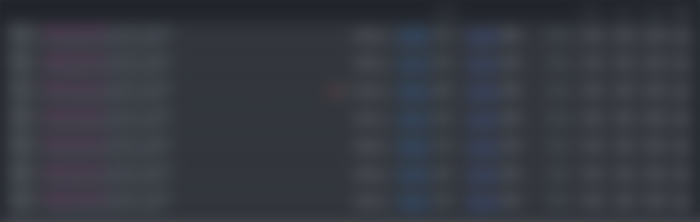
The value selection process is similar to that one described above: start at 920, 1,000, and 2,000, and adjust the numbers. In the Hive interface, errors are displayed to the left of the hash rate (check my screenshot: there are 2 errors in GPU-2). If you notice 10 errors per hour or so, it’s time to finish. If there are no errors and the temperature values are fine, you can increase the frequency.
You can set the fan rotation speed within the same overclocking configuration window, but I prefer to trust Autofan: it does a great job maintaining the necessary temperature (up to 70° C) without overloading the fans. Also, this window displays more options for some cards, e.g. OhGodAnETHlargementPill for NVidia cards. Unfortunately, I cannot cover all settings in just one article, so I suggest you look up the exact parameters recommended for your card.
Memory Maintenance
Unfortunately, video card memory tends to wear out. Mining loads video cards in a way no avid gamer ever could. Video adapters may work at full capacity, maximum frequency, and decreased voltage 24/7 several years in a row. To prolong your video card’s life, follow two simple rules:
Don’t allow overheating. At increased temperature, chips degrade faster, and your card may even completely go out of order because of the critical temperatures. Configure automatic mining deactivation in case the temperature reaches 90 degrees and above. Also, turn on overheating notifications and monitor fan performance.
In case or errors, decrease overclocking. Due to the gradual wear of memory chips, your video card may start displaying more errors than it used to (even if overclocking is being performed at the same frequencies).
⌘⌘⌘
Once you’ve completed all of these modifications, leave the rig for 12–24 hours and compare the “new” levels of performance and power consumption with the initial ones. In my case, the difference turned out to be ≈30 % — a great result!


Good