Yesterday, in the last article, a problem was formulated, and it was "¿What if the rain hits the door and the water starts leaking from below there? " An it was interesting, because that problem appeared the day after i thought about it. It started raining, and not just a simple rain... it was a storm, full powered, so naturally, the problem appeared, water leaked through the door to inside the room. How do we fix this? Let's find out.
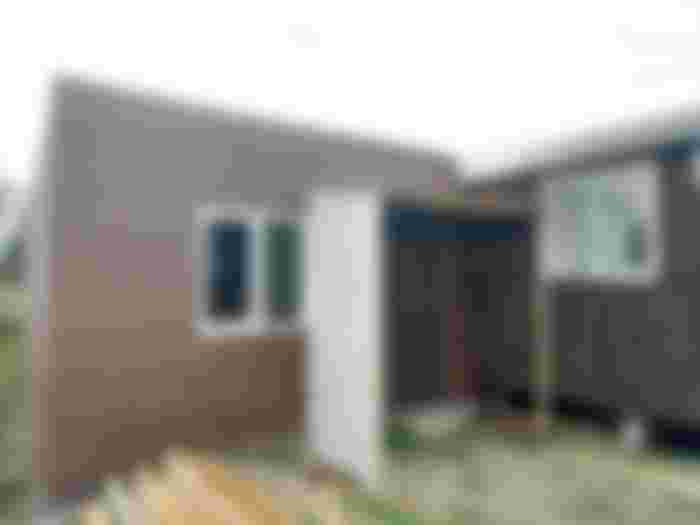

First, we need to take care of the rain's orientation. After i figured out which direction the rain mainly goes, i formulated a plan: First, i do a small porch at the entrance, with the wood pieces and the zinc plates i had that was a leftover from the main structure, that will help to prevent the raindrops falling directly to the entrance from the front. Then, i used the remaining siding i had to close the porch from the side, preventing the raindrops to fall directly from the sides.
I didn't create a big or visually attractive porch, because i don't have the materials to do that, i will do that later, when i do. When the rain goes away, i'm going to paint the porch. Water leakings fixed.
It's time for water protections.


I placed two custom made "L" shaped profiles for the corners, and dropkillers on the bottom, for extra water protection. Both things makes the same function as a group: The profile prevents water leakings through the corners, and the dropkillers prevents water leakings from the joint between the concrete base and the siding, plus, both of them looks good without painting.
What to do on the outside from there? nothing really, it's time to work on the inside, the most delicate, but hardest part of the project. Why is it hard? Well, in this part, you can't make visible mistakes, because now everything you do, will be visible, so we need to do work in detail.


In this part, also, i got stucked, because i couldn't afford the entirely of materials i needed, i could only buy the electrical cables and the electric pipes, so i just did that while i gathered BCH through the community using noise.
Then, another thing happened: My mother lost her right arm movement, and started with pain, we get her to the hospital, and the problem was she broke her rotator cuff, causing her a lot of pain, and she needed an operation quick. So the project went to a halt for a couple of months, because the BCH i gathered, so as a loan i could get was set for the surgery, even a crowdfund i tried to do, without success, but finally, the surgery was a complete success, in case you wonder. My mum is now recovering, slowly but surely.
That moment was the most boring of the entire project, because as i was stucked in there, the electrical i did it really slow so i can have something to do daily, because it was that, or to lose my mind with all the problems i was having at that time, and i learned i'm stronger than that, because somehow, i did all the things i needed to do.


Well, for the electrical, there's two ways to go through it: Internal grid, or external grid. And those types of grid has its pros and cons.
The internal grid is visually great, because you only see the outlets (the switches and the plugs), the cons is that, it takes more time to install, and in case you need fixing something, it's harder, because it's all inside the walls.
The external grids are great for installing, it's quicker and easier to install and to fix, but it's visually ugly, it distorts the inside design of the project.
So i chose the Internal grid, for aestetic reasons, and i had a lot of time to burn, because i was stucked with the materials. Electrical grid installed.
After that, i was hopeless, because a couple of months passed, and i couldn't gather any BCH for it, because i used it all for my mum, and then, when sudendly, out of nowhere, my uncle came to the rescue, and he purchased all the drywall plates, the drywall screws and the isolating polyester i needed, and even better, the lockdown was over, so i could finally get back to my job, so i was able to purchase all the remaining materials i needed in that moment.
Now it's time to isolate the bedroom! Well, not really, that will happen on the next article.
Are you enjoying this project series so far? I hope you do. This is the fourth part of it, and we are close to be up to date. Tomorrow i will post the fift part of it, and it gets even better, because now you will see the inner part of the bedroom, reflecting the final product of the bedroom, one step at a time.
Disclamer: I need to say, i'm not a builder, i'm just learning how to do it on the go, and i'm doing it with all my love, because this bedroom is for my nephew, it will be my birthday present for him.
Most of the materials were purchased by the noise community by simply giving hearts to the followups.
Thank you all for reading this article, what do you think? Did you like the progress of the project? if you have any questions about this, please feel free to ask me, i'll be happy to answer any question from you guys.
And, if you like this kind of projects, i'm always willing to do more, always funded with BCH by the community.
See you on the next article.
Though you're not a builder your work is kinda great! 😊