This five days has been a full tour through all the things i've done in the project, this is the last one, and we will be up to date.
This couple of months has been fun, learning and applying all the things i've learned about construction, and this is my test, to prove myself and everyone that anyone can do this, if you take your time to learn, to practise and to apply it to real life, because, this will be helpful to someone, it may be for you, for your siblings or someone you love, you can change a life with stuff like this. In this case, this bedroom will change my nephew's life, because he will have his privacy, and that's very important in real life. All thanks to BCH.
Let's continue with the project!
As we said in the last article, now it's time to apply the isolation inside the walls, this will be fun-ish.
To isolate inside the walls or/and the ceiling, you have a lot of options, been the cheapest one the polystyrene (not recommended), the middle range Isolating Polyester and the expensive one the glass wool. There's other options, but those are way too out of budget.
I will never recommend polystyrene panels, it was the greatest producer of house fires here in my country, it doesn't isolate heat so, don't fall to that, even if your budget is short. Spend wisely in this matter, because, as my dad always said "Choose to be cheap, and it will cost you in the future". You don't need to buy the most expensive, you can pick something in the middle. in my case i chose the Isolating Polyester, because it's similar to the glass wool, it's not as good as glass wool, but it will do the job, it helps isolating heat and sound, and it cost half of the glass wool, so if you want to get greedy, you can double isolate the whole room at the price of a single isolation with glass wool.
This is how it gets done:
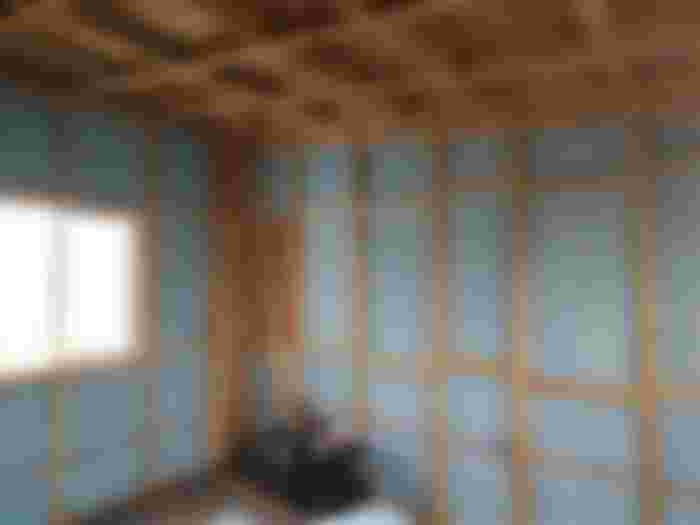

You measure the width of each square of the walls, and with a cutter, you cut strips of isolating polyester, and you place them, making sure it fits very well, it must cover the whole square, then, you do the next one, and then, the next one, and so on.
This procedure will take some time, and it might get boring and repetitive, so i put music, and did fun things while i was doing it to make more bearable the process. You don't need to nail any of the isolating polyester squares, because it gets trapped by the wood pieces, so it won't move, even the ceiling ones.
This is the awesome part: You will inmediately notice that it's working, because while you are installing them, the "Echo" fades, to the point that the echo completely dissapears. Fun, huh?
Inner isolation completed.
Now it's time to install the Drywall pannels. Yay!
At first, i was a bit concerned about how i was going to be able to install them alone, by myself, and prolix. It was days of trying to figure it out, until it finally hit me: "don't overthink and just do it!". So i didn't overthought it, and just did it.
The first plates were a nightmare to carry, until i figured out my confortable way to carry and place them without harming myself. So i started to do the following:


First you have to measure from half of one column to the next column between the measure of the drywall plate (it must be between 2.4 meters, no more), if a bit of drywall passes the last column, measure the distance, and you make the cut on the drywall using a cardboard cutter and a ruler (the cut must be even), and then, you must use a plaster scratcher, that helps the cut gets straight, and all the imperfections dissapears. Then, you place something under the drywall pannel so it don't touch the floor, and then you screw the panels to the columns and all the wood pieces inside the panel's area. Then, you repeat the process with all the pieces.
Now the big question: how do you cut a perfect square for the plug outlets and switches? Easy: Coordinates.
You only need to draw X to Y by measuring how long from the drywall and how high to the drywall the outlet is. For example:
long: 1,5 meters to 1,55 meters
High:0,5 meters to 0,53 meters
Those coordinates are the representation of a rectangle, and that's the place you have to cut using a plaster saw, And that's it.
Walls installed...? Not completely.
That we will see it on the next Article.
Did you enjoy this project series so far? I hope you do. This is the fifth part of it, and we are almost up to date. Tomorrow i will post the sixth part of it, and it will be the last part of the summary, after that, it will be in real time. And it gets even better, because now you are starting to see how will the inner part of the bedroom look, reflecting the raw product of the bedroom getting more beautiful, one step at a time.
Disclamer: I need to say, i'm not a builder, i'm just learning how to do it on the go, and i'm doing it with all my love, because this bedroom is for my nephew, it will be my birthday present for him.
Most of the materials were purchased by the noise community by simply giving hearts to the followups.
Thank you all for reading this article, so please, tell me what do you think. what are your thoughts about this? if you have any questions about the project, and all the steps and processes, please feel free to ask me, i'll be more than happy to answer any question from you.
And, if you want more of this kind of projects, i'm always willing to do more, always with the help of the BCH community.
And if you have any new ideas, please, let me know, let's do stuff with the power of BCH!
See you on the next article.