

Across the years, the field of education has been doing a fast technological advance, and it looks like each year there is an amazing modern tool entering the classroom.
Today, aside from the traditional way of using chalk and slate boards, the new technology has paved the way to introduce to us various ways which have really been of great help in making the class discussion more engaging.
The world is constantly changing, and technology continuously developing. Now we have become conventional to overhead projectors, television, and computers, but what appears to be the new trend of education is the use of PowerPoint in presenting reports and class discussion.
This app by Microsoft really has great features, and if you know it already how to use it, you will for sure enjoy using the different tools in it.
So today, we will gonna learn about something through the use of Microsoft PowerPoint. Yes, you heard it right. So, if you are interested, continue reading this article.
By the way, this is the first part of our tutorials about making academic activities. This is not only intended for students. It can also be used as preference for those who wants to make artistic things, which can be used here.
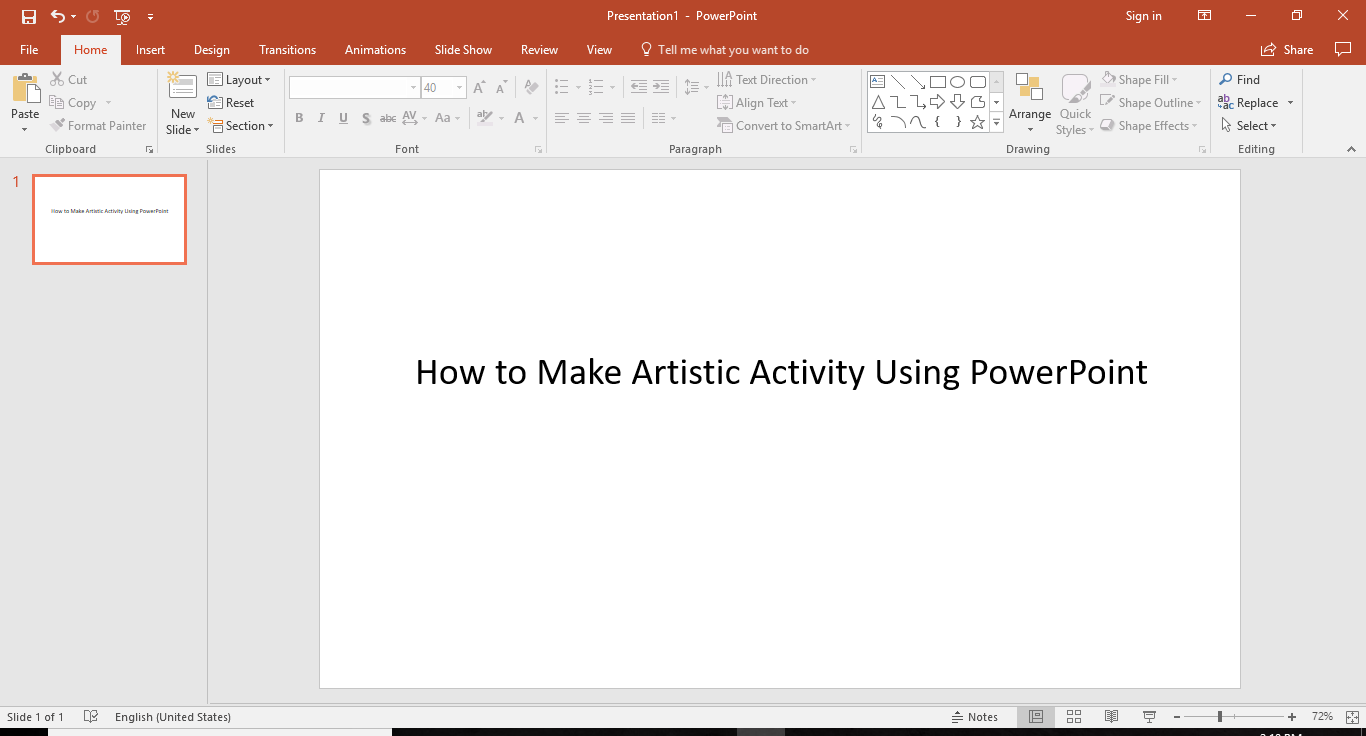
In this tutorial, I will be using Microsoft PowerPoint 2016. So, when you are ready, let's proceed now!
Sample Outputs:
“Around here, however, we don't look backwards for very long. We keep moving forward, opening up new doors and doing new things, because we're curious...and curiosity keeps leading us down new paths.”
― Walt Disney Company

“Imagination is everything. It is the preview of life's coming attractions.”
― Albert Einstein

“There are painters who transform the sun to a yellow spot, but there are others who with the help of their art and their intelligence, transform a yellow spot into sun”
― Pablo Picasso


“You have to be burning with an idea, or a problem, or a wrong that you want to right. If you're not passionate enough from the start, you'll never stick it out.”
― Steve Jobs


Tutorial:
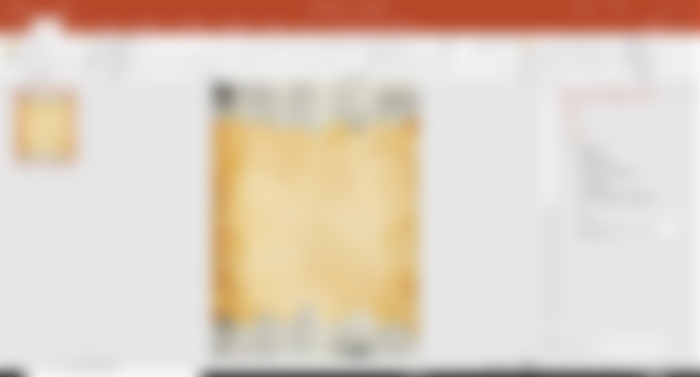
Insert your desired shape, specifically shape in the PowerPoint.
Next, fill it with a photo you desired.


Then, repeat first and second step in making the footer.


After that, fill the remaining space with another photo you like.

Design your font by choosing your desired font style, color, size
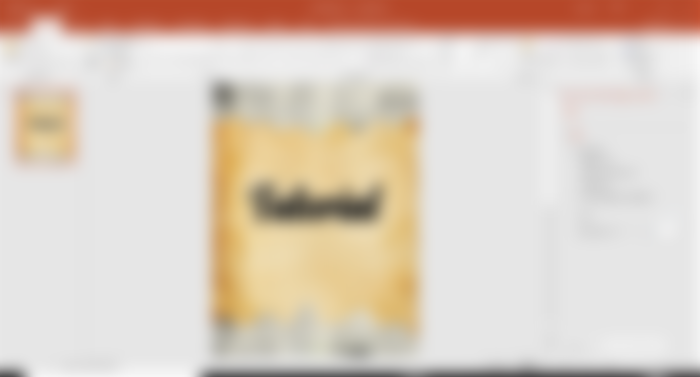

Lastly, save it as photo.
That's it!
By the way, if you want to add border on the left and right side, just do steps and and 2.
Bonus Tutorial


In making artistic lettering just like what you see above this text, just do the following steps.
First, you have to paste your text if you have save it in your clipboard, or you can directly type it inside a textbox.
Secondly, choose your desired font style, size, and color.
Lastly, just copy it and then paste it in your read.cash article.
As easy as 1 2 3!
Leveled Up:


What can you say about this tutorial? Comment down below your thoughts. If you love this article, support by liking it and subscribing to my profile.
Write down below your suggestions for my next article. I will try to give my best in making it. Thanks for reading!