How I Make TikToks Using MidJoruney AI And You Can Too
Break into a new platform with the help of AI

Photo by cottonbro on Pexels
It is no secret that TikTok has become a significant player among social media giants. And as it’s still relatively new compared to platforms like YouTube. Becoming big on TikTok is an easier task than becoming a YouTube giant.
I never thought I would actually put something out there on this platform. But it changed when I started experimenting with Midjourney AI image-generating tool. And researched all the creative ways people already use this fantastic tool in real life.
So here’s exactly how I make TikToks using MidJourney from start to finish:
1. It all start’s with an idea.
MidJourney is amazing at creating all kinds of images. And you can experiment and find just your style. But the basic idea is that you provide the AI with a text prompt and it generates an image output. It provides you with several options. From there you can choose to upscale one of the outputs, create variations of one of them or re-roll the outputs altogether to create something different.
I will be writing a more in-depth guide on how to use MidJourney soon.
For this TikTok, I started with a simple idea — I wanted to make an animation of the creation of Artificial Intelligence.
I used the following as my text prompt:
creation of artificial intelligence — test
As simple as that. I re-rolled the results for a couple of times until I saw an image I liked and felt would be a good fit for the animation.

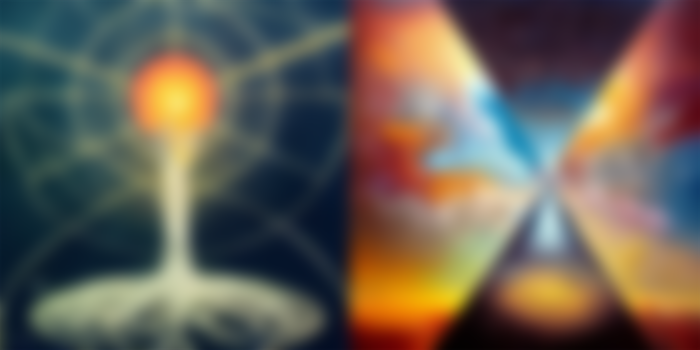
created by HungryMinded using MidJourney
I chose the image on the left and upscaled it.
2. From image to animation
Although you could use static images or a slideshow of images as a foundation for a TikTok or other forms of video. Like I’ve done here by illustrating a song by PinkFloyd. I wanted to make this more interesting by creating an animation.
And for animations, one image is not going to cut it. Here’s where the magic of variations MidJourney offers come in. After upscaling the image. I simply made variations of it. Upscaled the one I liked the most. And repeated the process until I had about 40 images. You could go for more. And you could probably get by with a little less. But the more you create, the more interesting your animation will be.
Tip for creating variations: Use the discord app on your phone to make the variations throughout your day.
Here’s a view of how my personal MidJourney gallery looked at that point:

Screenshot by author from MidJourney gallery
After I had gathered the desired amount of images I downloaded all of them from the MidJourneys gallery and sorted them in the order I created them. I renamed the files with numbers in an increasing order to follow the changes of variations.
Then I went over to my video editing software. In my case I am using Adobe Premiere Pro. But you can use just about any video editing software for this.
To make it easier for myself I changed some settings on the editing software. Here’s what I did: I went into Edit>Preferences>Timeline and used the following settings:

screenshot by HungryMinded
This way all the images when imported to the software will automatically have their duration set to 0.1 seconds.
Then I simply import all of my images to the project and pull them into my timeline. If I wish to play with the speed, I select all of the images, right-click them and nest them together.
In this instance, I copied the nested sequence and pasted it next to the first one in the timeline. To make it longer. I changed the speed of the first sequence by right-clicking it and choosing speed/duration to 150% and for the second sequence I chose -150% to reverse it. This way I created a looping animation.
After this, I exported the result as mp4.
Now let’s move on to the last step!
3. Uploading to TikTok
I got the file onto my phone by emailing it to myself. But there are many more efficient ways you could do this step.
After that, I went into the TikTok app. Uploaded the video and chose a sound for it. I went with something random from TikTok’s list that I liked. I also added an effect called 70s for the whole video in the TikTok editor. And that’s it for this one.
Closing thoughts
TikTok's editor is quite easy to use and there are a lot of cool features like an in-built text-to-speech option. Loads of effects. And some stuff I am yet to try. But it certainly is easier to use than I had imagined it to be.
Will you be giving this a shot?
While this got me started on TikTok, I now see many more possibilities of using this platform in the future. And I am thankful to MidJourney to have sparked my imagination and made me take this step. Wish you all the best on your unique creative journey.
If you are interested in Artificial intelligence and creativity, here is a list of articles on this topic I made:
Before you leave
If you enjoyed reading my work consider subscribing to get e-mails about my future writing on Medium - Sign up Here, or tipping me on Ko-Fi.
This article was originally posted by me on Medium
Stay curious and stay HungryMinded!


I've got to try this AI