Title: পরবর্তী ফটোগ্রাফি নিবন্ধের জন্য আপনার বিষয় কীভাবে চিহ্নিত করবেন
September 9, 2020
Photography is a hobby done by those who wants to capture beautiful snaps. Landscapes like the blue skies, serene waters, flower blooms, wildlife and more. This has become our favorite content.
Sometimes we are amazed by little things, that we don't want to surpass not having a shot of it.
But having it published as an article without even introducing or identifying the photo can be a bit dull. It also affects you as a writer.
So for those who excels in photography and want to entice your readers, here is a tutorial than can help you distinguish your subject.
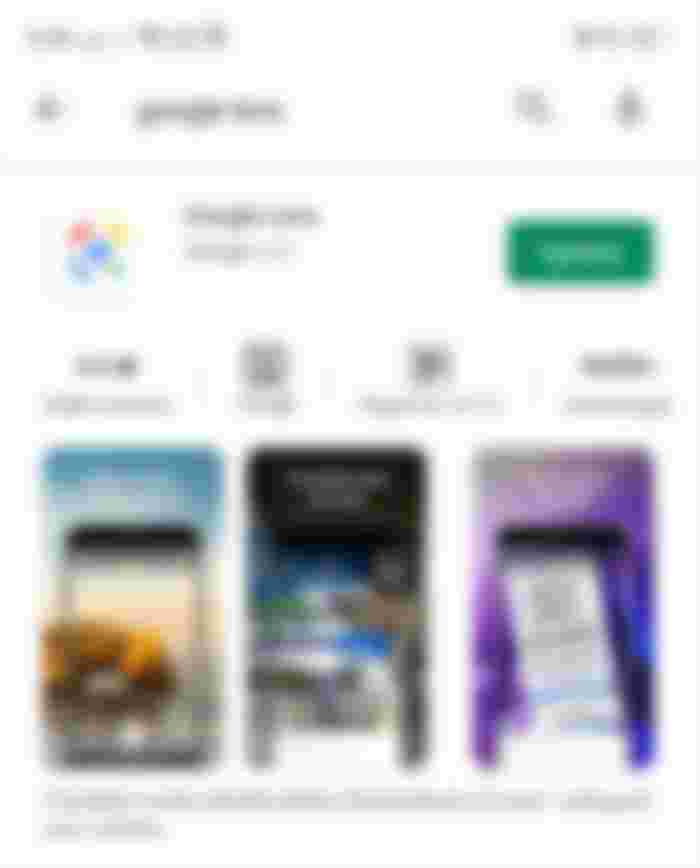
You can use GOOGLE LENS my @Read.Cash friends. Download the app from PLAYSTORE.

What is then a GOOGLE LENS mobile app? It is an AI-powered technology that uses your smartphone camera and deep machine learning to not only detect an object in front of the camera lens, but understand this and offer actions such as scanning, translation, shopping, and more.
After installing the app, you can choose from the two options to access the app.
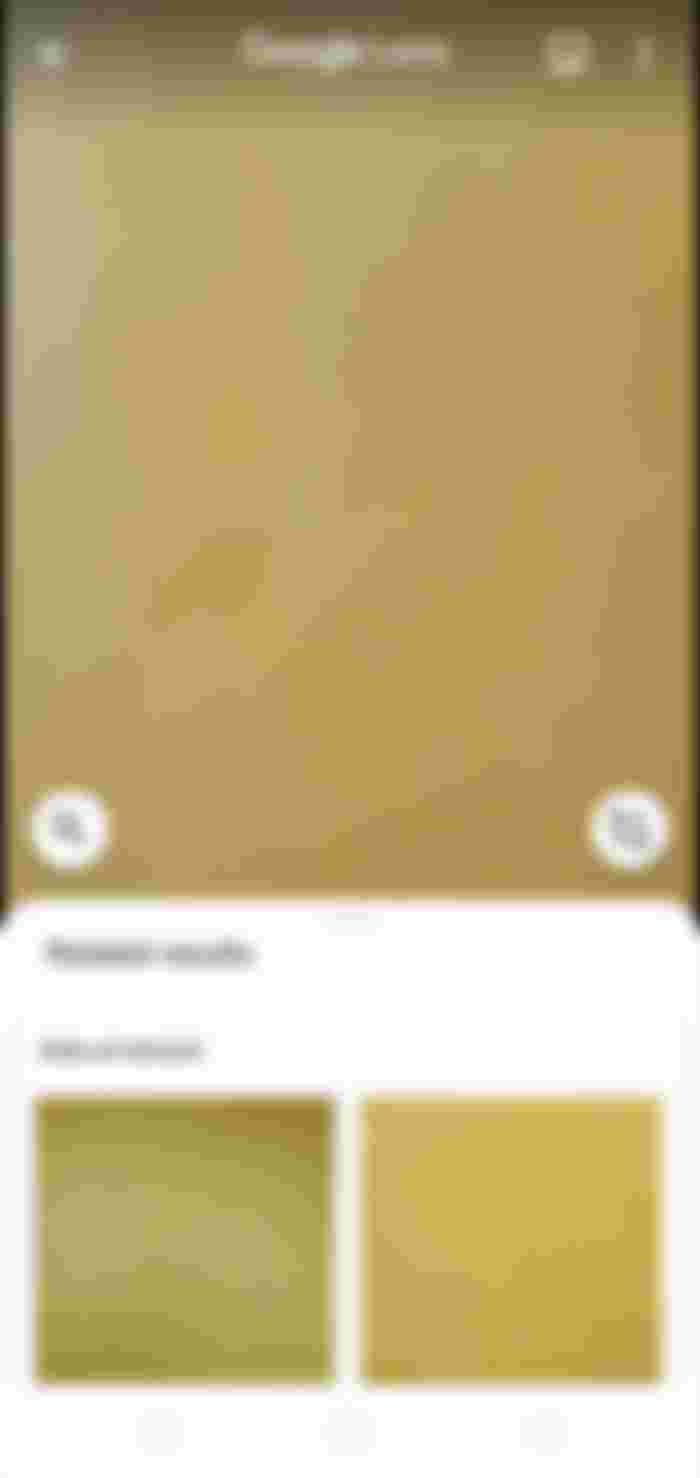
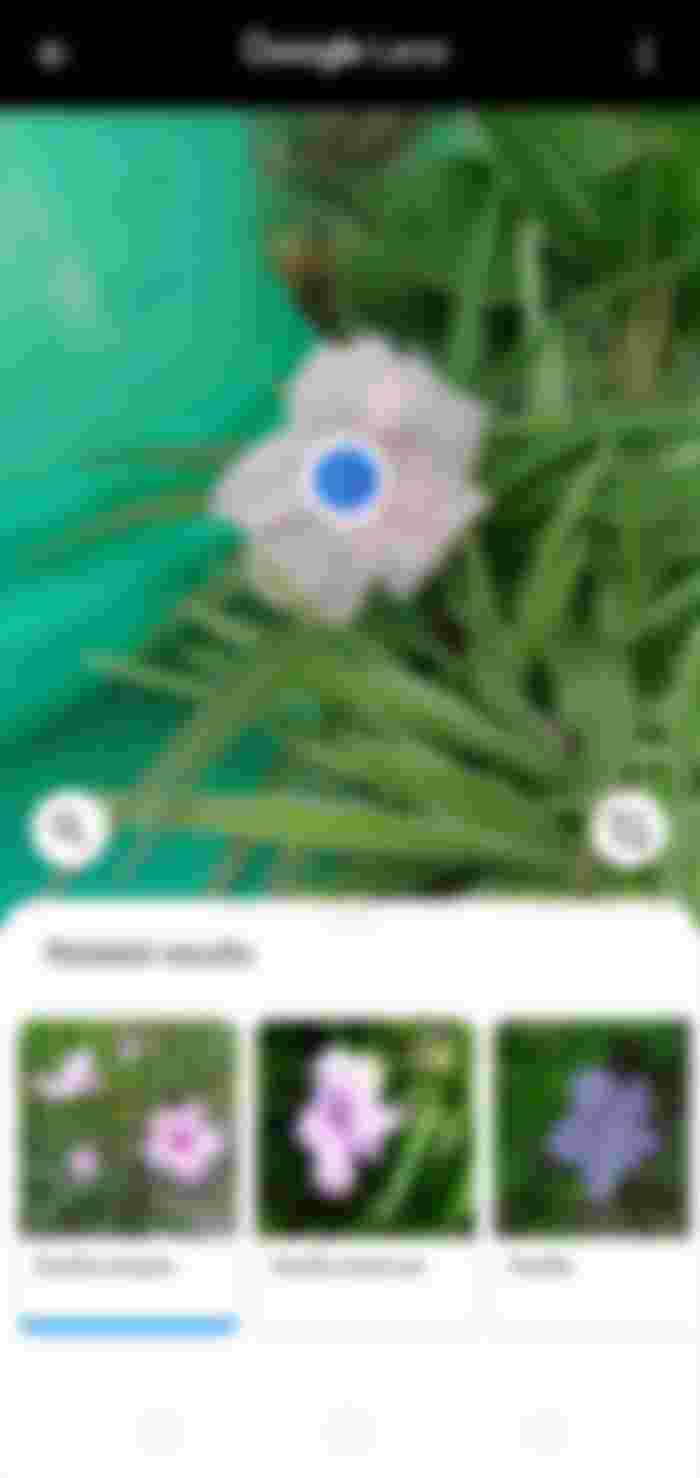
By pointing directly at the desired object and click the search button. This step is simply like taking a raw picture.

Scanning dots appear (the glittery ones), it only shows that Google lens is now processing or identifying the subject and will automatically show some related results.

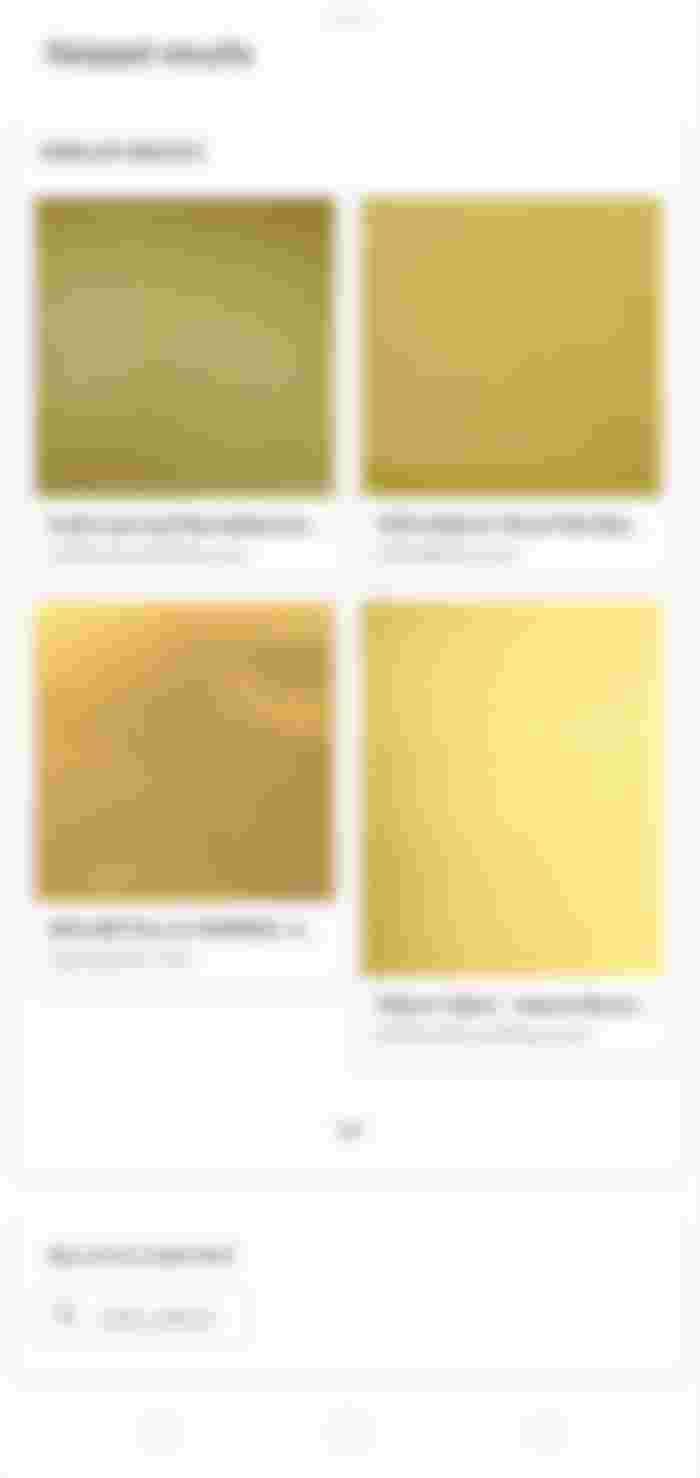
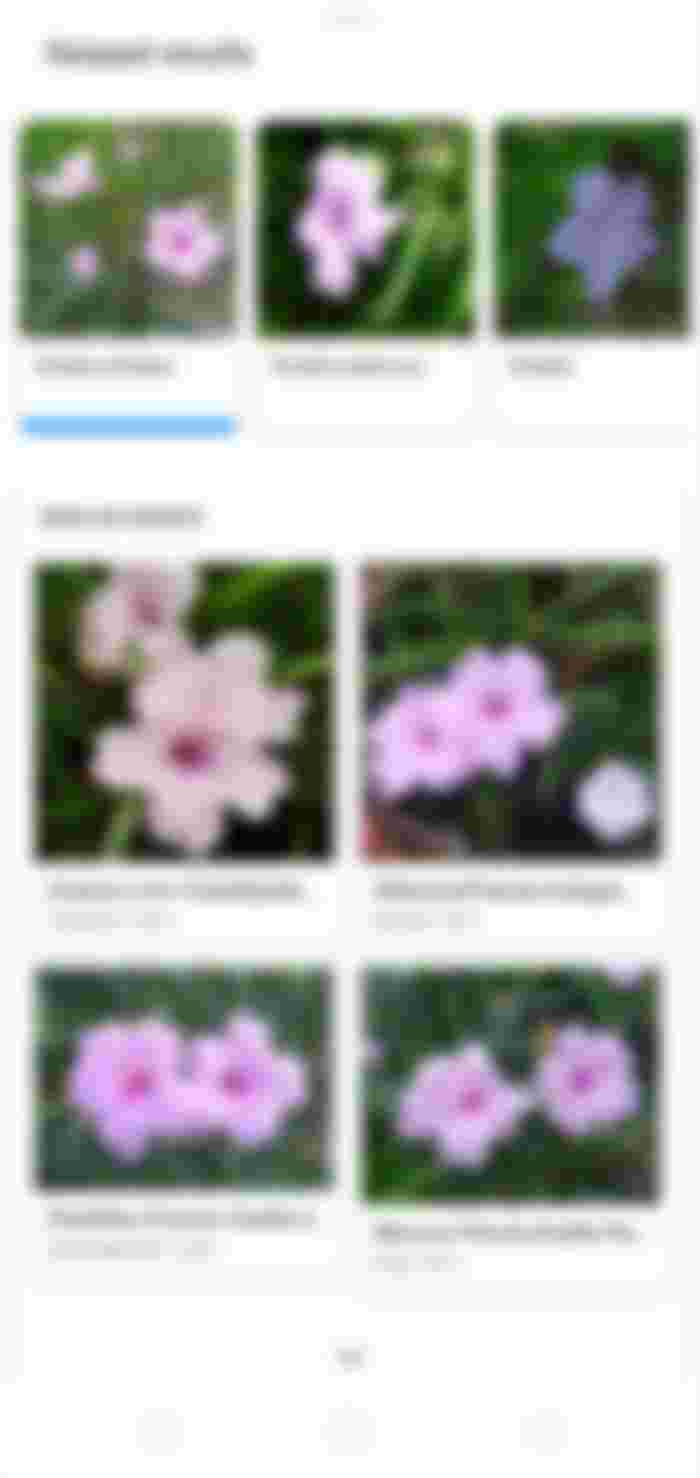
Under the related results show some related images that will show the exact object in a different varities, colors, etc. It also show the reference or sources of the images.

From here you can identify if the subject publish in an article is authentic or just downloaded from the net.
Related content shows some topics or matter related to your subject.
The second way of accessing this app is clicking the photo symbol in circled in red in between the Google Lens text and the three dotted line. Upon clicking, you could choose from gallery which subject to identify.

Now it is scanning the picture the previously taken shot.

The lens can identify the prominent subject in the pictures, hence will be the focus of search. The big blue dot shows the focus point of the picture.

Again related results appear with some similar images and the reference or to where it was published.

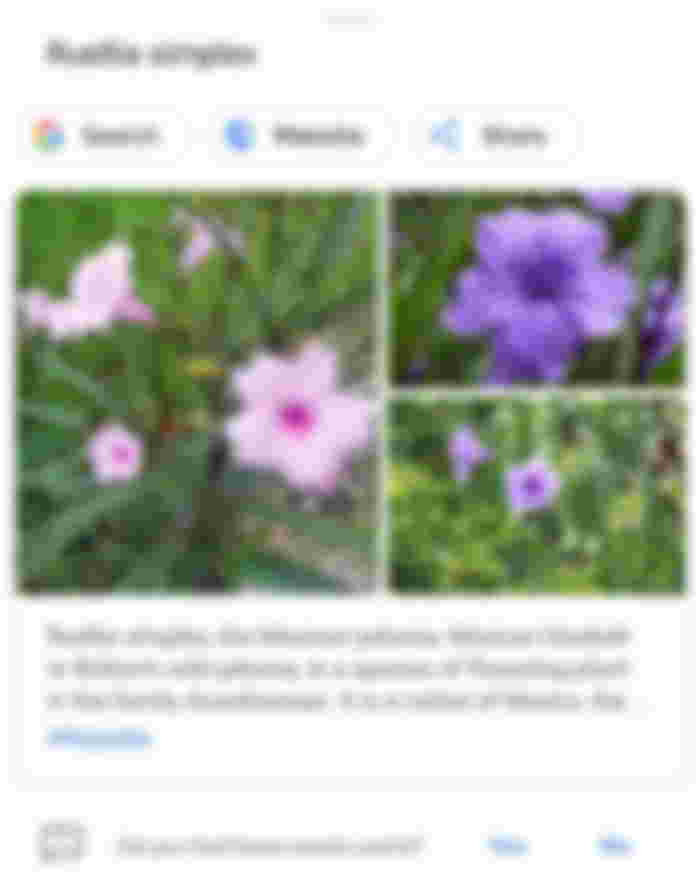
By comparing your taken pic to the previously published photo, you can now single out which has the exact resemblance to the variety of your image, click it then Viola.. read and learn to be able to describe the subject you are going to publish.

Now publishing a photo without having any description at all will be a shame. To avoid this, just follow this very easy tutorial.
If you had proven this article to be useful, click the like button to motivate me to create more articles such as this one.
Did I missed out on some details? Comment down below. Don't forget to subscribe to be updated with me and my contents.


This is very useful to those people who really want to take good photos. Thank you for sharing us this very useful information. Continue sharing more of your knowledge about photography.❤️