They say that modelling takes a long time. And that's certainly true, if you are aiming for high-poly models that are ultra-photorealistic. But what if you just need a single sword in like a couple of minutes?
Well, then I got a solution for you!
Disclamer: This tutorial assumes that this is not the first time you are using either Blender or Inkscape. If you are new to Blender, I recommend watching TheSicklyWizard's videos on Blender.
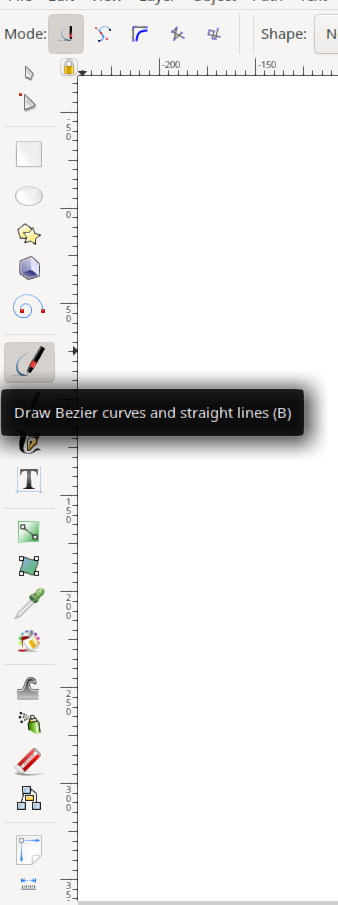
First, we open up Inkscape
The first thing we need to do is to is to draw a little bezier curve...
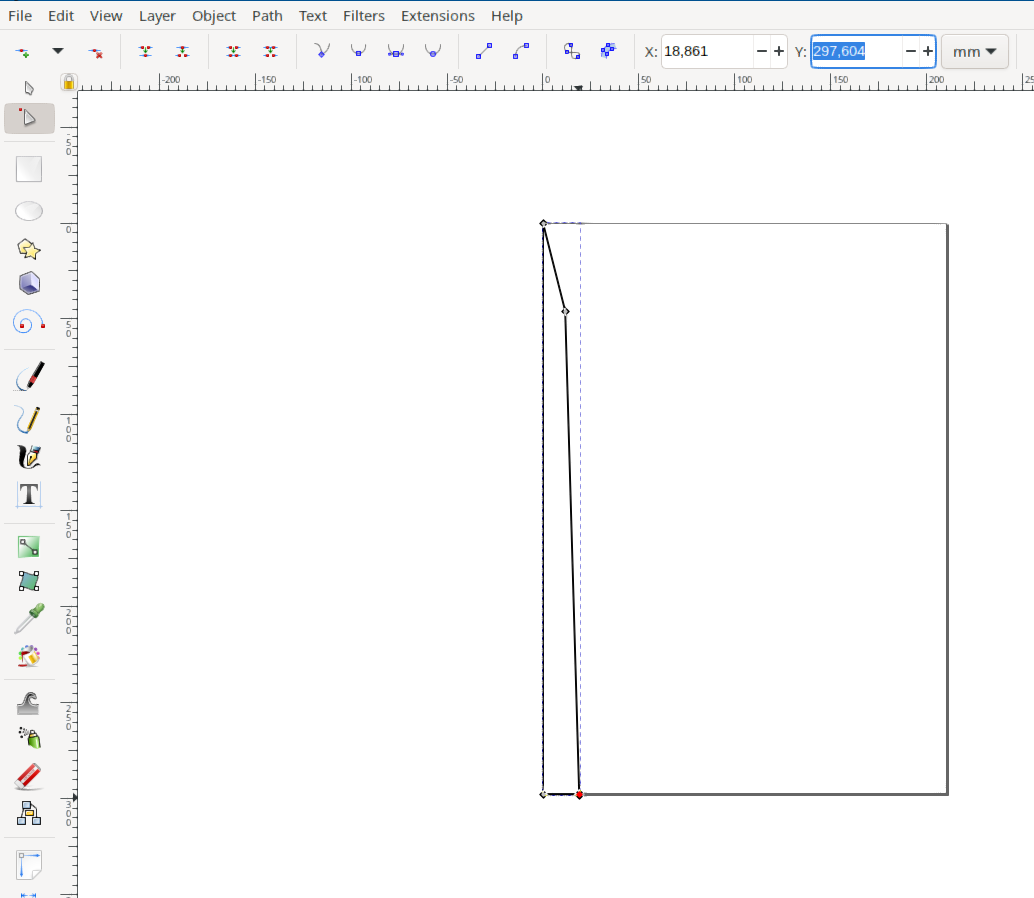
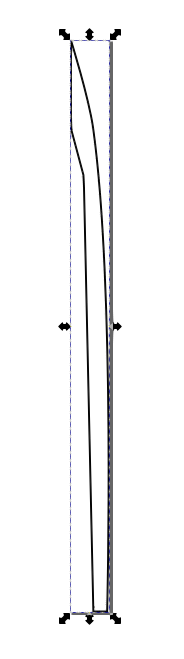
Our next step will be to draw something roughly resembling of a sword's blade, but cut in half horizontally. Don't worry, we'll mirror it in Blender later on.
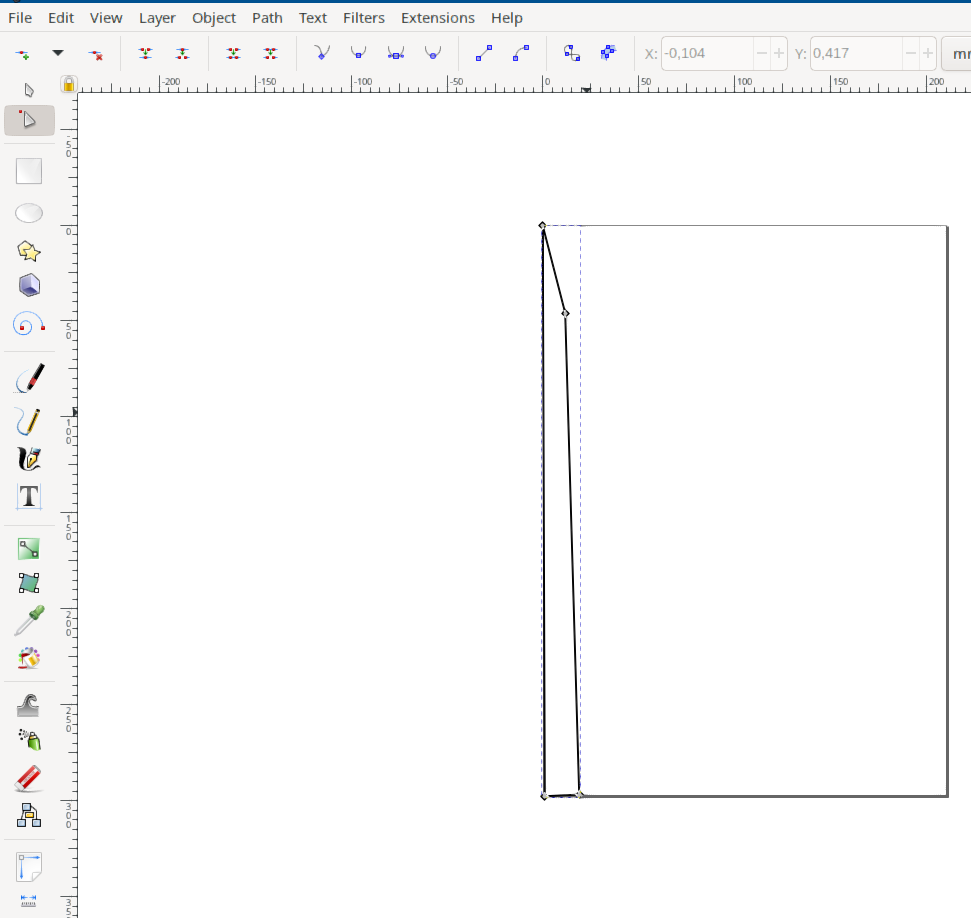
We'll need to ensure that the bottom points are really at the bottom, and that the leftmost points are really at the left.
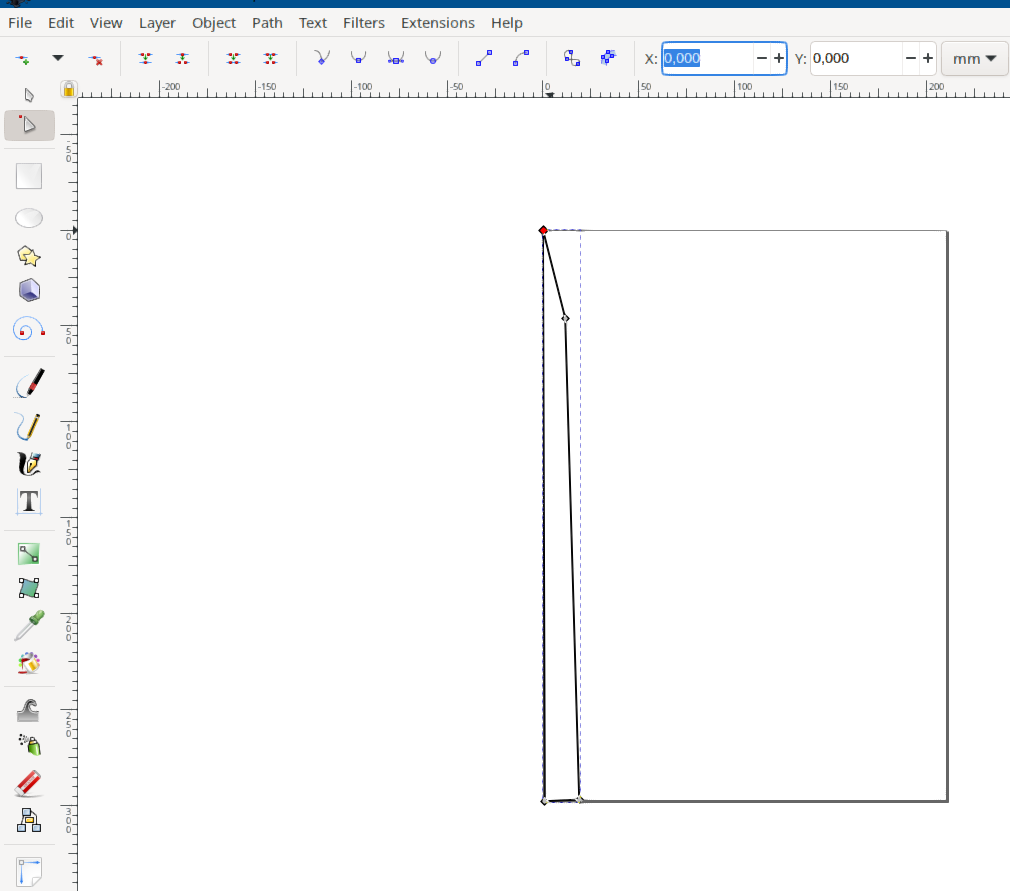
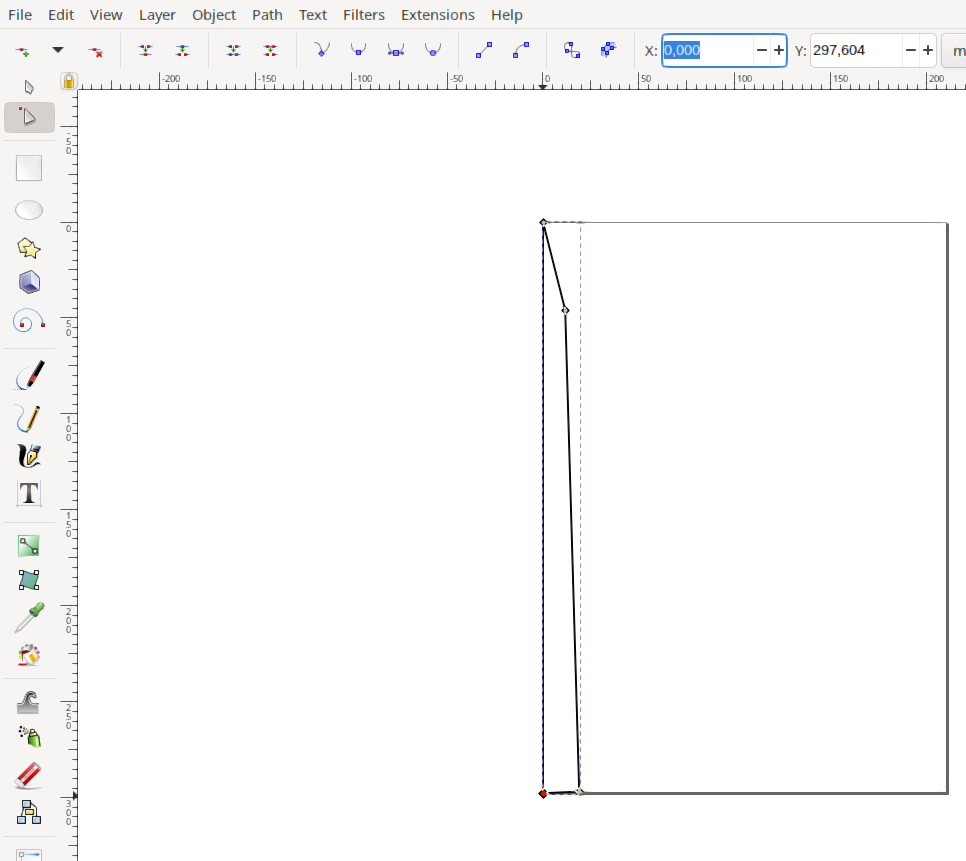
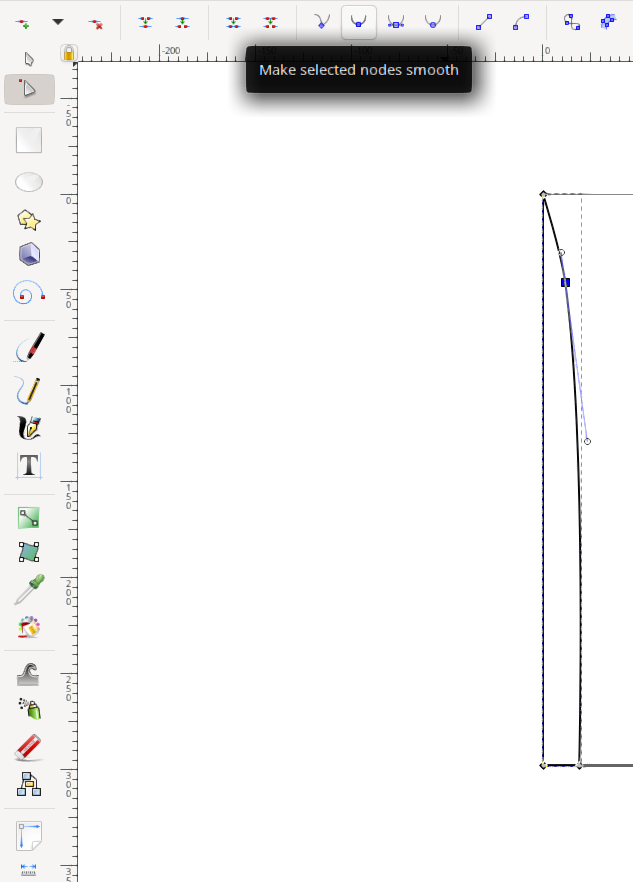
Now, if we want a super low-poly model, this is good enough. But if we want something slightly more realistic, we'll need to smoothen out some edges.
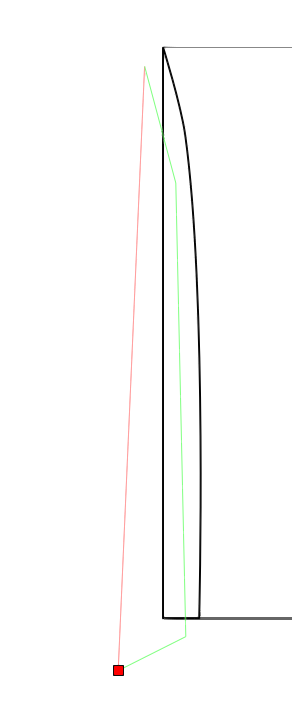
Now, we'll need to cut into this shape, to create a fuller for our sword. You can avoid this step, if you don't want your sword to have a fuller, but then some of the Blender tutorial might get confusing for you.
Next, you'll want to select both shapes, click on Path, then Division. Sadly, I could not take a screenshot of that menu.
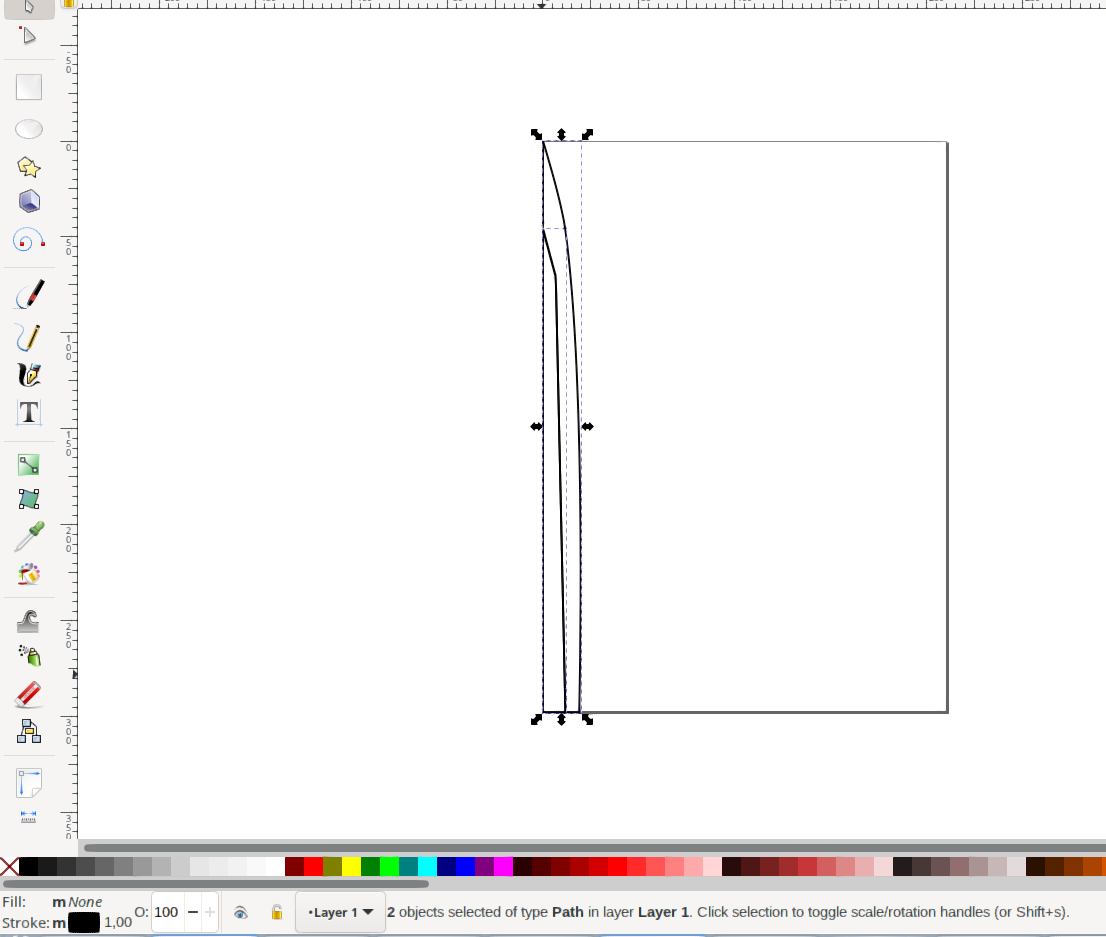
Next, select the smaller of the two, and delete it. Once again, Inkscape blocked my OS from taking a screenshot, but deleting an object should be trivial.
What we should end up with is the blade's shape, with the fuller cut off.
The next step is to save the SVG file and...
...open up Blender...
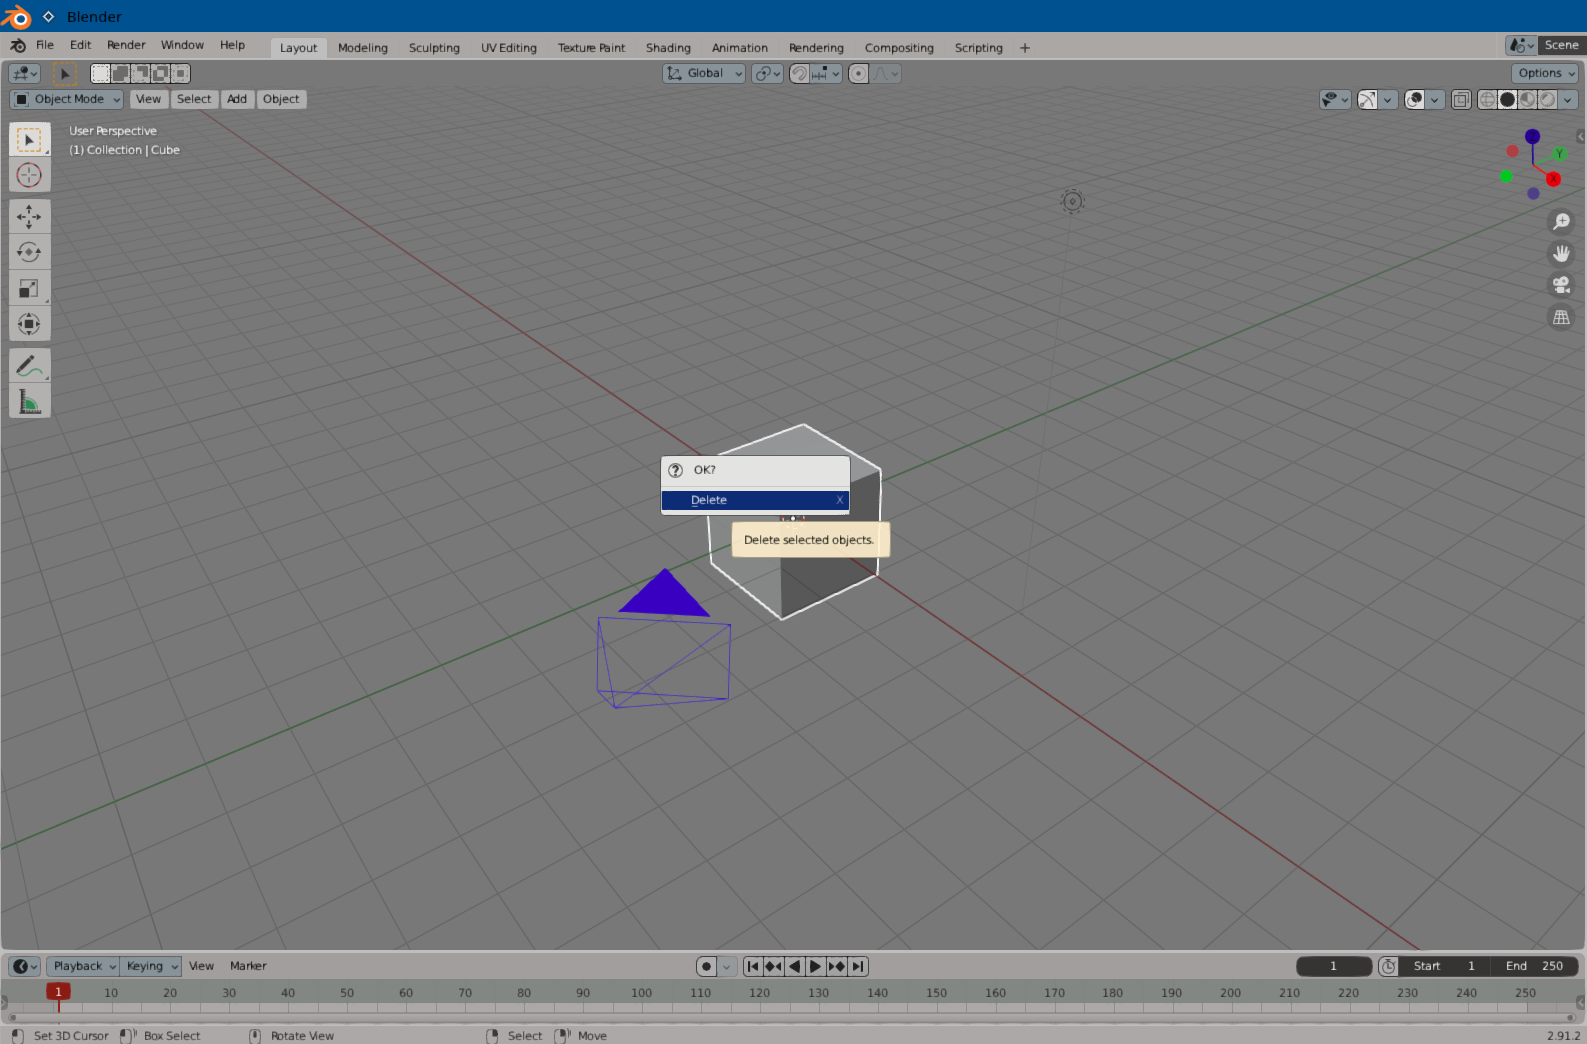
... and delete the default cube.
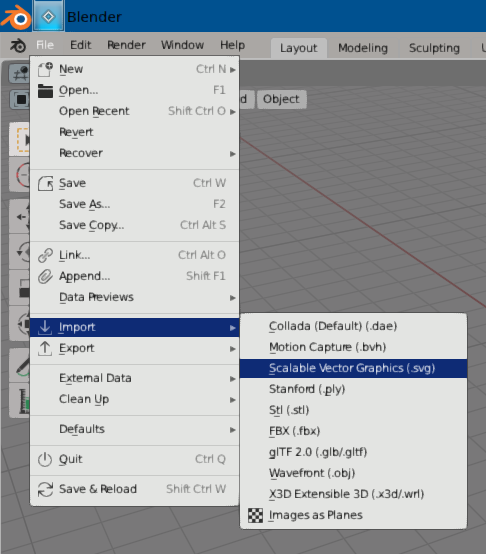
Next, we want to import our SVG file into Blender. You might need to install a plugin to be able to do this.
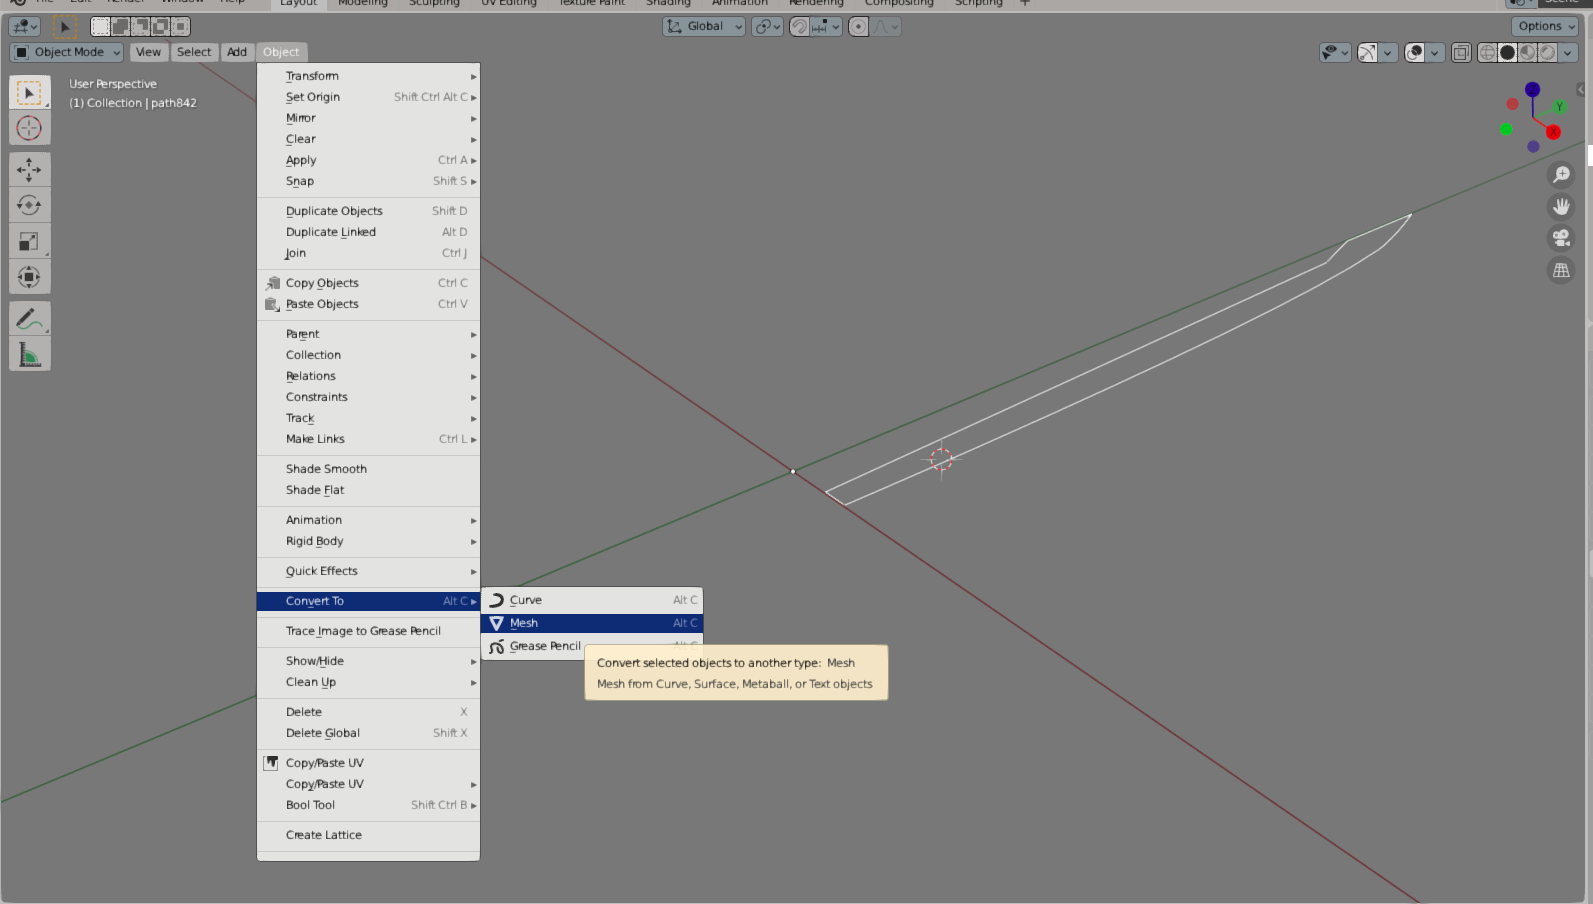
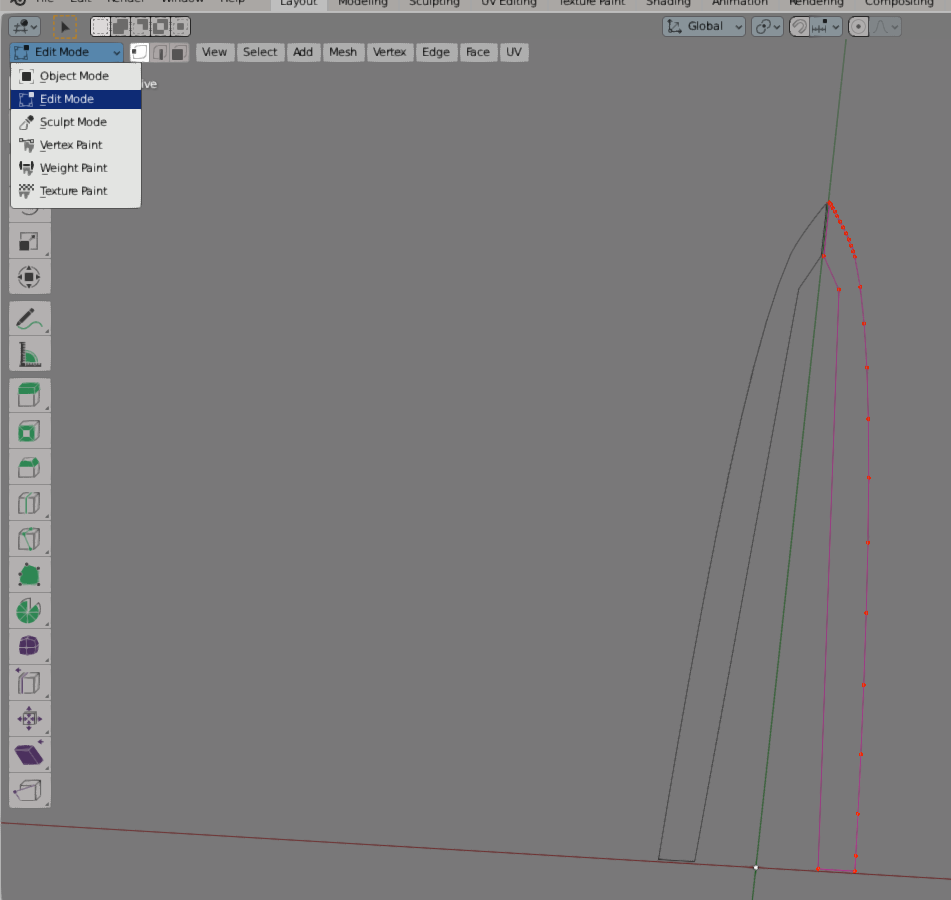
Once imported, what we should see is something like...

So, what do we need to do next, now that we have imported the blade - with the fuller cut out - into Blender?
Well, first, we convert it from a curve to a mesh.
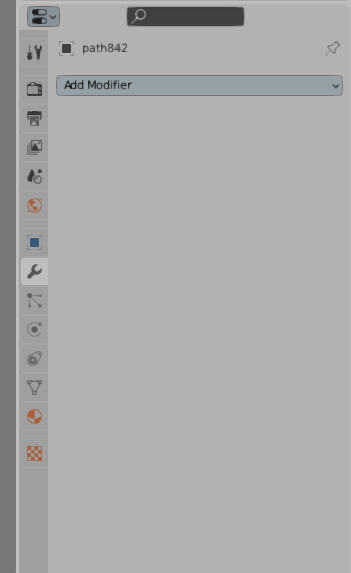
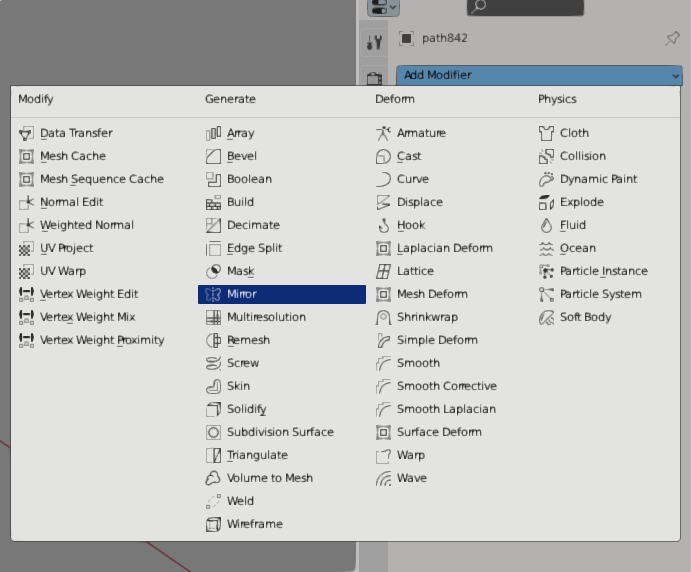
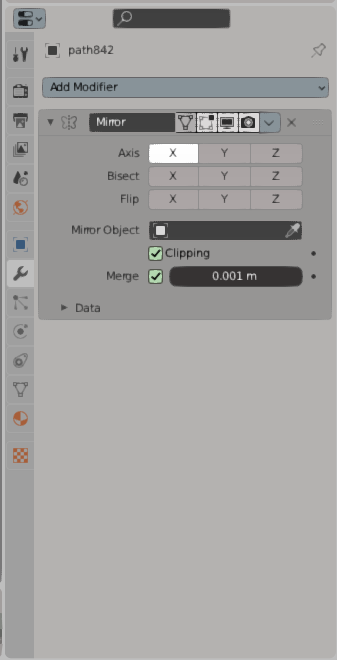
Next, we'll mirror it, so it won't look like it was cut in half horizontally.
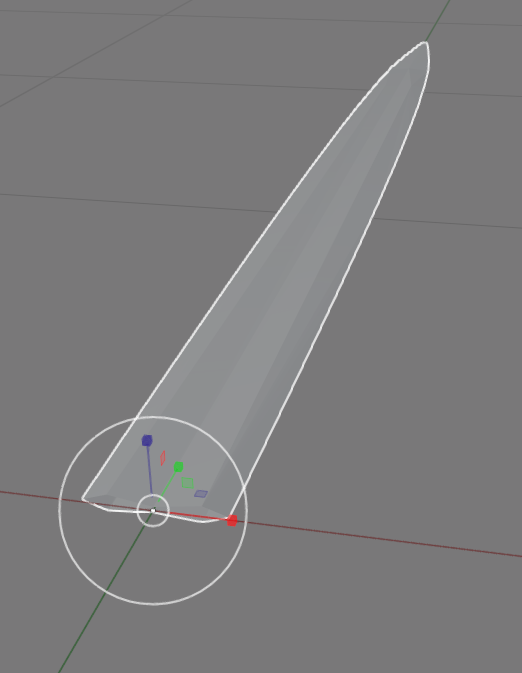
Now, we make some adjustments, so that everything is centered perfectly, the blade is in proper size, etc. If you are already familiar with Blender, you know what do - if you don't, don't worry, you'll figure it out.
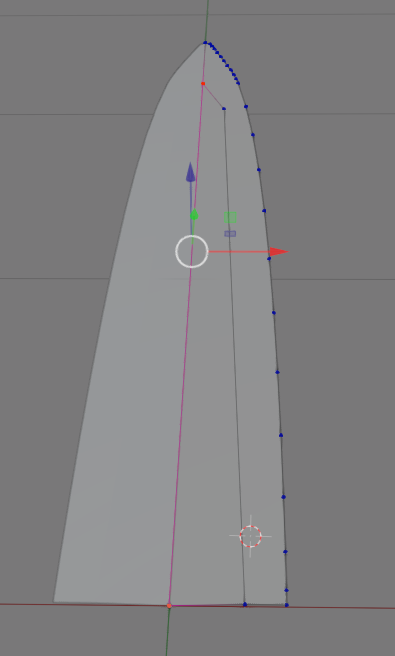
Next, press A to select every single vertex, then press F to make them into a face.
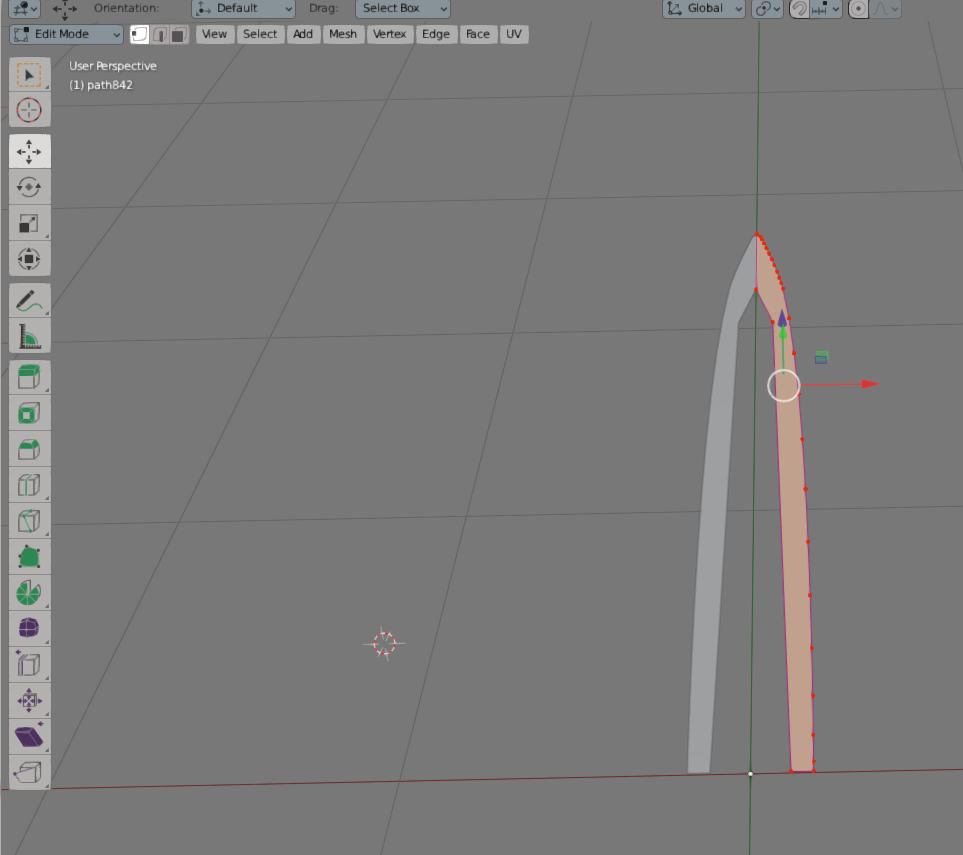
Then, select the bottom "inner" vertex...
... and create a new vertex, by clicking somewhere while pressing Ctrl. In this case however, we want the vertex to be at the center, between the selected point and its mirrored counterpart.

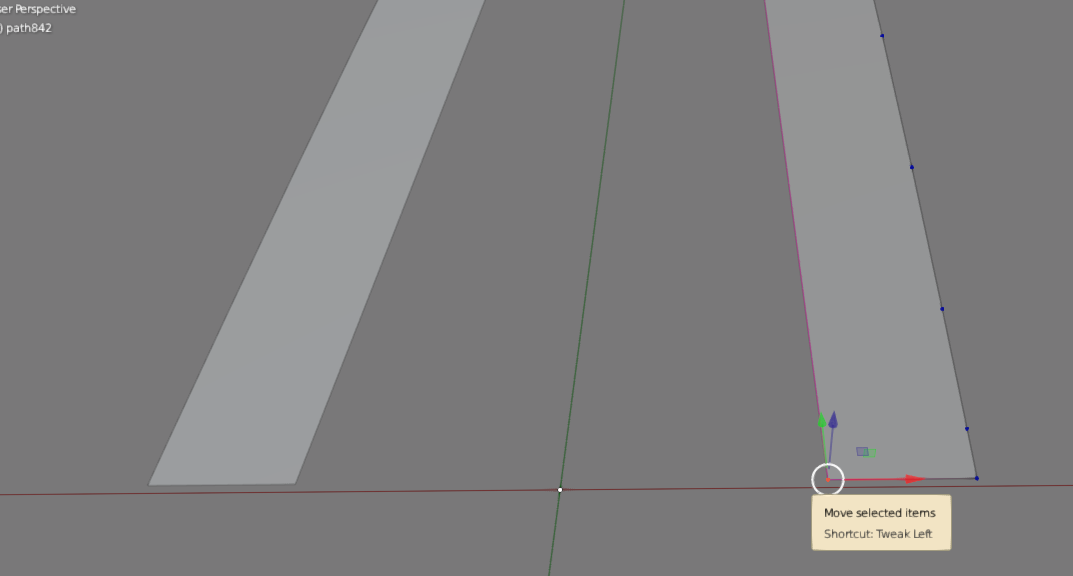
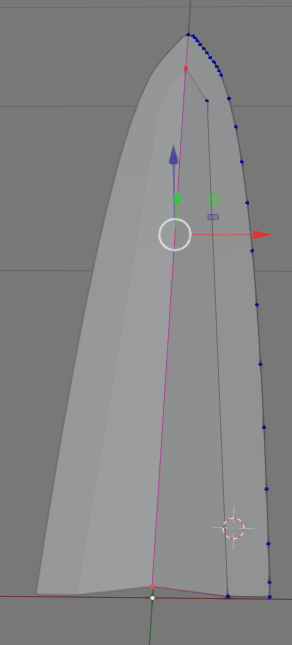
Uh, sorta. Okay, next, we'll need to select all the innermost vertices...
... and press F.
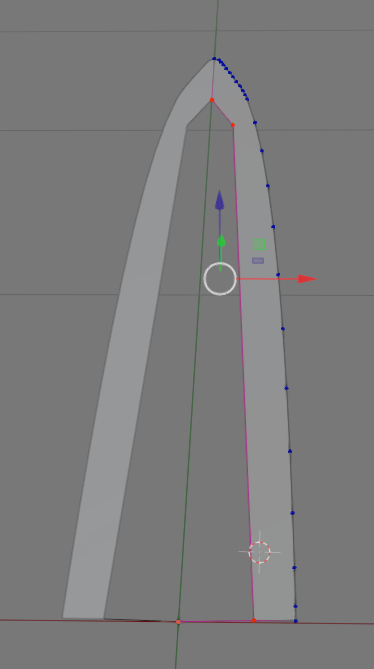
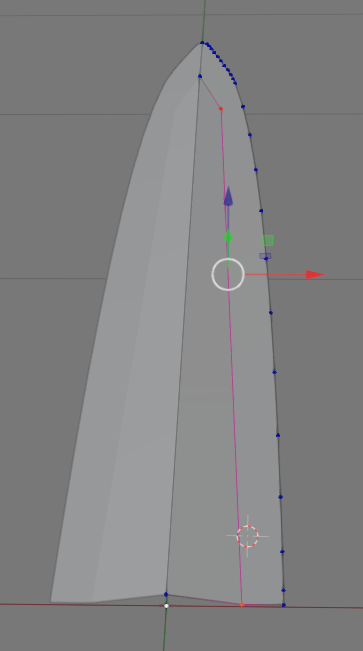
Next, we'll want to select the two vertices at the center...
...and raise them vertically.
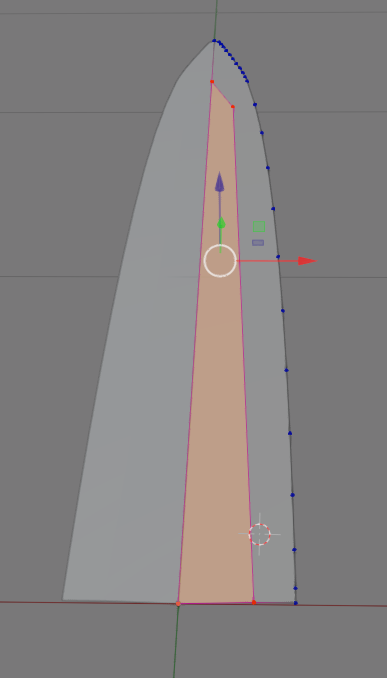
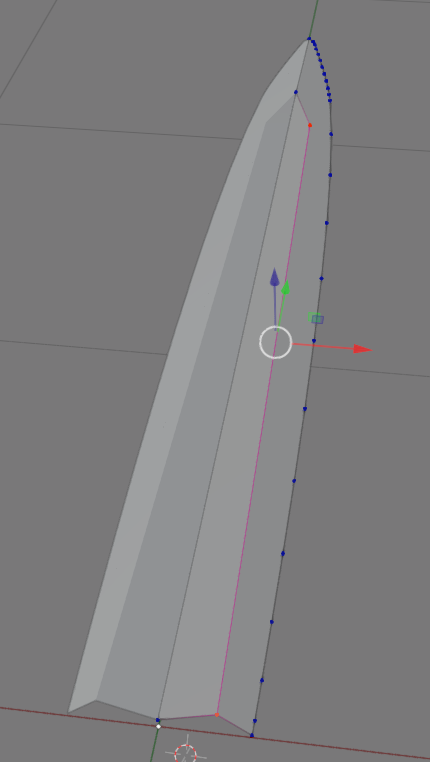
Following this, we'll need to select the middling points they connect to...
... and raise them vertically even more. You may want to manually raise the one at the back more than the one at the front.
Next, let's go back to Object Mode, and make sure that the mirroring happens on the Z-axis as well.
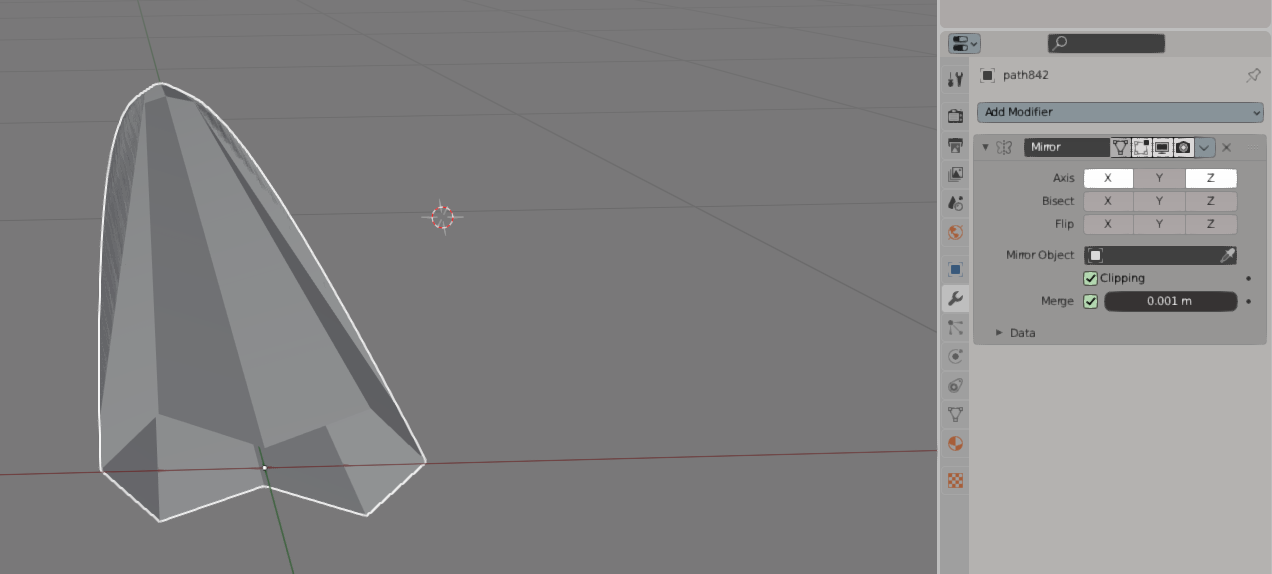
Next, you will want to triangulate the mesh.


And congratulations, you have a sword blade! Just not with the right directions....
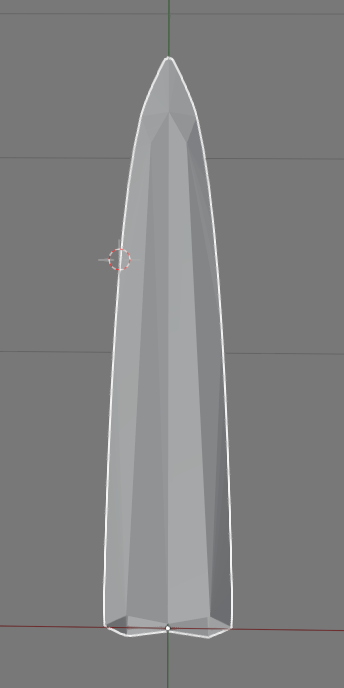
Obviously, we need to cut down on both the width and the thickness, so simply scale it down on the those fronts. If you are already familiar with Blender, you know how - if not, then you'll figure it out on your own within minutes, I can guarantee that.
That's more like it.
But what about the rest of the sword?
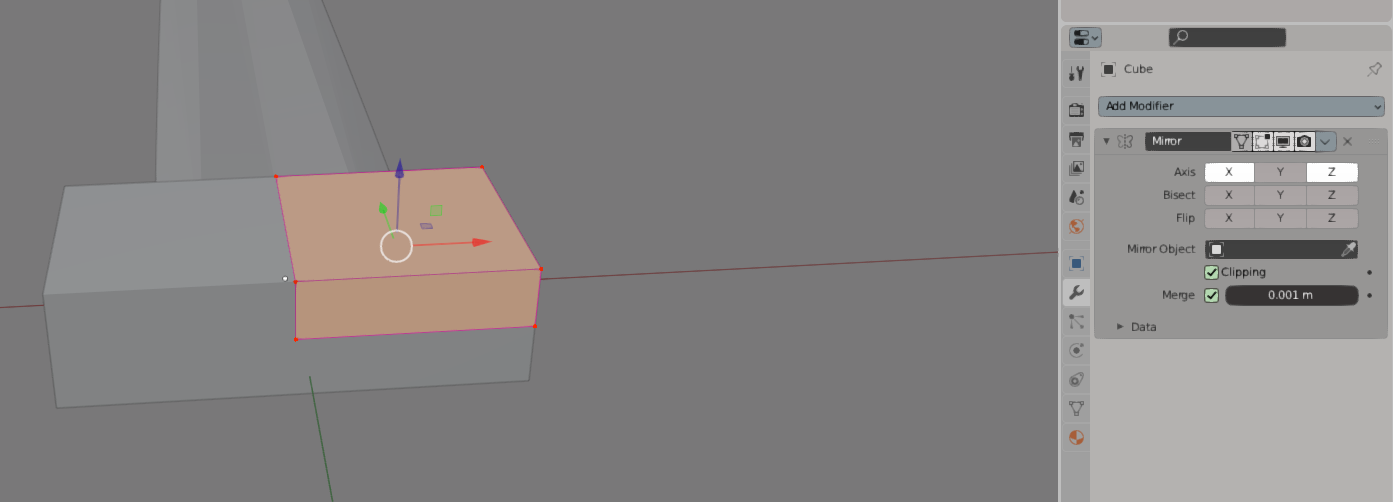
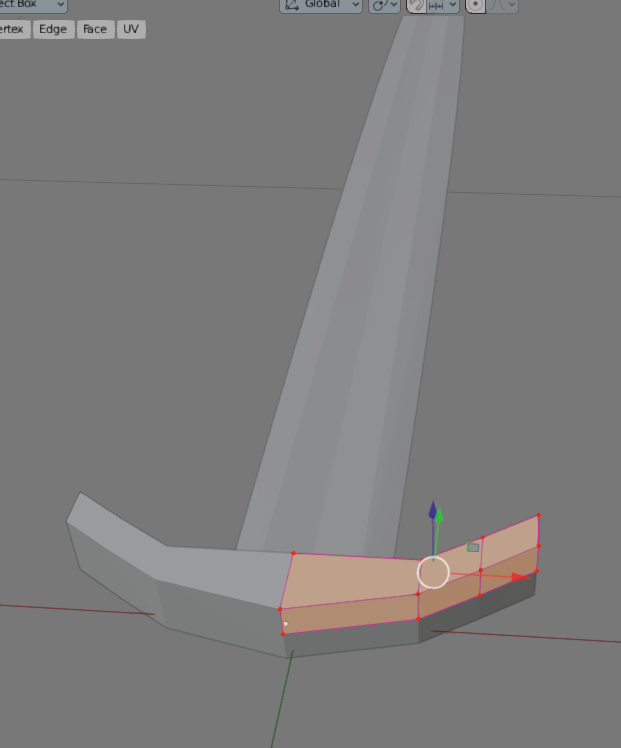
The rest of the sword depends on whether you are going for low-poly or high-poly, but with my approach, we'll first need to make a crossguard. So, add a cube...

And start sculpting it. Once again, we need to add a mirror modifier, so that it will be symmetrical.
This might be the time for you to familiarize yourself with some of the face editing tools, like Extrude. If you are a total noobie, just play around for 10-15 minutes, and you'll figure it out.
In the end, I got something like this:
Next, we'll need a grip or handle for our sword. I'll recommend startin with a cylinder.
Next, rotate it, scale it, move it, etc. so it gets into place.
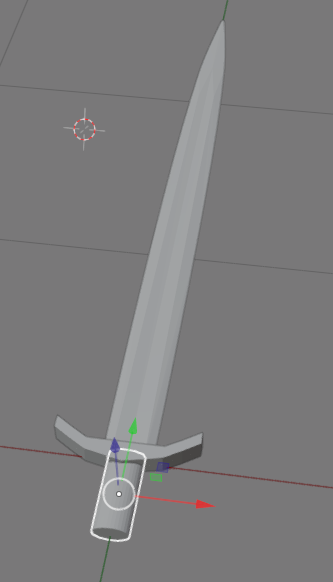
If you want, you can split it in half, but I'd say it looks fine for now. Now, for last, to make sure that we can end him rightly, we need a pommel. I recommend starting with a cube, and shaping it into the form you desire through mirroring, extruding, etc.
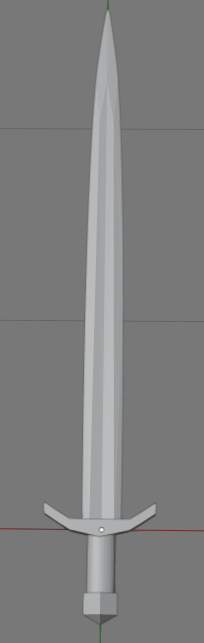
And we're basically done!
But wait! What about textures and whatnot?
Texturing involves things like UV unwrapping, and other things way beyond the scope of this tutorial. For that, I recommend TheSicklyWizard's video on the subject.