Now we come to the second part we need to do when filing taxes online. If you haven't read the first part of this post then I suggest you do so before continuing. It's so you can understand some of the terms and procedures here. Otherwise if you already saw it, let's proceed!
DISCLAIMER: Again, this is what I did to file my taxes. For further clarifications and inquiries, please contact the BIR directly. 😉
Oh wait, I forgot to say something in the first part of this post. You have to get a copy of the receipts where your BIR tax forms are based.
For example the receipts that were used to issue my sales commission, etc. I had to get a copy of those from our office. Since the guy handling our receipts didn't have a scanner, I just took a photo of each one. 🤦♀️ And then I had everything printed too for safekeeping.

Anyway, this is the last part of this tutorial. I was thinking of making a Part 3 but nah, that's optional. You can read my thoughts on it at the end of this post. But first we have to make those hard copy BIR forms into digital attachments!!!
11. Download the latest Alphalist Data Entry and Validation Module program from the BIR Downloadables page

(Screenshot from the BIR home page)
(You can skip all of these steps if you have nothing to attach, like if you filed zero earnings for the whole year.)
Yes this is a necessary step to submit those hard copy tax forms as attachments to BIR. You have to do this online. Just scroll down in the BIR home page and look for the Downloadables button. It should be a red button at the left side of the page, near the bottom. See image for reference.
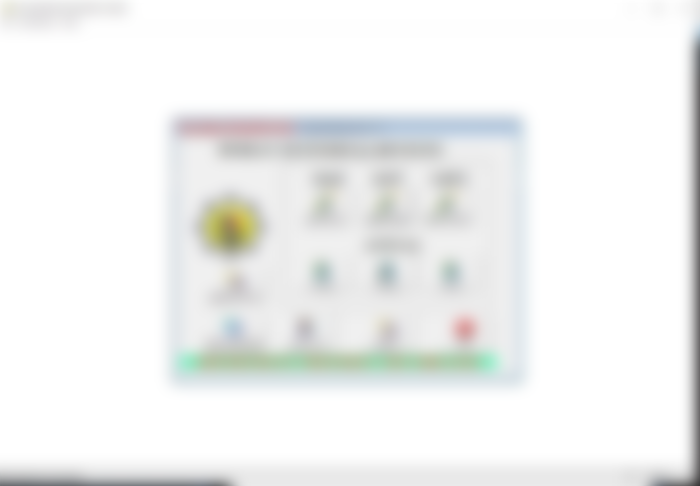
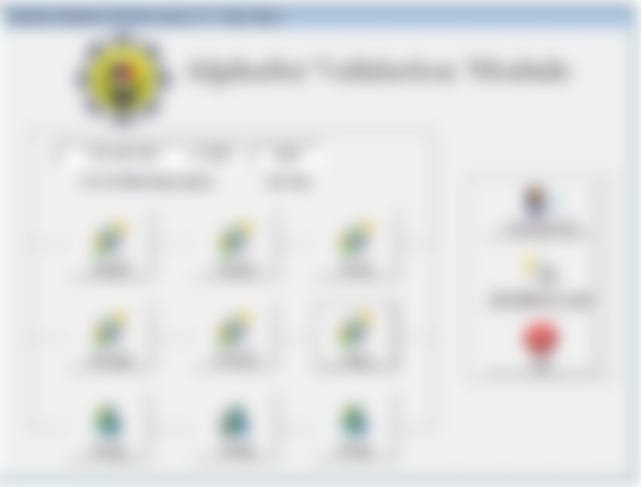
When you download the Alphalist program it will make two shortcuts on your computer. One is for Data Entry and the other is for Validation.
The first thing you need to use is the one for Data Entry. This is where you have to put the information in your 2307 tax forms, for example. Check out the icons below. This is what showed up on my desktop.


Once it is installed and you can see those icons, you can start the next steps!
12. Create an account
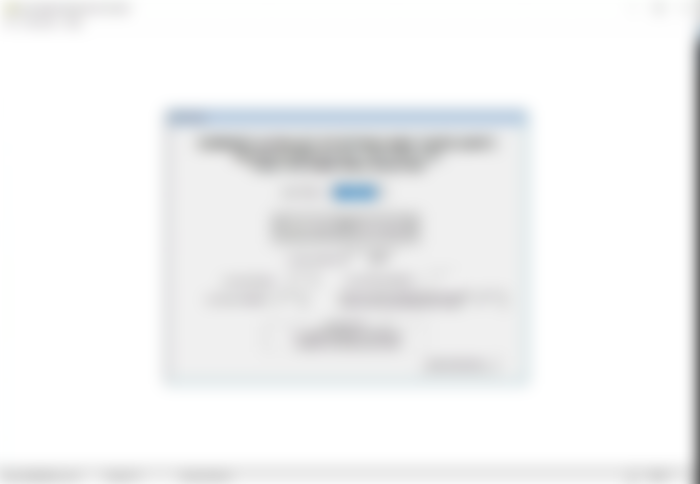
When you click the Alphalist Data Entry form program icon for the first time, it will show this screen. Create your username and put in the password you'd like to use. Remember the details you put here because that will be what you will use in the future.


Click the ok button once you are sure with the information you have typed in. Otherwise if you already have a user name and password you used for this program before, just type it in.
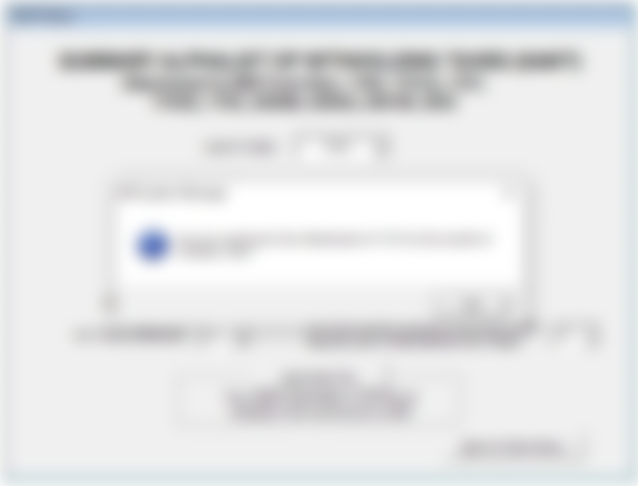
13. Click on SAWT button
When you're logged in, it should show your full name as you can see in the image below.

Click on the Summary Alphalist of Witholding Tax (SAWT) button to submit all your 2307 form information. It will create a .DAT file that you need to submit to BIR.
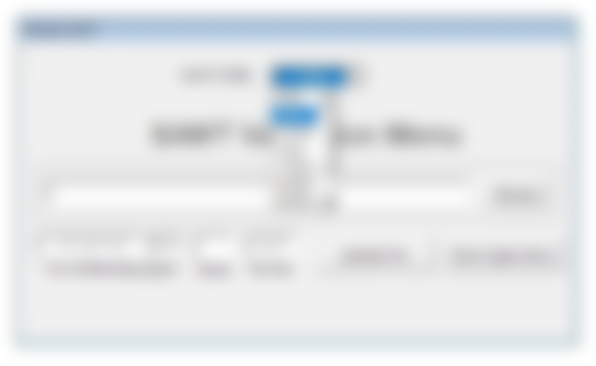
14. Select 1701 from the dropdown
Since we are going to submit the attachments for our ITR form 1701A, you need to select 1701 from the dropdown. They did not include a 1701A only so just use what is there.

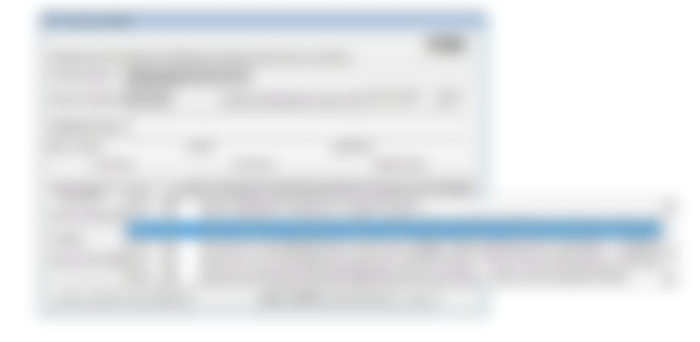
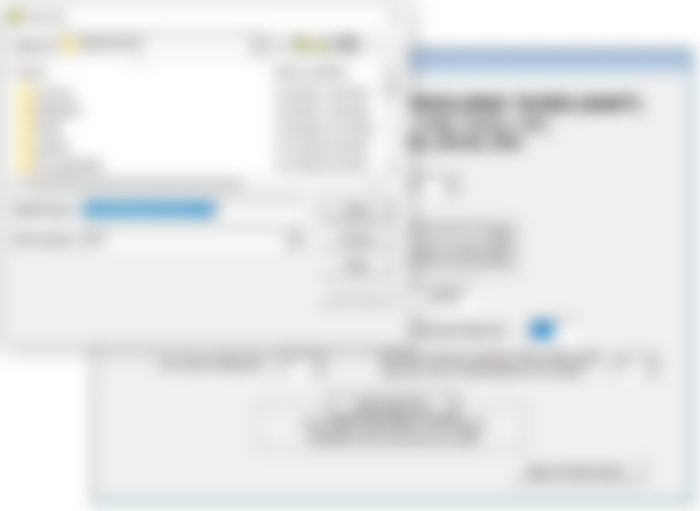
15. Input the month and other necessary info in the SAWT menu
Don't forget to type in the month indicated in your 2307 form. If it shows per quarter dates, use the last month showing on the forms. This is according to the BIR customer service agent I talked to via their help hotline. (You can find it in the BIR Contact Us page.)
As you can see in the above image, for the Amended Return leave it as N if it is a new filing. Any Taxes Withheld should be changed to Y because you will put in the 2307 info. Leave the rest as is unless it is applicable. (For No. of Sheets Attached you can just leave it as zero as well, according to the same BIR agent I talked to.)

(Example of 2307 forms with different dates for the whole year.)
16. Click the Add/Update Button
Once all the information above has been entered, it's time to input all the form data. Just click Add/Update and you'll go to the next part!
Depending on the month you put, a pop up will appear. For example I put in 10/2022 so this is what showed up.
Just click the ok button to go to the next part.
17. Click the Add button on the next screen.
As you can see this is where you need to put in all the information. For now it is blank but later on it will automatically show the information after you put everything in. You need to click the Add button (encircled in the image below) in order to fill in the details.
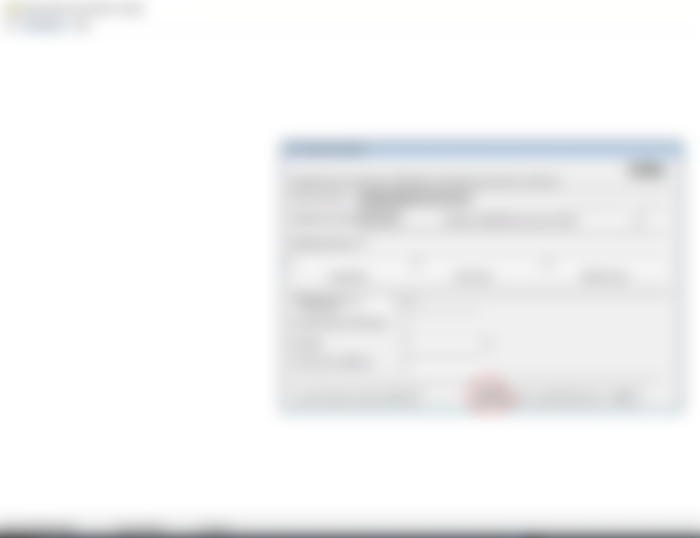
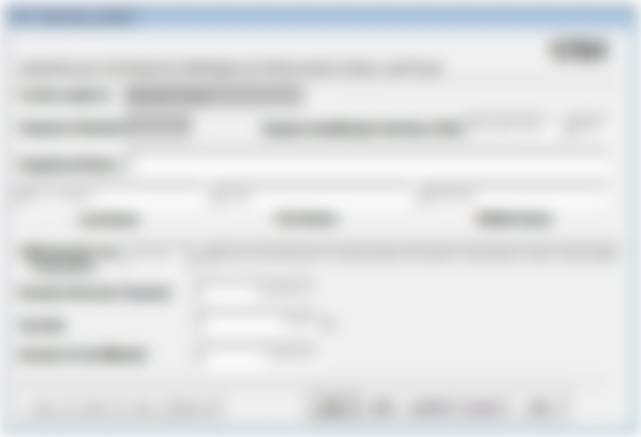
18. Enter all the information in your tax forms, per quarter or month, separately
Now here you will be able to put in the details of the document, per form. In this example I just put the TIN 123-456-789-0000 and also the common Pinoy name of Juan S. De La Cruz. (Haha, I just added the Santos because I don't think Juan has a middle name? 😆)

Make sure to select the tax code showing on your form. For my 2307, it has WI140 on it so that is what I will select for this example.
Once you clicked on that one it will now show the tax rate which is 10%. All you have to do next is enter the amount of income payment. For example if I received a commission of 30,000 and that's the total in the BIR form 2307 then that's what I will put. The program will automatically calculate the tax withheld. It should match what's on your tax form.
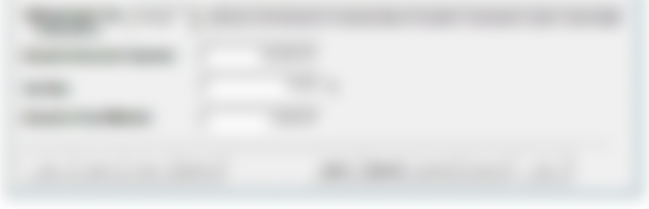

Next, you have to click the Save button so all the information you put in will be saved. It will then gray out everything like before you clicked on the Add button.
Just click the Exit button and then you're done for October!
Now let's say you also have another 2307 form dated 4/2022 to 6/2022 (2nd quarter) then you need to put in the consolidated info. Only put the last month of the quarter in the program. (This is according to the customer service agent of BIR.) In my example, put 06 in the space for month then continue with Steps 15 to 20 again.
19. Click Generate File so you can submit this to BIR.
Once you exit the form data input part of the program you will go back to the menu where you need to put the month, etc. If you are done putting all the information per month/quarter then you can click Generate File. (See image in Step 14.)
You should click this button after every month that you enter.
20. Save the .DAT file that will be created in a folder you recognize
In the next screen you have to save the generated file. Make sure you know which folder you will save it in because you need to look for it again later. You have to send this file to BIR via email.
21. Exit the Alphalist Data Entry program and open the Alphalist Validation program next.
To close the program, you have to click on Back to Main Menu button then the Exit button.
Next, you should use the Alphalist Validation program to check if everything you made is right before you email the files. Put in your TIN, in this example I used Juan S. De La Cruz's TIN again. Also put the year you have filed, in this case it is 2022.
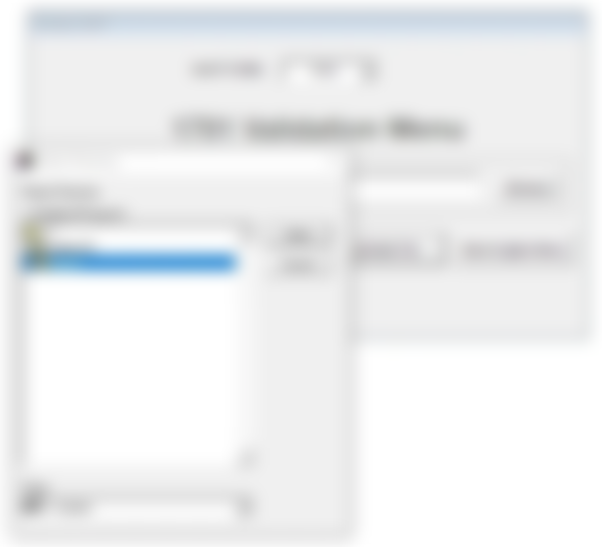
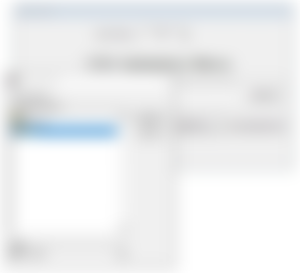
22. Click on the SAWT button
When you click the SAWT button you will see another part where you can search the .DAT file you saved earlier.
First you have to select the kind of form you saved. In this example it is 1701.
Browse the file from the folder where you saved it. Once you select the file make sure to put the month of the file you selected in the blank space before the current year. In the example I did first it should be the one for Oct. 2022. So it should show 10 in there.
23. Click the Validate File button
When you click that button a pop up will appear where it will look for where you saved the .DAT file earlier. Select the folder where you saved it. This is why you have to remember where you saved it so you don't need to spend a lot of time to find it. Haha.
When you click select it will check the file for a few seconds and then another pop up will appear. It should be a notepad that shows the file name and the details of the validation.
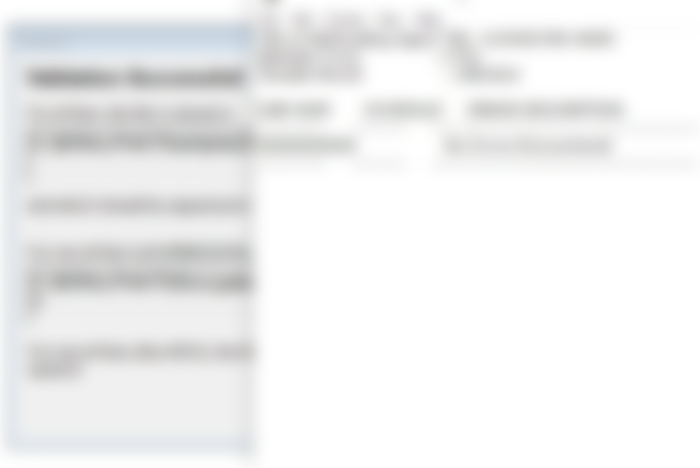

As you can see, if everything you put in is correct then you can finally email all the .DAT files to BIR! Woohooo, you're almost done!
24. Email the .DAT file/s to BIR
All you have to do is attach the files in the email you will send to BIR. Send it to esubmission(at)bir.gov.ph. Make sure to put the following example information in the subject:
SAWT 1701A, < YOUR TIN >, < YOUR RDO > , < YOUR NAME > , < PERIOD COVERED >
In the body of your email, put the following:
TIN:
TAXPAYER NAME:
ADDRESS:
TAX PERIOD:
DAT ATTACHED: (I put the months of the files I created)
Personally I removed my TIN in the subject and just put it in the body. Haha. But that's just me. This is just a template I got online. I also decided to add the following just in case, but this is optional:
Mobile Number:
Email:
And then attach the .DAT files you saved earlier then click Send to send the email!
25. Wait for the email receipt confirmation from BIR
I sent my email in the afternoon and got the confirmation email the next day. Like, around deep in the night, according to the email time stamp. Haha.
This is a sample of how it should partly look like. The validation email should have all the information of the things you sent to the BIR email.
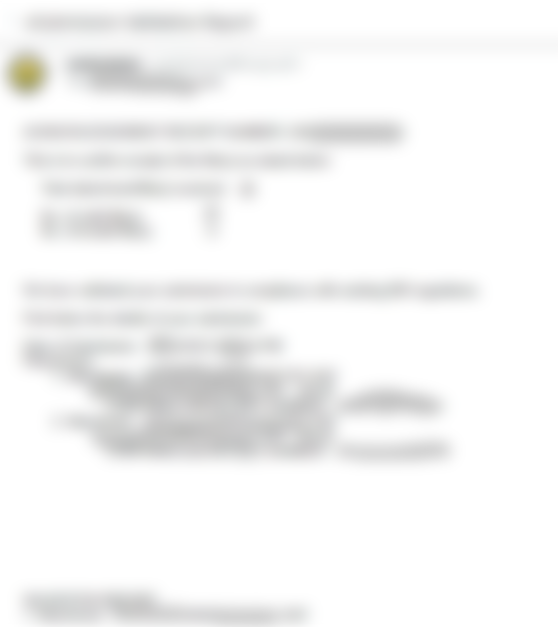

Once you have this email you can print it and save a soft copy of it as well as proof that you have submitted the files.
Hurray you're done!!!
But wait there's more! Haha. Actually I opted to submit all the files including the confirmation emails via eAFS (Refer to image in Step 1.) after this. I am hoping it will prevent my having another open case in BIR records. Lol.
Always check your RDO branch after April 15 to make sure your online tax filing is really finished. In previous years when I checked, there were open cases even if I filed my income tax online. Of course I just had to present to them the printed proof of the confirmation emails and the ITRs I submitted, etc. I had to give them a hard copy at the branch so they can close the cases.
This time in order to hopefully avoid that, I submitted everything via eAFS. Let's see if it works indeed. Haha. I hope I won't need to go to our BIR branch again just to close the "faux" open case.
Well, that's it for this tutorial. Hope it helps!
XOXO,
@LucyStephanie
* * *
Images are from the BIR website and apps.
Not a member of read.cash yet? Click here to join us in earning BCH! Or let's microblog/blabber on Noise app!
This is a great tutorial! I've been filing our taxes online for years now and it's been a time saver.