What follows is a recipe for a basic bread dough. It’s the dough I learned when I moved to South America. In fact, it’s the only dough recipe I know how to make at the moment. This dough is extremely versatile and can be made into rolls, pizza, and in this case chapati. Chapati is a word I learned from my roommate and it’s similar to naan bread. In fact, I believe that Indian style chapati actually puff up quite a bit more than these do. I’ll have to learn how to make that happen!

Anyway, I paired these chapati with some baked chorizo, tomato and onion salad, cheese, rice and mayonnaise. Yes, mayo makes all the difference and seems to be a staple in my area! Leave any questions or tips in the comments, I'd love to see how yours turn out!

Los Ingredientes:
This recipe will make 6 chapati feeding 2-3 people (depending on how hungry they are!)
2 cups + 1 tbsp flour (⅓ of a 1 kilogram bag)
1/2 cup warm water (not boiling)
1 tbsp levadura (dry active yeast)
1 tbsp salt
1 tbsp sugar
⅛ cup olive oil
1 tbsp dried oregano
½ tbsp ajo y perejil (mix of dried garlic pieces and dried parsley) - optional!
La Manera:

Measure out your flour. I do not have a kitchen scale so I use the scoop and sweep method. To do this, fluff up the flour in your bag and use a small scoop to transfer flour into your measuring cup. Then sweep the excess off using the flat side of a knife. Pour the measured flour into a bowl and form a 'well' in the middle. The well is going to hold the yeast, sugar, salt, water and oil.

Add the yeast, sugar and salt to the well.

Before adding the water, make sure it's not too hot by testing with a finger (wash ya hands first, jeez). If it's too hot, the water will kill the yeast.

Add the water, I recommend using most of the water to start but not all of it. Depending on the temperature in your kitchen the dough may not need all of the water. Leave the yeast, sugar and salt to sit in the warm water for 5 minutes. You should see a little bit of foaming on the water's surface, meaning the yeast is working!

Add the oregano and (optional) ajo and perejil at this stage. I add it around the edge of the flour well.

Add the oil to the water and get ready to start mixing!

I start mixing slowly as my bowl has a very short rim. If you have a nice large mixing bowl you'll be able to mix a bit more vigorously without worrying about making a mess! This dough can be mixed together by hand with only a few minutes of kneading. You want the texture to be smooth and not too sticky. Too sticky means you need a bit more flour. Conversely, if it's too dry, add the reserved water. Obvio...

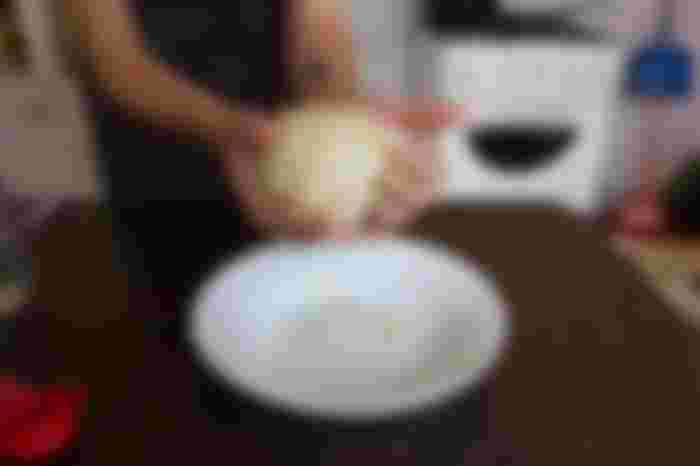
Once all of the flour is incorporated, form the dough into a ball. The texture at this stage should feel non-sticky to a clean hand. If you need to, wash your hands off to test this! Any flour or extra dough on your hands will stick. Note - more water or flour can be easily added. This dough is very forgiving. Form the dough into a ball by gathering any ends at the base of the ball and smoothing the sides.

Cover the ball with olive oil.

Place the dough into a plastic bag and tie the top, being careful to leave some air inside. The dough will expand with time.

This dough is best left for 1 hour to prove. Note - if you are working in a warm kitchen you may notice your dough rising quickly. I suggest checking the size of the dough ball after 30 minutes. Check to see if the ball has grown; if it has by 50% it's ready!

Sprinkle a bit of flour on your cutting board and get ready to make some dough balls!

Remove the risen dough from the plastic bag and divide it up, depending on how many chapati you want.

For this recipe I made 6 medium sized chapati. I started by splitting the dough into three equal pieces, then splitting those all in half.

Roll each ball in your hands, only add flour if the dough seems really sticky.

Cover the 6 dough balls and let sit for another round of proving. I recommend about 20 minutes. Again, if your kitchen is warm check the dough after about 10 minutes.

The dough balls won't grow much more, but they will get smoother on top!

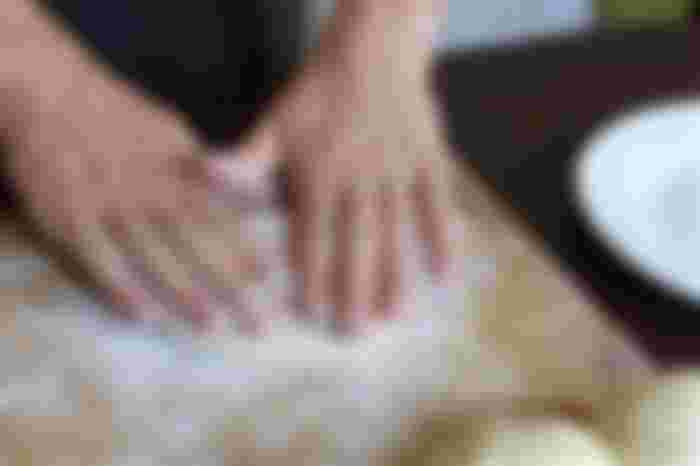
It's time to start rolling out our chapati! On a floured cutting board start by pressing the dough ball into a circle by hand.

Use a wine bottle as a rolling pin, or a rolling pin if you have one!

The trick with these is to roll a few times on one side, then flip the dough over and roll a few more times.

Finished chapati dough should be about the thickness of a pita pocket. Too thin, and it's more of a tortilla than a chapati.

Stack the chapati with flour in between each layer. The sprinkle of flour will keep the dough from sticking together.

Heat a frying pan on medium heat without oil. Chapati will cook from the heat of the pan and need nothing extra added.

Each stove and frying pan will yield different cooking times. You'll know the chapati is ready to be flipped once bubbles have formed on the top.

Note that some bubbles may be bigger than others, that's fine!

Use the above image as a reference for the color you're looking for. All chapati will be cooked for a few minutes on each side. Again, chapati are very forgiving. If you have 2nd thoughts about the color and want to cook either side for longer, go ahead!

I keep my cooked chapati stacked to keep in the warmth!

After all of the chapati have been cooked you're ready to eat! I suggest wrapping them up with meat and cheese and rice. Alternatively, spread on some butter and jam to have as a morning snack. Chapati can be wrapped in tin foil, covered with a bowl, or left in a tupperware container in the fridge for up to 5 days, and they can easily be reheated in a frying pan or in the oven. Buen provecho!
__________________
I find myself, like many, with an excess of free time. I have chosen to use the time to share some of my favorite recipes. Some are inspired from my surroundings and most have a fun twist when it comes to using what you have on hand!
Please feel free to share any advice or tricks you may have. I am new to cooking most of these recipes and would love to improve my skills.
__________________
If you’d like more information please contact me at :
lacuarentenaabroad@protonmail.com


















Wow, i love to join this community, there are many yummy dishes, i can know many delicious food recipe. I love cooking and always try to make something new.