Today I'm going to be throwing more light on Photoshop; how to use Photoshop for beginners. Why I’m writing this article is because in my previous article, 'Photo Manipulation' on the comment box, some of you guys were showing interest in learning how to design on Photoshop. I want to introduce some of the basic elements you need to know about Photoshop so that you can be able to make beautiful designs on your own. Photoshop isn't just for the professionals. You can easily teach yourself how to use it to create beautiful, compelling graphics. So let's get started.
Photoshop is incredibly powerful design software with a wealth of tools that can seem overwhelming at times. But with a little guide, you can be able to use the tools. In my previous article, https://read.cash/@Jeffsmith/photo-manipulation-be9a245c I explain what Photoshop is, and what it is used for, you can go read them. In this article I'll be explaining some of the most useful tools in Photoshop, how to use them, where to find them, and what they do.

1. The Move Tool
This is a basic tool that allows you to move elements of your grapic. You can use it to highlight all of your layers, reposition images, text, and other design elements. The Move tool is located on the left hand, at the top of the toolbar.
How to use the move tool: Click on the Move Icon and simply hold and drag the object you want to move. To move all object in different layers, simply highlight the layers(Shift + click the layers) and use the move tool.
The Free Transform Tool: It lets you scale, rotate, skew, and flip any object in your select layer. Press [CTRL+T or Command+T (for Macs)] to use Free transform, then right click to check out the options.
2. The Select Tool: This tool enables you select individual object or entire objects when used correctly. After selecting the object, you can be able to copy, cut, and paste into your graphics. The select tools is located in the toolbar on the left. You can use the Quick selection tools, the lasso tools, the marquee tools, and the pen tools to create a selection.

How to use the select tools: Open an image, click on the selection tool you would like to use, and select the part of the image you want to copy or cut. Once you've selected the area of the image, simply copy or cut the area. Then open a new tab and paste it in as a new layer.
3. The Crop Tool: This tool lets you crop an image. It works like any crop tool you've encountered. Simply choose your area and crop it out. The crop tool is also located in the toolbar on the left.
4. The Eyedropper: This tool allows you to extract and use color from any image. It is located in the toolbar on the left.
5. The Brush Tool: The brush tool is used to add some visual effects to your content. With the brush settings, you can change the size, type, shape, and transparency of your brush to achieve different visual effect. The brush tool is also located on the toolbar. You can download and install more brush tips on the internet.
How to use the brush tool: It's advisory to create a new layer to work with so you don't paint over any of your other elements. Click on your brush tool, you can choose a color from the color swatches, or use a custom color, you can also adjust the brush settings. You will see the settings at the top of your screen when you click on the brush tool icon. You can change the brush size, opacity, flow, etc. Then paint the area of your element with the brush tool.

6. The Eraser: The Eraser functions a lot like the brush tool. It's one the most useful tool in Photoshop. It is used to erase unwanted areas from your images or contents. It has its own setting which pops out at the top of your screen when you click on the eraser icon. It works like the brush tool.
7. The Fill tool: The fill tool fills any solid area or background with the color of your choice. You can also use the gradient tool within the fill tool to create a nice, faded background effect with the colors of your choice. The fill tool is located on the menu bar, Layer->New Fill Layer.
8. The Text Tool: The text tool is used to add custom fonts and gives you access to the fonts settings. The text tool is located at the bottom left, in the tool bar.
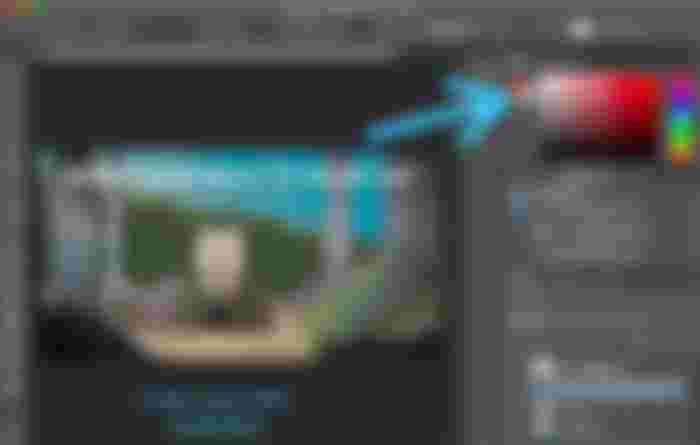
9. The Color & Swatches Tool: This lets you use different colors for your content. It has powerful features that will keep your visual content bright and unify your color schemes. It is located at the top right-hand corner of the Photoshop, by default.

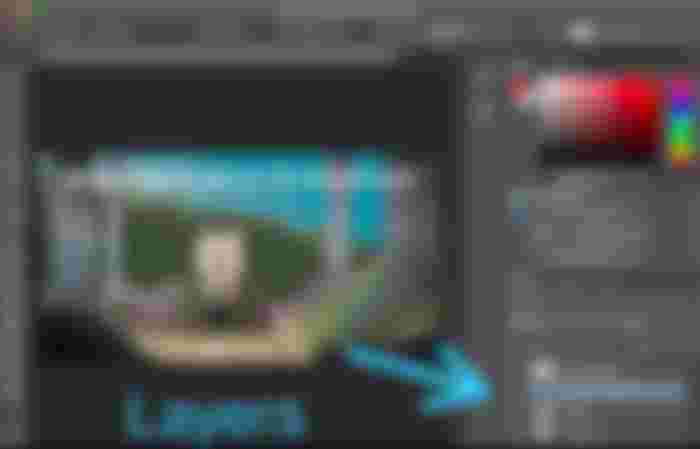
10. The Layer Tool: A layer is used for any contents in Photoshop. Particular content has its own layer which you can use to design. The layer stacks on top of one another to create a final product. Each layer can be edited individually without affecting the work as a whole. Once you understand how the layers work, it'll make your work much easier. It is located at the bottom right-hand corner of the Photoshop, by default.
You can access more information about how to use Photoshop on YouTube. There are still few tools not listed in these article. I'll try covering them up in another article. Thank you for your time and have a good day. Feel free to leave to subscribe, like and comment.



Owww I am a fond of photography ever since