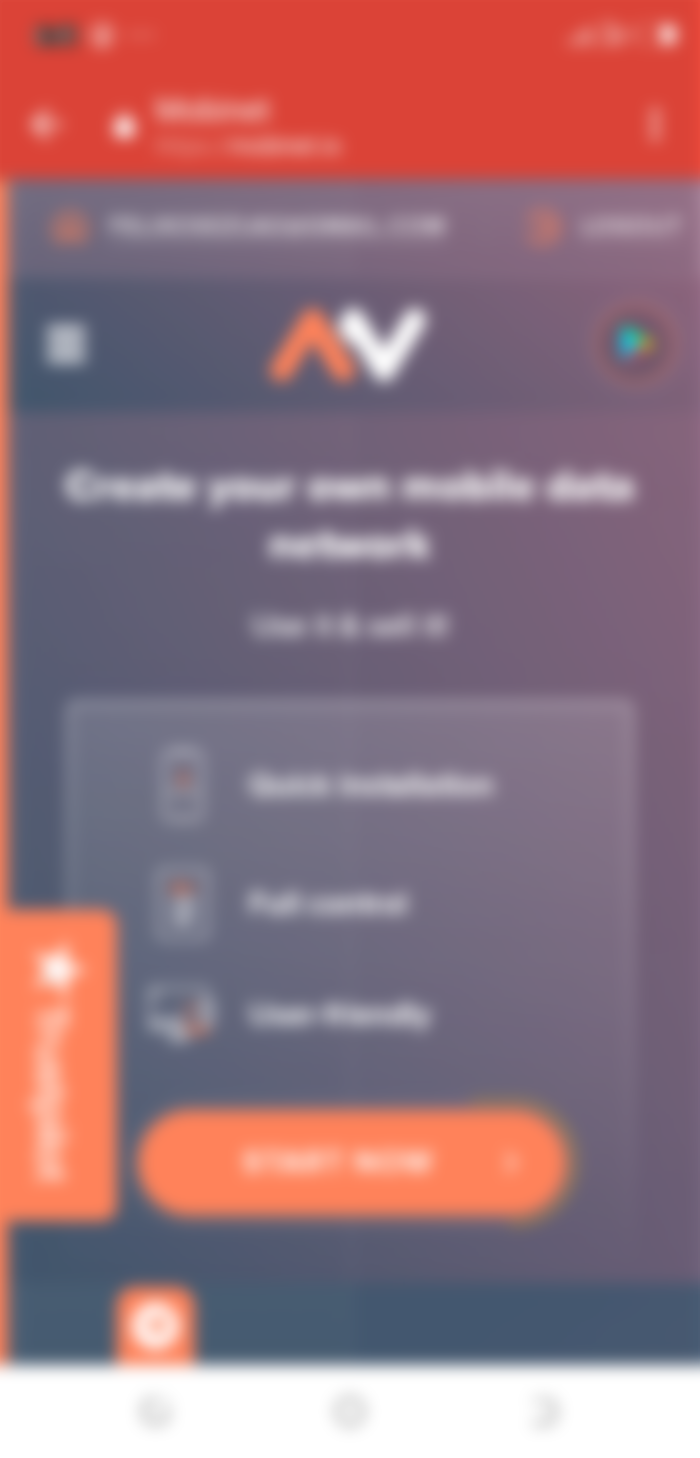
Using a mobile data network can be very annoying and frustrating most times due to a slow network or no network at times. if you are the type that frequent online you will understand how annoying it can be when you want to get things done quickly but the network fails to respond, but with mobinet proxies data network you need not worry anymore. Mobinet is a site that allows users to create their own mobile data for personal use or sale. Once you have successfully set up your proxies data account, you can either chose to use it personally or put it up for sale. You can get buyers within the mobinet community market place or share it on social media to get buyers. You set the amount of proxies data and the price you want to sell by yourself. The site manages all sales, you can view your activities on your account dashboard on the site. Withdrawal of earnings is available in various options including Bitcoin. Interestingly, mobinet proxies service is free to use at least for now.
How to get started on mobinet
Getting started on mobinet is easy and quick. The first thing to do is to register by signing up on the site here https://mobinet.io/?r=2509. Once you have done signing up follow the steps below to start your proxies business. Remember to check your email for verification notification and have your account verified.
1. Download the mobinet app
There are two ways to get the app. The first is to download the Apk file directly from the site or find the mobinet app on the Google play store. A link to this is also available on the site. Once you have finished installing the app proceed to the next step.
2. Launch the app
Immediately after installing launch the app, it will open to reveal a six-digit number. The six-digit number is your device code. Copy the code and go back to the site. NOTE; The site and the app are different. The app only served the purpose of receiving device code. Everything else is done in your account on the site.
3. Adding device
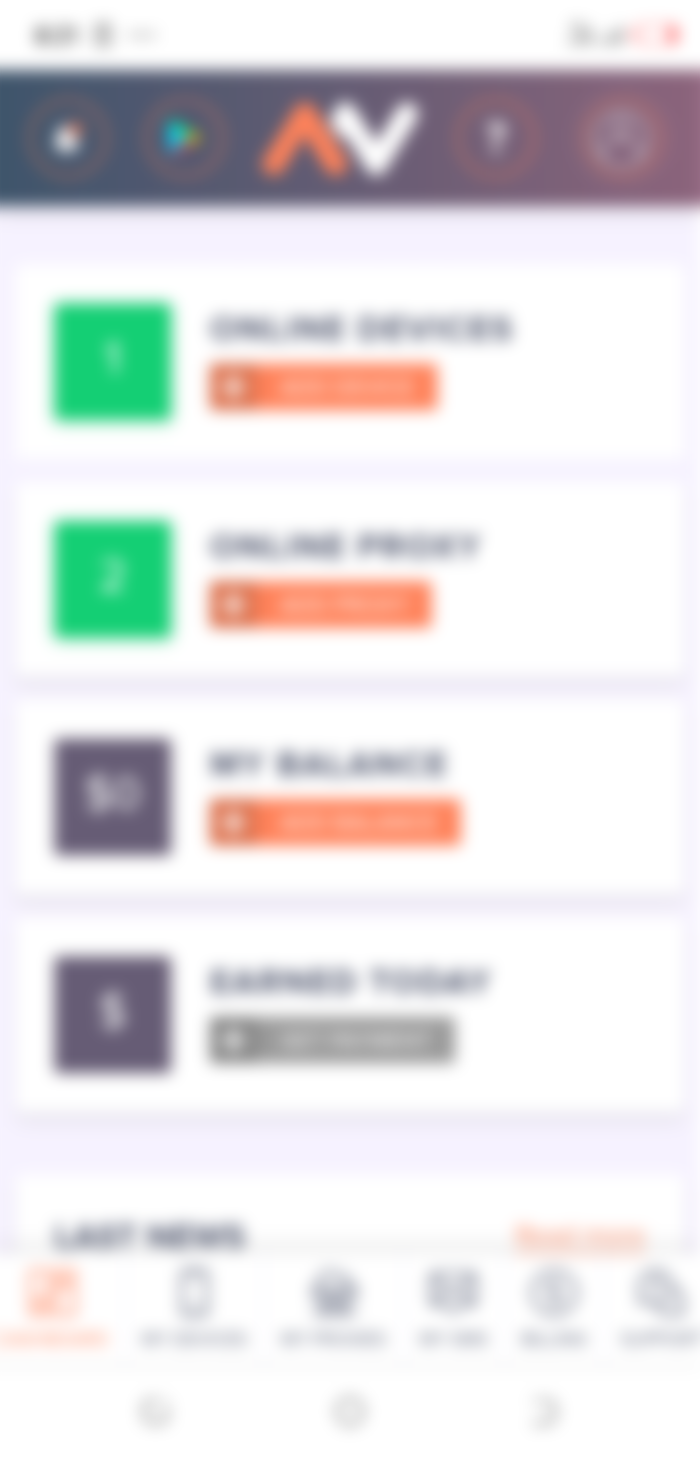
Once in your personal account on the site, the first page that will open is your dashboard. Click on the ADD DEVICE button, this will show you an open space requiring device code. Enter the six-digit code you have copied earlier from the app in the field. Once that is done correctly your device will appear in the MY DEVICE section panel at the bottom of the page.

4. Add proxies
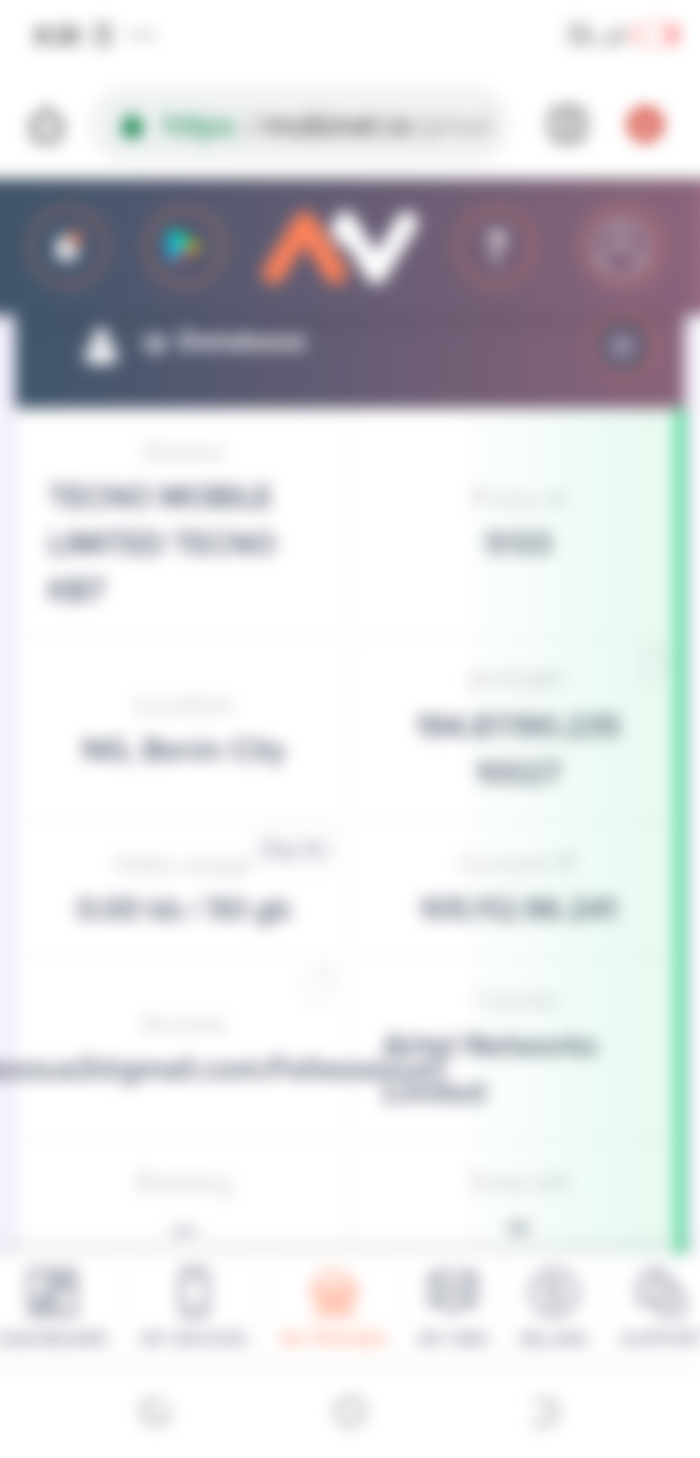
Now that your device is set the next is to add proxies to the device. To do this, click on the ADD PROXY button on your DASHBOARD or MY PROXIES at the panel on the bottom of the page. It will open the new proxy settings window.
Once in the settings window, you will have to specify proxy assignment. "FOR ME" or "FOR SHARE"
Next is to choose a name for your proxy. Any name convenient for you is alright. From now the device and the proxy will run on.
Next, you set traffic limits either daily or total. This is optional though. After that set proxy lifetime, that is how long it will run. This is also optional. Then finally authorization method which requires your email and password.

Impotant note
If your choice was for share, you will need to select during the setting up if the proxy be put up for sale in mobinet marketplace by selecting "On" in the "Add offer to Marketplace" section and indicate the price of the proxy in $, @ telegram or phone number for communication.
If you decide not to place a proxy in the marketplace (for example, if you found a buyer by yourself select "Off" in the "Add offer to Marketplace" section and specify the Username of the mobinet user that the proxy is intended for.
Other information you may need can be found on the site.


Many service providers will be needed to find the finest proxy service for my requirements. https://infatica.io/residential-proxies/ was my final choice. Before, working online was fraught with peril and required a significant time commitment, but today it is lot simpler. It's become a lot simpler and safer.