I am a graduate of Secondary Education. I am supposed to teach high-school students but I am destined to small kids. On my first job as a private teacher I handled fifth graders and In Dubai, for 4 years my career rotates for grade one students. My experiences abroad helped me to be creative because our main goal is to conduct hands-on activities that young learners should be taught at an early age especially in artworks. We did lots of amazing outputs that satisfy the students and their parents. Today, I would love to share my ideas with all of you and I chose how to make PUPPETS using different materials.
In English class, puppets are used to do role-playing. This can be done in several ways to make it more catchy to the audience. I love to see how students enjoyed conducting it in the class or any drama stages. I made four special creative outputs for you to choose and I am hoping that you can share your experiences with me if there's a time that you did this to your students and children.
By using puppets, it shows the creativity of a person. Make sure that your puppets are applicable and relatable according to what stories you have to act.
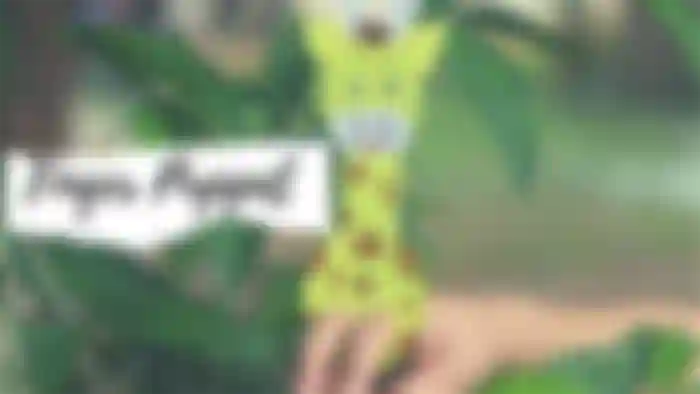
You have to prepare sets of colored sheets for you to choose from. The animal that we are going to make today is a cute giraffe. We need only three colors of sheets and these are white, brown and yellow. These are perfect colors to start our first artwork.

Find any object that has a circle shape for tracing the giraffe's body and head. For its neck, I simply draw parallel lines and the ears were sketched like a medium leaf.
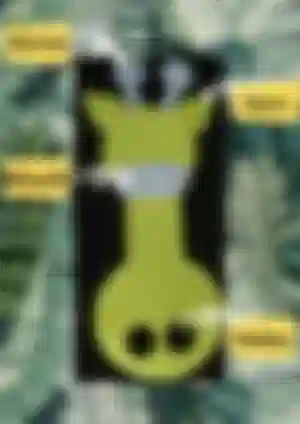
For you to make the horns and mouth, use a small piece of white paper. Actually, you don't need to trace it with pencils to draw just cut it directly to make it easier. Those two holes are spaces where you need to insert your fingers to make it move. I used two things to make the giraffe's prints. First, I applied the darker color by using color markers and the other part is the normal color pencil.
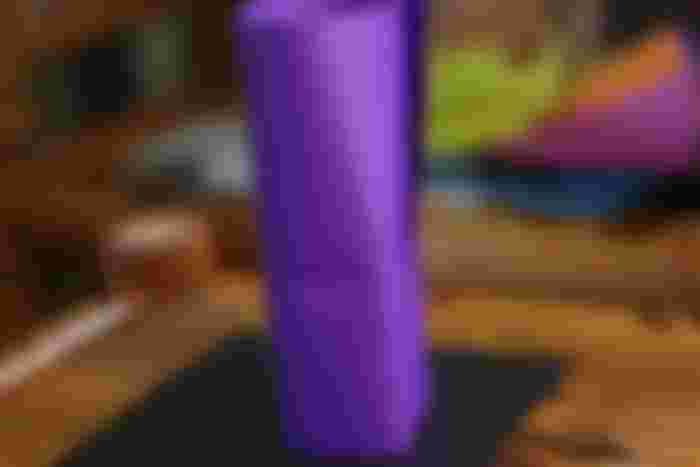
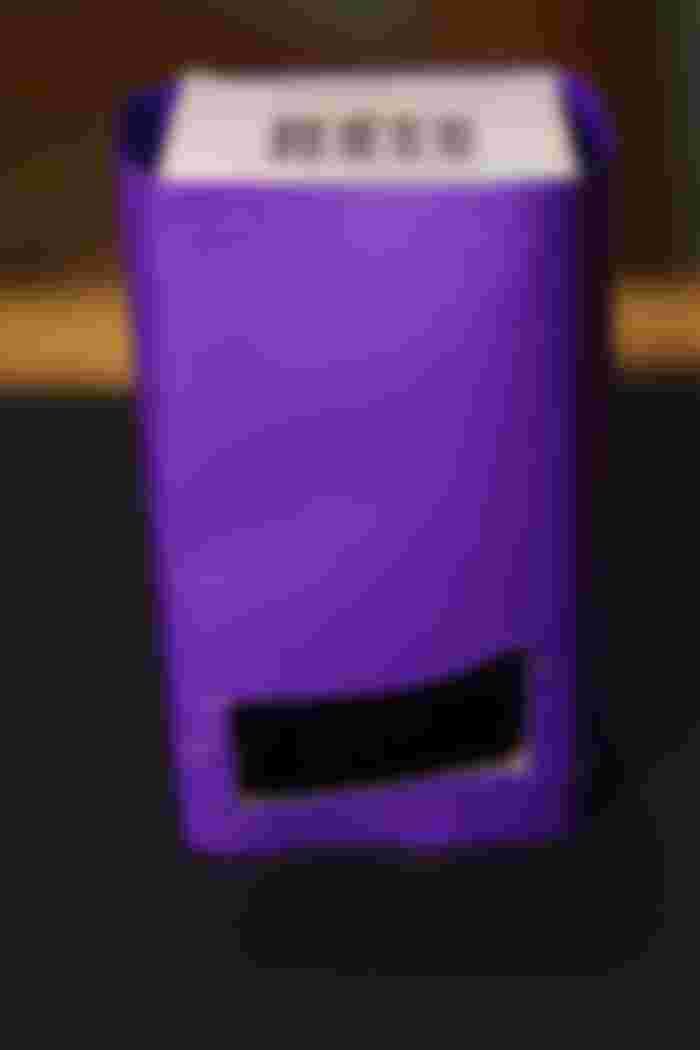
There are times when we go shopping, we brought at home some boxes from the stores. This is a fantastic idea because we are going to utilize the available empty boxes you have at home. This is to decrease the number of boxes from your storage room. Can you imagine how you turn the simple box into something colorful and lively?
I saw this empty box around the corner. Instead of throwing or keeping it unused why not make it useful. I just picked the small size of box because it will not take time to beautify it.
Step 1
Step 2
Step 3
Step 4
Step 5
Step 6
STEPS:
1. Wrapped each sides of the box with a colored sheet of paper.
2. Slowly cut the excess paper on the top to form the actual size of a box.
3. Cut the lower part for the mouth.
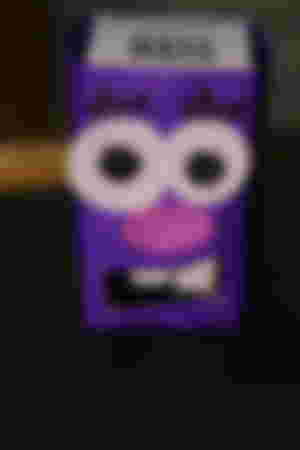
4. Start putting the teeth,nose,eyes and eyebrows.
5.Choose any three bright colors for its hair. Cut it into strips.
6. Curl the strip by placing the scissor on top of it and slowly dragged to the top.
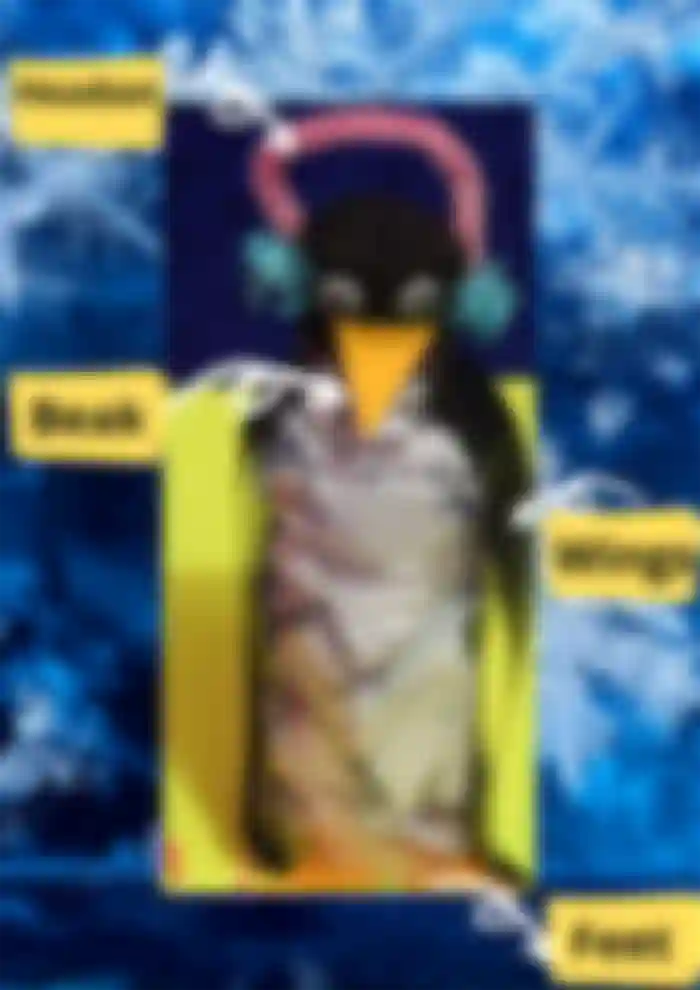
Penguin is one of my favorite antarctic animal. I am so in love with its sweet personality. You may wonder how can we make a masterpiece such as a penguin out from an empty bottle? fasten your seatbelts because It's time for art venture time!
My other goal for this activity is how can we reuse and recycle objects that we can find at home. Yesterday I had a great snack with this apple tea juice. I decided to keep the empty bottle and think of something to make it attractive. In the second photo, you can see how I put the shredded papers on it. This simple act can help our environment to lessen the garbage. There has been an increase in population so the waste is. We must educate ourselves on proper waste management.
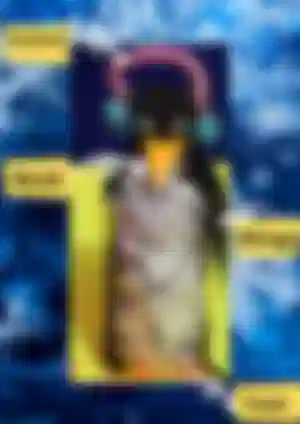
PROCEDURES
First, put all the shredded white paper inside the bottle.
Next, create wings for your penguin and cover the lid of the bottle with a black sheet.
Then, make its feet, beak, and glue the wiggly eyes.
Lastly, crumple a small piece of paper for the headset, and to connect both sides, use a fluffy bent string. You can buy it at any school supply store.
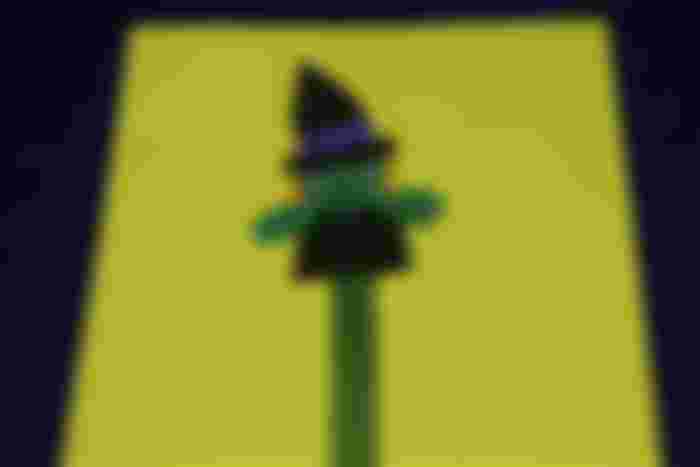
Some children have fond of eating popsicles. To make their day more productive, let's teach them not to throw the popsicle and create a fun activity. I choose the theme spooky this time to make it different. There are people who appreciate scary movies and they found them was interesting. To support their fondness, this time I will show you how to make a puppet using a popsicle stick.

Kindly cut a house shape using black paper. To create the two windows, use a brighter color to emphasize them. We need two yellow squares and tiny black strips for its division. You can decide how the witch's house looks like, I chose the simplest one.

I would like to suggest the popsicle stick for those children ages 4-5 years old. Aside from its simplicity but it's easy to carry and surely kids will be happy using it.
This will help the children to practice their communication skills most especially in speaking. If schools will have a program about role-playing, this can boost the confidence of each student, and lastly, the creative minds of the children will be exposed and appreciated. That's all for today. It's FRIDAY!







These are super cute! I will be teaching young students online, so, I may be able to use these to capture their interests :) Thanks for sharing!